Create an impressive DIY Rotom Pokedex Polymer Clay model with this free unique idea made for Pokémon lovers.
Pokémon Rotom Dex With DIY Rotom Pokedex Polymer Clay
Featured By: PolymomoTea
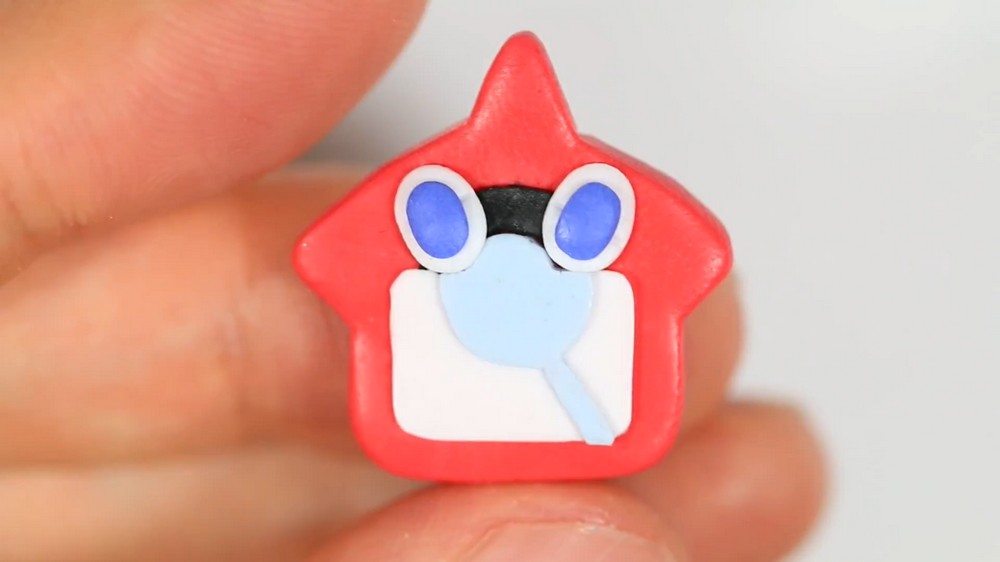
The Rotom Dex from Pokémon Sun and Moon has a face that makes it much more fun than an ordinary device. DIY Rotom Pokedex Polymer Clay gives fans a way to turn that familiar game item into a small figure for display.
What matters most here is the overall shape. The red outer body, screen area, and expressive face help people know what the figure is right away. Before adding the smallest parts, spend some time getting the main outline straight. A neat base will help the rest of the design sit in the correct place. It is easier to adjust the larger sections while the clay is still soft.
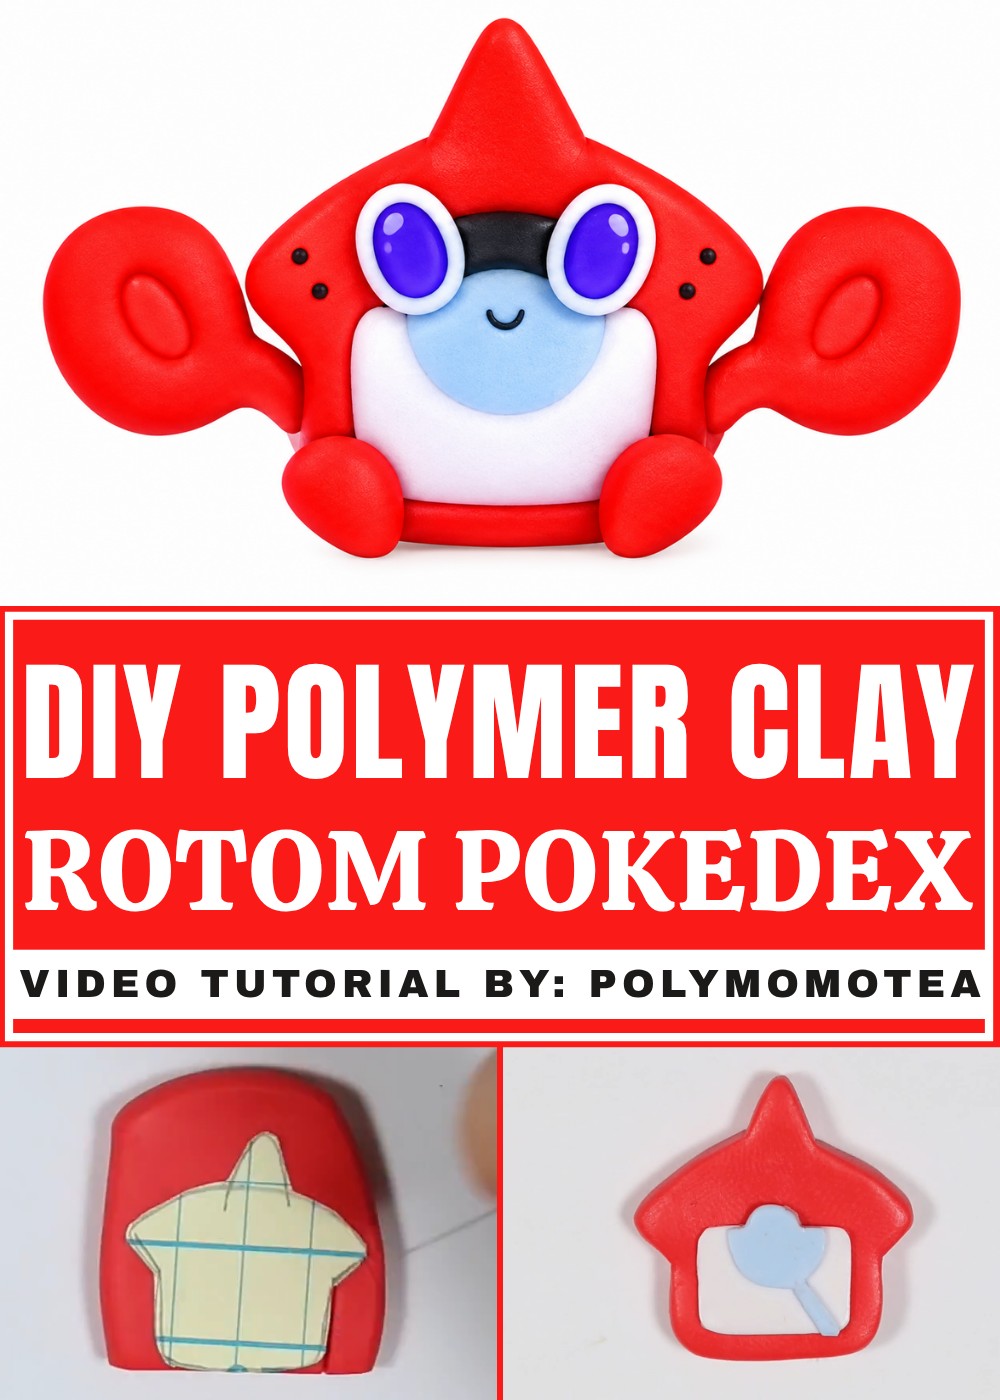
You can use a reference picture of the Rotom Dex to check where the eyes and other features belong. Flatten small bits of clay for the front, press the edges with care, and keep your tools clean between colors. The goal is not to finish quickly. Even a simple version looks better when the face is clear and the parts line up.
A little Rotom Dex would fit beside Pokémon cards, game cases, or a computer. It could also be a thoughtful present for a friend who follows the series. You can try this as one of your free DIY projects without needing a large model or many colors. Before baking, read the time and temperature on your clay packet. The character's expression is the detail people will notice first.

How to Make a Rotom Dex Polymer Clay Charm
Inspired by Pokémon Sun and Moon
If you’re a fan of Pokémon Sun and Moon, you’ll recognize the adorable and energetic Rotom Dex, the talking Pokédex with a face! This cute companion is perfect for crafters who want to try their hand at a stylized, character-based charm. In this easy-to-follow tutorial, you’ll learn how to make a Rotom Dex from polymer clay, mimicking its distinctive red casing, digital face, screen, and little arms and feet.
We’ll break the process down step by step, using tools and materials you probably already have if you’ve worked with polymer clay before. You’ll practice rolling, flattening, cutting with a template, assembling shapes, detailing, and even giving Rotom Dex a charming facial expression. Follow along to create your own digital Pokémon buddy!
Essential Materials & Tools
Materials
- Polymer clay in the following colors:
- Red (for body, arms, feet)
- White (for screen and eyes)
- Light blue (for screen accent and eye centers)
- Black (for outlines, smile, and speaker holes)
- Yellow (for small accent dot)
- Paper and pencil (for making a simple template)
- Optional: Glaze or varnish (for a shiny finish)
Tools
- Clay roller or acrylic rolling pin
- Craft blade/X-acto knife (for sharp cuts)
- Clay shaping tools or toothpick (for adding details)
- Smooth work surface
- Oven (for baking as per clay instructions)
- Tweezers or small brush (helpful for tiny details)
Step-by-Step Instructions
1. Make the Rotom Dex Body
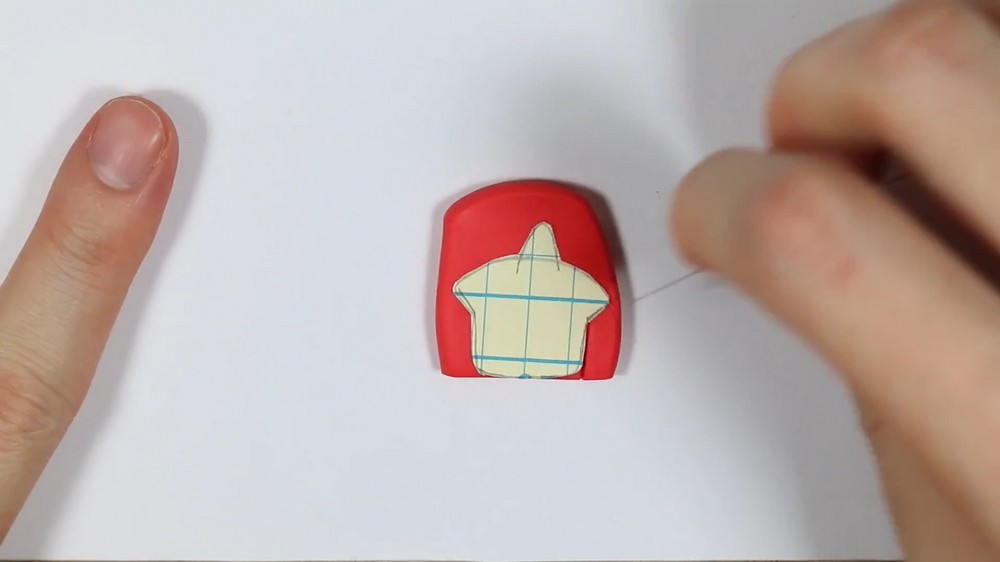
Step 1: Create a Template
- Draw your template:
- On a piece of paper, sketch Rotom Dex's body—a large flat shape with a screen area (a square topped with a half-circle).
- Cut it out carefully; this will help you get the proportions right.
Step 2: Roll and Cut the Main Body Shape
- Prepare and flatten red clay:
- Knead your red clay until soft.
- Using your clay roller, roll it out flat to about 3-4 mm thick—enough for a sturdy base.
- Cut the outline:
- Place your paper template on top of the flattened red clay.
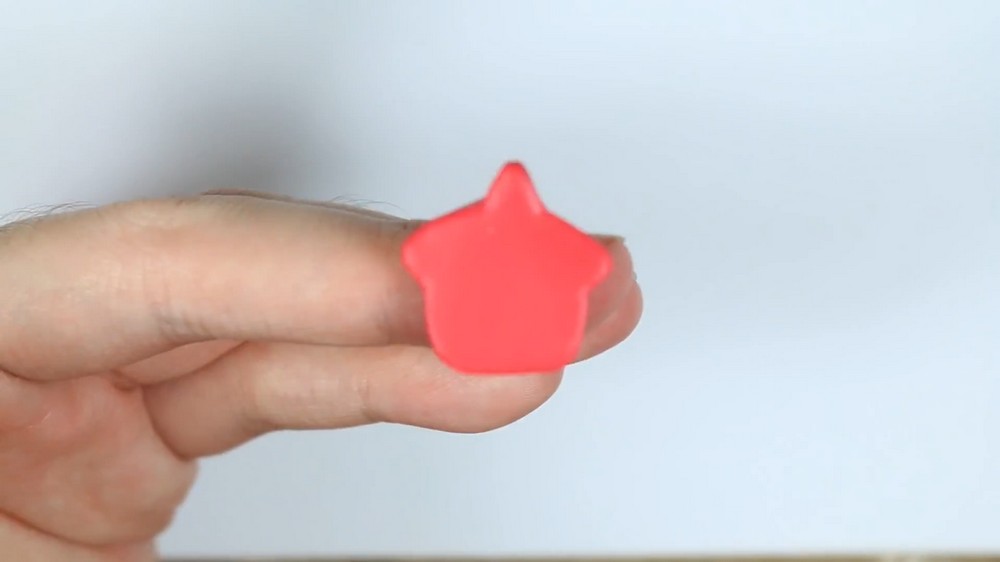
- Using your craft blade, trace and cut out the main body shape.
- Gently smooth the edges with your fingers for a polished look.
2. Build the Screen and Face
Step 3: Make the Screen Background
- Shape the screen base:
- Roll out white clay to a similar thickness.
- Use your template, or simply freehand, cut a square with a half-circle on top.
- Place and lightly press this white piece onto the center of your red body base.
Step 4: Add the Blue Screen Accent
- Cut the blue accent:
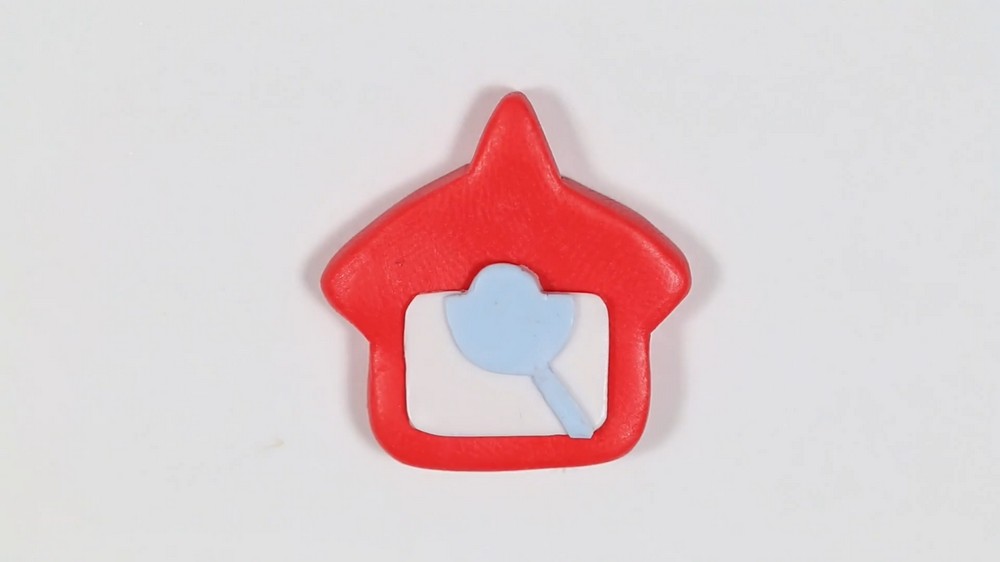
- Roll out light blue clay and cut the same shape (square + half-circle), a little smaller to fit as an accent inside the white screen.
- Cut a circular window and a diagonal line across the blue clay (for character-accurate features).
- Carefully place this on top of the white screen background.
- Assemble screen layers:
- Lightly press everything together, making sure the blue accent is neatly aligned on the white screen.
Step 5: Add the Screen Outline
- Outline the screen:
- Roll a thin snake of black clay.
- Gently lay and press this around the half-circle at the top of the screen for definition.
- Trim away any extra clay neatly.
3. Sculpt and Attach the Eyes
Step 6: Create Rotom Dex Eyes
- Shape the white ovals:
- Flatten two small balls of white clay into oval shapes.
- Using a blade, gently indent (but do not cut through) a line in the center of each eye.
- Add blue pupils:
- Roll out two tiny pieces of light blue clay into ovals and press them into the center of each white eye.
- Attach eyes:
- Position the eyes slightly apart in the “corners” of the half-circle/top of the screen section.
- Press them gently for a secure fit.
4. Make and Attach Arms, Feet & Accents
Step 7: Sculpt Arms
- Shape the arms:
- Pinch two pieces of red clay into short, chunky square shapes.
- Elongate one corner of each square, then gently twist it to create a speech-bubble or zig-zag form—mimicking Rotom Dex's “arms.”
- Press the arms onto each side of the body, smoothing the base so they adhere securely.
- Add accents to arms:
- Roll two small red ovals and place them in the middle of each arm.
- On one arm, add a tiny yellow dot for detail.
Step 8: Form the Feet
- Shape the feet:
- Take two small balls of red clay, pinch each into a teardrop shape.
- Attach these to the bottom corners of the body. Smooth to secure.
5. Add Expressions and Speaker Holes
Step 9: Details and Personality
- Smile:
- Roll a super fine snake of black clay and shape into a thin smile.
- Place it below the eyes on the body and press gently to secure.
- Speaker holes:
- Use a small tool or blade to indent a short line on the outside edge of each eye.
- Fill each indent with a sliver of black clay to simulate speaker or vent holes.

6. Bake, Finish, and Enjoy!
Step 10: Baking
- Bake your Rotom Dex:
- Carefully transfer the assembled Rotom Dex to your oven.
- Bake according to the polymer clay package instructions (usually 265°F/130°C for 15-30 minutes, but check your brand).
- Let it cool completely on a flat surface to avoid warping.
Step 11: Optional Finish
- Glaze for shine:
- If you like a glossy, toy-like finish, brush a thin coat of glaze or varnish over the piece once fully cooled and dried. Let dry completely.
Summary & Customization Ideas
Congratulations! You’ve made your own expressive Rotom Dex using polymer clay. Now you can:
- Turn it into a keychain or magnet by adding findings before baking.
- Personalize it with different facial expressions, screen details, or even Pokemon-themed stickers.
- Try other colors for variant styles or match the shiny Rotom Dex if you feel adventurous.