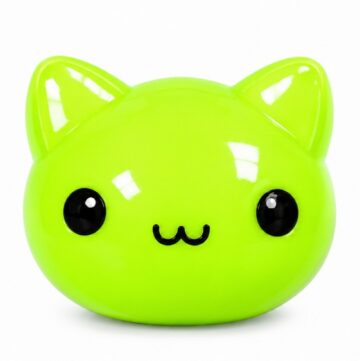
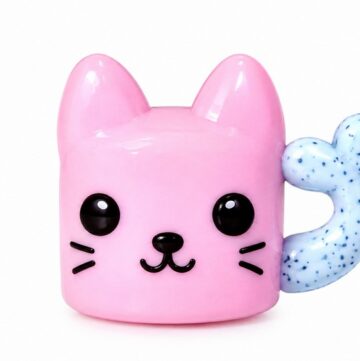
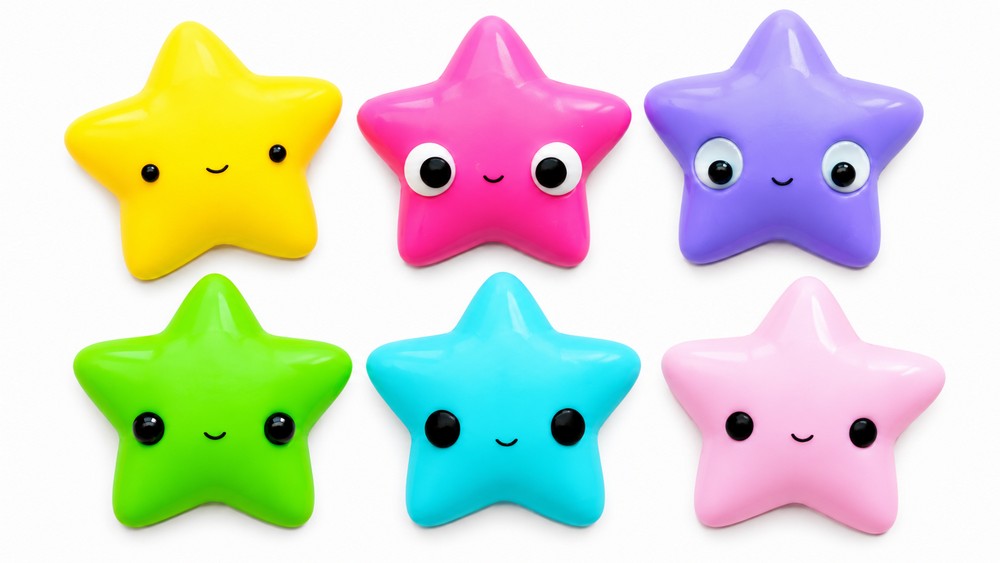
Give your shelf a cheerful glow with smiling little stars and dreamy colors in DIY Polymer Clay Stars Faces, a lovely project for small room decorations.
Featured By: PolymomoTea
Not every decoration has to be realistic to feel full of personality. DIY Polymer Clay Stars Faces uses familiar pointed shapes and tiny expressions to turn plain clay into a cheerful group of characters. One can smile widely, another can appear sleepy, and a third can have a shy face. Each piece can have its own look.
Happy DIY Polymer Clay Stars Faces for Cute Room Decor
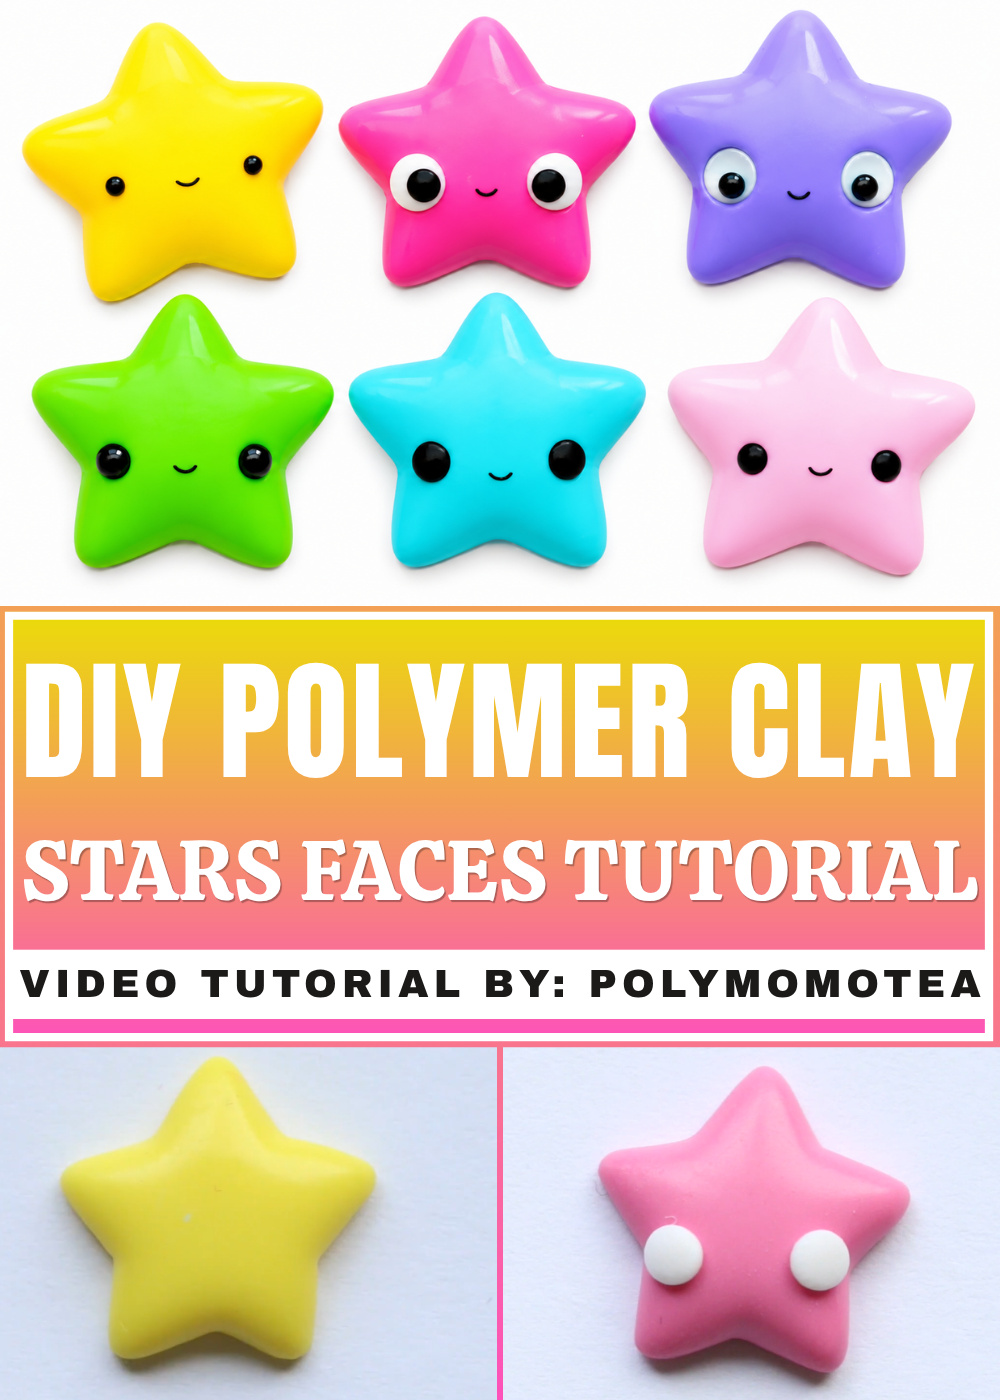
Working with several small shapes gives plenty of room for color choices. Yellow feels lively, while pink, blue, and lavender offer a softer look. The points should be shaped gently so they stay even and do not appear too thin. Tiny eyes and curved mouths complete the faces. A simple outline or little blush marks can give each character extra charm without making the surface feel crowded.
These pieces fit nicely on a shelf, a study table, or beside a small lamp. They are also a fun idea for matching decorations in a child's room. Friends could pick their favorite expression, which makes a set feel more personal than a group of identical shapes. A whole collection can look different even though every piece starts with the same outline. That is what gives this idea its appeal: a few small changes in facial details turn basic shapes into a happy little family.
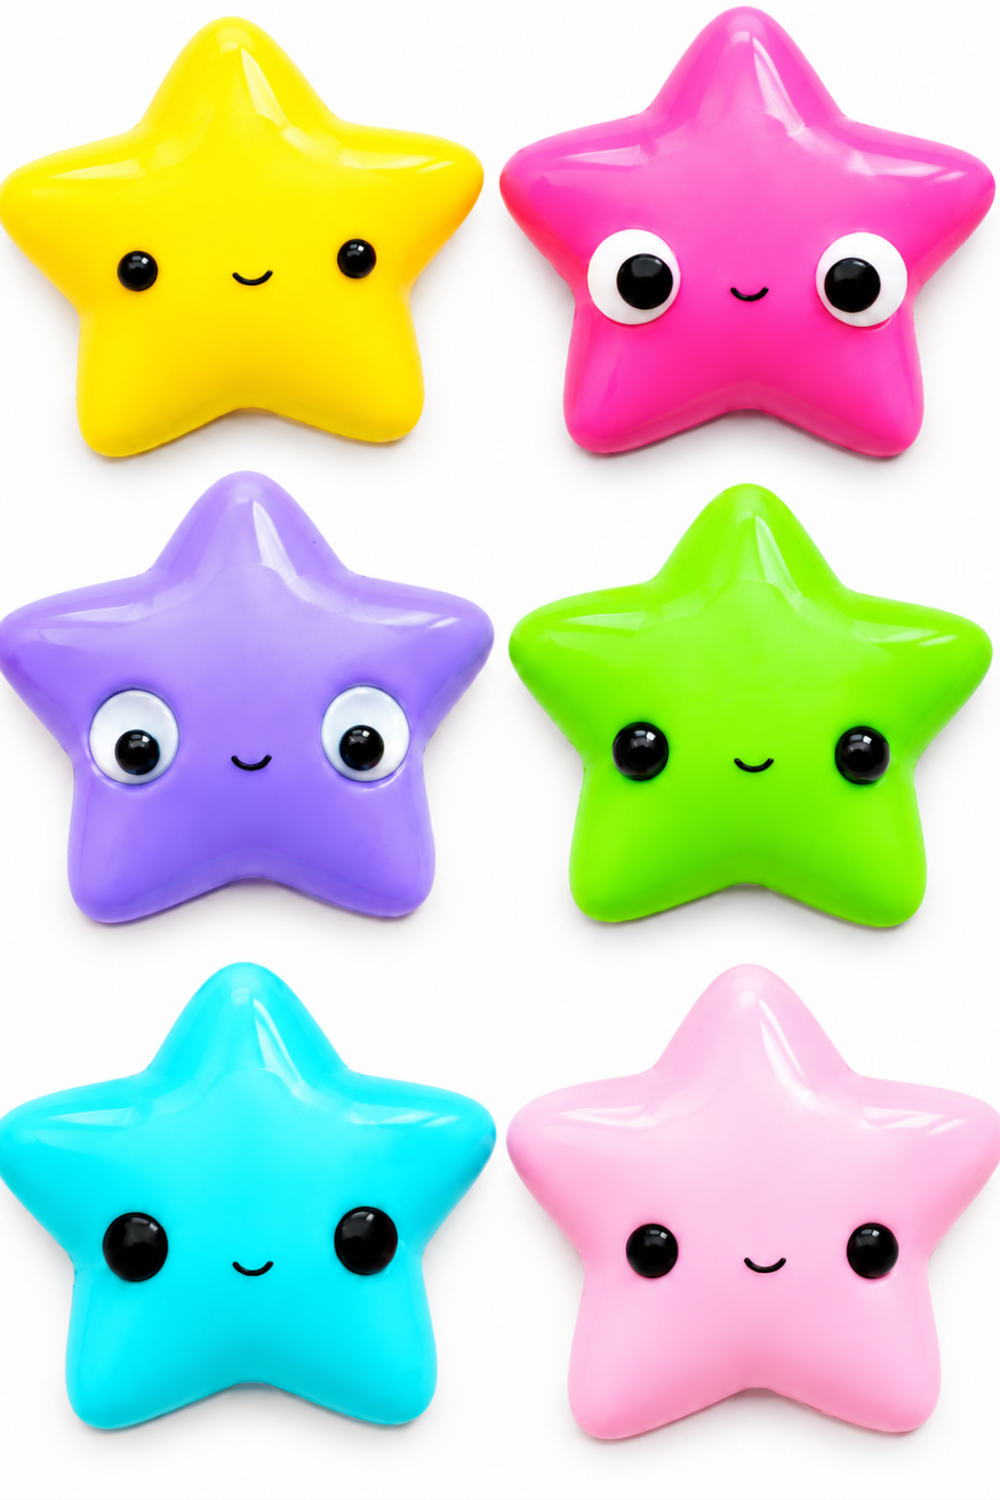
How to Make 6 Cute Kawaii Polymer Clay Faces
(Beginner’s Guide)
Materials & Tools
Materials
- Polymer clay (black and white for eyes; any color for the base/"face")
- (Optional: other colors for accents or blush)
Tools
- Clay blade or craft knife
- Dotting tools (various sizes, but you can use toothpicks or similar if you don’t have dotting tools)
- Work surface
Step-by-Step Instructions
Face Style 1: Simple Kawaii (Dot Eyes & Line Smile)
- Make the Face Base:
- Take your base clay (any color you want as a face) and roll it into a ball or oval. Slightly flatten if you wish.
- Dot Eyes:
- Roll two tiny black balls and place them evenly on your face for eyes.
- Smile:
- Roll an even tinier thin black snake.
- Place it under the eyes as a simple curved line for a smile.
- Gently press to attach.
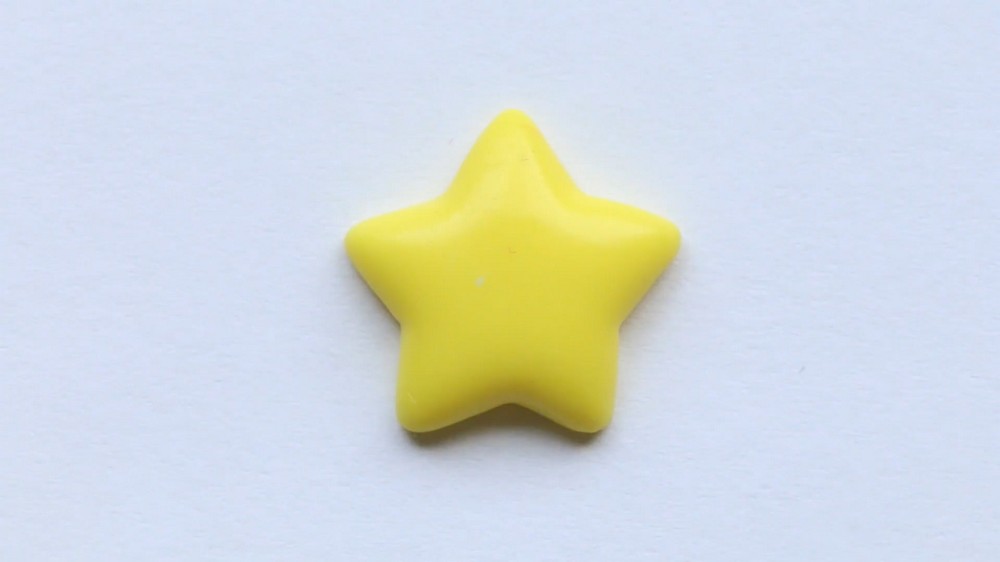
Face Style 2: Indented Eyes
- Make two indents for eyes:
- Use a dotting tool or the end of a paintbrush to make two small holes (indents) where eyes should go.
- Fill the indents:
- Roll two balls of black clay and press them into the indents with your dotting tool.
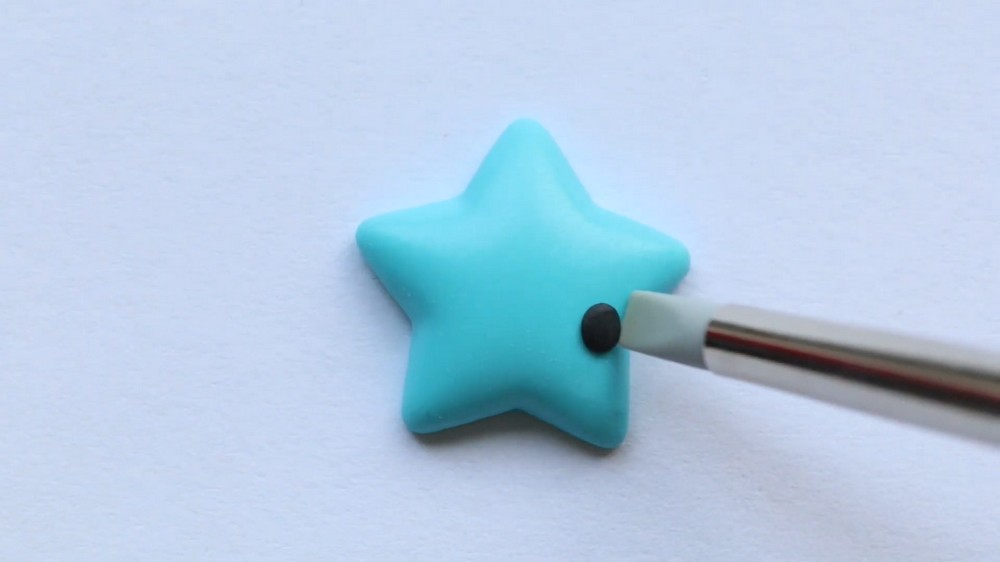
Face Style 3: Large Dot Eyes
- Use larger pieces:
- Roll two bigger balls of black clay (compared to Style 1).
- Place them on your face, spaced evenly for a wide-eyed, cute effect.
Face Style 4: Studio Ghibli-Inspired (Indented White Eyes with Black Pupils)
- Make larger indents:
- Use a larger-ended dotting tool to create two big eye sockets.
- Fill with white clay:
- Roll two balls of white clay, fill the indents, and press to flatten.
- Add black dots (pupils):
- Place small dots of black clay in the corners of each white eye.
- Press gently with a tool for a rounded look.
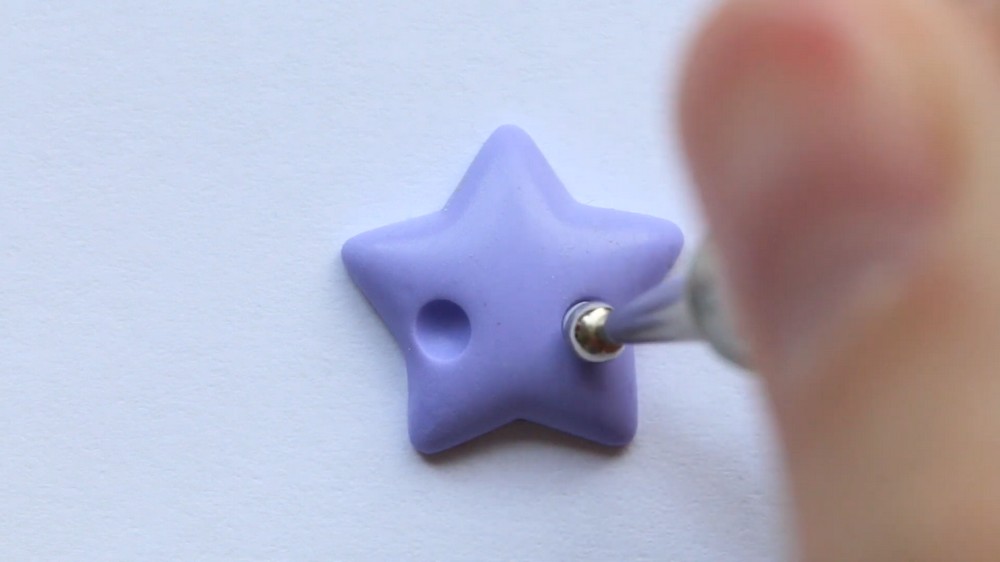
Face Style 5: Ghibli-Style Eyes without Tools (Pancake Eyes)
- Shape “pancakes”:
- Roll out two tiny balls of white clay and flatten into thin pancakes.
- Place whites on the face:
- Attach your white flattened pieces where you want the eyes.
- Add black pupils:
- Roll two tiny balls of black clay, flatten slightly, and place on top of the whites.
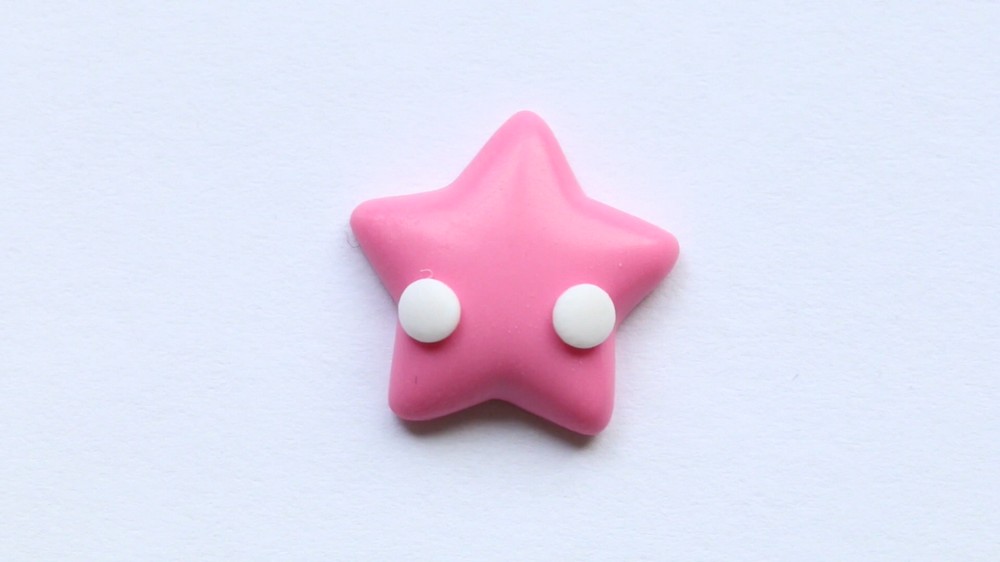
Face Style 6: Indented Eyes with Simple Smile
- Make indents:
- Use your dotting tool to make two small holes for the eyes.
- Fill with black clay:
- Add two tiny black balls, pressing them gently into the indents.
- Add a smile:
- As in Style 1, roll out a thin black clay snake and attach under the eyes as a happy smile.
Additional Tips & Explanations
- Eye Spacing: Play with how close/far apart the eyes are—closer together often looks cuter!
- Smiles: Short smiles and line “mouths” make for simple, adorable expressions.
- Blending: For a neater look, gently tap or blend edges of eye pieces into the base clay.
- Tools: If you don’t have dotting tools, try using a pen cap, toothpick, or even the rounded end of a paintbrush.
- Baking: Always bake your clay pieces per your package’s instructions when you’re finished.
Conclusion
Now you can make a variety of cute, expressive Kawaii faces for your clay charms, figures, or any project!
Experiment, mix and match styles, or invent your own—these basics are a great starting point for beginners.