Celebrate a sweet animated favorite with Polymer Clay Pixar Bao, and try DIY Ideas for a tiny dumpling figure that feels right at home on a desk or gift shelf.
Featured By: PolymomoTea
Some movie moments stay with us because they feel warm, gentle, and close to home. DIY Polymer Clay Pixar Bao captures that feeling through a little dumpling character with a sweet face and a soft, rounded shape.
The idea comes from Pixar's short film Bao, where a dumpling comes to life. A white clay body, tiny arms, short legs, and small facial features help give the figure its familiar look. Unlike figures with many layers or sharp edges, this character depends on smooth curves. That makes the shaping process calm and enjoyable, especially when you want a small project for a quiet afternoon.
Easy DIY Polymer Clay Pixar Bao Project
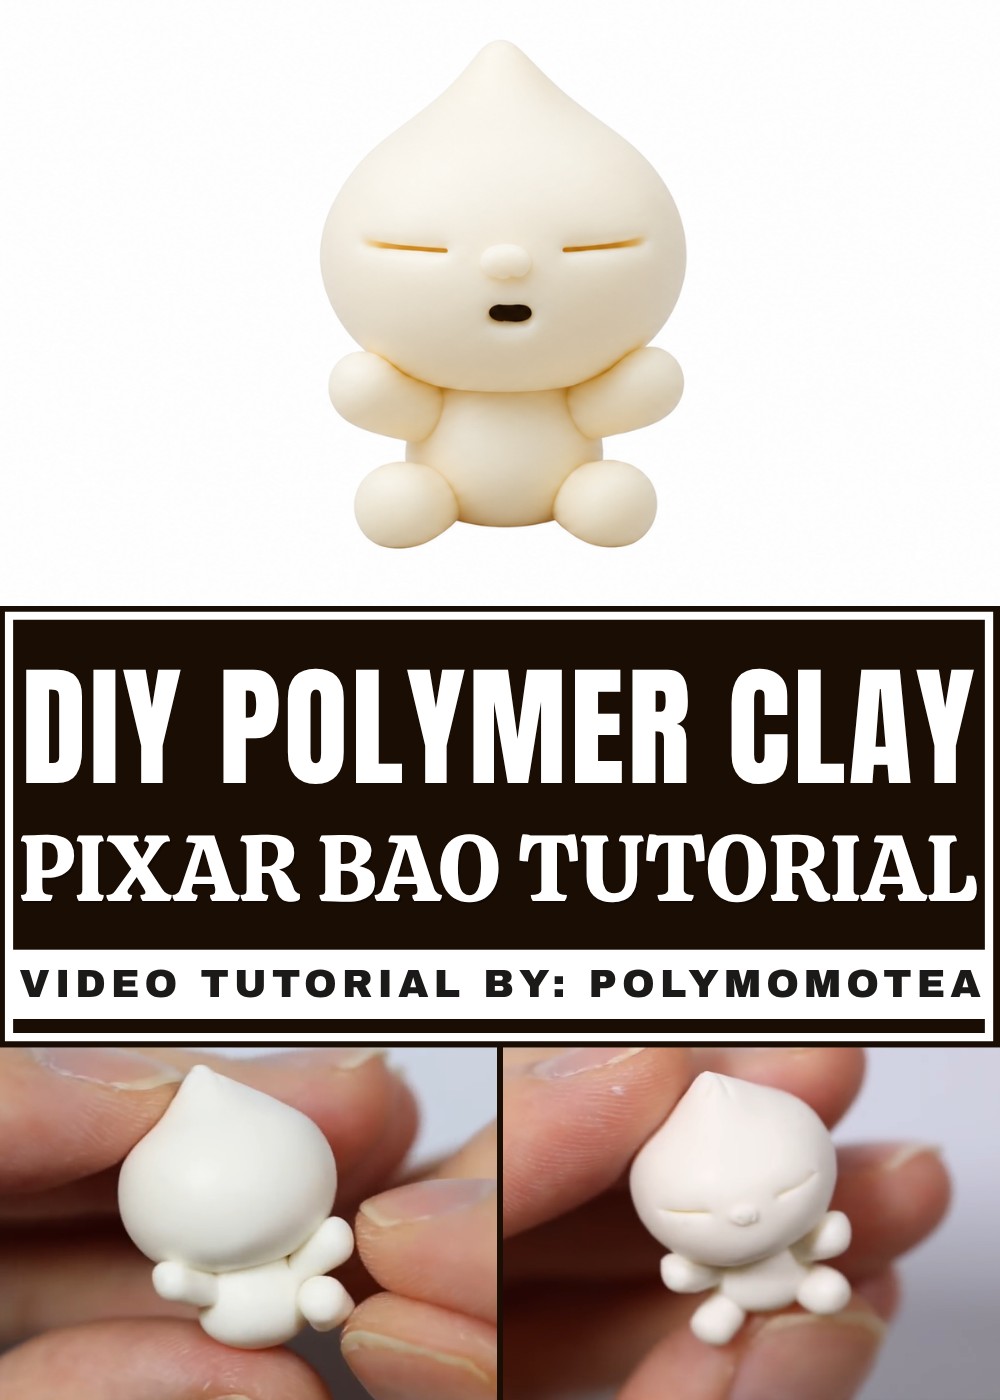
Work with a piece of white polymer clay and form a plump dumpling shape. Smooth the top gently, then attach the little arms and feet. Keep the eyes and mouth simple so the expression stays soft. A slight tilt of the head can give the character even more personality. Finish the piece according to the clay manufacturer's instructions.
This is one of those DIY Ideas that feels personal without needing lots of colors. The finished dumpling could sit on a kitchen shelf, decorate a small desk, or become part of a movie-inspired display. It also works as a sweet gift for a friend who loves animated stories. Its gentle appearance is the main attraction, and every small detail helps tell that story.
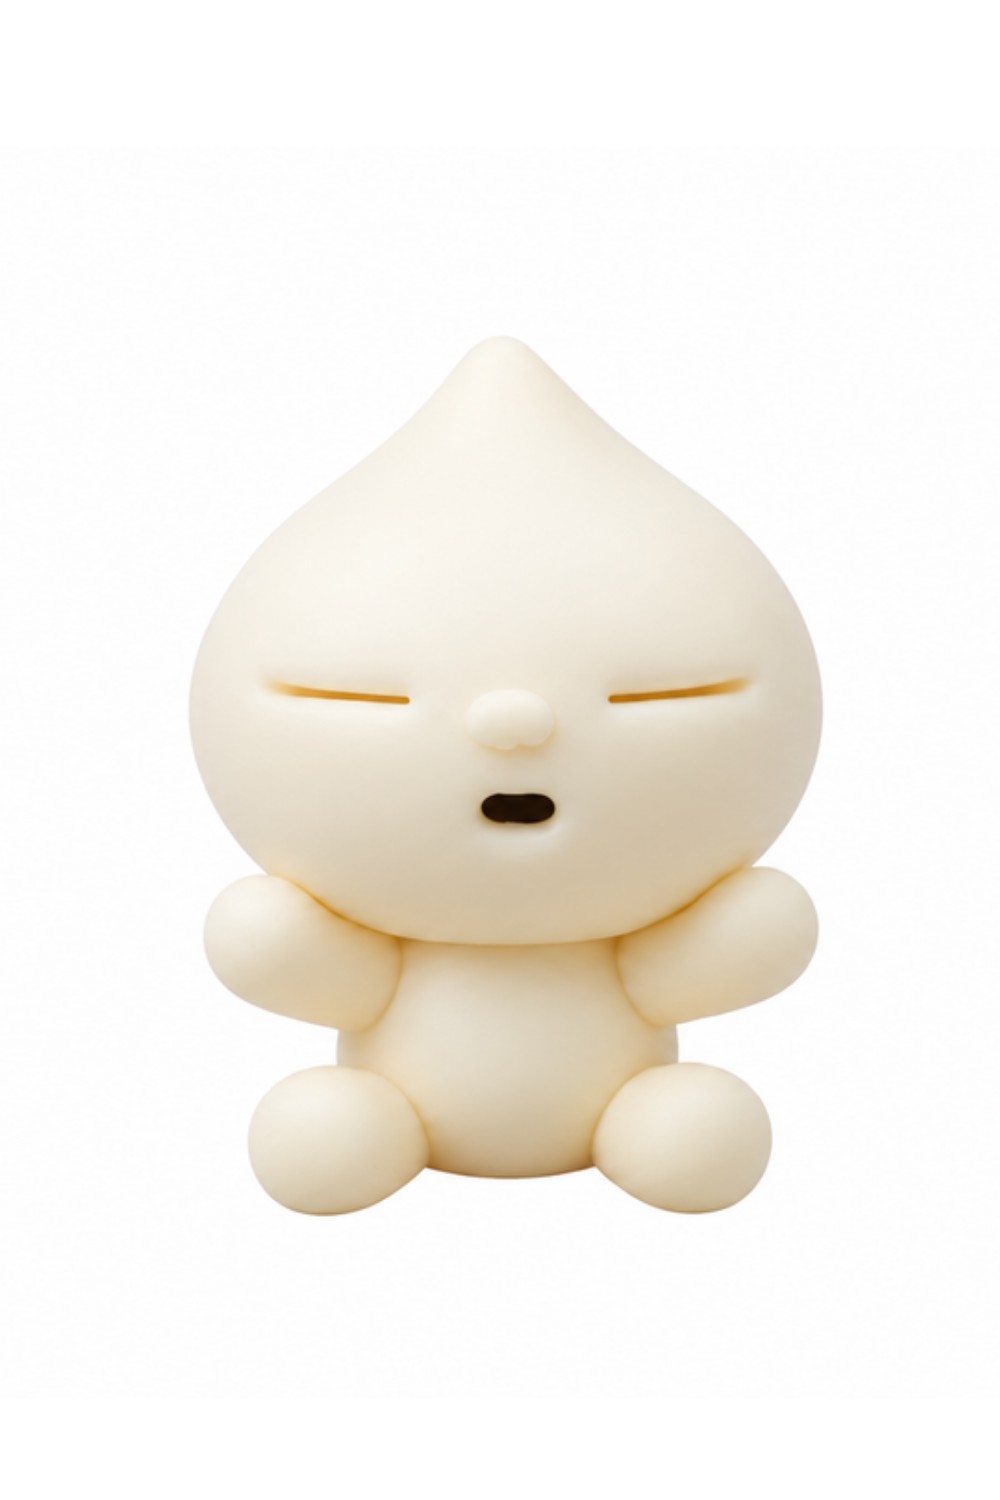
Bao Pixar Short Polymer Clay Tutorial
Hey everyone! In this easy tutorial, you’ll learn how to sculpt the adorable Bao dumpling character from Pixar’s animated short, "Bao." Bao is full of personality with his rounded body, cute arms, expressive nose, and mouth. Using just a few materials and simple steps, you can make your own little Bao for display, gifting, or as a charm. Let’s get started!
Essential Materials & Tools
Materials
- Polymer clay colors:
- White (for Bao’s main body and limbs)
- Brown (for mouth and optional details)
- Optional: Brown acrylic paint or black for facial accents
- Optional: Polymer clay glaze or UV resin (for a shiny finish)
Tools
- Clay blade or craft knife
- Dotting tool, ball stylus, or toothpick
- Rolling pin or clean hands
- Baking tray, parchment paper, or ceramic tile
- Oven (for baking, as per polymer clay instructions)
- Optional: Paintbrush (for extra details with acrylic paint)
Step-by-Step Instructions
1. Make Bao’s Head
a. Shape the Head
- Start with a ball of white clay.
- Gently flatten the ball slightly so it looks like a dumpling—rounded, but not perfectly spherical.
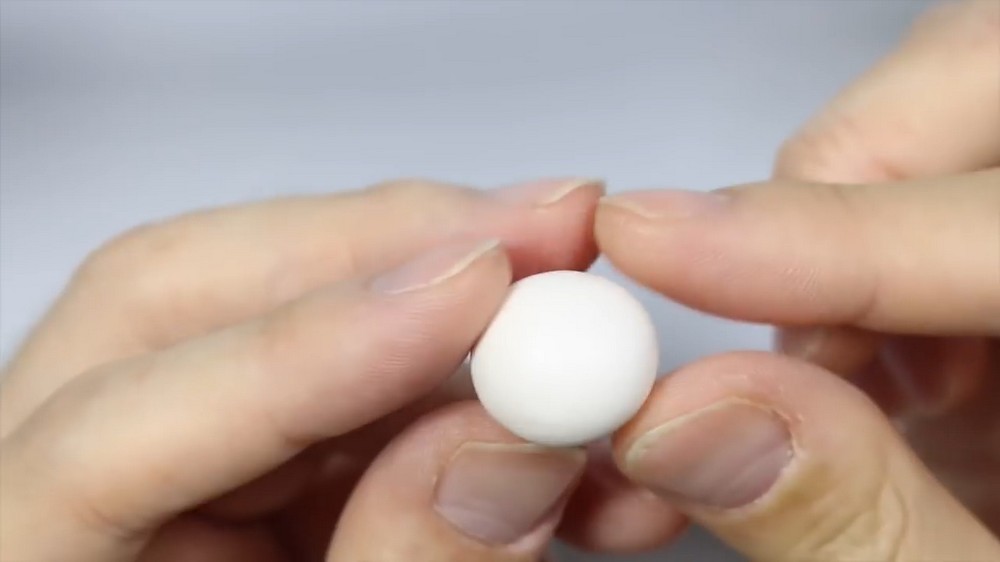
b. Make the Dumpling Point
- Pinch a small point on the top of the white clay ball (like a dumpling’s crimped tip).
This gives Bao his signature look.
2. Add Dumpling Texture
a. Etch Creases
- Use your clay blade or knife to make five short, slanted h-marks radiating out from the point you just pinched.
Keep them close together, and angle them outwards.
These represent the steamed dumpling folds.
Explanation:
The creases should look like they’re coming out from the tip, just like real steamed dumplings.
3. Make Bao’s Body
a. Roll and Shape
- Take more white clay and roll it into a fat cylinder—think dumpling body.
- Cut off the end to create a flat surface for attachment.
b. Attach the Body
- Press and smooth the body onto the bottom of Bao’s head, blending gently so the transition looks soft and natural.
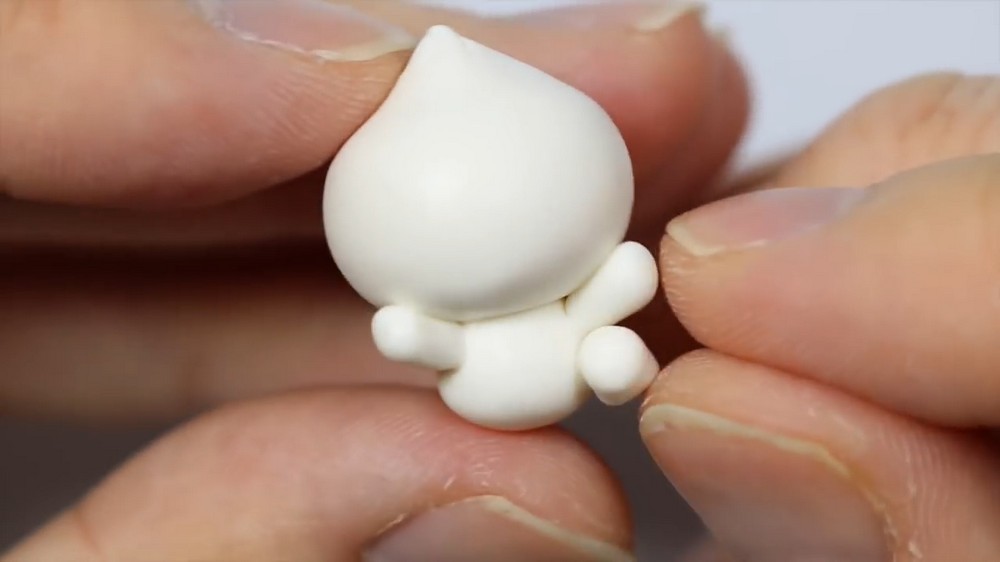
4. Make Arms
a. Shape Each Arm
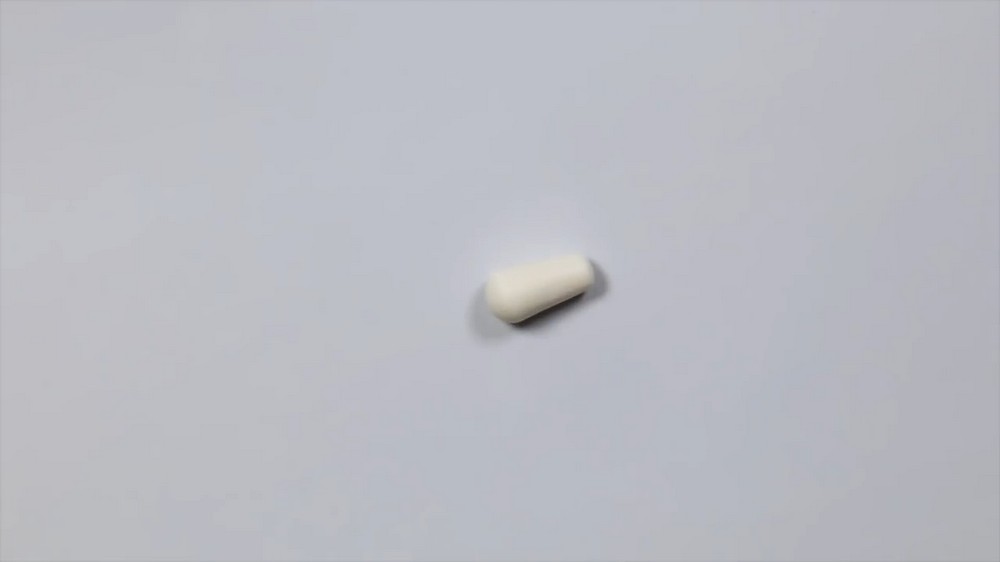
- Roll more white clay into a long teardrop shape for each arm.
- Cut off the narrow end to create a flat surface for attaching to the body.
b. Attach and Pose
- Position arms so they are resting on Bao’s head, as if Bao is raising his arms in excitement.
- Gently press and blend where the arm meets the body for a secure and smooth look.
Tip:
Let the arms curve naturally—no need for perfect symmetry. Personality is key!
5. Make Legs
a. Shape Each Leg
- Roll white clay into a fat cylinder for each leg.
- Cut off the ends to keep them flat.
b. Attach Legs
- Place legs underneath Bao’s body, below the arms.
- Press to secure and gently round the bottom for a cute appearance.
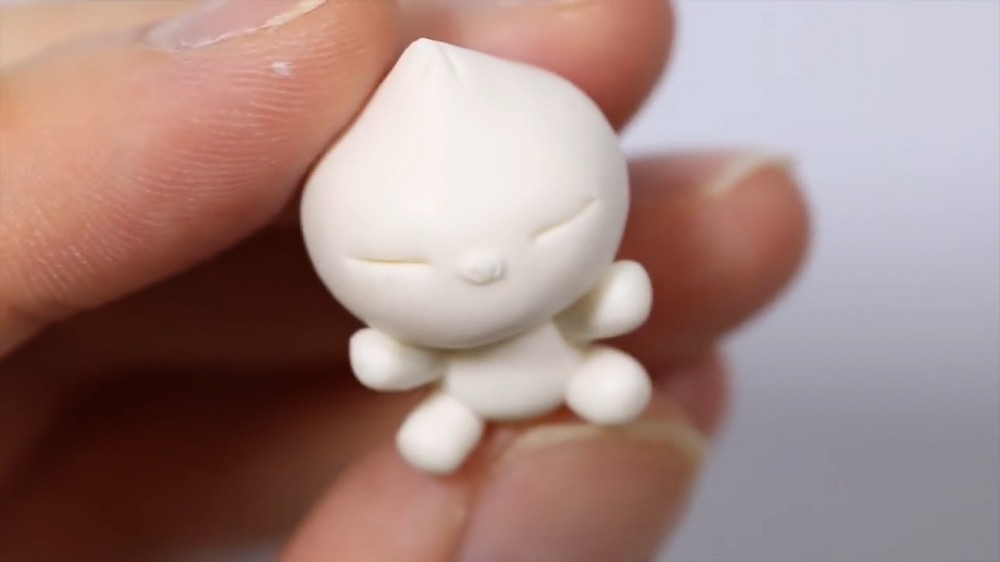
6. Add Facial Details
a. Make Nose
- Roll a tiny oval of white clay and press it gently onto the middle of the face for Bao’s nose.
b. Make Nostrils
- With your clay blade or a toothpick, create two small slanted lines at the bottom of the nose for nostrils.
c. Make Eyes
- Use your blade to make two small, long slits along the sides of the nose for eyes.
- Eyes in Bao’s style are just simple curved lines, not dots.
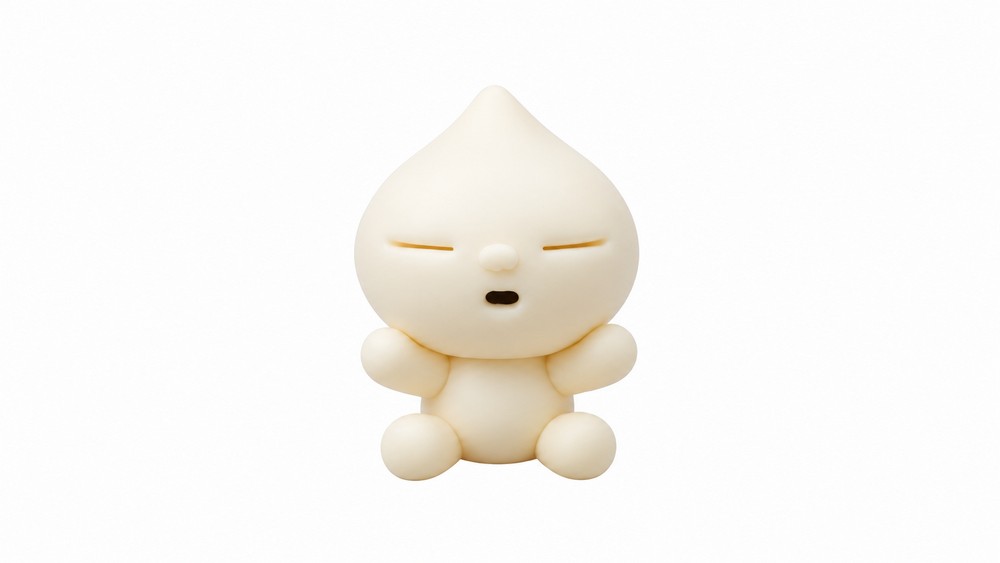
7. Make the Mouth
a. Indent the Mouth Area
- Use a dotting tool to create an oval-shaped indent underneath the nose (in the middle of the dumpling’s face).
b. Fill with Brown Clay
- Press a small ball of brown clay into the indent to make Bao’s mouth.
- Use the dotting tool to gently spread the brown clay into an oval shape (for the open mouth).
8. Final Details & Customization
- Optional:
Use brown or black acrylic paint to accent the eyes, nostrils, and mouth for a bolder look. - Leave Bao as-is for a matte finish, or apply a thin layer of glaze or UV resin for a shiny effect.
9. Bake Your Bao Figure
- Place Bao carefully on your baking tray or ceramic tile.
- Bake according to your clay’s instructions—usually 110–130°C (230–265°F) for around 30 minutes.
- Allow to cool completely before handling or glazing.
Beginner Tips
- Getting the Head Right:
Flatten gently, pinch the tip, and make slanted creases—don’t overwork the clay, or your dumpling will lose detail. - Soft Transitions:
Use your finger to blend limbs and body together, for a soft, plushy appearance. - Sculpting the Mouth:
The mouth indent can be oval or slightly tear-shaped, and filling with brown clay gives a cute, expressive look. - Eye Details:
Eyes are just small slits, giving Bao a sweet, sleepy look—paint can help define if you want more contrast. - Glazing or Painting:
Bao looks adorable matte or glossy; paint adds extra pop for the eyes/nostrils but is optional.
Conclusion
Enjoy your adorable polymer clay Bao dumpling! Now you have a cute figure inspired by Pixar’s short, perfect for your collection or as a gift. Adjust the face or pose to match your favorite moment from the film, and personalize as you like.
This is a wonderful project to celebrate Pixar’s first Disney short directed by an Asian American woman—a fun milestone and a charming craft! Let your creativity shine and try making other characters or scenes from “Bao.”