Play with bold red, white, and blue using Polymer Clay Firecracker Popsicle, plus DIY Ideas for a cheerful miniature treat to display on your favorite shelf.
Red, white, and blue are easy to spot from across a room, especially when they appear in a familiar frozen-treat shape. DIY Polymer Clay Firecracker Popsicle turns those three colors into a cheerful miniature that will never melt.
Featured By: PolymomoTea
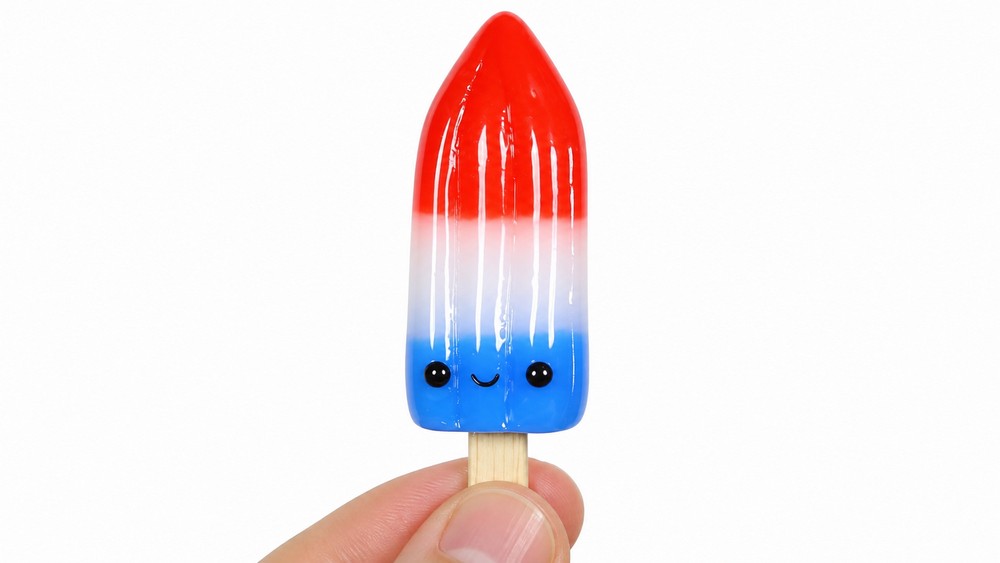
The design is based on the classic rocket-shaped ice pop, with a pointed red top, a white middle, and a blue lower section. A tiny wooden-looking stick at the bottom finishes the look. You can keep the surface smooth for a neat style or work in a few gentle lines to give it the feel of a real popsicle.
Cute DIY Polymer Clay Firecracker Popsicle
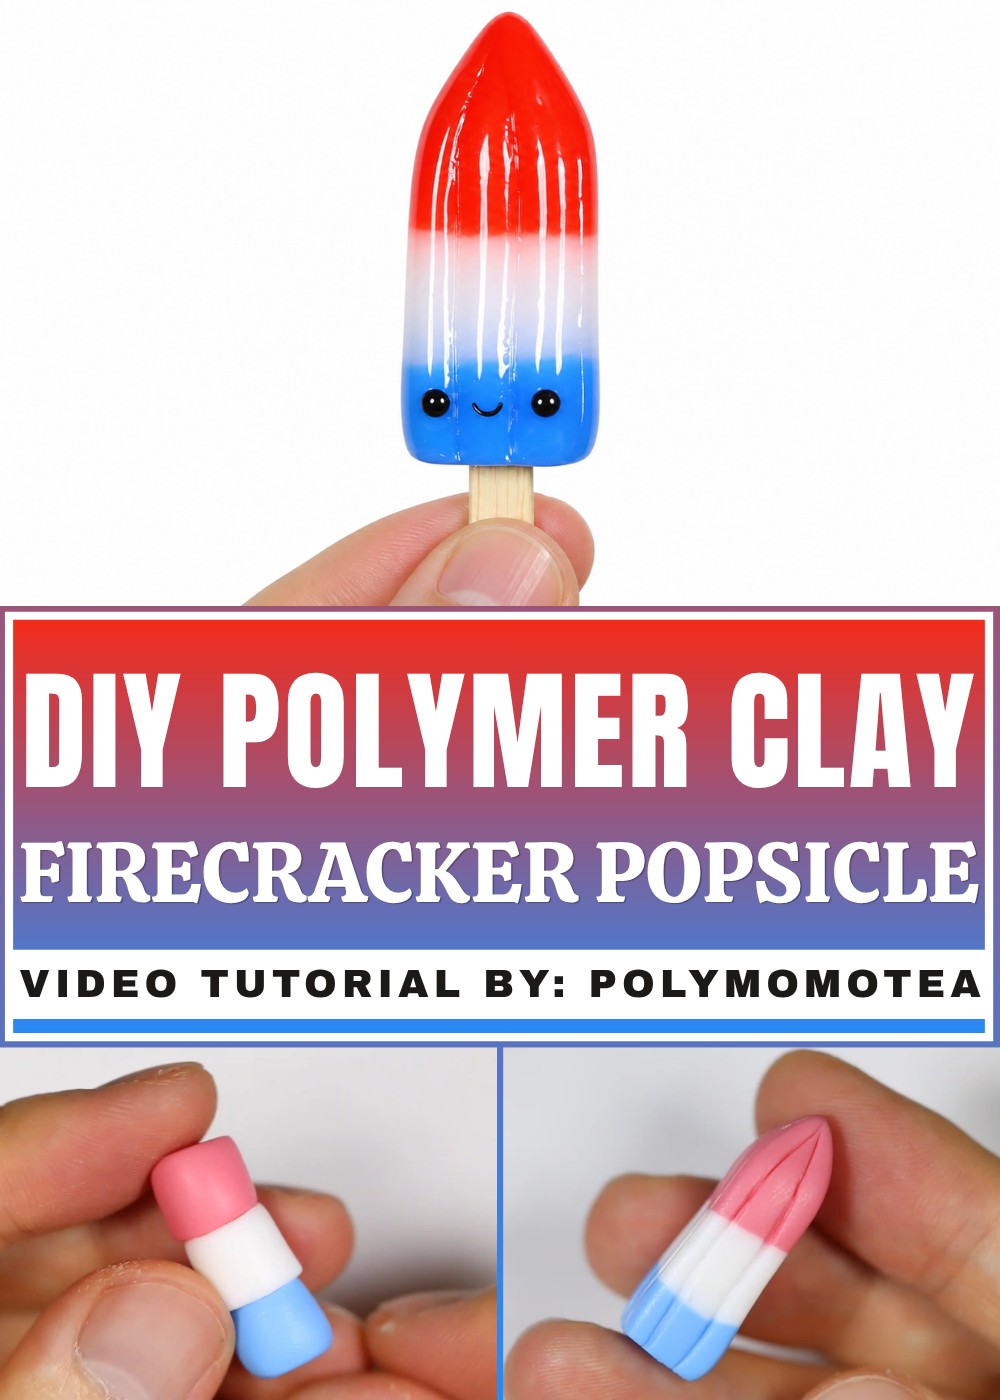
Begin with three small pieces of polymer clay and shape each section separately. Join them carefully so the colors meet in clear bands. Keep the outline slightly narrow near the tip, then press a little stick into the base before finishing according to your clay's instructions. A small size is enough to show the full design without taking up much space.
For colorful DIY Ideas, this miniature has a light and happy look. It can sit on a party table, brighten a tiny food display, or become a fun fridge magnet with suitable hardware. You could also use it as a pretend treat in a doll scene. Just remember that the finished clay piece is decoration, not food. Simple color blocks do most of the work here.
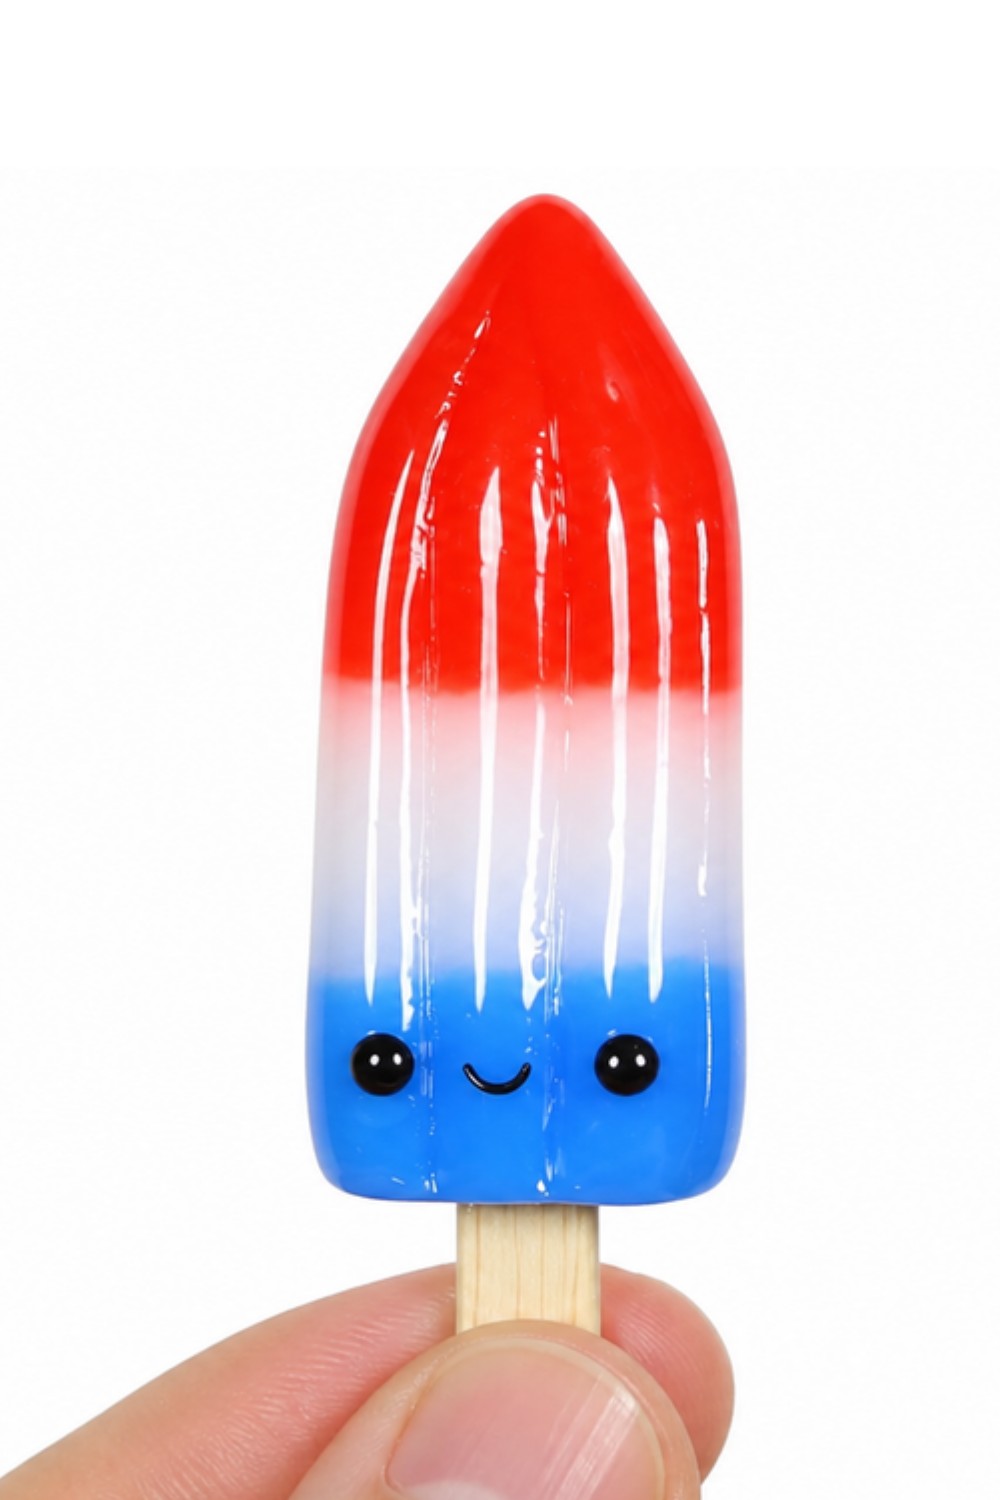
Firecracker Popsicle Charm Polymer Clay Tutorial
Hey everyone! This beginner-friendly tutorial teaches you to make a cute firecracker popsicle charm out of polymer clay, perfect for the Fourth of July or any summery occasion. With its fun red, white, and blue layers and sweet face, it’s a nostalgic treat turned tiny charm. This guide is easy to follow, with detailed explanations for each step so you can confidently make your own popsicle charm!
Essential Materials & Tools
Materials
- Polymer clay in these colors:
- Red translucent
- White translucent
- Blue translucent
- Fimo Sahara (light tan or any beige for popsicle stick)
- Black (or use a fine tip marker for facial details)
- Optional: UV resin or polymer clay glaze for shine
Tools
- Clay blade or craft knife
- Dotting tool or toothpick
- Old gift card, thick wedge, or a small sculpting tool
- Rolling pin, small bottle, or just clean hands
- Baking tray, parchment paper, or ceramic tile
- Oven (NOT microwave—use according to your clay’s instructions)
Step-by-Step Instructions
1. Make the Popsicle Stick
a. Shape the Stick
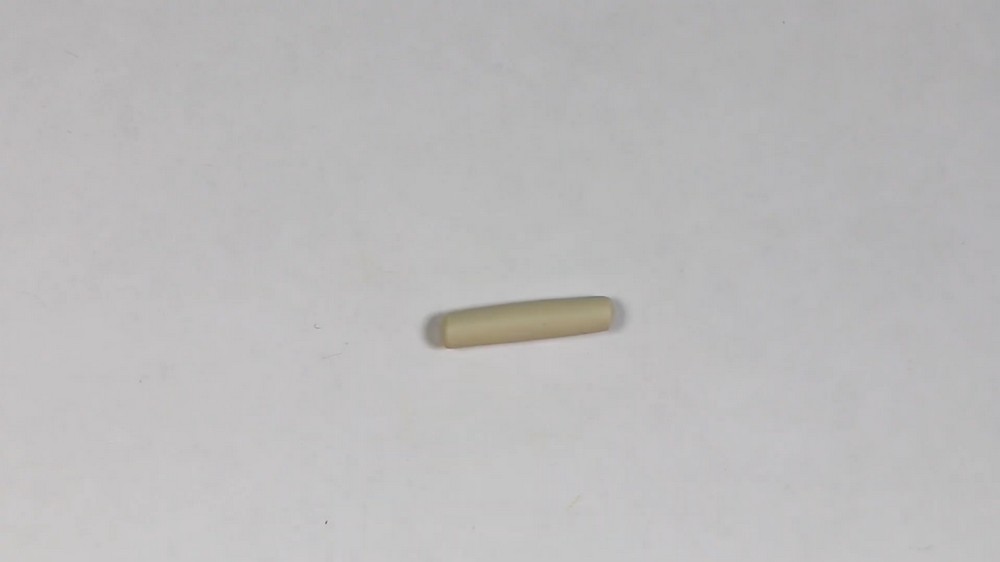
- Take a small piece of Sahara or beige clay and roll it into a short cylinder (like a thick pencil).
- Flatten it gently between your fingers. You want it to look like a popsicle stick—flat and rounded.
b. Add Wood Texture
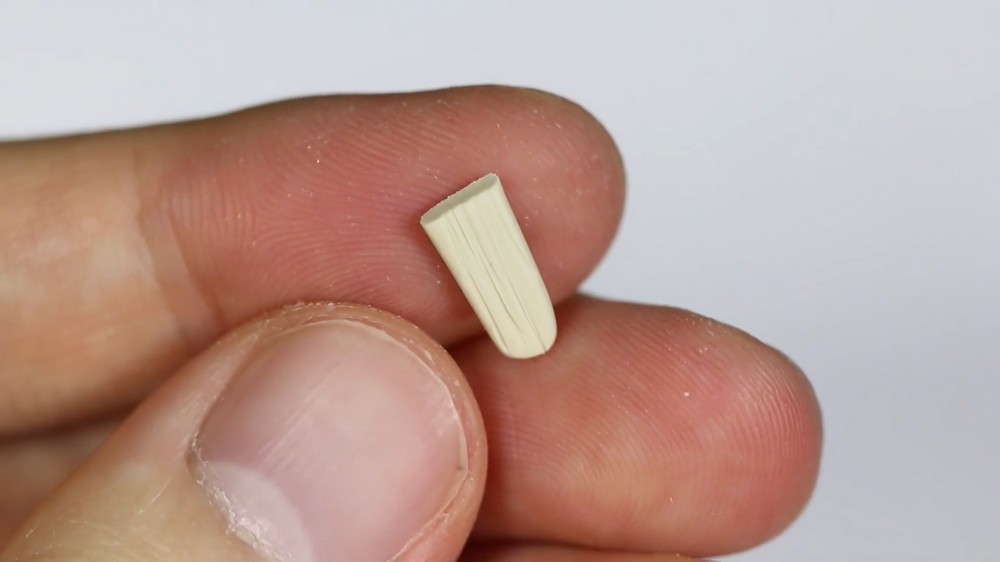
- Use your clay blade (or a toothpick) to gently etch wood-like lines and patterns onto the stick. These small grooves make it look realistic.
- Cut off one end so it’s flat, which will help it fit securely into your popsicle later.
2. Prepare the Popsicle Layers
a. Roll Clay “Cans”
- For red, white, and blue sections:
- Roll each color (red translucent, white translucent, blue translucent) into separate thick, short cylinders, roughly equal in size.
- Cut off each end so you have three fat, tidy cylinders ("cans").
b. Stack the Layers
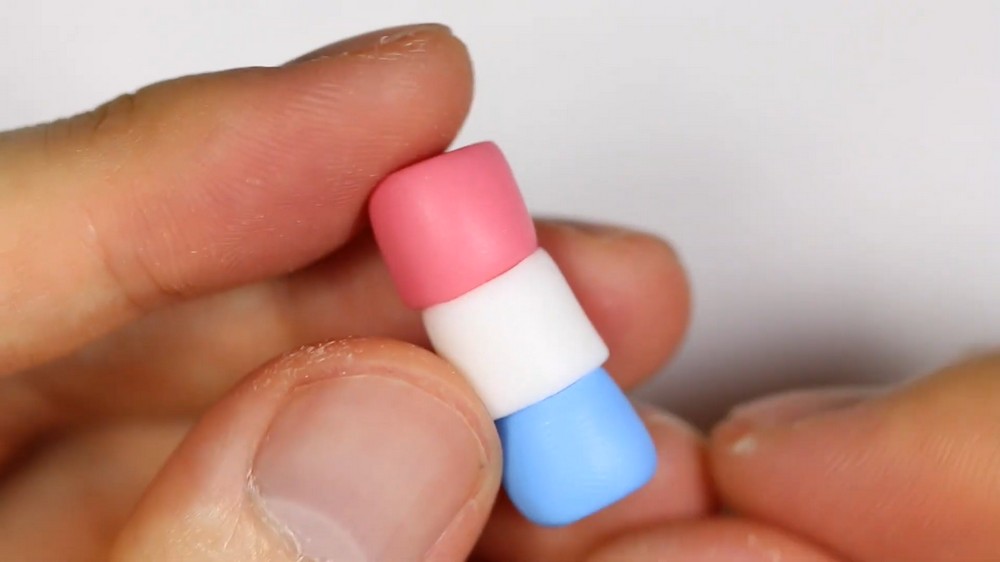
- Arrange them with red on top, white in the middle, and blue on the bottom like the traditional firecracker popsicle.
- Stack them carefully so the edges line up as much as possible.
c. Blend and Roll
- Roll the stacked cylinders gently together to blend them into a single striped popsicle shape.
- You want it to look like a blocky, three-colored piece.
3. Shape the Popsicle
a. Square Up the Popsicle
- Using your blade, flatten one side, then rotate the popsicle 90 degrees and flatten again.
- Continue rotating and flattening until it forms a nice squared-off shape, like a real popsicle.
b. Perfect the Shape
- Use your fingers to pinch and shape the edges so it really looks like a square popsicle, not just a cylinder. Pay attention to the corners.
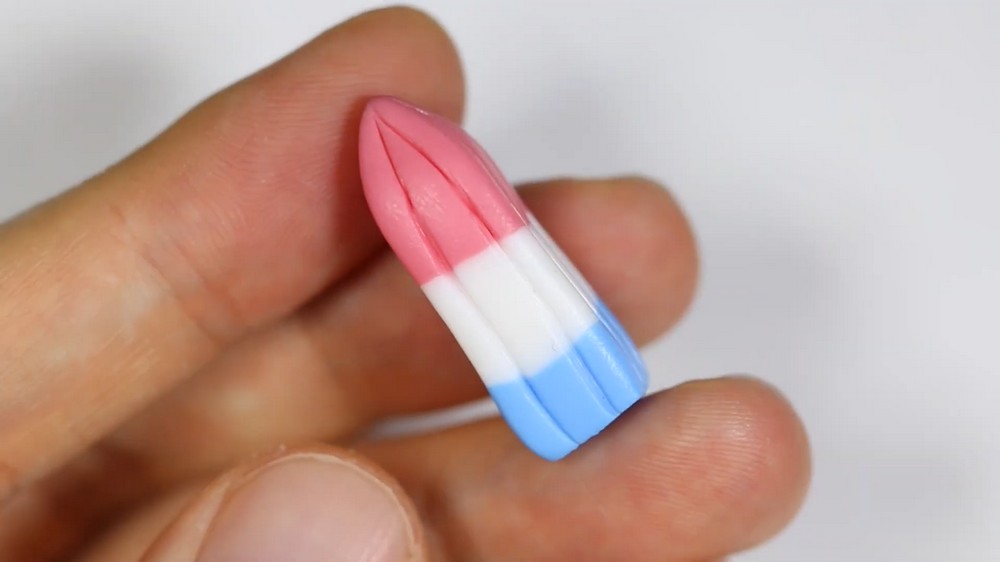
c. Form the Triangle Top
- Gently pinch about half of the red layer at the top to make it into a pyramid shape.
- This subtly matches the classic firecracker popsicles with their pointed red tops.
4. Add Popsicle Texture and Stick
a. Carve Indent Lines
- Using your blade, make shallow rough indents where the popsicle has lines (vertical grooves).
- Use a gift card, thick wedge, or small sculpting tool to define these indents more deeply.
- Do this on all four sides, regularly spaced.
b. Create Hole and Attach Stick
- With your dotting tool, make a rectangular-shaped indentation at the very bottom of the blue layer.
- Press the flat end of your popsicle stick into this spot so it fits snugly.
5. Add the Cute Face
a. Add Eyes
- Roll two tiny balls of black clay or use a dotting tool to apply two small black dots for eyes.
- Place them in the white section, evenly spaced, a little above the stick.
b. Add Smile
- Option 1: Roll a thin snake of black clay, curve it, and gently press this under the eyes for a smile.
- Option 2: After baking, use a fine-tip permanent marker to draw a curved line smile.
6. Baking
- Place your popsicle charm on a baking tray (lined with parchment or ceramic tile).
- Bake according to your polymer clay’s instructions, usually 110–130°C (230–265°F) for about 30 minutes.
- Allow to cool completely before handling.
7. Glazing (Optional)
- To make your charm shiny and durable, apply a thin layer of UV resin or a polymer clay-safe glaze.
- If using UV resin, cure under UV light as directed.
- With other glazes, let them dry fully before use.
Beginner Tips & Explanations
- Translucent Clay:
Using translucent clay for the popsicle layers makes it look icy and realistic after baking, just like the real treat. - Face Placement:
Position facial features close together for a “chibi” cute style—eyes wide apart will look less cute. - Texturing:
Wood grain lines on the stick and grooves on the popsicle add detail. You don’t need to be perfect; even rough indents make a big difference. - Shape the Popsicle:
The firecracker popsicle has a slightly pyramidal red top, squared-off sides, and a flat blue bottom. Use your blade to help create the crisp corners and lines. - Stack Carefully:
When stacking colored clay layers, press gently so you don’t distort the shape, and roll only enough to blend without smearing colors. - Glazing:
Glazing brings out the shine in translucent clay and protects your charm, but is optional.
Making a Charm or Keychain (Optional)
If you want your firecracker popsicle to be a charm:
- Add a screw eye pin at the top before baking, or drill a small hole after baking for attaching jewelry findings.
Conclusion
Your firecracker popsicle charm is now ready! You’ve made something fun, summery, and nostalgic, just in time for the Fourth of July. The red, white, and blue stripes, realistic textures, and cute face all come together in your finished piece.