Show your love for BT21 with Polymer Clay Bt21 Tata, and find DIY Ideas for shaping its big heart-shaped head and fun little body for a colorful room display.
Big shapes and strong colors can say a lot without much decoration. That is why DIY Polymer Clay Bt21 Tata stands out as a fun project for fans of cute character figures. Tata has a large red, heart-shaped head and a small blue body with yellow spots. The contrast between the oversized head and narrow body gives the character its unusual style. A simple face keeps the design easy to recognize, while the long arms and legs help the figure appear playful. It is a lovely subject for anyone who prefers bold shapes over very fine details.
Featured By: PolymomoTea
Tiny DIY Polymer Clay Bt21 Tata With Steps
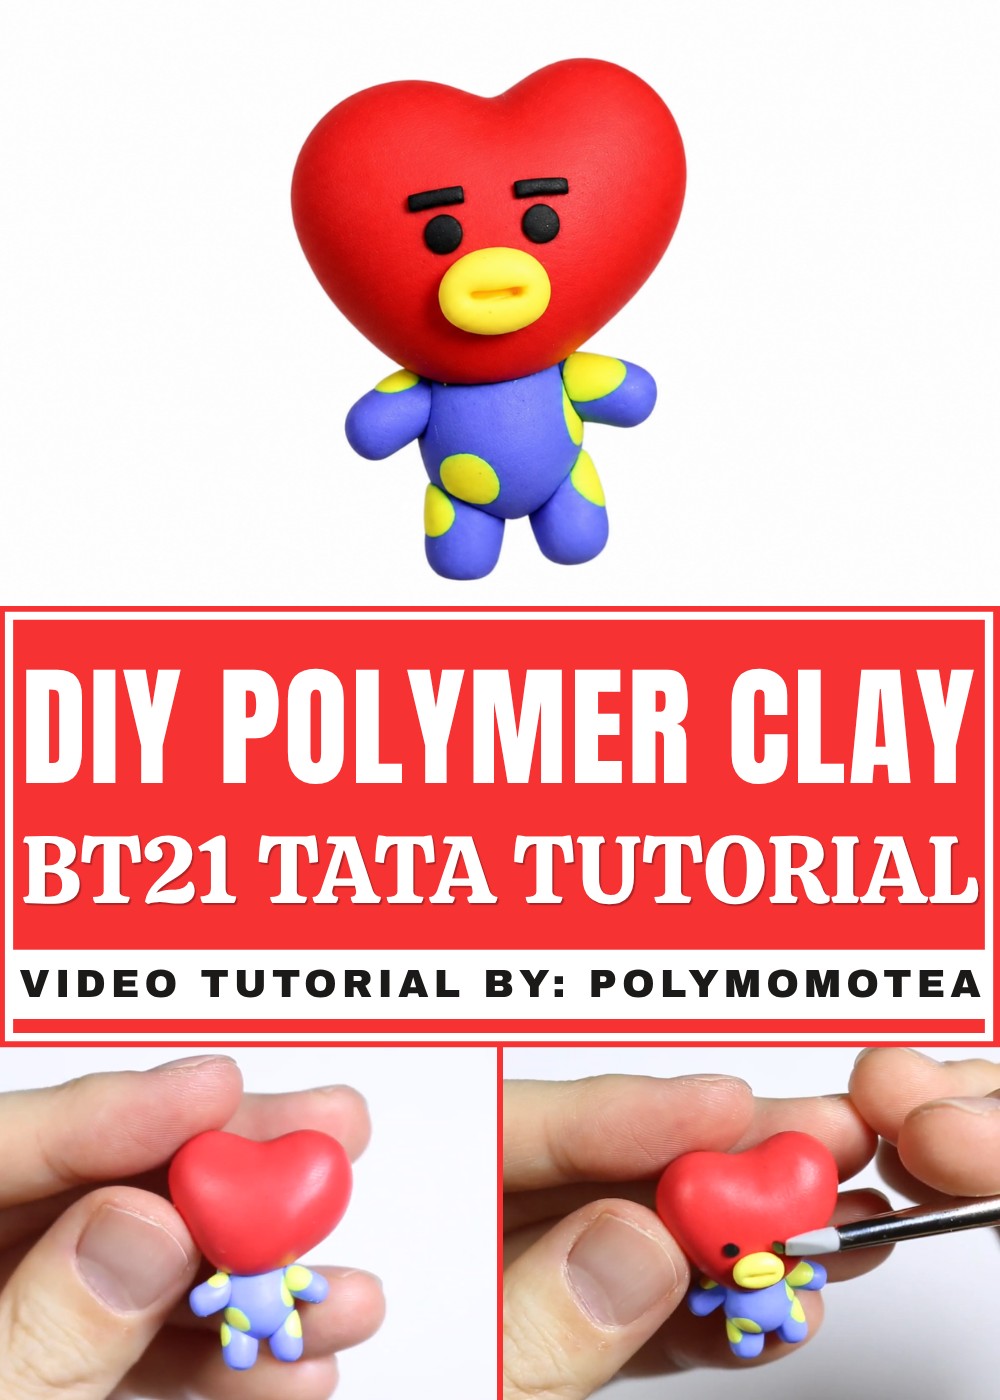
For the head, shape red clay into a soft heart, keeping the top rounded rather than pointed. Form the blue body separately, then add small yellow spots. Attach thin limbs and place the face carefully, checking the proportions before finishing. You can support the figure while working so the larger head stays in position. Follow your clay's package directions for curing.
This project fits nicely among fan-inspired DIY Ideas because it feels colorful without needing extra decoration. Stand Tata beside other BT21 characters, place it near a music collection, or use it as a small shelf accent. Fans may also appreciate it as a personal birthday present. The heart-shaped head gives the figure a friendly look, while the small body keeps the whole piece light and charming.
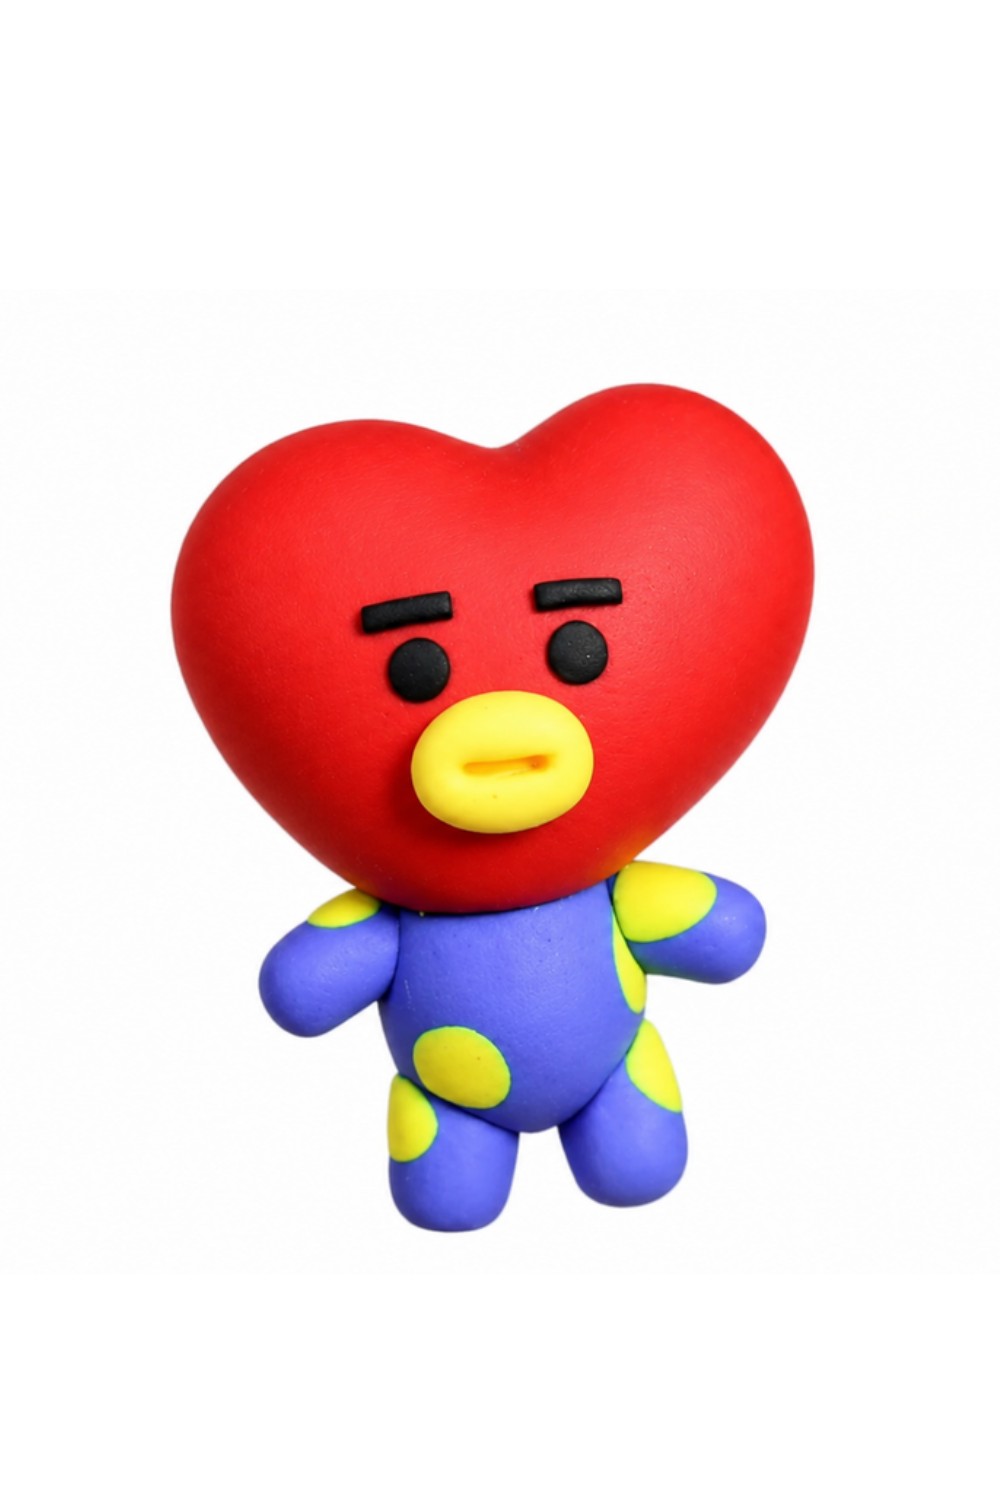
Tata (BT21) Polymer Clay Figure Tutorial
In this installment of the BT21 series, you’ll learn to make Tata, the super curious character from the planet BT. Tata has a red heart-shaped head, a blue body with yellow dots, and expressive facial features. This guide is straightforward and beginner-friendly, so anyone can follow and successfully create their own Tata figure!
Essential Materials & Tools
Materials
- Polymer clay in these colors:
- Red (heart head)
- Blue (body, arms, legs)
- Yellow (dots, mouth details)
- Black (eyes, eyebrows)
Tools
- Clay blade or craft knife
- Dotting tool or toothpick
- Rolling pin or clean fingers
- Baking tray, parchment paper, or ceramic tile
- Oven (DO NOT use a microwave; bake as per clay instructions)
Step-by-Step Instructions
1. Make Tata’s Heart-Shaped Head
a. Shape the Head
- Start with a ball of red clay.
- Pinch it gently into a triangle-like form.
- Press an indent in the middle at the top to create the two rounded lobes of a heart.
- Make one side slightly longer than the other for character—Tata's heart is a bit asymmetrical.
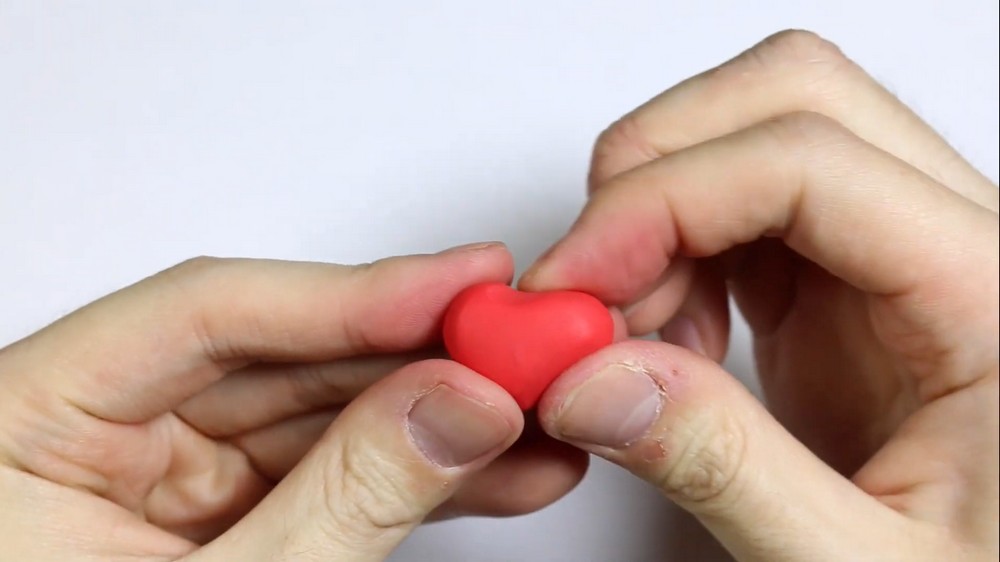
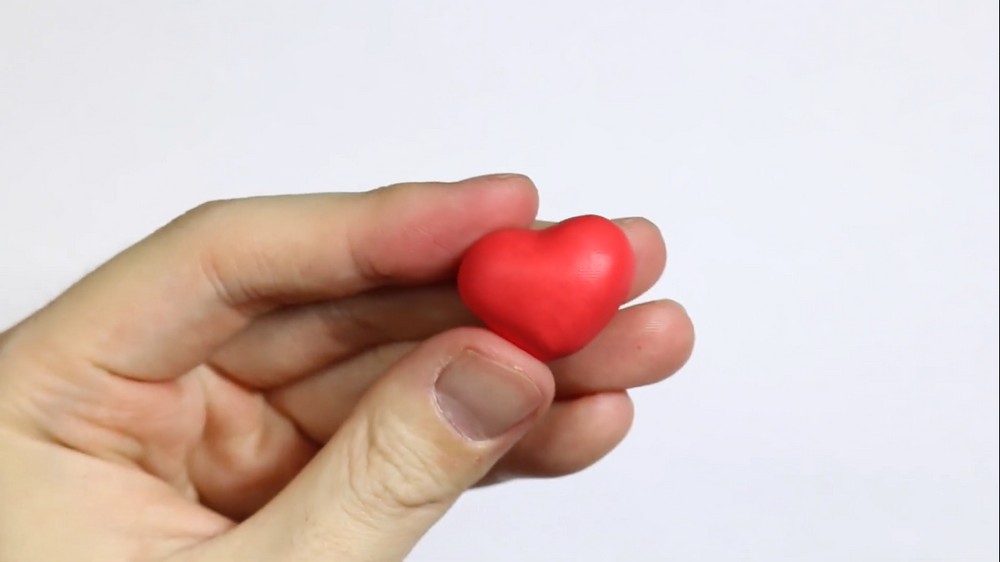
Explanation:
The heart shape is Tata’s signature feature. Pinching and making an indent helps you create that iconic look.
2. Make the Body
a. Shape and Decorate the Body
- Roll a chunk of blue clay into a fat cylinder.
- Take small balls of yellow clay and press them all over one end of the cylinder.
- Once you’ve decorated the end, roll the cylinder between your fingers gently to flatten and embed the yellow dots.
- Cut the end of the cylinder at a slant using your blade.
b. Attach the Body
- Press the blue cylinder firmly onto the bottom tip of the heart-shaped head, forming Tata’s distinct shape.
Explanation:
Tata’s body is dotted with yellow spots. Flattening the cylinder after dotting helps the spots look embedded, just like in the character design.
3. Make Arms and Legs
a. Shape the Limbs
- Roll out skinny cylinders of blue clay for arms and legs (each piece can be about the same length, adjust to your liking).
- Add tiny yellow dots to each limb, just like you did for the body.
- After adding the dots, roll the limbs gently to flatten and blend the spots with the blue.
b. Trim the Limbs
- Cut the ends of each limb at a slant. This helps them attach more securely and naturally to the body.
c. Make Four Limbs
- Create four limbs in total—two arms and two legs.
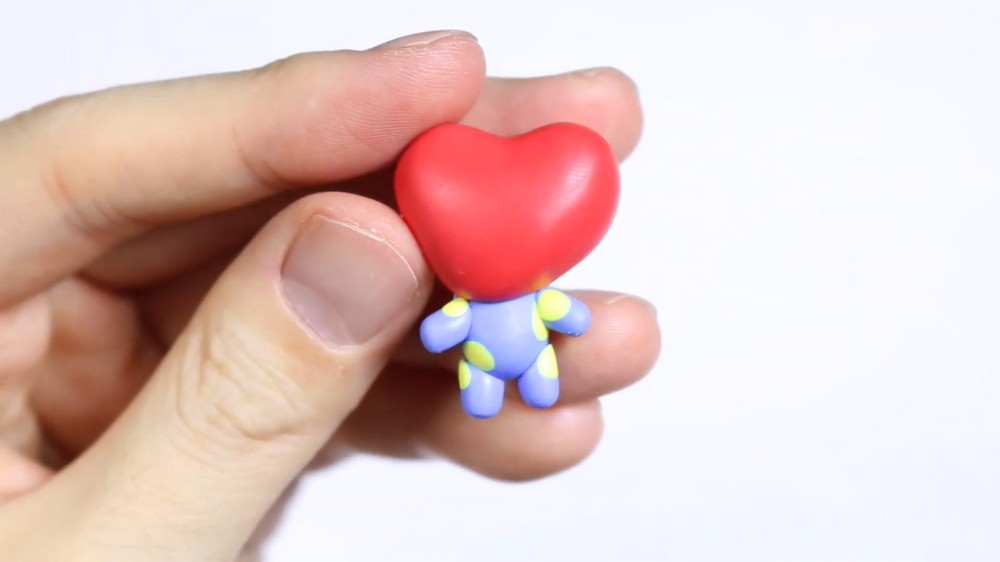
4. Attach Arms and Legs
- Position and firmly press the arms onto either side of the body and the legs onto the lower end.
- Blend and smooth the joints so Tata’s limbs look like they’re part of the body.
Explanation:
Cutting the ends at a slant before attaching makes it easier to get a snug, seamless fit.
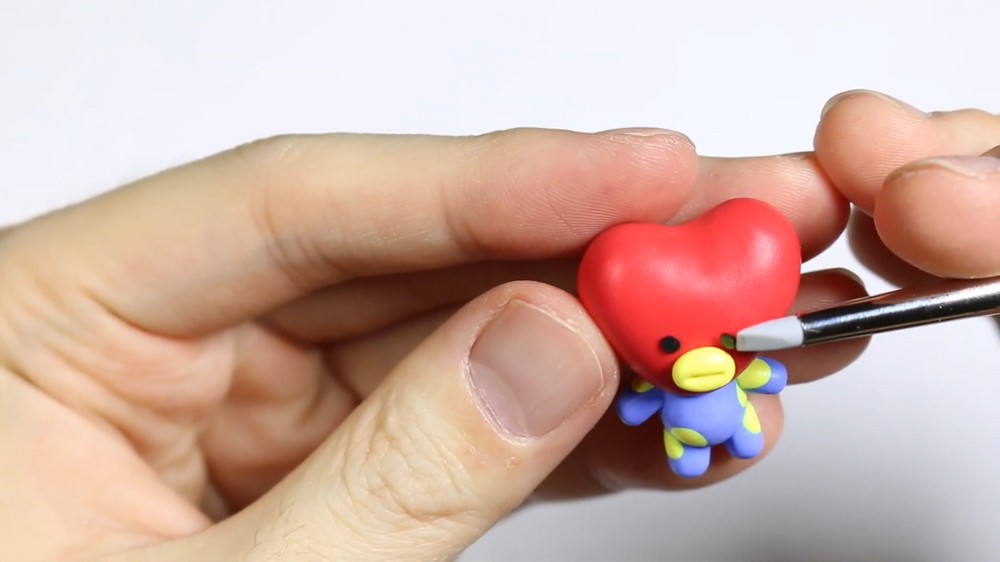
5. Add Tata’s Facial Details
a. Make the Mouth
- Roll a small piece of yellow clay into an oval shape and flatten it.
- Using your blade, add line indents across the oval to create a textured mouth.
b. Attach the Mouth
- Press the mouth onto Tata’s heart-shaped face, towards the lower part.
c. Make Eyes and Eyebrows
- Roll two tiny balls of black clay for Tata’s eyes, and press them above the mouth.
- Make two small rectangular strips of black clay for Tata’s eyebrows and place them above the eyes. Space them to show Tata’s curious expression.
6. Bake Your Figure
- Place your completed Tata figure on your baking tray or tile.
- Bake according to your clay’s instructions (usually 110–130°C / 230–265°F for about 30 minutes).
- Let cool completely before handling.
Safety Tip:
Always use a regular oven, not a microwave, and follow safety instructions for your clay brand.
7. Optional: Glazing and Final Touches
- If you want to add shine or durability, brush on a thin layer of polymer clay glaze once fully cooled.
- Allow glaze to dry per instructions before handling.
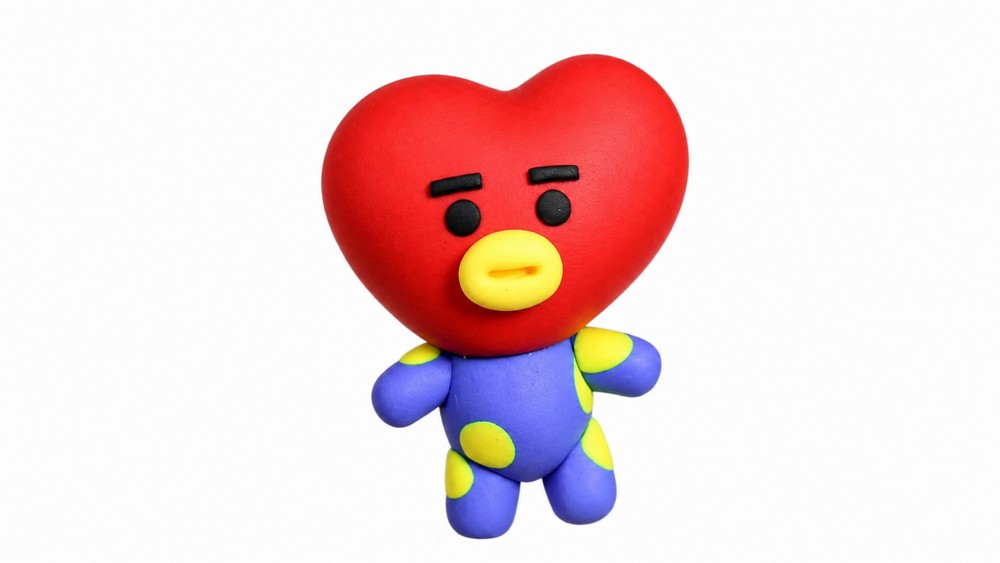
Explanations
- Face Placement:
Tata’s signature is his asymmetrical heart shape and expressive face. Eyes and mouth are close together for a “chibi” style. Eyebrows can be angled for a curious look. - Yellow Dots:
Use tiny balls for dots, and gently roll to embed them so they look smooth and neat. - Slant Cuts:
Cutting body and limb ends at a slant helps attach them without gaps. - Symmetry:
Tata is intentionally a little asymmetrical, so don’t stress if your shapes aren’t perfect! - Fix Smudges:
If colors transfer, use a clean tool or finger to smooth, or wipe gently before baking.
Conclusion
You’ve now made your very own Tata from BT21 with polymer clay! His heart-shaped red head, dotted blue body, and expressive face make him a fun, beginner-friendly project. Whether for your collection, as a charm, or gift—each Tata figure is unique and full of personality.