Add a touch of playful summer vibes to your accessory collection with a step-by-step tutorial for making a stylish pineapple charm bracelet using polymer clay.
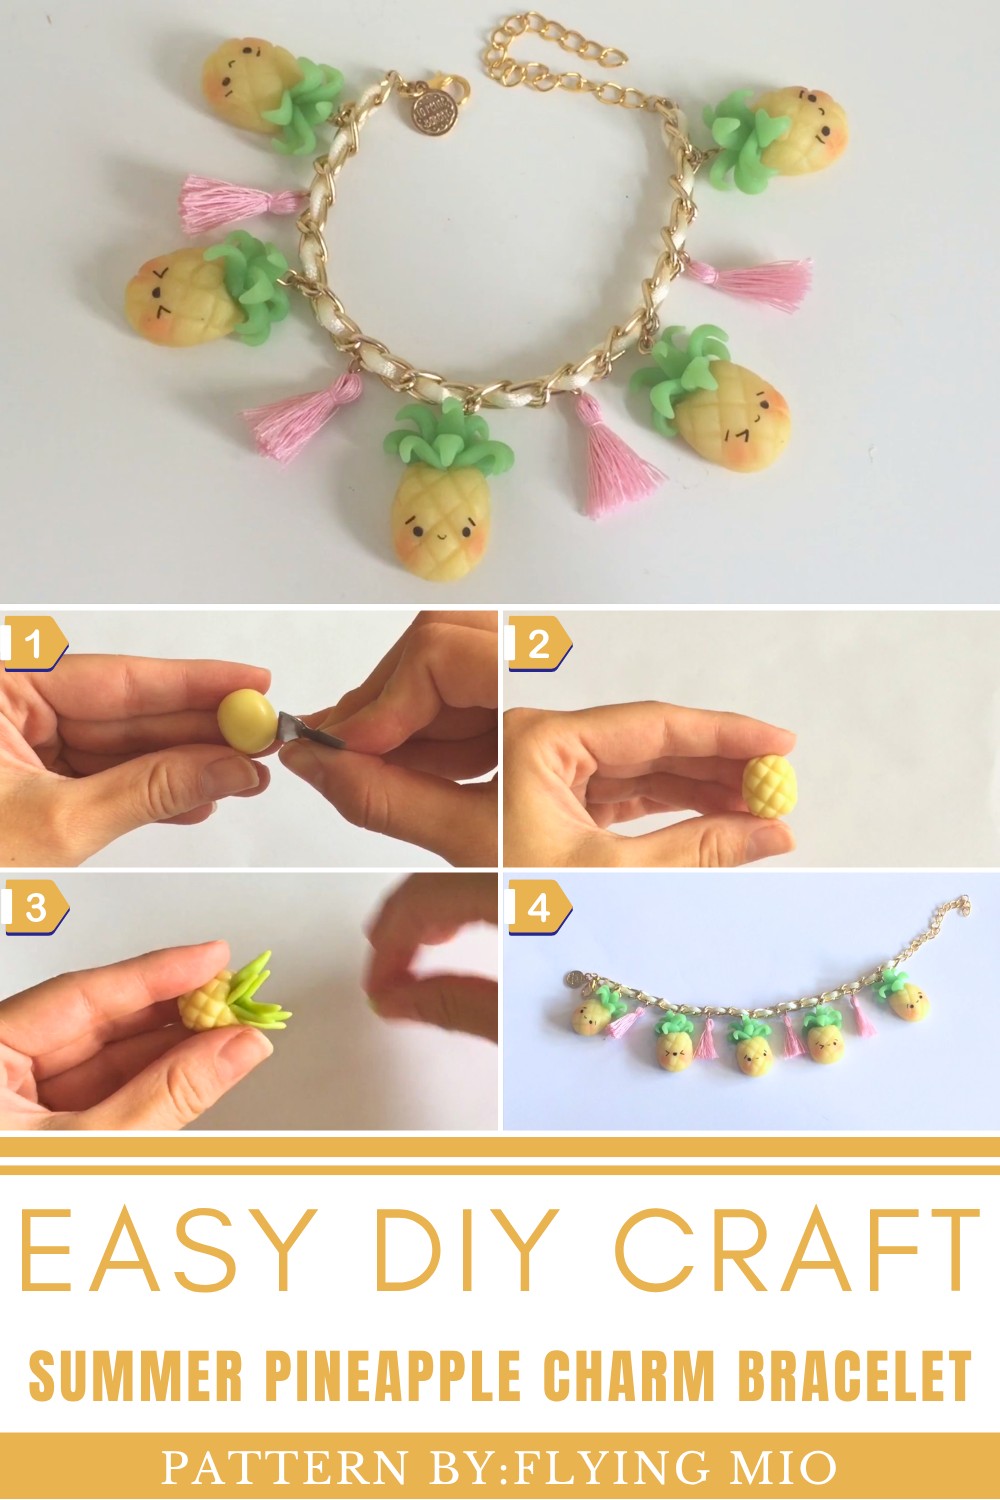
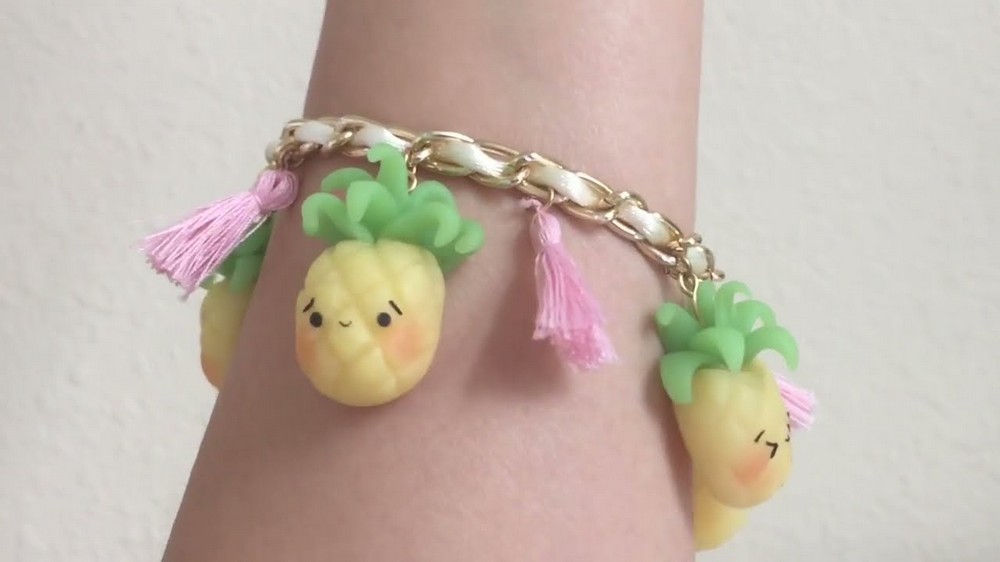
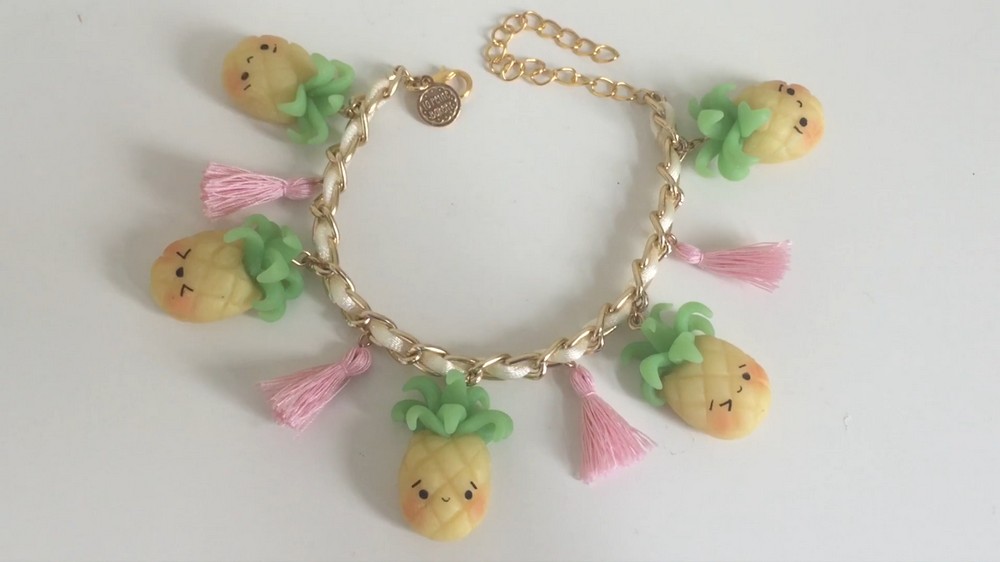
Bursting with tropical vibes and summer charm, this handcrafted bracelet instantly grabs attention with its lively design. The DIY Pineapple Charm Bracelet features tiny, adorable polymer clay pineapples adorned with expressive faces that range from sweet smiles to cheeky winks, making each charm brimming with personality. The cheerful yellow hues of the pineapples are perfectly accented by touches of greenery on top, while vibrant pink tassels add playful pops of color. Set on a gold chain, the bracelet strikes the perfect balance between fun and elegance, making it a stylish accessory for sunny days or as a thoughtful, handmade gift for loved ones.
How to Make a Pineapple Charm Bracelet with Polymer Clay
Flying Mio, the designer behind this delightful creation, is known for her imaginative and easy-to-follow crafting tutorials. Check out her YouTube channel Flying Mio for more inspiring DIY designs that celebrate creativity and fun!
Unique Points of the DIY Pineapple Charm Bracelet
The DIY Pineapple Charm Bracelet stands out for its playful and creative character, making it a must-have for those who love unique accessories with a touch of whimsy. Some of its distinctive features include:
- Charming Pineapple Design: The handcrafted mini pineapples, each with expressive and adorable faces, bring a burst of personality to the accessory. These tiny details make the bracelet truly one-of-a-kind.
- Vibrant Color Palette: The combination of cheerful yellow pineapples, lush green touches, and bright pink tassels creates a lively and eye-catching aesthetic that pairs well with casual summer outfits.
- Perfect Balance of Fun and Elegance: Set on a delicate gold chain, the bracelet combines playful elements with a sophisticated touch, making it versatile enough for both everyday wear and special occasions.
- Handmade Appeal: The charm of a handmade item makes this bracelet particularly meaningful—it’s not just another accessory but a celebration of creativity and care.
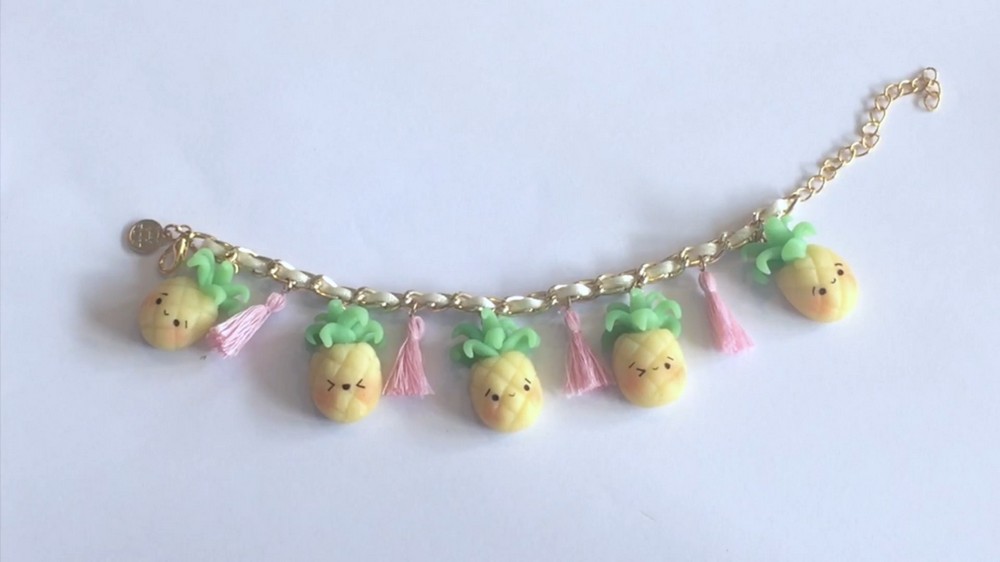
How to Make a Polymer Clay Pineapple Charm Bracelet – Step-by-Step Beginner’s Guide
Get ready to create a fun and colorful craft perfect for the summer season! In this tutorial, we’ll make adorable pineapple charms using polymer clay and assemble them into a lively bracelet. Whether you love tropical vibes or just want a unique handmade accessory, this DIY project is easy to follow and perfect for beginners. Let’s dive into the fruity fun!
Materials You’ll Need
For the pineapple charms:
- Polymer clay (light translucent yellow for the pineapple body, lime green for the leaves, black for the eyes, optional red pastel for blush)
- A blade or clay sculpting tool
- An eyelid or jump rings (for charm attachment)
For the bracelet:
- Gold chain
- Ribbon or special melting string (optional, for weaving into the chain)
- Lighter (optional, for melting string ends)
- Sewing thread (pink if you'd like to make tassels)
Step 1: Crafting the Pineapple Body
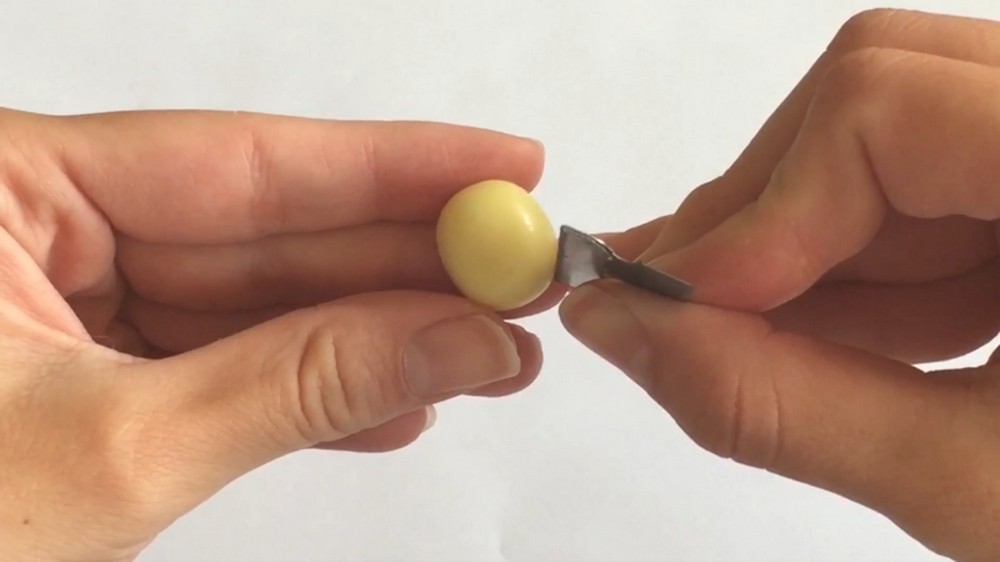
- Start with yellow polymer clay. Shape it into a small oval to represent the body of your pineapple.
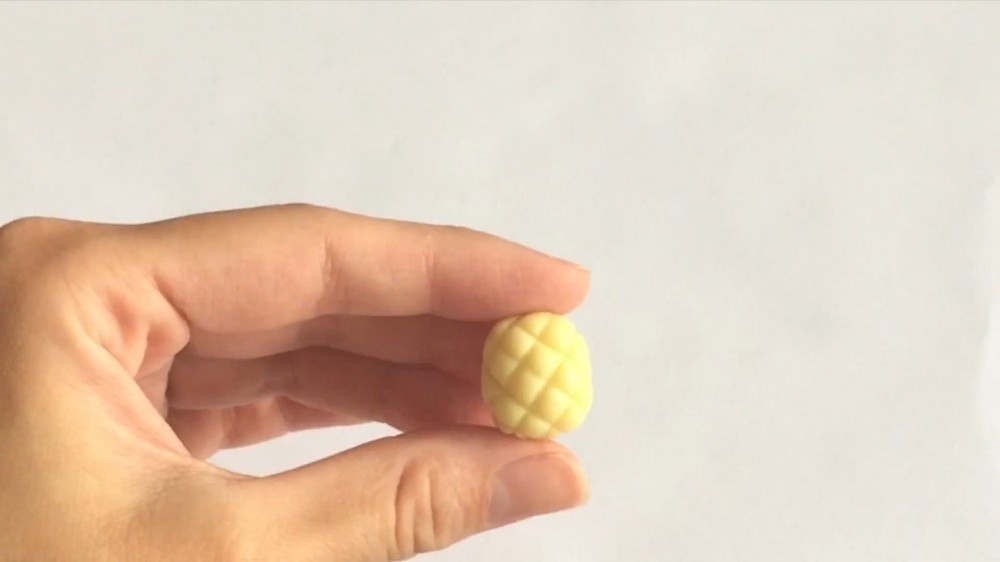
- Use the back of a blade or a clay sculpting tool to create crisscross marks on the pineapple. Start by etching diagonal lines evenly spaced apart. Then, rotate the pineapple 90° and carve parallel diagonal lines in the opposite direction. This creates the characteristic pineapple texture.
Step 2: Adding the Pineapple Leaves
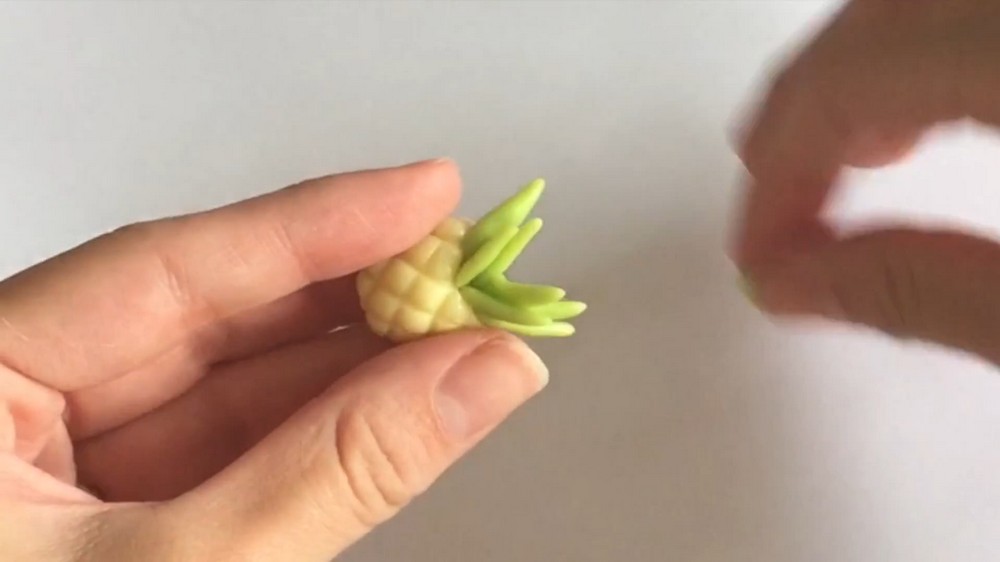
- Take lime green polymer clay and form several small teardrop shapes for the leaves. Ensure each shape has a point at one end and is slightly rounded at the other.
- To attach the leaves to the body, cut off a small triangular wedge from the top of the pineapple. This creates a space where you can place the leaves neatly.
- Stagger and layer the leaves on top of the pineapple, arranging them in two or three layers for a natural look. Adjust their angles and gently curl the tips downward for realism.
Step 3: Adding a Face to Your Pineapple
- Insert an eyelid (if you plan to make charms) at the top of the pineapple for attachment. If you’re making these simply for decoration, skip this step.
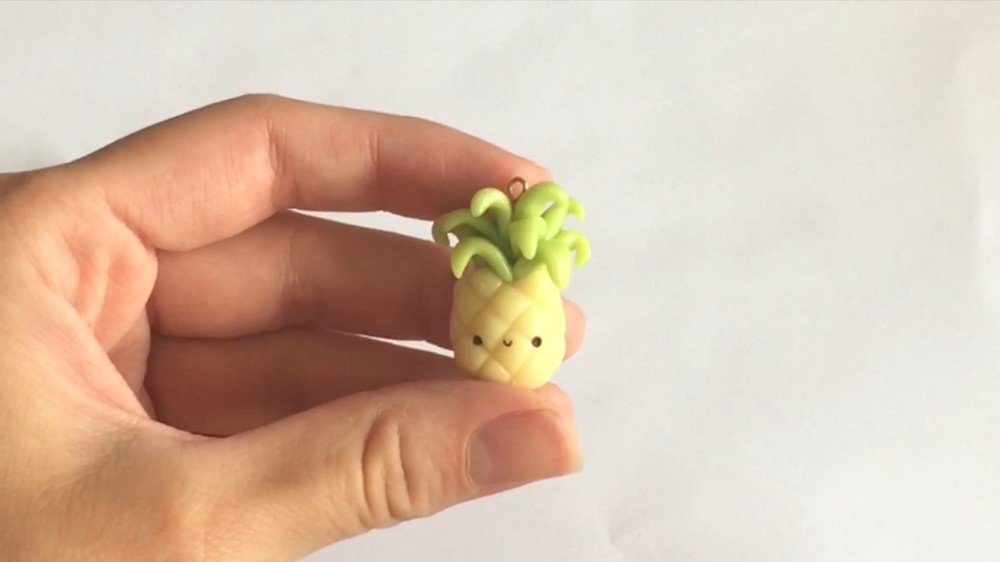
- Roll two tiny balls of black polymer clay and press them gently onto the pineapple to create the eyes.
- For added detail, lightly brush red pastel chalk underneath the eyes to mimic a blush effect. If you don’t have pastel chalk, you can use a tiny amount of red clay or paint for the same result.
Step 4: Baking the Charms
- Preheat your oven to 250°F (or follow your polymer clay brand’s specific baking instructions).
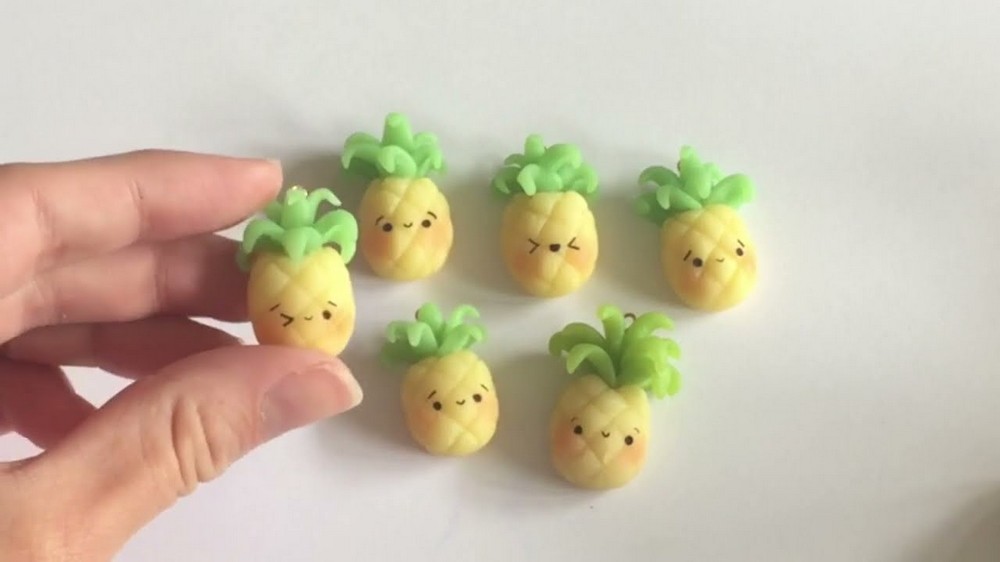
- Once your pineapples are completed with their designs, place them on a baking tray lined with parchment paper and bake for around 20 minutes.
Step 5: Creating a Charm Bracelet
- Take a gold chain of your desired length. You’ll be attaching the pineapple charms to this chain with eyelids or jump rings.
- To add extra flair, take a piece of colorful sewing string or ribbon and weave it in and out along the length of the chain. If you choose a special string with plastic inside, you can gently melt the ends with a lighter to secure it in place. If using ribbon, tie knots at both ends so that it doesn’t unravel.
Step 6: Making Tassels (Optional)
- To give the bracelet a fuller look, make small tassels with pink sewing thread. Wrap the thread around your fingers several times, tie off the top, and trim the bottom to create evenly spaced threads.
- Attach each tassel to the bracelet using a jump ring. Place them between the pineapple charms for a nice contrast.
Step 7: Assembling the Bracelet
- Attach each pineapple charm to the gold chain using jump rings or the eyelids inserted earlier.
- Position the charms and tassels evenly to balance the look of the bracelet.
Step 8: Customizing Your Pineapples
Feel free to let your imagination run wild! Add creative faces to your pineapple charms—make some wink, smile, or look surprised. Experiment with different expressions to give your bracelet personality.
And there you have it—your unique pineapple charm bracelet is ready to enjoy! With its fun design and summer vibes, this craft is sure to be a hit whether you wear it yourself or gift it to someone. Let your creativity shine as you make your own cheerful creations.