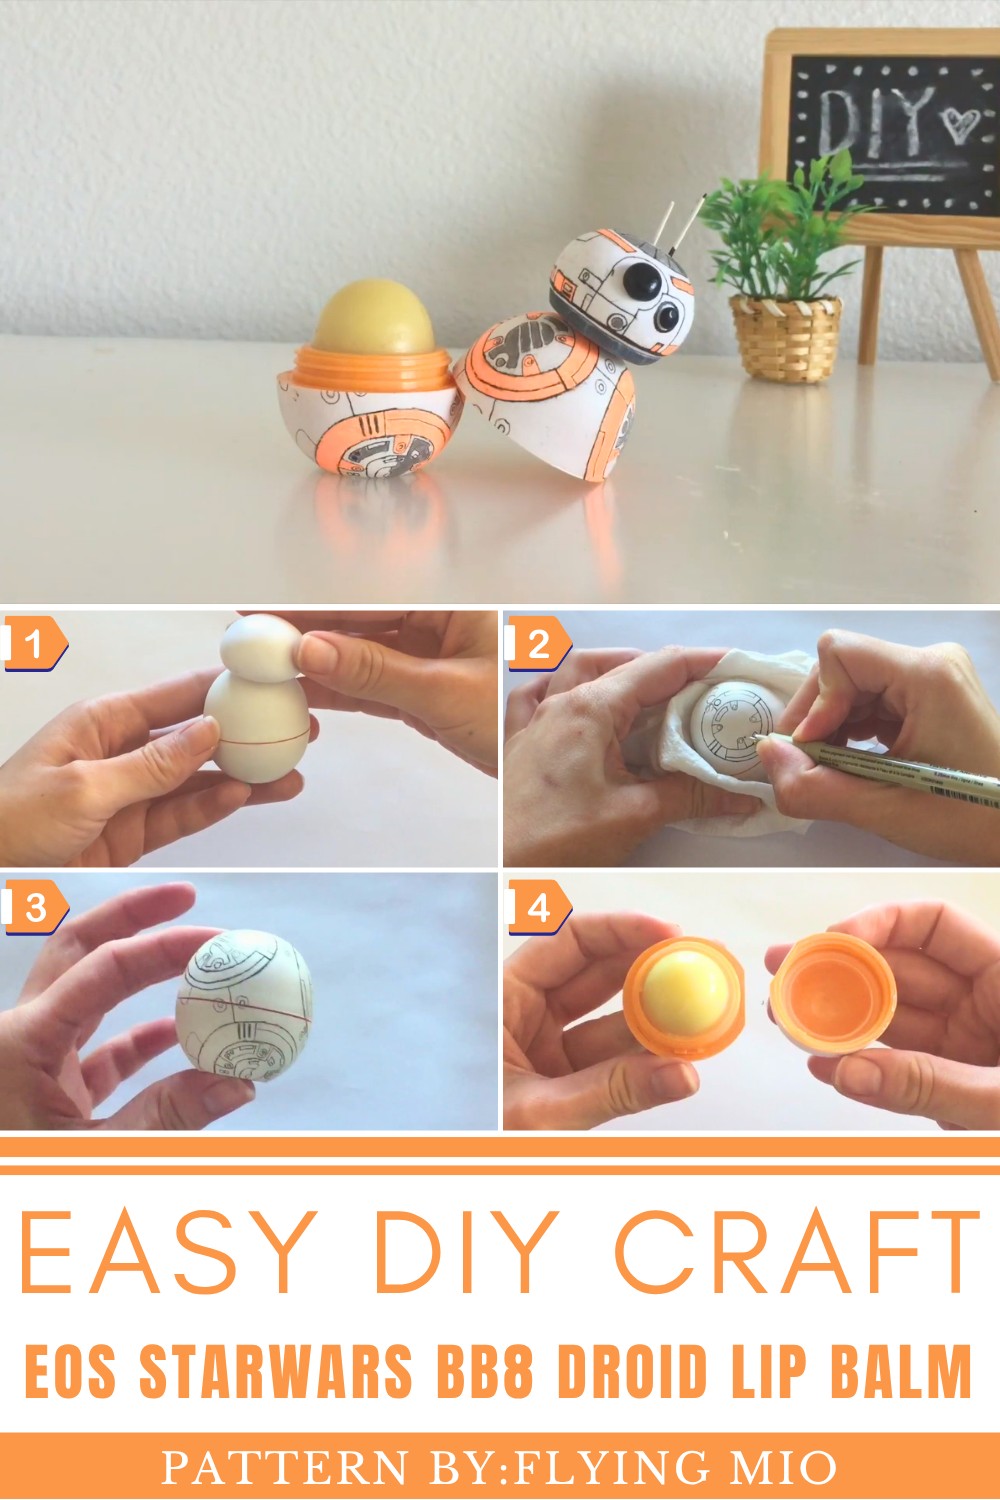
Give your EOS lip balm a Star Wars twist with this BB8 droid-inspired design, an exciting and simple DIY project for fans of all ages.
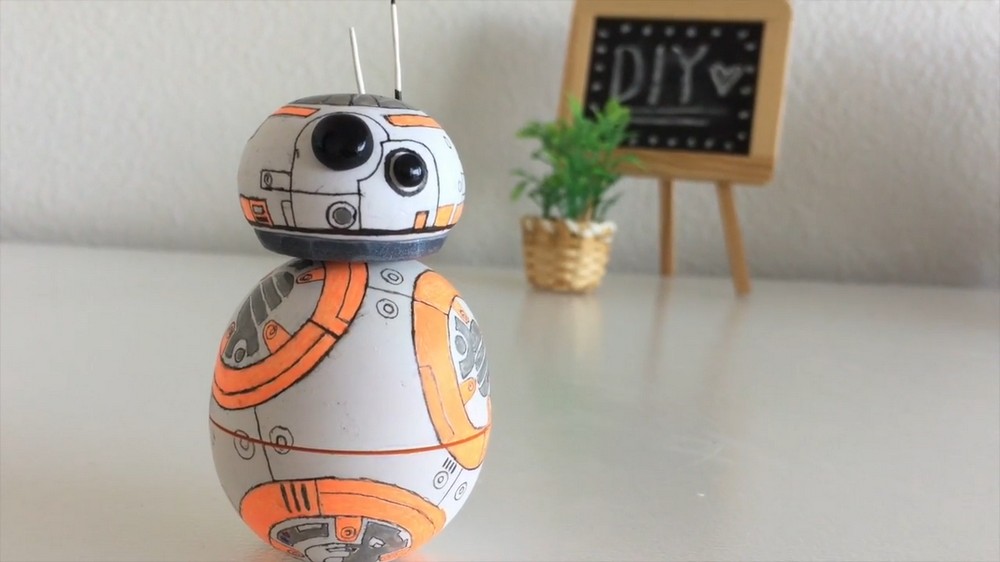
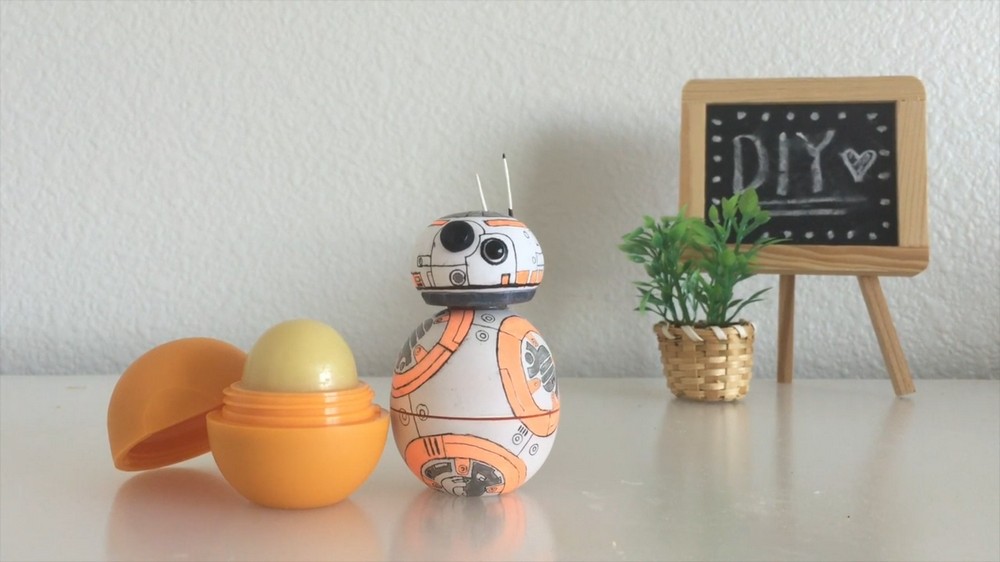
Turn your everyday lip balm into a creative masterpiece with this quirky and eye-catching DIY EOS StarWars BB8 Droid Lip Balm design. Perfect for Star Wars enthusiasts, this astonishing BB-8 replica incorporates an EOS lip balm container as its base, making it both functional and stylish. Featuring BB-8’s signature white-and-orange color palette, intricate headpiece, and adorable antennas, the design brims with detail and personality. Its compact size ensures it’s a charming novelty gift or collectible that easily fits into any sci-fi fan’s life while doubling as a practical beauty product.
Star Wars Lovers: Create an EOS BB8 Droid Lip Balm at Home
Flying Mio, the creative talent behind this design, is known for bringing playful and imaginative ideas to life through her detailed tutorials. Check out more of her crafty creations on Flying Mio’s channel for inspiration that’s out of this world!
Why DIY EOS StarWars BB8 Droid Lip Balm is a Must-Make
Crafting the DIY EOS StarWars BB8 Droid Lip Balm is a delightful way to combine fandom with functionality. This adorable project transforms an everyday beauty essential into a keepsake inspired by everyone’s favorite droid, BB-8. The intricate details, like the signature orange-and-white design and charming robotic features, make it as eye-catching as it is practical. It’s the ultimate conversation starter, a thoughtful handmade gift, or even a personal homage to Star Wars that you can carry in your pocket. Whether you're a DIY novice or a seasoned craft enthusiast, this project offers the joy of creativity and nerdy nostalgia all in one!
Create Your Own BB-8 EOS Lip Balm Craft
For Star Wars fans and creative crafters alike, this project is a perfect blend of fandom and artistry. Using a simple EOS lip balm container, you can recreate BB-8, the lovable droid from the Star Wars universe. This tutorial is designed to walk beginners through the process step by step, ensuring you have all the tools and instructions to make your own Star Wars-inspired masterpiece. Let’s get started and turn that lip balm container into a galactic treasure.
Materials You’ll Need
- EOS lip balm container (orange is ideal for BB-8)
- White spray paint
- Polymer clay in:
- White (head and antenna)
- Silver (base for BB-8’s head)
- Black (details for BB-8’s head)
- Orange gel pen/marker
- Black pen/marker
- Grey nail polish (or grey paint/pen)
- Clear spray paint (to seal the design)
- Mechanical pencil (for sketching)
- Micron art pens (optional for fine detail)
- Hot glue gun or super glue
- Craft tools (blade, rolling pin, etc.)
- Oven (for baking polymer clay)
Step 1: Prepare the Lip Balm Container
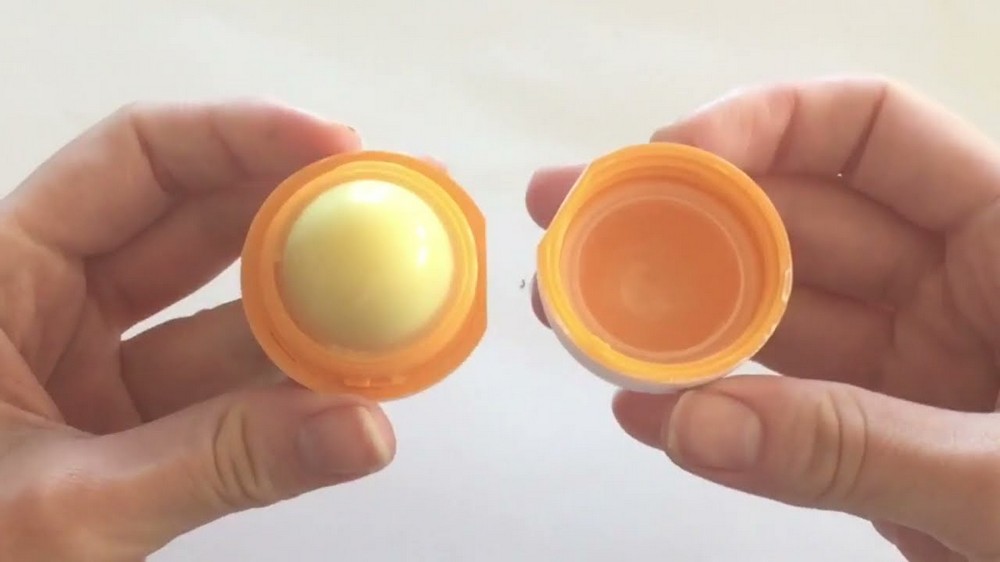
- Start by emptying your EOS lip balm container completely. Wash the inside thoroughly and dry it properly.
- Spray paint the entire container white. Apply an even coat and let it dry completely. This will be the base for BB-8’s body.
- If you wish to preserve the original orange color of the base as BB-8’s body, skip the spray painting step, but ensure the container is clean before proceeding.
Step 2: Sculpt BB-8’s Head
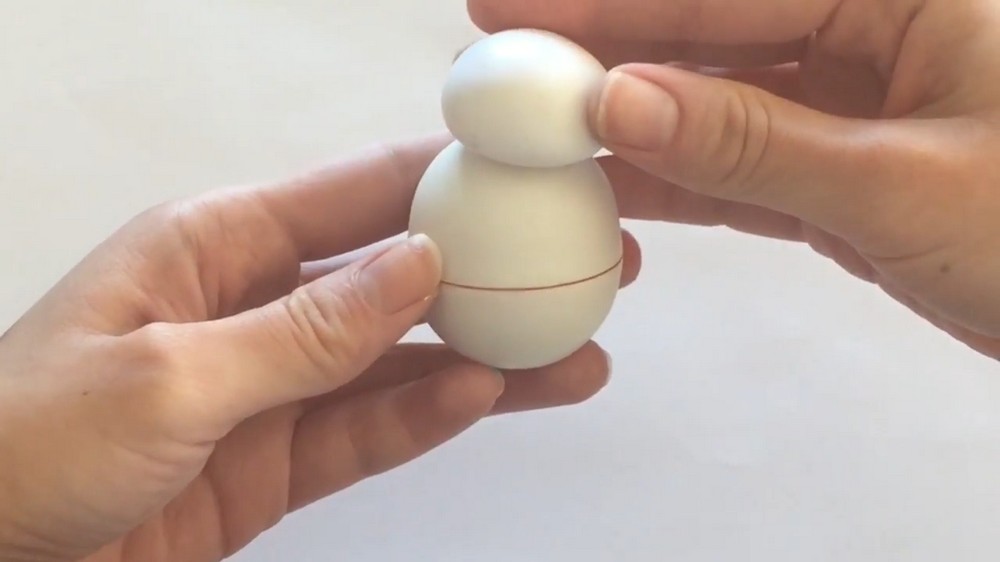
- Take white polymer clay and roll it into a smooth ball. Flatten one side and shape it into a semicircle/dome to represent BB-8’s head.
- Position the semicircle on the top of the EOS container to check the size, ensuring it fits proportionately. Adjust the size if necessary.
- Create a base for the head using silver polymer clay. Roll out the silver clay into a thin flat sheet (around 4-5mm thick). Place BB-8’s head (white dome) on top of the silver clay and cut around the perimeter to form the bottom part of the head.
- Smooth the edges of both the head and silver base. Keep checking the proportions against the container to ensure everything fits properly.
Step 3: Add BB-8’s Lens Details
- Roll a small piece of black clay into a circle for BB-8’s main lens and attach it to the center of his head.
- Create a tiny second black circle and attach it slightly to the bottom left side of the main lens. These represent BB-8’s visual sensors.
Step 4: Sketch and Add Body Details
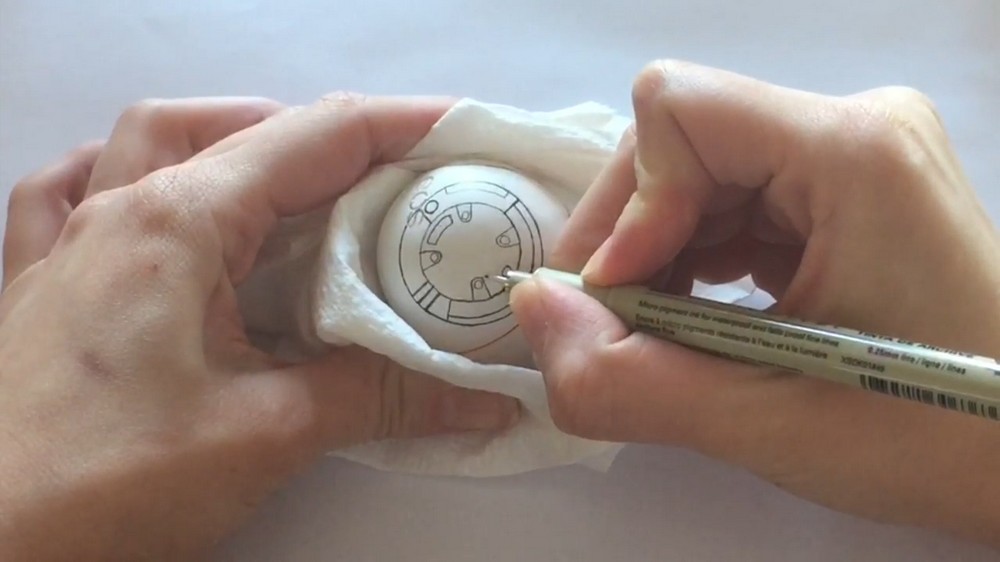
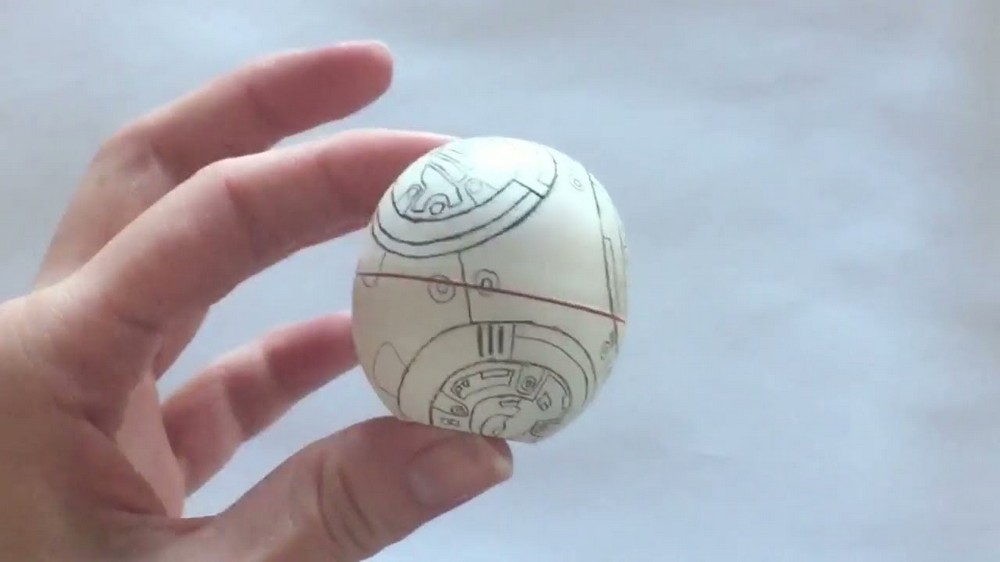
- Take a mechanical pencil and lightly sketch BB-8’s patterns onto the spray-painted EOS container. Look at reference photos of BB-8, or freehand the designs based on your understanding of his appearance.
- Trace over the pencil sketches carefully with a fine-tipped black pen or marker. If you have Micron art pens, use those for crisp, intricate lines.
- Hold the container with a paper towel while working to avoid smudging the ink.
Step 5: Add Head Details
- Bake BB-8’s head (white dome with attached silver base and lenses) in a preheated oven at 275°F for 20 minutes. Once baked, let it cool completely before continuing.
- Like with the body, use a pencil to sketch BB-8’s markings on the head and then trace over with a black pen or marker.
Step 6: Add Orange and Gray Details
- Use an orange gel pen or marker to color the orange patterns and designs on BB-8’s body and head.
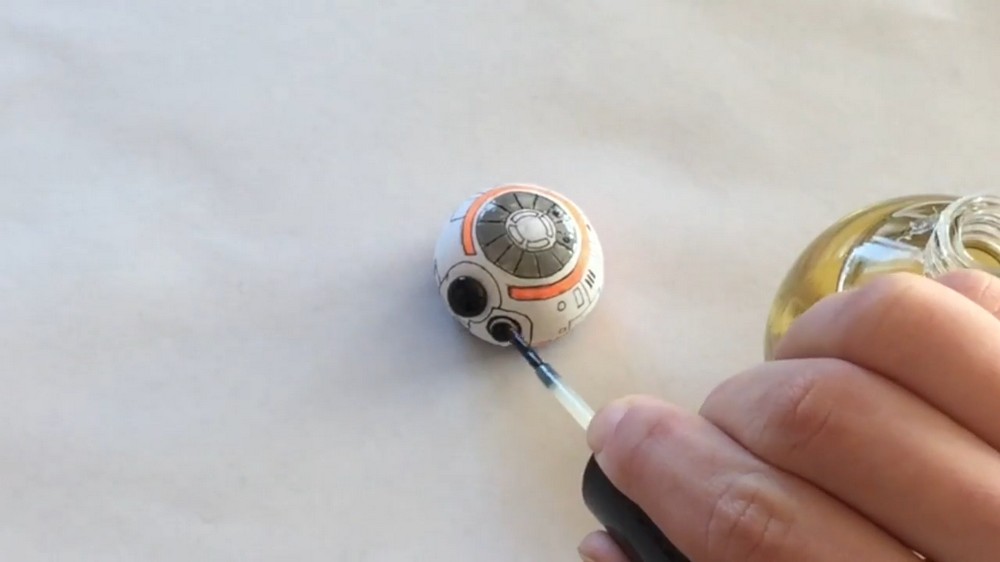
- For the gray accents, like the metal portions of BB-8, use grey nail polish or paint. Apply the nail polish carefully using a thinner brush to paint precise details.
- Let the nail polish dry completely. Take your time to avoid smudging.
Step 7: Add Shine to BB-8’s Lens
- Apply a polymer clay glaze or clear top coat nail polish to BB-8’s lens to give it a realistic shine, making it look like a real camera lens.
Step 8: Sculpt BB-8’s Antennas
- Roll white polymer clay into two small, thin snakes to form BB-8’s antennas. Note that the antennas have different sizes; one slightly taller than the other.
- Bake the antennas at 275°F for 20 minutes and allow them to cool completely.
- Use a black marker or pen to add details to the tips of the antennas. One is black at both ends, and the other is black only at the tip.
- Use a hot glue gun or super glue to attach the antennas to BB-8’s head.
Step 9: Assemble BB-8’s Head and Body
- Once all the details are completed, glue BB-8’s head securely onto the top of the EOS container. Be sure to align it properly so it sits centered on the base.
- Allow the glue to dry completely before moving to the final step.
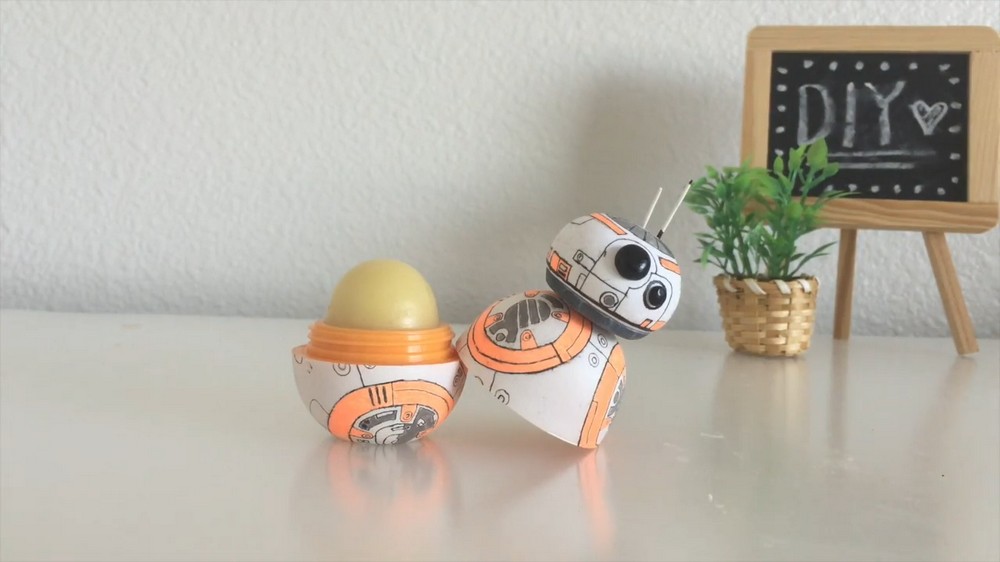
Step 10: Seal and Protect Your Work
- To ensure all the painted and drawn details are protected, spray the entire BB-8 figure with a layer of clear spray paint. This will prevent smudging and give BB-8’s surface a smooth, finished look.
- Let the spray paint dry for at least 24 hours before handling your BB-8 container.
This BB-8 craft is a brilliant way to bring the Star Wars universe into your everyday space. Carefully crafted, your BB-8 EOS lip balm container doubles as a unique decor item and a fun conversation starter for guests. Embrace your inner Star Wars fan and bring this charming droid to life.