Add a playful touch to your handmade collection with this guide to making a lion camera plush using needle felting for a professional finish.
If you’ve ever wanted to combine creativity and practicality in a single craft project, the Lion Camera Plush is a perfect fit. This miniature handmade creation cleverly transforms needle felting techniques into a work of functional art. Designed with care and demonstrated step-by-step by "Flying Mio" on her YouTube channel, this project offers a delightful challenge for crafters while showcasing key needle felting skills. It’s small enough to fit in the palm of your hand, yet intricate enough to bring a dose of personality to any space.
Make a DIY Lion Camera Plush with Needle Felting
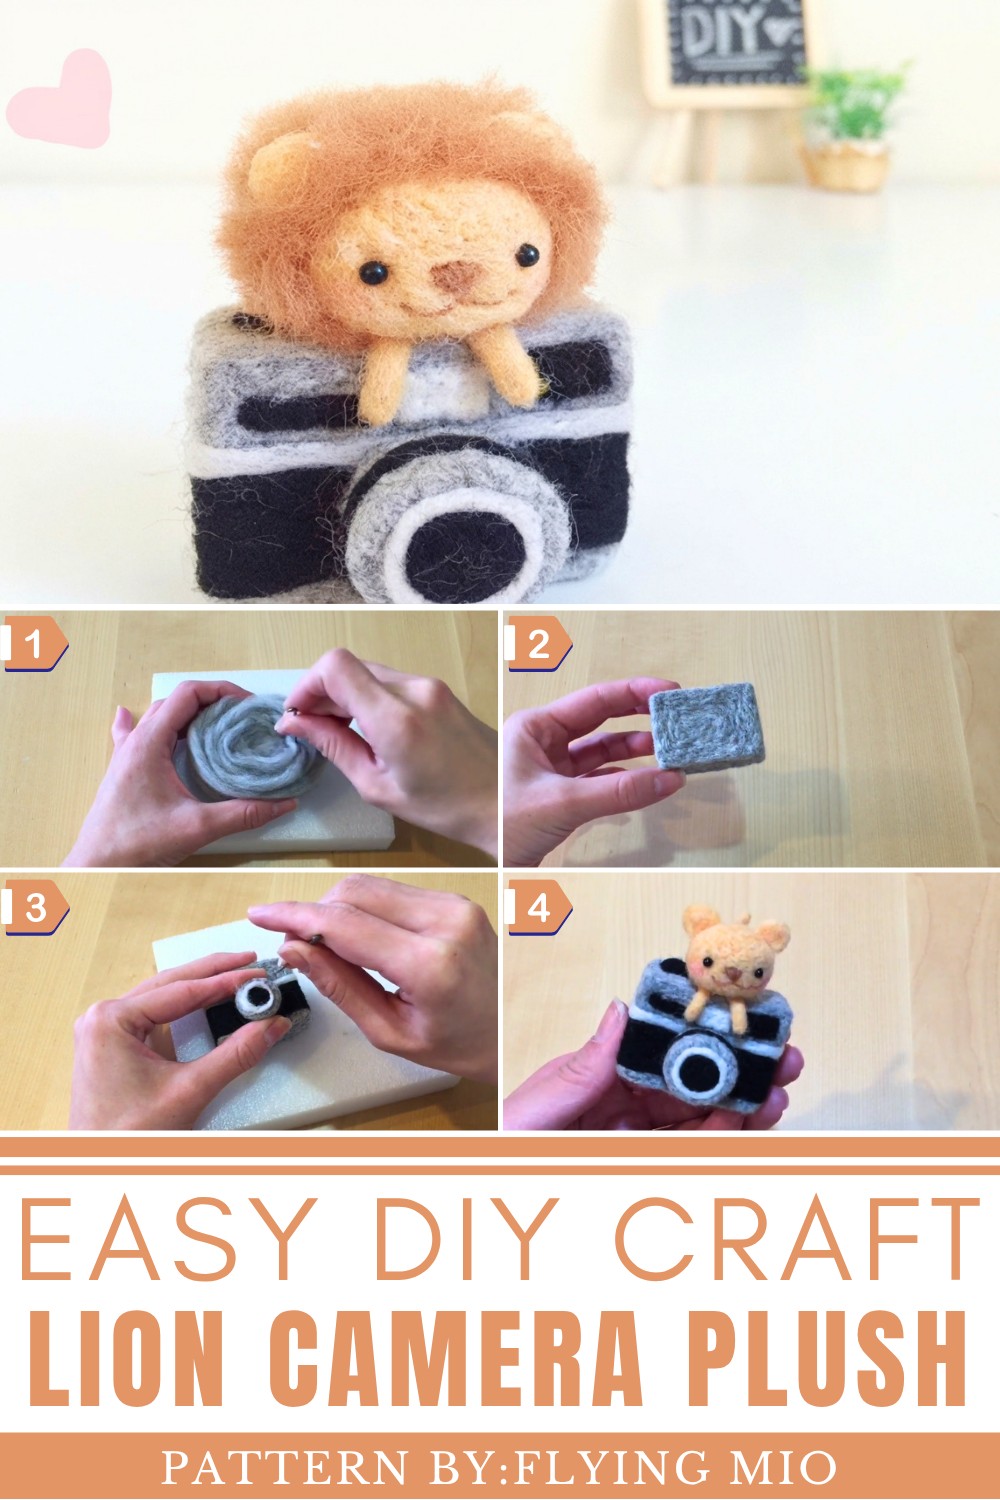
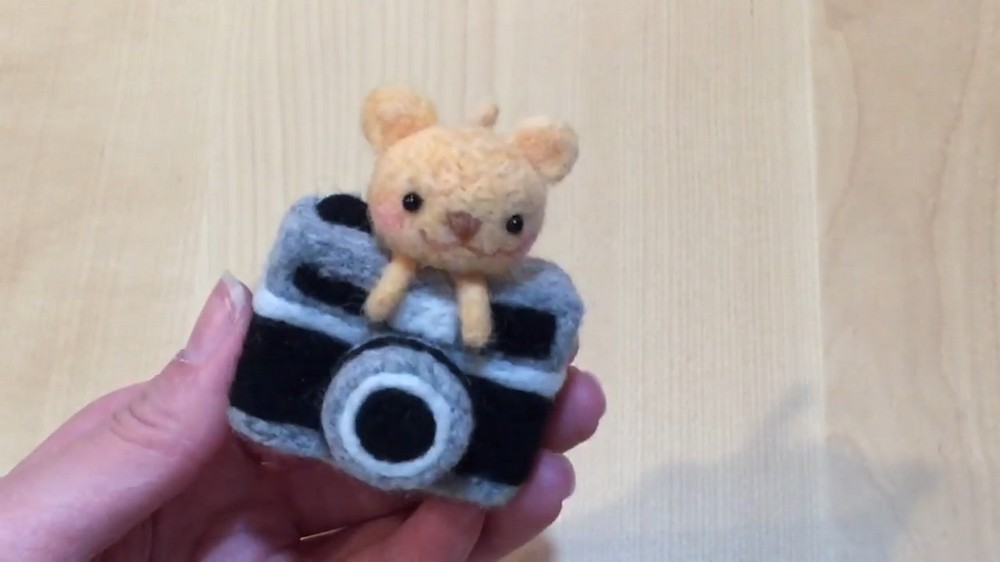
Inspired by a playful 3D cube design, the plush features a felt camera base topped with an adorable lion, giving it an engaging and whimsical look. Each element of the project is crafted with thoughtful detail, from the rectangular camera body with its realistic lens and flash, to the lion’s soft mane, expressive eyes, and tiny limbs. The project even comes with the option of attaching a strap, so you can use it as a charm or keep it as a decorative accent.
The Lion Camera Plush is not only affordable and beginner-friendly, but it also offers many customization opportunities. Adjust the lion’s mane for added flair, experiment with colors, or personalize it with tiny embellishments. Whether gifted to a loved one or proudly displayed on a shelf, this plush combines charm with practicality, making it an ideal craft for those seeking something both creative and functional.
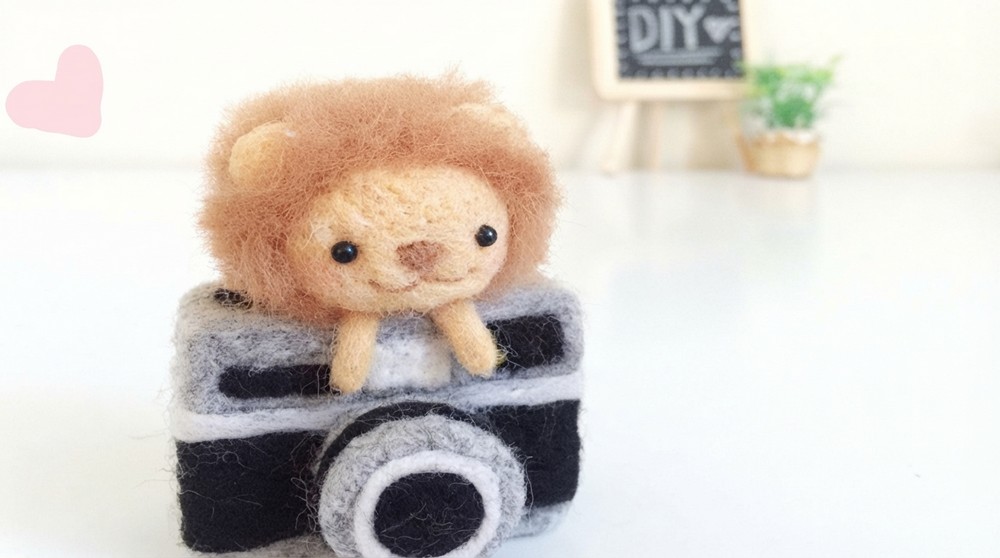
DIY Lion Camera Plush
Creating the adorable Mini Lion and Camera Needlefelt Project is a super fun and creative process! Whether you’re new to needle felting or already a pro, this guide will break everything down step-by-step so even beginners can follow along easily.
Supplies Needed:
Here’s what you’ll need for this project:
For the Camera:
- Gray felting wool (for the body of the camera)
- Black felting wool (for camera details)
- White felting wool (for accents like flash and lens lining)
- Felting needle (must be a specific needle for felting)
- Foam board or kitchen sponge (as a surface to felt on)
- Scissors (for trimming details)
For the Lion:
- Orange felting wool (for the lion’s body, head, and mane)
- Darker orange or brown felting wool (for detailing the face)
- Pink eyeshadow or light pink wool (optional, for cheeks)
- Plastic animal eyes or black polymer clay and glue (for DIY eyes)
Step 1: Preparing Your Workspace
- Set up your foam board or sponge as your working surface. This helps protect your needle and your workspace.
- Keep your felting needle handy—it’s sharp, so be careful!
- Gather all your wool colors so they’re ready to use.
Part 1: Making the Mini Camera
1. Form the Camera Body
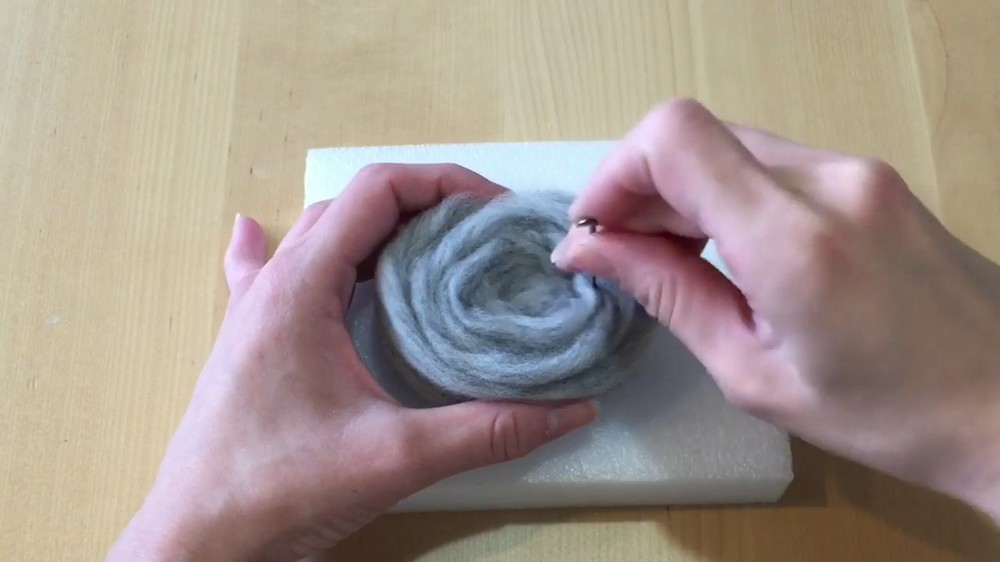
- Take the gray wool and roll it into a compact bundle.
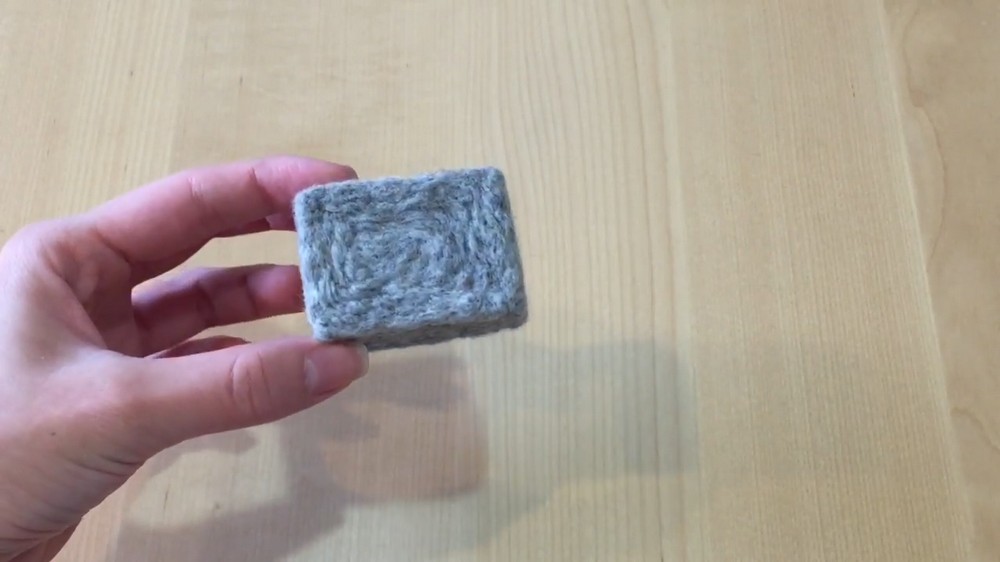
(Tip: Roll tightly so it becomes easier to shape.) - Begin poking the wool repeatedly with your felting needle. As you poke, the wool will form cross-links and slowly solidify into a rectangle shape.
(Be patient—it can take a few minutes to achieve the right shape!)
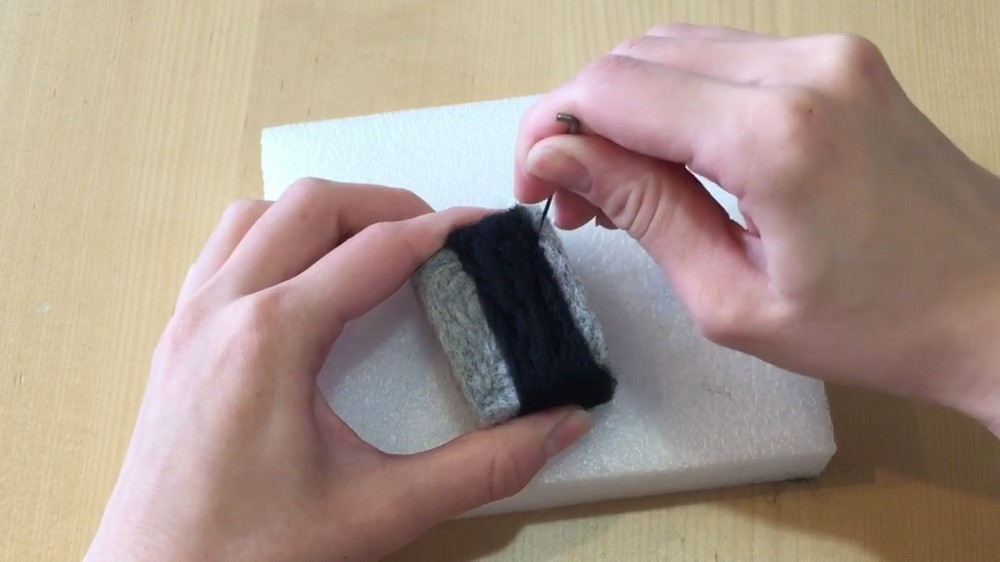
2. Add Black Details to the Camera
- Take some black wool and needle felt a strip along the top and bottom edge of your gray rectangle. Leave a small gap at the bottom for variety.
- To line the camera details neatly, use your needle to drag the wool into place before you felt it down.
3. Create the Lens
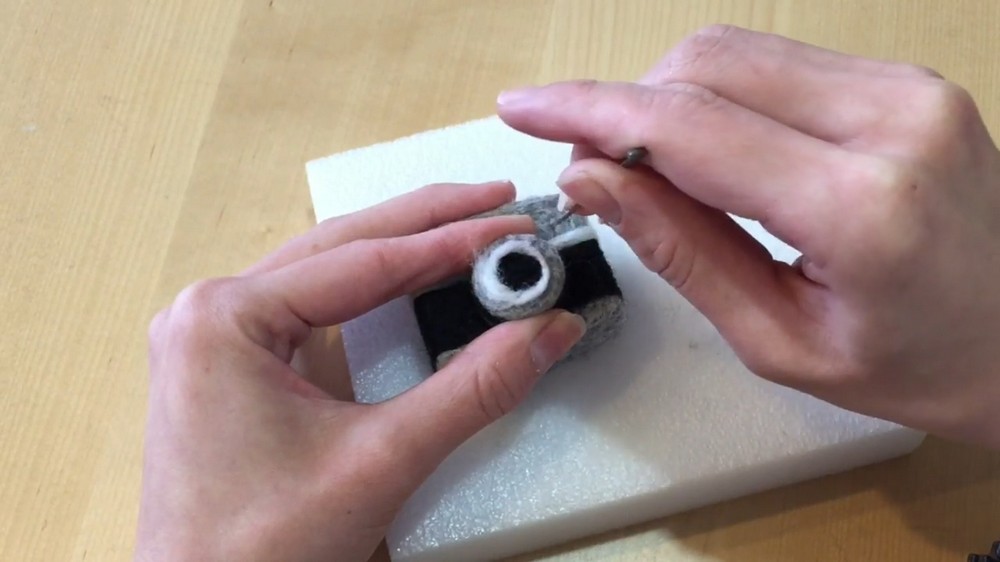
- Take more gray wool and roll it into a circular flat disc about the size of a nickel (about 0.8 inches).
- Needle felt the edges until the circle becomes neat and flat.
- Add a thin strip of black wool around the outer edge of the lens to create contrast.
- Lastly, needle felt a small black circle and white strip in the lens center for details.
4. Add Mini Features
- Flash: Needle felt a small rectangle of white wool on top of the lens.
- Buttons and Settings: Add thin rectangles of black wool on either side of the flash—these represent camera dials and settings.
- Clicker: Roll a small ball of black wool and needle felt this on the top corner of the camera.
5. Final Touches
Your camera is now complete! Look at how adorable it’s starting to look. Set it aside as you move on to the lion.
Part 2: Making the Lion
1. Create the Lion’s Head
- Take the orange wool and roll it tightly into a ball (about the size of a quarter).
- Use your felting needle to poke the wool evenly all over. Rotate as you go to maintain the round shape.
2. Make the Lion’s Ears
- Roll small amounts of orange wool into two flat discs (about dime-sized). Needle felt them gently to form the shape.
- Attach the ears symmetrically to the lion’s head. Position them like a teddy bear’s ears.
3. Form the Face
- Take brown wool and needle felt a small triangle for the nose.
- Roll thin strands of brown wool into a thread-like shape for the mouth. Carefully needle felt this into a cute smile.
- Poke two small holes where you want the eyes, and insert plastic animal eyes. Secure them with glue, if needed.
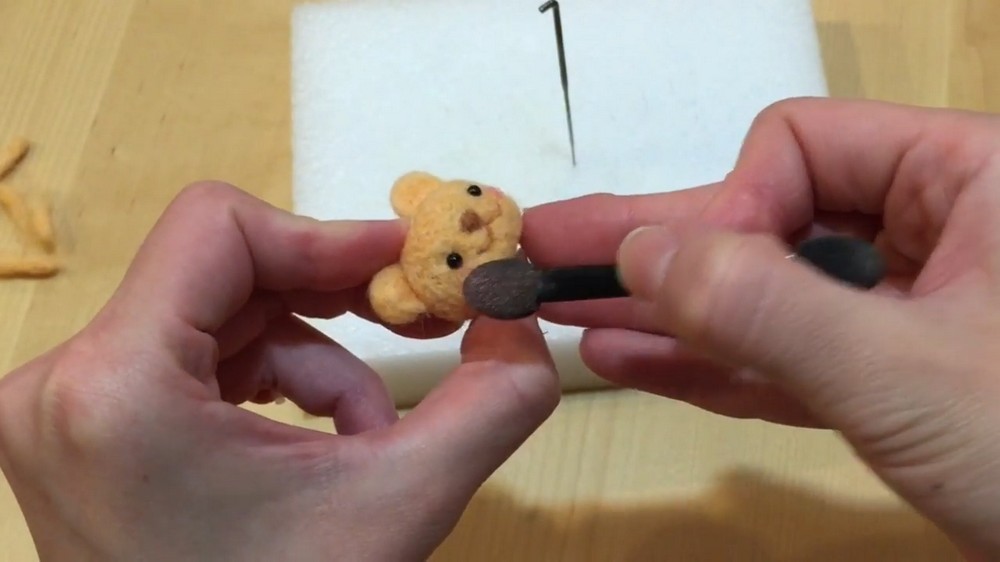
4. Add Cheeks
- Dab pink eyeshadow under the lion’s eyes for a blush effect. (Alternatively, you can needle felt small pink wool circles.)
5. Create the Body, Legs, and Tail
- Form the body by rolling orange wool into a slightly smaller ball than the head. Shape it into an oval with your needle.
- Roll tiny strands of orange wool into cigar-shaped pieces for legs (4) and a thin tail.
- Attach the legs and tail to the body, positioning two legs in front and two at the back.
6. Add the Mane
- Rip small strips of orange wool and fold each strip in half.
- Needle felt these strips thickly all around the lion’s head, covering every space. Place pieces in front, behind the ears, and everywhere else.
- Once you’re happy with the mane volume, use scissors to gently trim and shape into a neat circle. (Small cuts work better for precision!)
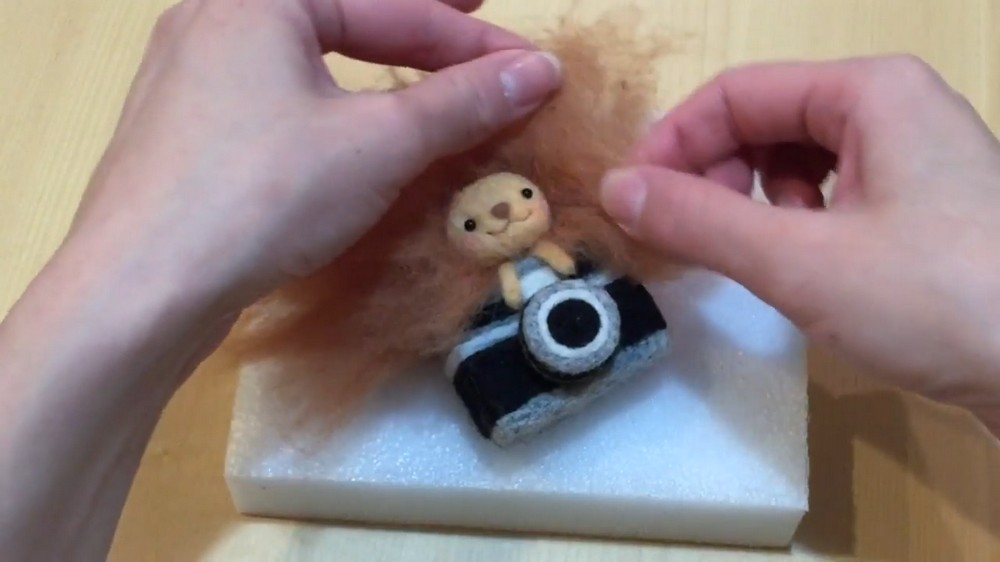
Part 3: Assemble Your Lion and Camera
1. Position the Lion on the Camera
- Needle felt the front legs onto the top of your camera so they dangle over the edge.
- Needle felt the lion’s body and head onto the center of the camera. Adjust to position it securely.
- Finally, needle felt the back legs and tail onto the rear portion of the camera.
2. Optional Decorations
- If your kit comes with a camera strap, you can attach it to the camera for extra flair.
- You can also personalize your creation with extra details such as blush cheeks or fun accents!