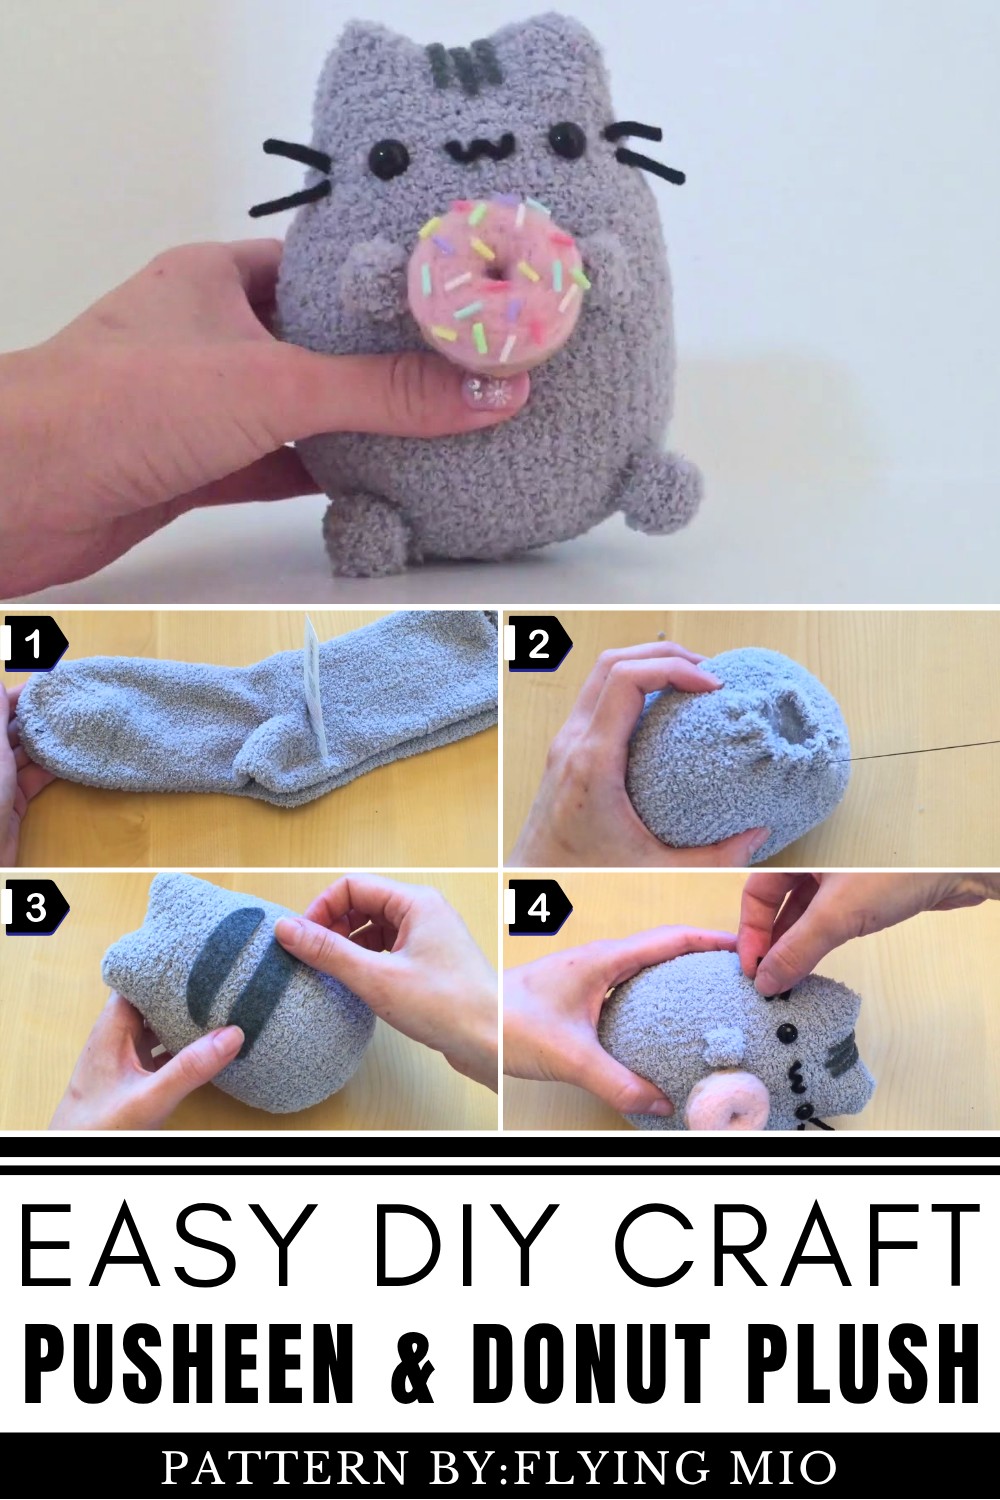
Turn plain socks into adorable plush Pusheen & Donut with a unique tutorial that combines fun, creativity, and charm for delightful results.
This delightful creation features the iconic Pusheen cat paired with a sprinkle-covered donut, resulting in a plushie that oozes charm and whimsy. With its soft, cuddly form and vibrant pops of color, this DIY Pusheen & Donut Plush is a perfect fusion of playful design and fan-favorite nostalgia. Whether perched on a shelf or gifted to a loved one, this adorable plush adds a sweet and stylish touch to any space. Its meticulously crafted details, from Pusheen’s signature stripes to the donut’s colorful sprinkles, make it a standout piece for anyone who loves combining creativity, comfort, and character.
DIY Socks into Pusheen & Donut Plushies with This Easy Tutorial
The talented creator behind this fun and imaginative project, Flying Mio, shares her passion for DIY crafts through step-by-step tutorials that encourage creativity for all skill levels. Explore more of Mio's designs and ideas on her YouTube channel.
Features of the Pusheen & Donut Plush Design
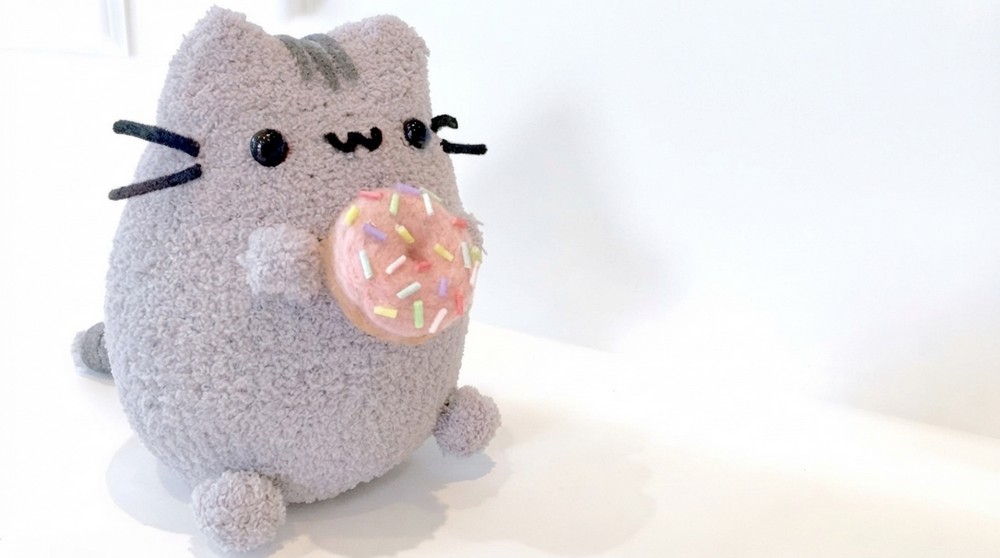
This adorable plush design combines the lovable Pusheen cat with a bright, sprinkle-topped donut for a fun and cozy display piece. Perfect for fans of cute, character-inspired decor, the DIY Pusheen & Donut Plush brings together soft, rounded shapes and bold pastel accents that make it instantly eye-catching. Its compact size makes it ideal for decorating desks, shelves, or beds, while still standing out as a playful statement piece for any room.
Pusheen’s classic features—rounded body, tiny paws, subtle stripes, and minimal yet expressive face—are paired with the donut’s frosted top and sprinkles, creating a charming contrast between neutral tones and candy-like colors. The plush has a gentle, comforting aesthetic that appeals to both kids and adults, making it a fun gift idea for anyone who loves kawaii-style characters or cozy, collectible plushies. Overall, this DIY Pusheen & Donut Plush stands out for its character-driven design, playful theme, and display-ready finish.
How to Make a Pusheen Plushie Eating a Donut – Step-by-Step Friendly Guide
Welcome to a fun and creative DIY project! Today, we'll craft an adorable Pusheen plushie holding a sweet little donut. Perfect for decorating your kitchen (or any cozy place), this project is beginner-friendly. Set aside some crafting time, gather your materials, and get ready to bring this cuddly cat to life one step at a time!
Materials You'll Need
- A grey sock (soft and plushy)—find these at stores like Target or Walmart
- Animal stuffing or pillow stuffing (repurpose an old pillow!)
- Dark grey felt (for the stripes and details)
- Black felt (for the face details and whiskers)
- Plastic animal eyes (optional, available at craft stores)
- Fabric glue or a hot glue gun
- Polymer clay (in pastel colors for donut sprinkles)
- Needle felting tool and foam board
- Flesh-colored and pink felting wool (for the donut)
- Needle and thread—regular sewing needle and string
- Exacto knife or scissors
Step 1: Creating Pusheen's Body
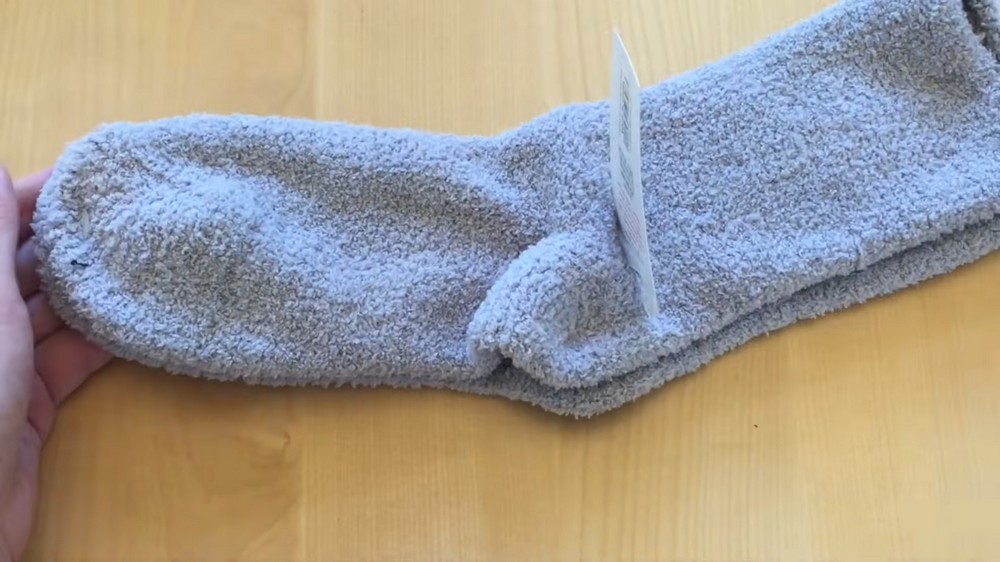
- Take your grey sock and flatten it, ensuring the heel is in the center of the bottom. This will be Pusheen’s body.
- Fold the sock at the heel to find where Pusheen’s bottom will end. Use a fabric pen or marker to lightly outline two little cat ears at the top of the sock.
- Thread a sewing needle with some string and carefully stitch along the outline of the ears. Use a simple up-and-down stitch to trace the marker line. Tie a knot at the end once finished.
- Trim off the excess sock material, leaving a small border of around half a centimeter away from your stitched line. This prevents unraveling.
Step 2: Flipping and Stuffing the Sock
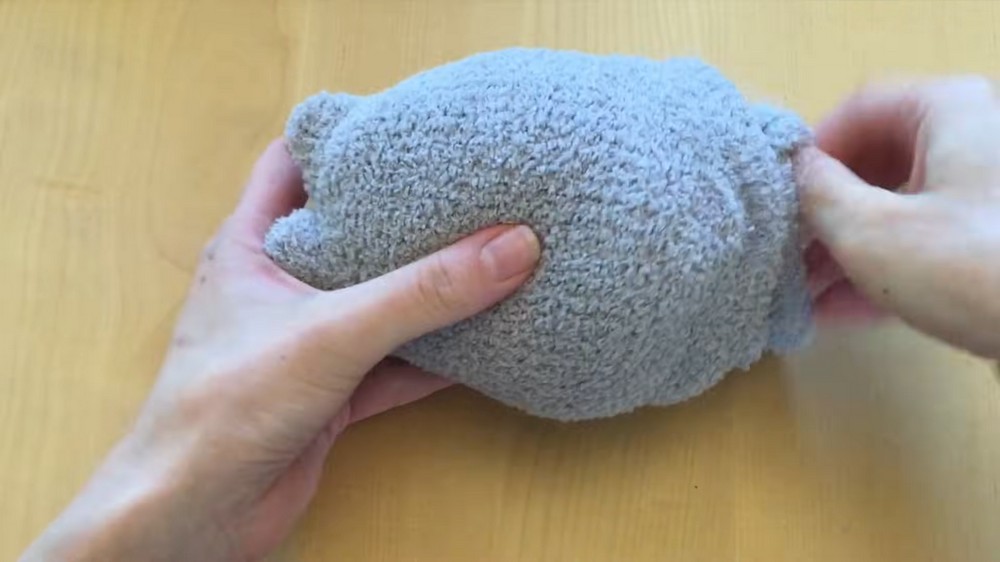
- Turn the sock inside out so the stitches are hidden. Gently pop out the ears to sharpen their shape.
- Take a large handful of stuffing, form it into a round ball, and fill the sock to give it a cute, plump body shape. Adjust the stuffing if needed—too much might make it too round, and too little might make it seem deflated.
Step 3: Closing the Bottom of Pusheen
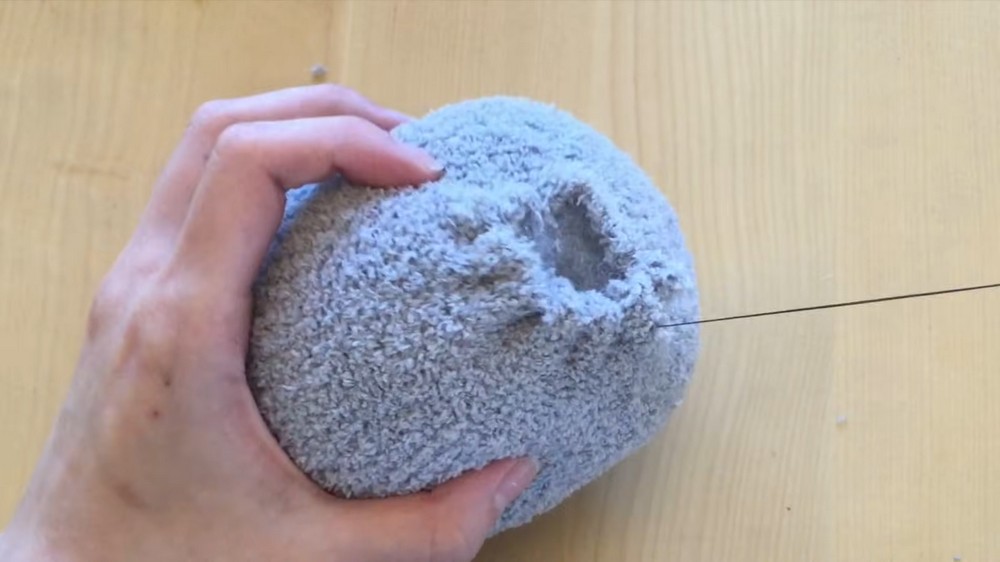
- Trim the excess sock material at the bottom and sew along the edges of the opening.
- Stitch it like a drawstring bag by sewing around the entire perimeter and pulling tightly to close the sock. Tie a strong knot at the bottom to secure it.
Step 4: Adding Pusheen’s Signature Stripes
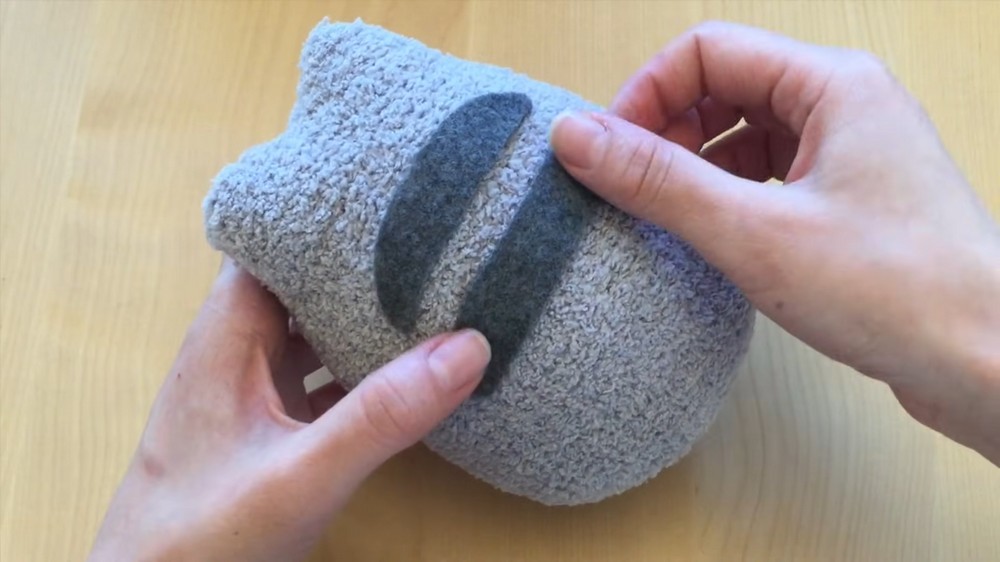
- Take the dark grey felt and cut out one large oval and two smaller ovals for the stripes on Pusheen’s back.
- Cut three smaller ovals for the stripes on Pusheen’s head.
- Use fabric glue or hot glue to carefully attach these to your Pusheen plushie. The stripes on the back should be arranged in a neat line across.
Step 5: Making the Donut
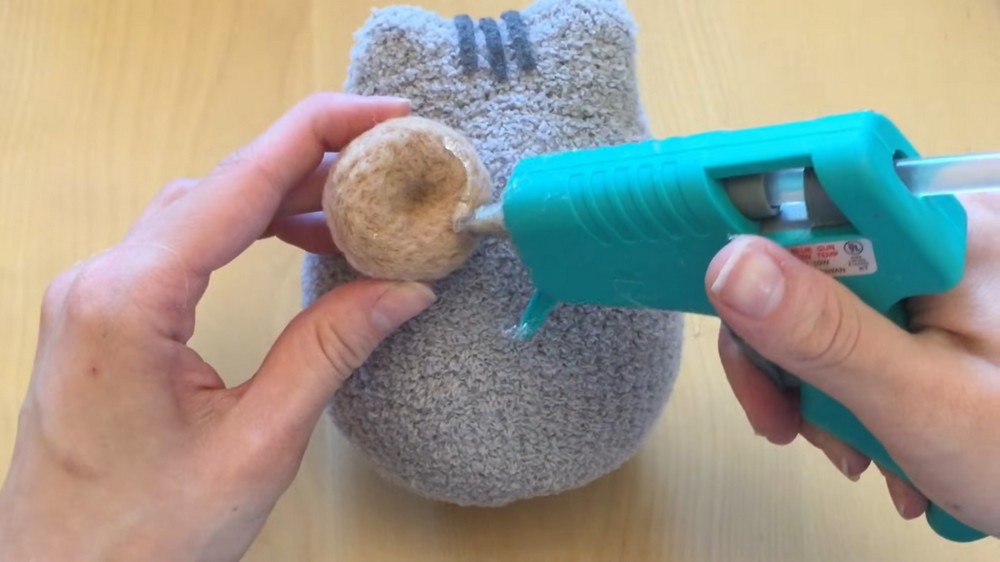
- For the donut, use flesh-colored felting wool to form a small round shape, and needle-felt it into a donut. If you’re new to needle-felting, this step involves repeatedly poking the wool with a felting needle to tighten and shape it.
- Once the donut is formed, take pink felting wool and add frosting on top by needle-felting it into place.
- For realistic sprinkles, roll pastel-colored polymer clay into thin “snakes,” bake them at 250°F for 20 minutes, and cut them into small sprinkle-sized pieces using scissors or a blade.
- Glue the sprinkles onto the pink frosting of your donut.
Step 6: Adding Arms and Legs
- Take the extra scraps of grey sock material and cut out small circles for the hands and feet.
- Sew along the edges of each circle to create tiny little pouches. Pull tightly to close the circles and form adorable limbs.
- Position the arms near the donut (as if Pusheen is holding it) and glue or sew them in place. Add the feet at the bottom in the same way.
Step 7: Crafting the Face and Tail
- To create the face, glue two plastic animal eyes onto your plushie (or cut small black felt circles if you don’t have eyes).
- Cut a little smile shape from black felt and glue it below the eyes. You can customize Pusheen’s expression based on your preference.
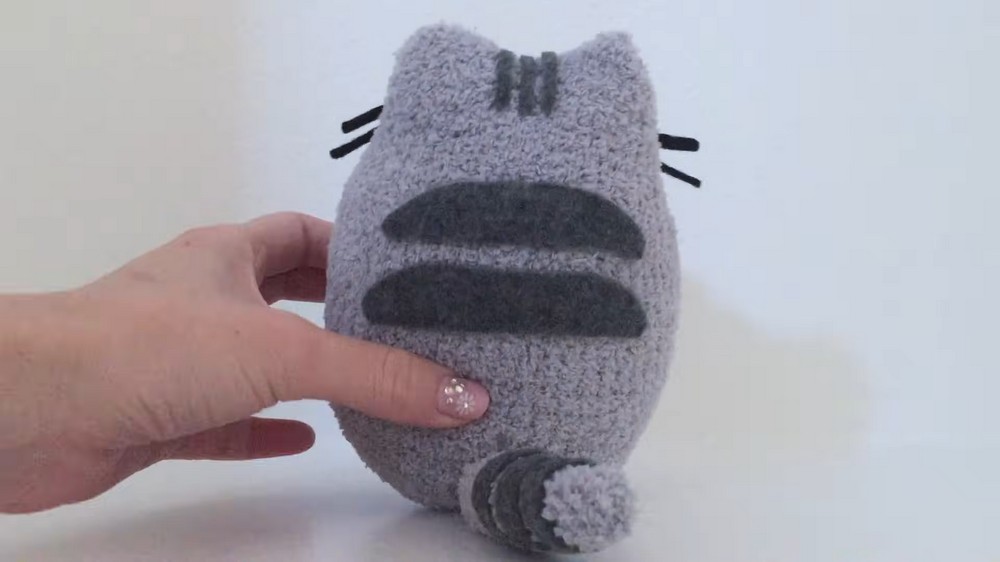
- For the whiskers, cut three long thin pieces of black felt for each cheek and glue them in place.
- To make Pusheen’s tail, shape a long rectangle from leftover sock scraps, sew the edges into a tube, flip it inside out, and lightly stuff it. Glue three felt stripes along the tail before attaching it to the back of Pusheen’s body.
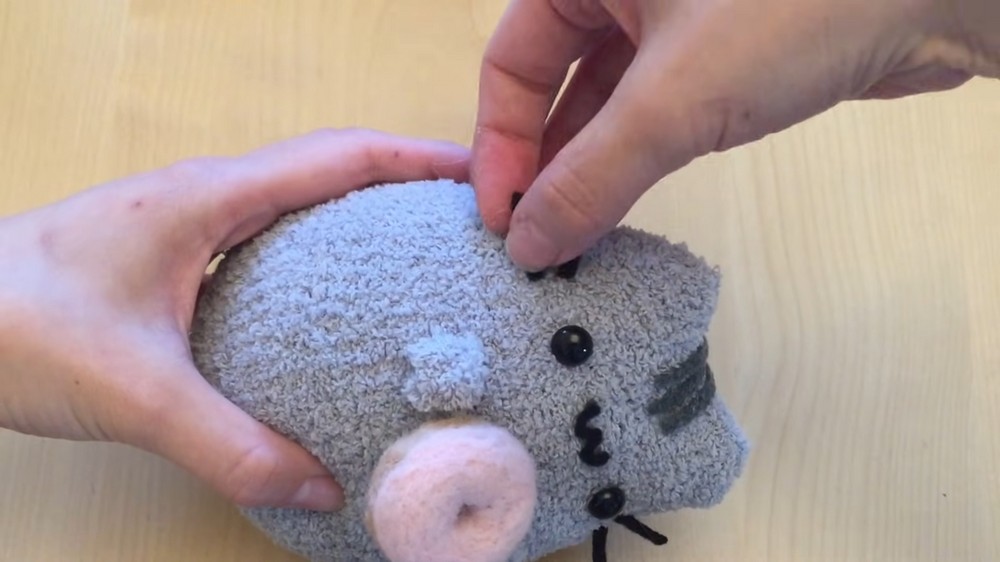
Step 8: Finishing Touches
- Carefully position and attach the donut to Pusheen’s front using glue or sewing.
- Make sure the arms curve around the donut like it’s being held snugly!
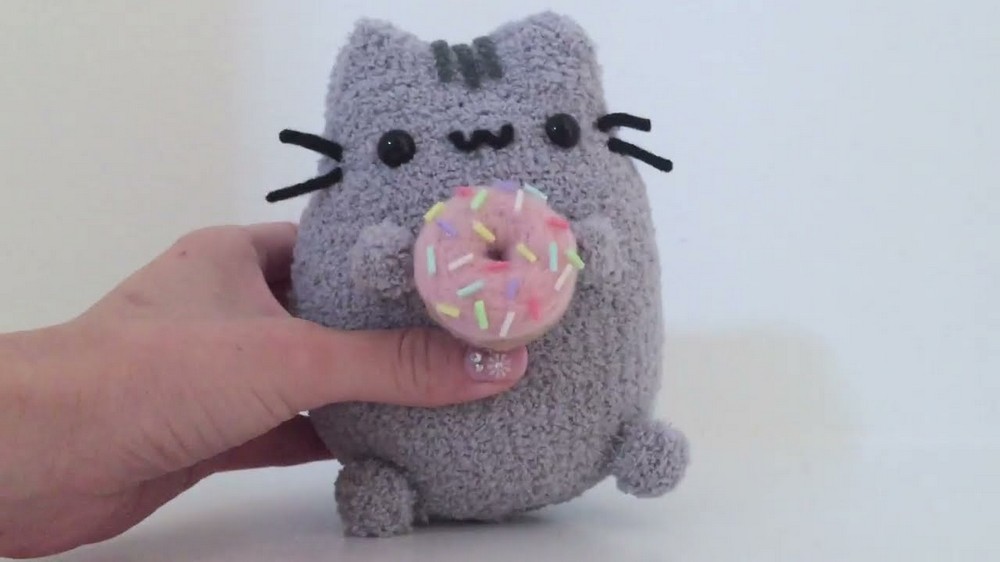
And that’s it! You now have your very own handmade Pusheen plushie merrily munching on a donut. It’s such a whimsical craft to adorn your space and showcase your creative talents. No matter where you place your fluffy new friend, it’s sure to bring a smile to anyone who sees it.