Follow this professional guide to make a colorful DIY donut ring with polymer clay, crafted to suit jewelry enthusiasts and handmade accessory lovers.
There’s something uniquely satisfying about transforming a simple piece of clay into a miniature work of art. In her detailed and delightful tutorial on "Flying Mio" Mio introduces viewers to the art of crafting irresistibly cute donut rings using polymer clay. These tiny, realistic treats make excellent accessories, gifts, or just fun decorative trinkets, all while offering a fun and creative way to explore clay crafting.
DIY Donut Ring with Polymer Clay: A Fun and Easy Project
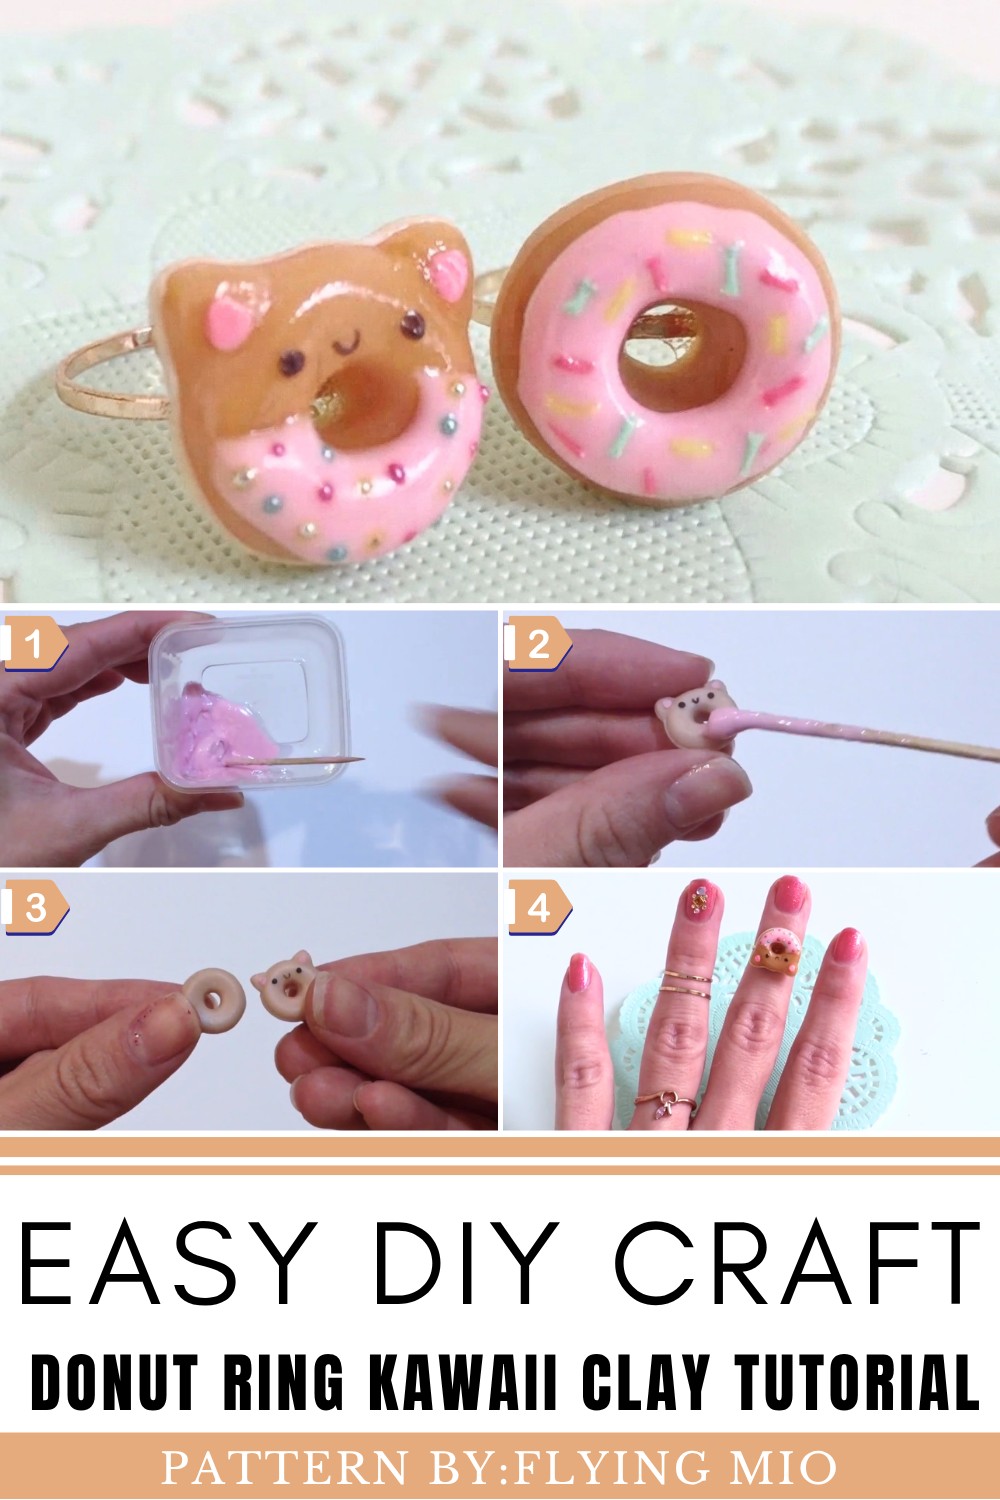
The process begins with rolling nude-colored clay into small, smooth balls about 1 cm in size, which are then flattened into coin shapes. Using household items, such as the back of a paintbrush, you’ll create the signature hole of the donut before refining its shape. From there, Mio demonstrates the art of realistic shading with chalk pastels, applying subtle brown, yellow, and orange hues to mimic a baked donut. For added detailing, she teaches viewers how to outline the donut with white clay for a polished look.
The tutorial also dives into adding playful, customizable features. Whether it’s adorable kitty ears, cheerful faces, or a drizzle of colorful frosting made from liquid translucent clay mixed with paint, you’ll learn how to make each piece uniquely yours. Sprinkle options are endless too, from store-bought microbeads to hand-rolled clay sprinkles.
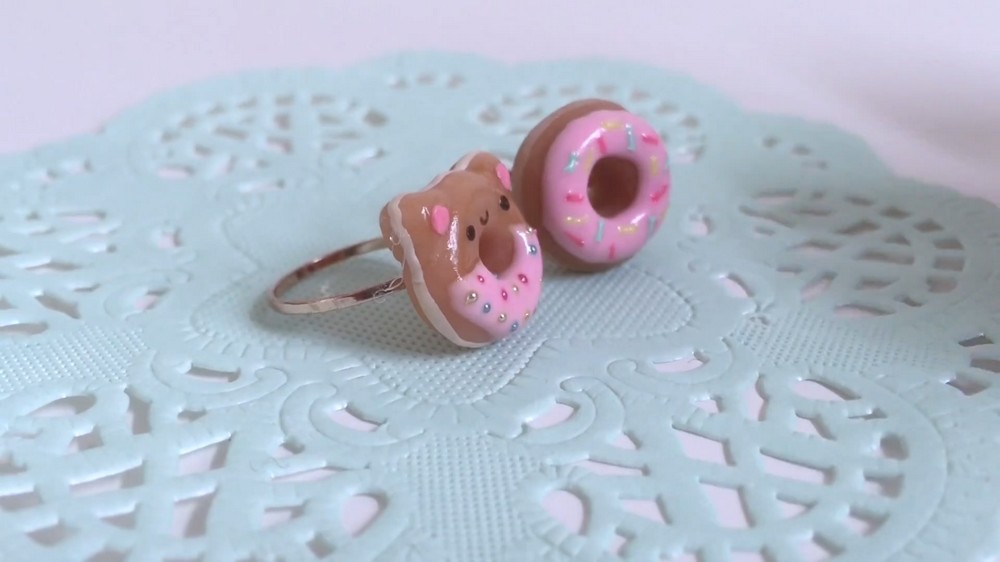
DIY Donut Ring WITH Clay Tutorial
Here’s a beginner-friendly, step-by-step tutorial to craft adorable polymer clay doughnut rings, including the option for making kitty doughnuts! This guide will break it down into simple instructions so you can create your own mini masterpieces.
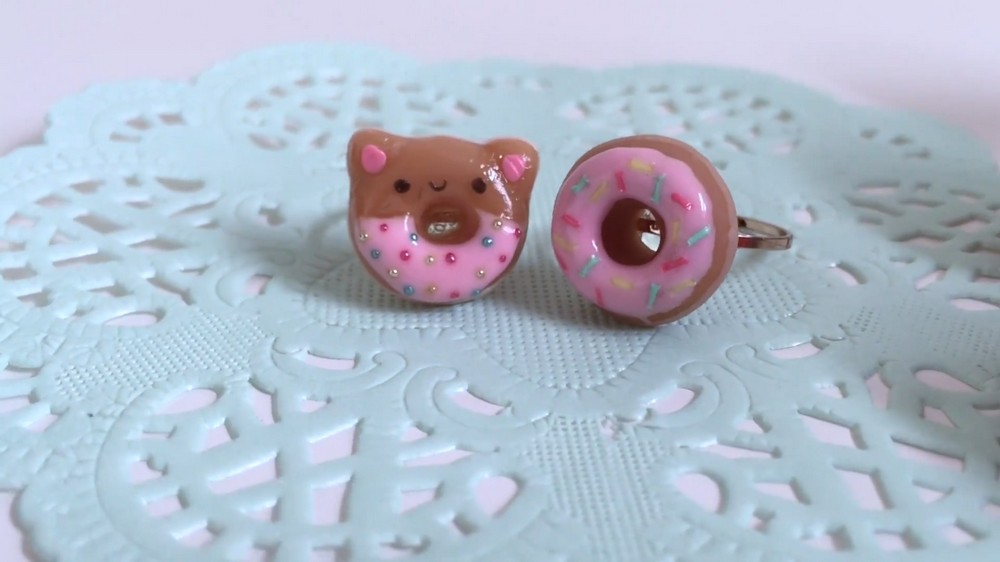
Supplies You'll Need:
Tools:
- A rolling tool (you can use something around the house like a pen, a small jar, or a paintbrush handle).
- Toothpick or small clay tools (for detailing).
- Exacto knife or blade (for clean cuts).
- Chalk pastels (yellow, brown, orange, or red for shading).
- Paintbrush (for pastel dusting).
- Oven for baking the clay.
Materials:
- Polymer clay in the following colors:
- A nude or cream color (for the base doughnut).
- White clay (optional for doughnut edging).
- Pink clay (or your choice of frosting color).
- Black clay (for eyes and details).
- Yellow clay (for optional sprinkles or designs).
- Liquid translucent clay (for creating realistic frosting).
- Micro beads or clay for sprinkles (optional).
- (Optional) Ring bases for doughnut rings or other jewelry findings for necklaces, brooches, or charms.
- Glue (e.g., super glue to attach jewelry bases).
- Optional: Glaze (or clear nail polish).
Step-by-Step Instructions
Step 1: Prepare Your Workspace and Tools
- Clean your hands and work surface to avoid dirt sticking to the clay.
- Condition your polymer clay by kneading small pieces until they become soft and pliable. This makes the clay much easier to work with.
Step 2: Shape the Doughnut
- Take a small piece of nude/cream clay (around 1 cm in diameter for a mini doughnut).
- Roll it into a smooth ball between your palms.
- Flatten the ball slightly to create a small coin shape (look at a real doughnut or photo for reference).
- Use a thin tool (like the back of a paintbrush or a toothpick) to poke a hole in the center.
- Gently rotate the tool to make the hole smooth and even.
- Ensure the hole is centered, so your doughnut looks symmetrical.
Step 3: Add Realistic Coloring
- Take your chalk pastels in shades like yellow, orange, brown, and red.
- With a paintbrush, lightly dust the top and bottom of the doughnut with your pastel mix to create a toasted look.
- Avoid coloring the edges to keep those pale, like a real doughnut!
Step 4: Add Edges (Optional)
- Take white clay and roll it into a thin, long snake.
- Wrap this snake around the outer perimeter of the doughnut.
- Use your fingers or toothpick to secure and smooth the clay edge, so it blends naturally into your doughnut.
Part 2: Turning It Into a Kitty Doughnut (Optional)
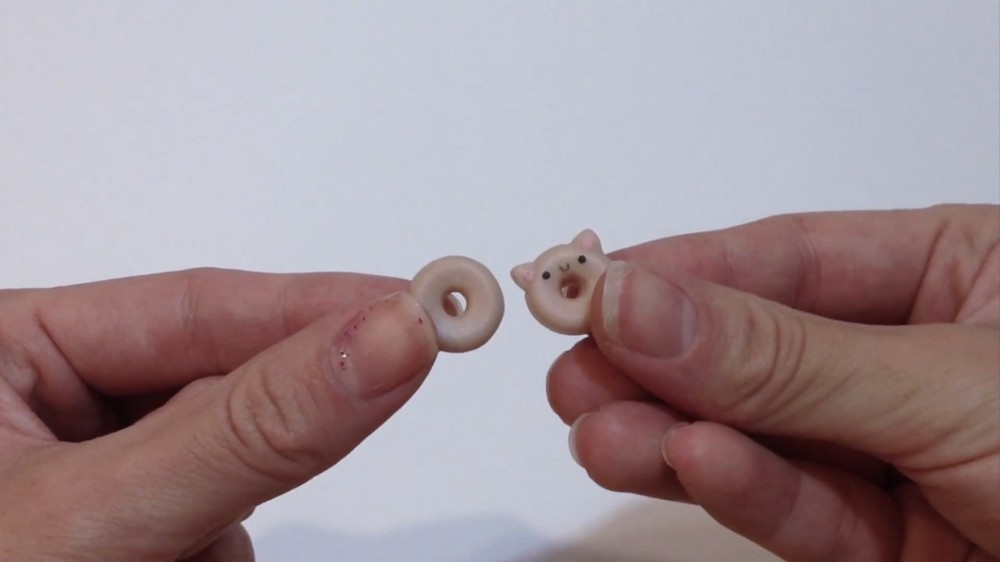
Step 5: Add Kitty Ears
- Take a tiny piece of nude/cream clay and shape it into a small triangle.
- Place it gently on one side of the doughnut at the top edge.
- Repeat for the second ear on the opposite side.
- Use your clay tool to smooth the bases of the ears into the doughnut, so they look like they’re part of it.
Step 6: Outline the Ears
- Roll a thin snake of white clay and carefully wrap it around the base of the ears.
- Smooth it gently, so it matches the white outline of the doughnut.
Step 7: Add the Kitty Face (Optional)
- Roll two tiny black clay balls for the eyes. Place and press them on the kitty doughnut face.
- Make a tiny small smile or “W” shape for the mouth using a small roll of black clay.
- If your ears don’t have frosting, add pink clay to the middle of the ears. Use a toothpick or exacto knife to flatten the pink part for a smooth finish.
Part 3: Adding Frosting and Decor
Step 8: Make Frosting
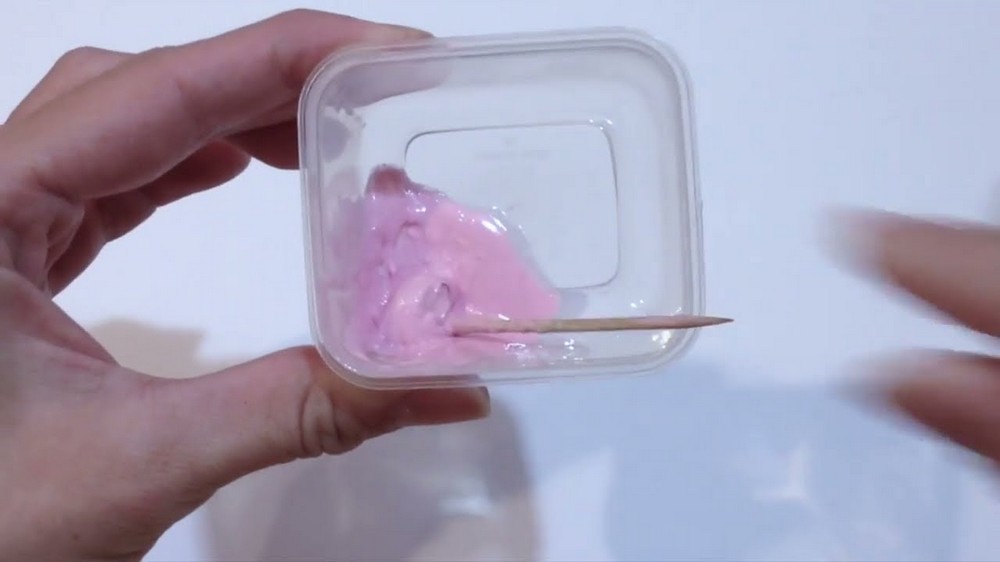
- Put some liquid translucent clay into a small container.
- Add small pieces of your desired colored clay to it (e.g., pink for strawberry frosting) and mix together thoroughly.
- Alternatively, you can color the translucent clay with a drop of acrylic paint.
- Keep mixing until you get a thick frosting-like consistency.
Step 9: Apply Frosting
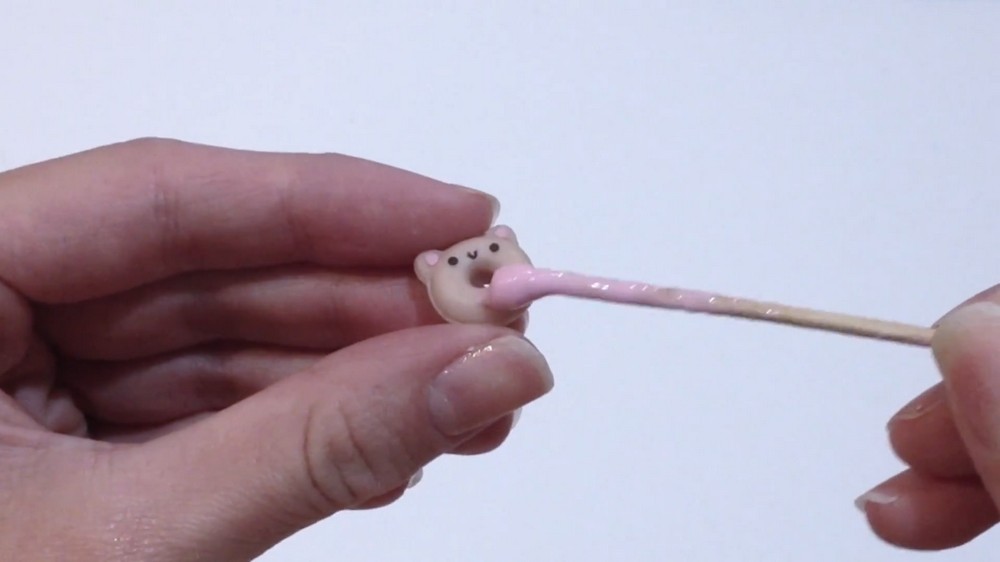
- Use a toothpick to carefully spread the "frosting" over the surface of the doughnut.
- Let the frosting drip slightly down the sides for a touch of realism.
Step 10: Add Sprinkles
- Option 1: Micro Beads
- Use a toothpick dipped in water or liquid clay to pick up tiny micro beads.
- Place them on the wet frosting in random, even patterns.
- Option 2: DIY Clay Sprinkles
- Roll tiny pieces of colorful polymer clay into thin snakes.
- Cut them into tiny sprinkle-sized pieces with an exacto knife.
- Place the sprinkles onto your frosting and lightly press down to secure.
Step 11: Optional Striped Frosting
- Roll out thin “snakes” of contrasting colored clay (e.g., white, yellow, or pastel pink).
- Place the snakes gently across the doughnut in horizontal or diagonal stripes to create decorative patterns.
Part 4: Baking and Finishing Touches
Step 12: Bake Your Doughnuts
- Preheat your oven to 250°F (or follow the instructions on your clay packaging).
- Arrange your doughnut creations on a baking tray lined with parchment paper.
- Bake your clay pieces for 20 minutes.
- Let them cool completely before handling.
Step 13: Glaze
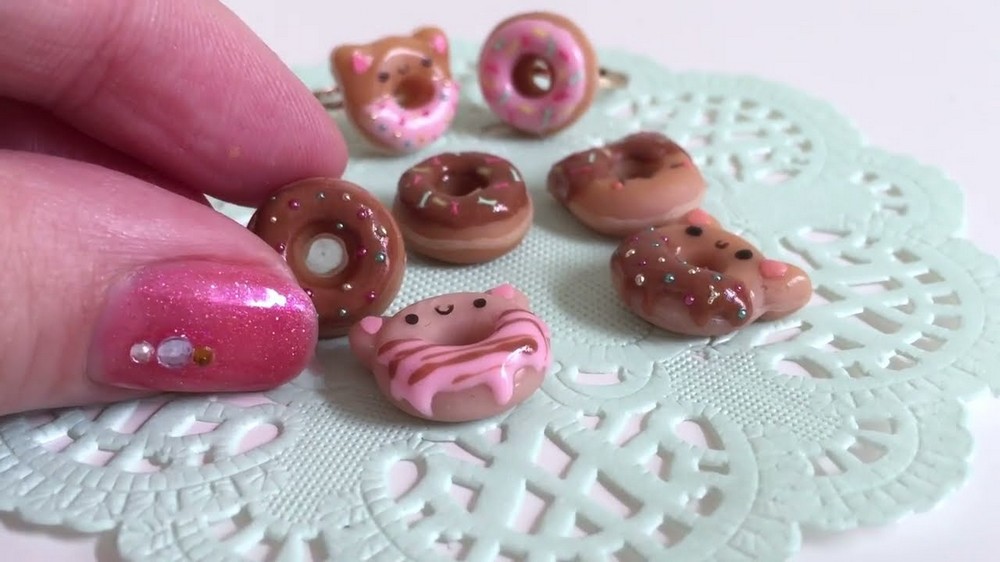
- If you want shiny doughnuts or glossy frosting, apply frosting and glaze.
- Use either:
- Nail polish (if your brand is safe for polymer clay and won't damage it).
- A proper polymer clay glaze for long-lasting shine.
- Apply a thin layer of glaze to either the frosting alone or the entire doughnut.
- Allow the glaze to dry fully for best results.
Step 14: Make It Into Jewelry
- Choose how you’d like to use your doughnuts. Some options include:
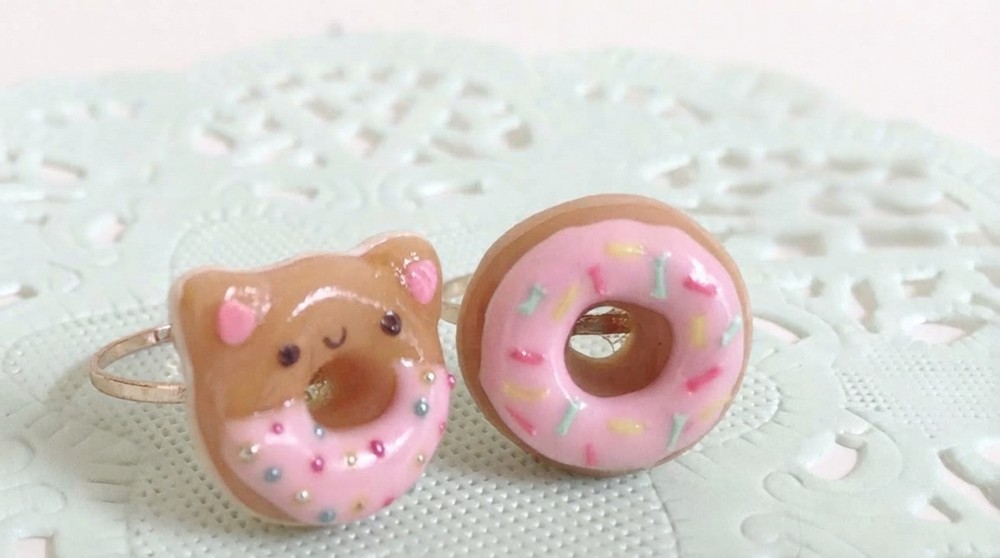
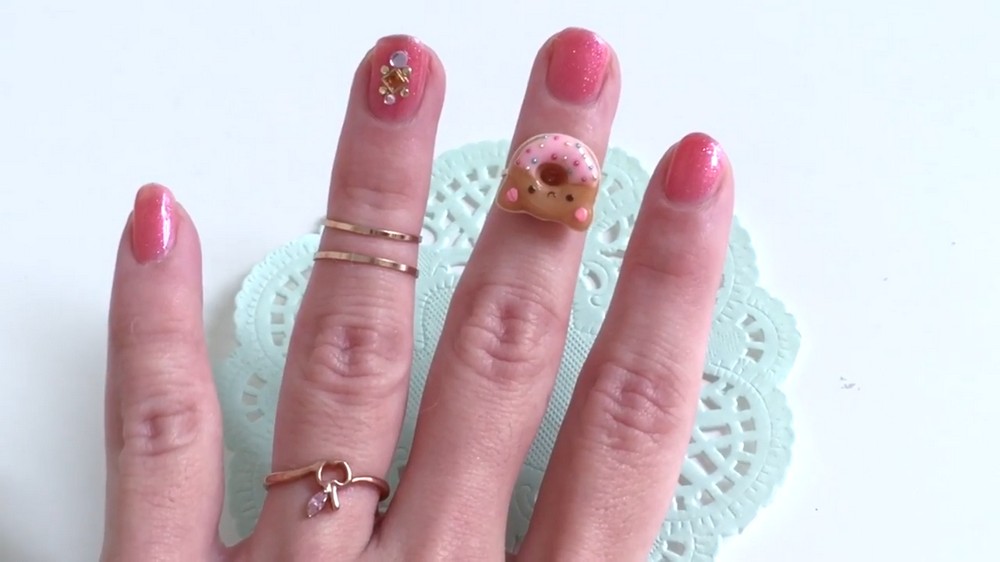
- Rings: Glue the doughnut to a ring base.
- Necklaces: Add an eye pin to the doughnut before baking and attach it to a chain.
- Earrings or brooches: Attach earring hooks or pinbacks with glue.
- Let the glue dry completely before wearing your jewelry!
Tips for Success:
- Always knead your clay before starting to make it soft and pliable.
- Take your time shaping the doughnuts for symmetry and smoothness.
- Customize your designs—try chocolate frosting, rainbow sprinkles, or even glitter!