Hand sew an adorable DIY Mini Santa Penguin Needle Felt Plushie with clear steps and tips, perfect for festive decor, handmade gifts and winter displays
The holiday season is the perfect time to add a personal touch to your décor or gifts, and crafting a mini Santa penguin through needle felting is a charming way to do just that. In her detailed and beginner-friendly tutorial, "Flying Mio" expertly guides viewers through the process of creating a festive felted penguin from start to finish. This unique craft combines creativity, affordability, and functionality, making it ideal for holiday ornaments, heartfelt gifts, or cheerful decorations for your home.
Step-by-Step Santa Penguin Needle Felting for Holiday Fun
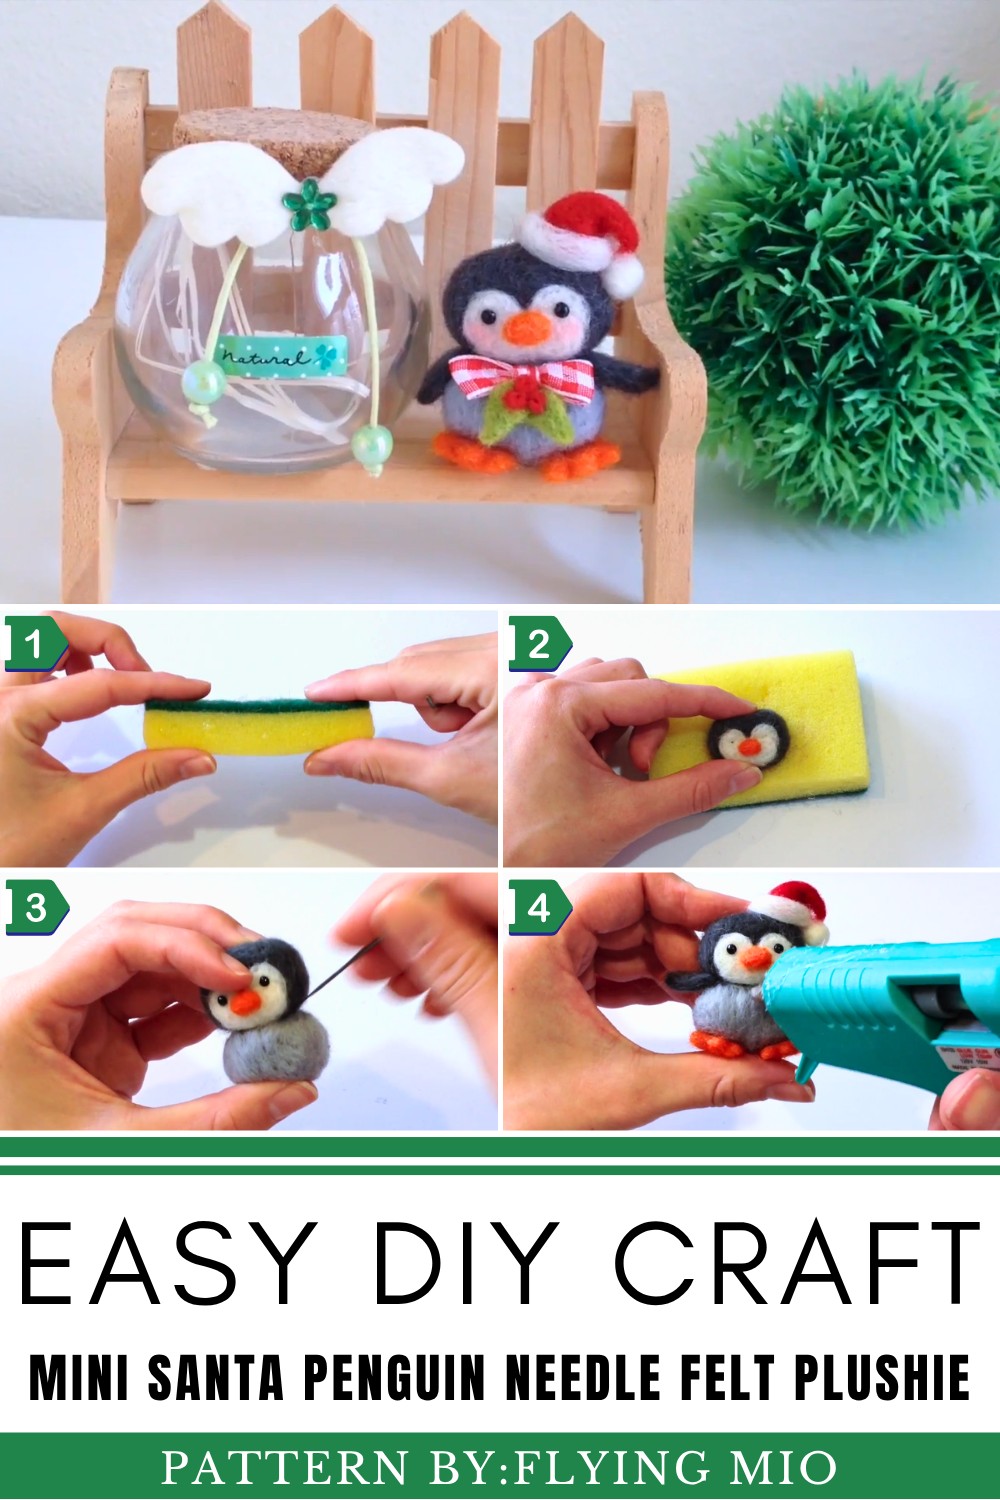
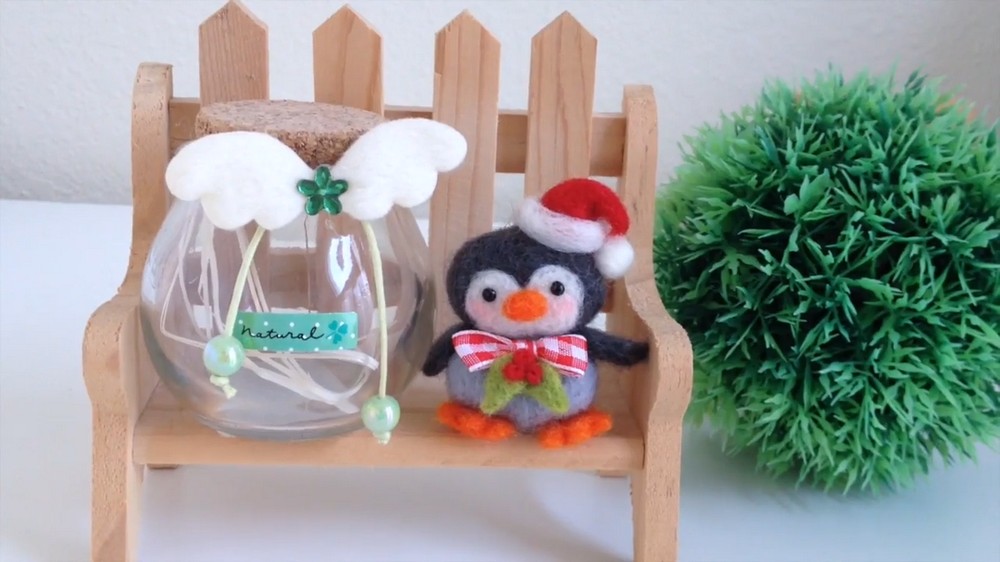
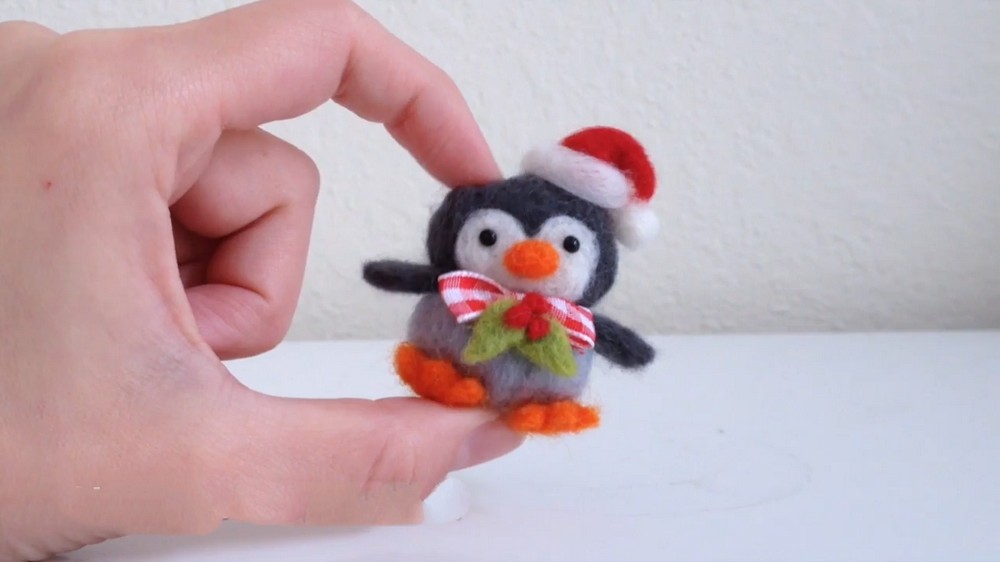
The project starts with shaping a small penguin body and head using dark and light gray felting wool. Flying Mio explains how to create and refine the shapes by repeatedly needling the fibers to form sturdy cross-linked surfaces. Adding character, she demonstrates how to embellish the penguin with features like a white face, an orange beak, animal eyes, expressive wings, and adorable feet. She also provides clever tips for shaping the felt into detailed components, such as the floppy Santa hat made from red and white wool, which becomes the centerpiece of this festive plushie.
The design leaves room for personalization, as you can decorate your penguin with playful touches like mistletoe accents, mini bow ties, or ribbons for extra cheer. Affordable materials, simple tools, and the ability to make a one-of-a-kind keepsake are just some of the advantages of this craft.
Mini Santa Penguin Needle Felt Plushie Instructions
Beginner-friendly guide to crafting a festive needle-felt penguin with a Santa hat, bow tie, and mistletoe. Each step is simple to follow, so even if you’re brand new to needle felting, you’ll be able to make this adorable penguin without issues.
What You’ll Need:
Tools:
- Felting needle (a special barbed needle designed for needle felting).
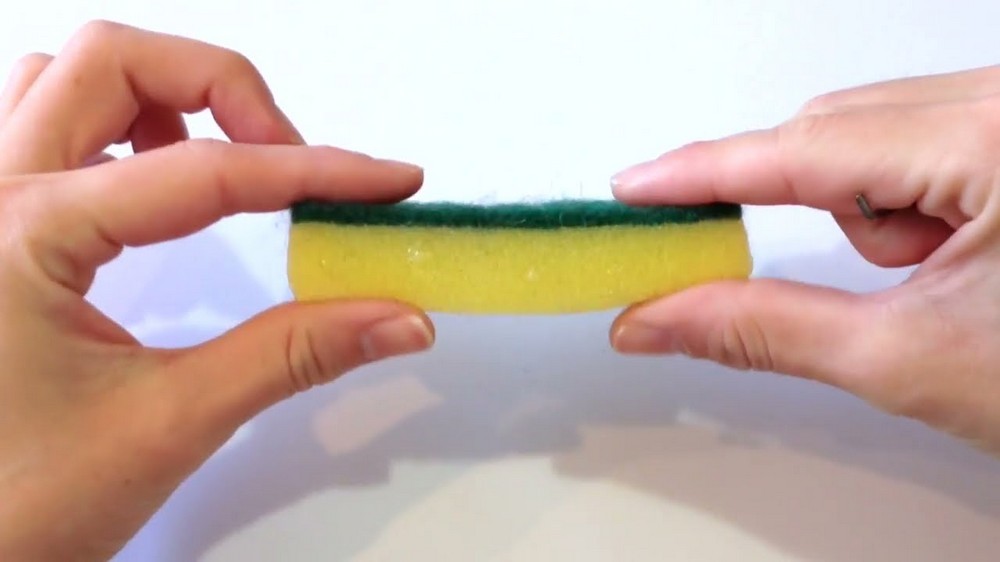
- Felting foam board or a house sponge (to protect your surface while working).
- Scissors.
- Hot glue gun or craft glue (for ribbon decorations).
Materials:
- Gray felting wool (darker gray for wings and lighter gray for the body).
- White felting wool (for the face and Santa hat trim).
- Orange felting wool (for the beak and feet).
- Red felting wool (for the Santa hat and berries).
- Green felting wool (for the mistletoe leaves).
- Checkered ribbon (for the bow tie).
- (Optional) Animal eyes (you can find these at craft stores or online).
Step-By-Step Instructions:
Part 1: Make the Penguin’s Body
Step 1: Create the Penguin’s Head
- Take some darker gray wool and roll it into a ball in your hands.
- Don’t worry about making it round just yet—felting will help smooth it out.
- Place the ball onto your felting sponge or foam board.
- Use your felting needle to poke the wool repeatedly.
- Rotate the ball while poking so the wool compresses and becomes firm and round.
- The more you poke, the smaller and smoother the ball will become.
Step 2: Add the Face
- Take a small piece of white wool and flatten it slightly with your fingers.
- Place the white wool onto the front of the gray ball (this will form the penguin’s face).
- Use your felting needle to attach it:
- Poke the edges gently to blend the white wool into the gray ball.
- Keep felting until it’s securely attached and smooth.
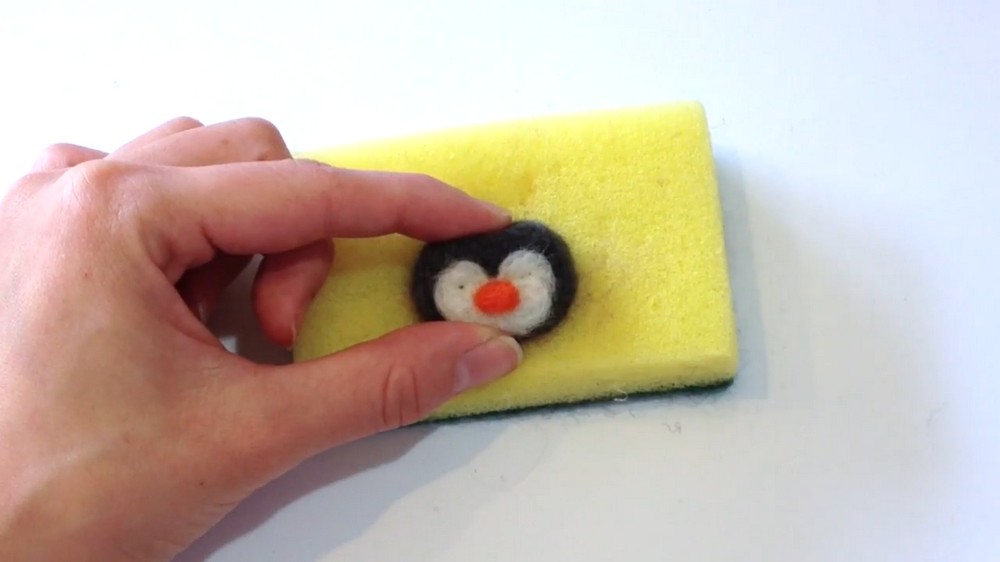
Step 3: Add the Beak
- Take a pinch of orange wool and roll it into a tiny oval with your fingers.
- Place the oval in the center of the face, where you want the beak to be.
- Poke around the edges and surface of the orange wool with your needle until it’s firmly attached.
Step 4: Add the Eyes
Option 1: Using Animal Eyes:
- Use your felting needle to poke two small holes above the beak, where the eyes should go.
- Insert the animal eyes into the holes.
- You can add a drop of glue to secure them if needed.
Option 2: Using Black Wool:
- Roll two tiny balls of black wool and felt them into place above the beak.
Part 2: Make the Penguin’s Body
Step 5: Create the Body
- Take lighter gray wool and roll it into a ball slightly larger than the head.
- Poke the surface with your felting needle, rotating the ball as you work.
- Keep felting until it’s firm and smooth.
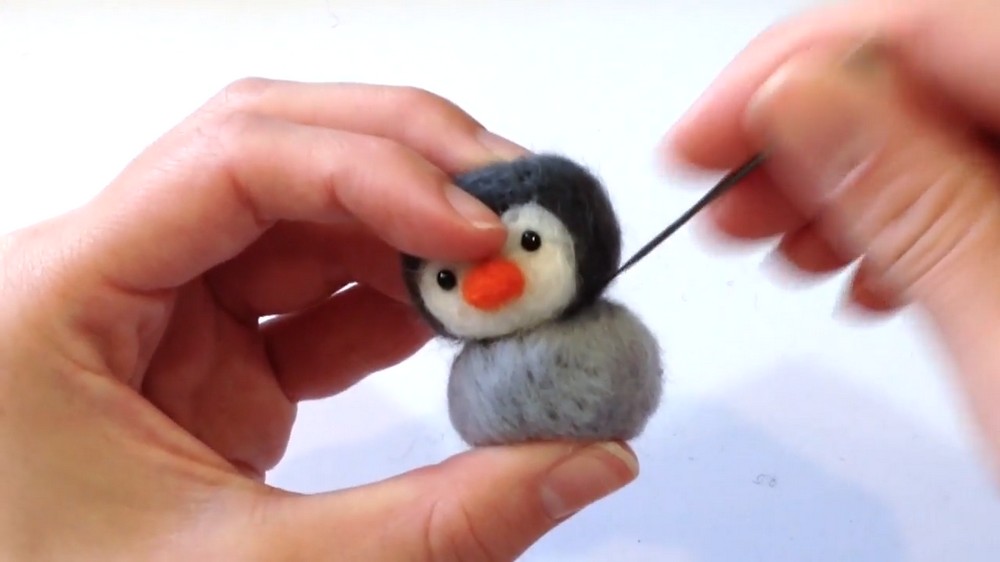
Step 6: Attach the Head to the Body
- Hold the head on top of the body, where you want the two parts to connect.
- Poke around the neck area with your felting needle to join them together.
- Be gentle to avoid distorting the shapes.
- Continue poking until the connection feels solid and seamless.
Part 3: Add Wings, Feet, and Decorations
Step 7: Add the Wings
- Take some darker gray wool and flatten it into a small, oval sheet.
- Use your needle to shape the wool into a wing-like shape.
- Felt the wing onto the side of the body, near the neck area.
- Repeat this step to create and attach the second wing on the opposite side.
Step 8: Make the Feet
- Roll a small amount of orange wool into two flat circles on your felting sponge.
- Use your needle to create little dents along the edges to resemble toes or wedges.
- Attach the feet to the bottom of the body by poking them with your needle.
Part 4: Make the Santa Hat
Step 9: Shape the Hat
- Roll some red wool into a cone or triangle shape.
- Poke all over the wool to compress and smooth it into a firm Santa hat shape.
- To make the tip of the hat floppy, gently poke the tip down to attach it closer to the base.
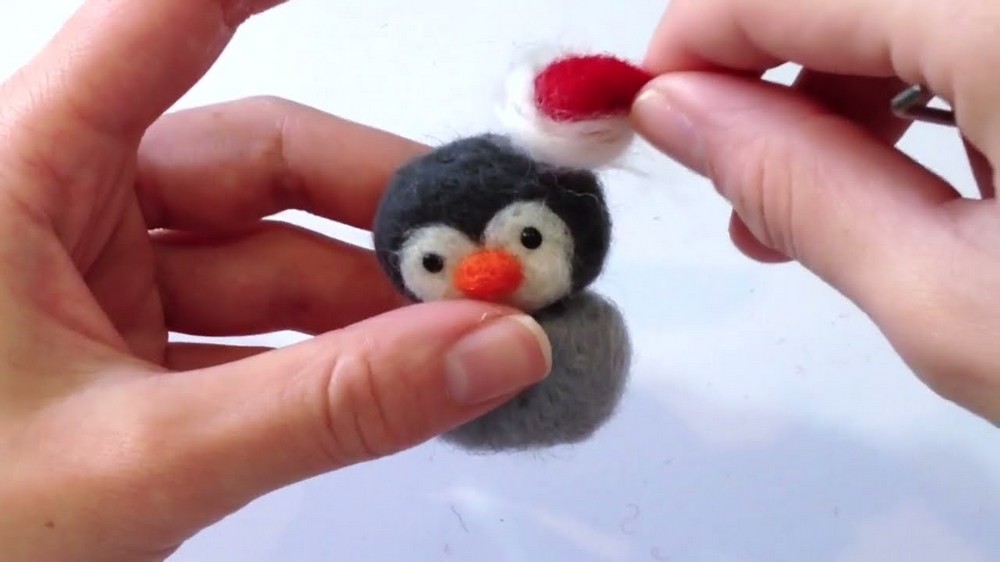
Step 10: Add the Trim
- Roll a thin strip of white wool and wrap it around the bottom edge of the hat.
- Use your felting needle to attach the white wool securely all around.
- Create a white pom-pom by rolling white wool into a tiny sphere, then felting it onto the tip of the Santa hat.
Step 11: Attach the Hat
- Position the hat on top of the penguin’s head and poke lightly around its base to attach.
- Be careful not to change the shape of the head while felting.
Part 5: Add Festive Decorations
Step 12: Make Mistletoe
- Take green wool and flatten it into two small leaf shapes, poking until they’re firm.
- Roll three small spheres of red wool for berries.
- Attach the leaves and berries together by felting them onto the penguin’s chest or head.
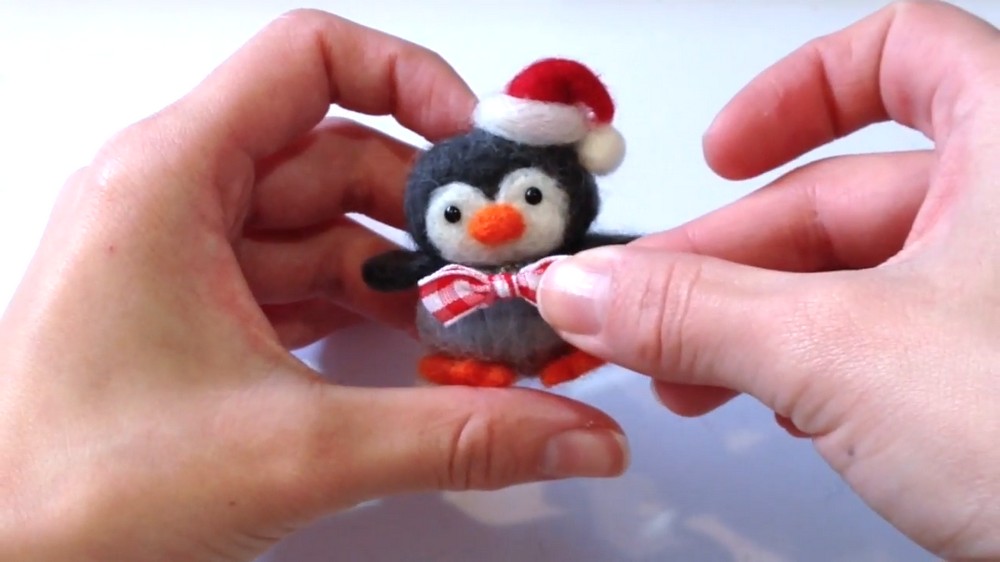
Step 13: Make the Bow Tie
- Cut a small piece of checkered ribbon and tie it into a mini bow.
- Trim the excess ribbon with scissors.
- Glue or sew the bow tie onto the penguin’s neck area for extra flair.
Optional Customizations:
- Add blush to the cheeks using a small amount of pink wool.
- You can accessorize further with fun winter props like tiny scarves or snowflakes!
Part 6: Finishing Touches
Step 14: Inspect and Adjust
- Smooth and reshape any areas that need extra felting.
- Add final touches to make sure all pieces are firmly attached and symmetrical.
Step 15: Display Your Festive Penguin
Your penguin is ready to celebrate! You can display your penguin as:
- A winter ornament (attach a hanging loop).
- A cute decoration for your desk or holiday shelf.
- A handmade gift for friends or family!
Tips for Beginners:
- Work slowly: Needle felting takes time, so be patient!
- Be careful: Felting needles are sharp—don’t rush, especially with small pieces.
- If you mess up, needle felting is forgiving! You can add more wool or reshape until you're happy.