Learn to make an adorable macaron bear plushie with needle felting in this detailed DIY guide, perfect for adding charm to your creative projects.
Crafting enthusiasts and gift-seekers alike will fall in love with this intricate yet accessible project that combines sewing and needle felting into a charming handmade creation. The DIY Macaron Bear Plushie offers more than just a fun activity, it’s a thoughtful, personalized way to craft a decoration or gift that carries a unique touch. Designed by the talented creator behind the "Flying Mio" YouTube channel, this craft strikes the perfect balance between creativity and simplicity, ensuring that even beginners can enjoy making adorable keepsakes.
Adorable DIY Macaron Bear Plushie Tutorial for Beginners
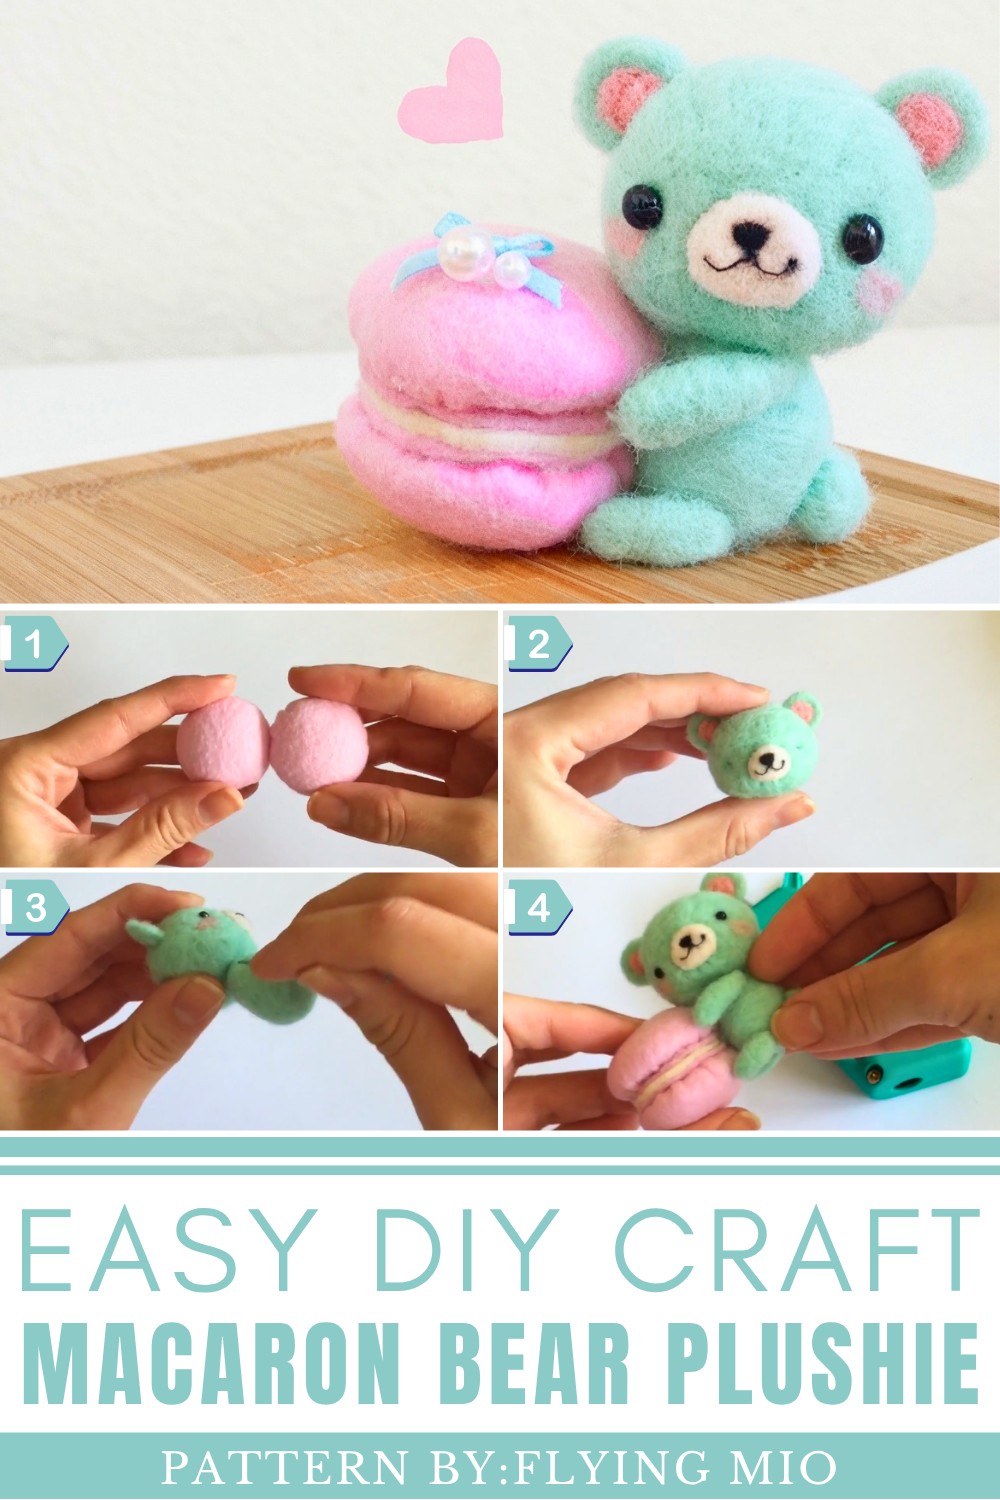
The plushie's whimsical design features a macaron as a base, constructed from felt circles reinforced with sturdy tags for shape and durability. The bear itself is meticulously sculpted from green wool using needle felting techniques, with delicate pink accents adding warmth to the ears and cheeks. Its three-dimensional character—rounded shapes and thoughtful proportions, gives it a playful, cube-inspired feel. Details like blushing cheeks, expressive eyes made from polymer clay or animal eyes, and a cream-colored belly make this plushie irresistibly cute.
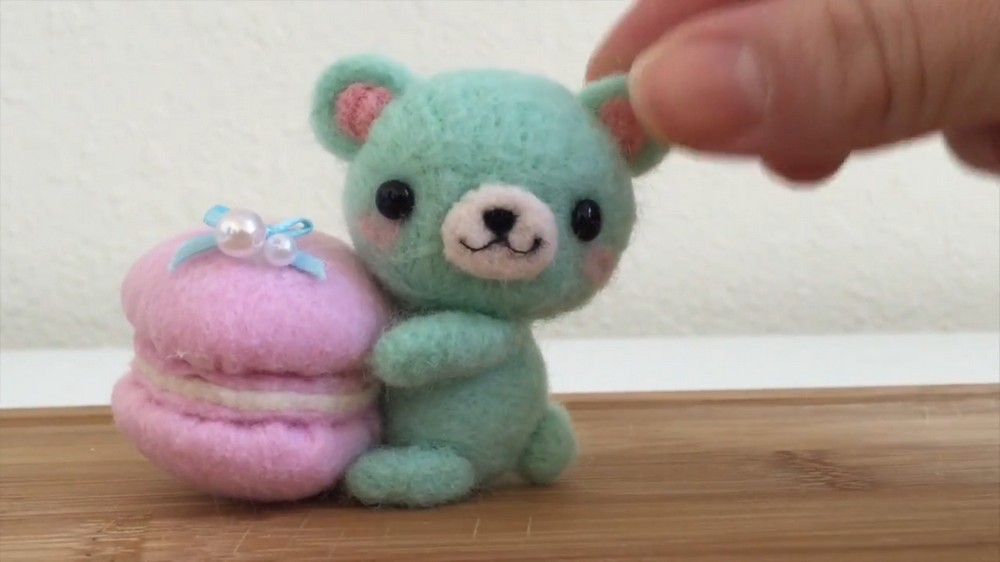
Creative customization options abound, from ribbon bows to pearl accents, enabling crafters to add their own flair. Affordable and compact, it’s ideal for brightening up small spaces, gifting on special occasions, or simply expressing personality through décor. detailed PATTERN provides every step, making the project approachable for newcomers while fostering pride in homemade artistry.
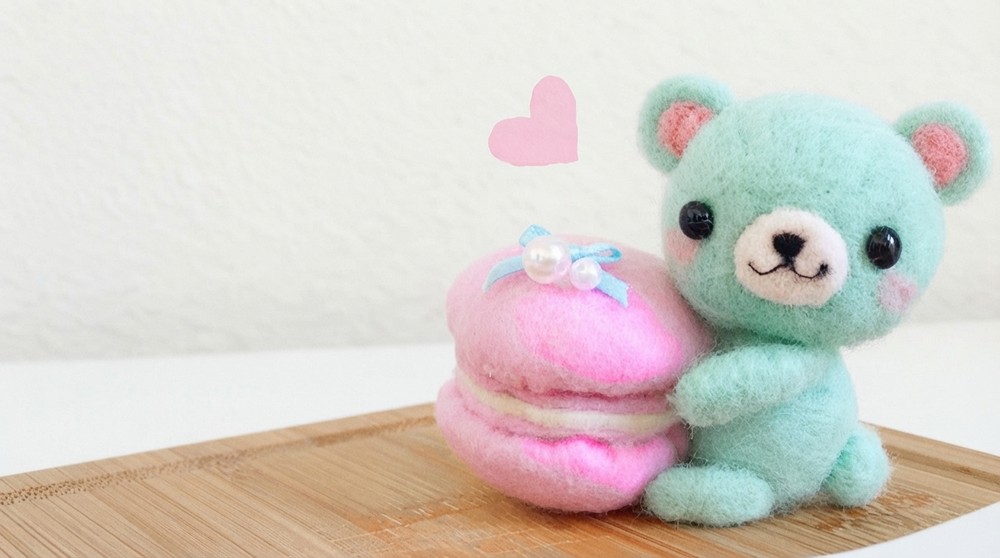
DIY Macaron Bear Plushie
Simple step-by-step guide to making the adorable Macaron Bear craft! Even if you’re a beginner, each part is broken down so you can easily follow along and create this fun DIY project.
Supplies Needed:
Here’s everything you’ll need to make your Macaron Bear:
For the Macaron:
- Large light pink felt (2 pieces for the macaron halves and 1 extra smaller layer)
- Cream felt (small circle for the “filling”)
- Metal tags or stiff cardstock circles (2 pieces for structure)
- Thread (pink or matching felt color)
- Stuffing (a pinch for each half)
- Scissors
- Hot glue gun or super glue
For the Teddy Bear:
- Mint green felting wool (for the bear’s body, head, and ears)
- Light pink felting wool (for ear details and blush)
- Cream felting wool (for the mouth details)
- Black felting wool (for the nose and smile)
- Animal eyes or black polymer clay and gold eye pins (for DIY eyes)
- Felting needle and sponge (for needle felting)
- Optional: Pink ribbon and pearl beads for decoration
Part 1: Making the Macaron
We’ll start with the macaron base!
1. Prepare the Base
- Take the metal tags (or stiff circles) and cut off any strings attached.
- These help give the macaron structure. If you don’t have them, sturdy cardstock works well!
2. Make the Circle Cutouts
- Cut two large circles of light pink felt, leaving about 1 inch extra around each of the metal tag circles.
- This extra space will allow you to sew and shape the fabric easily.
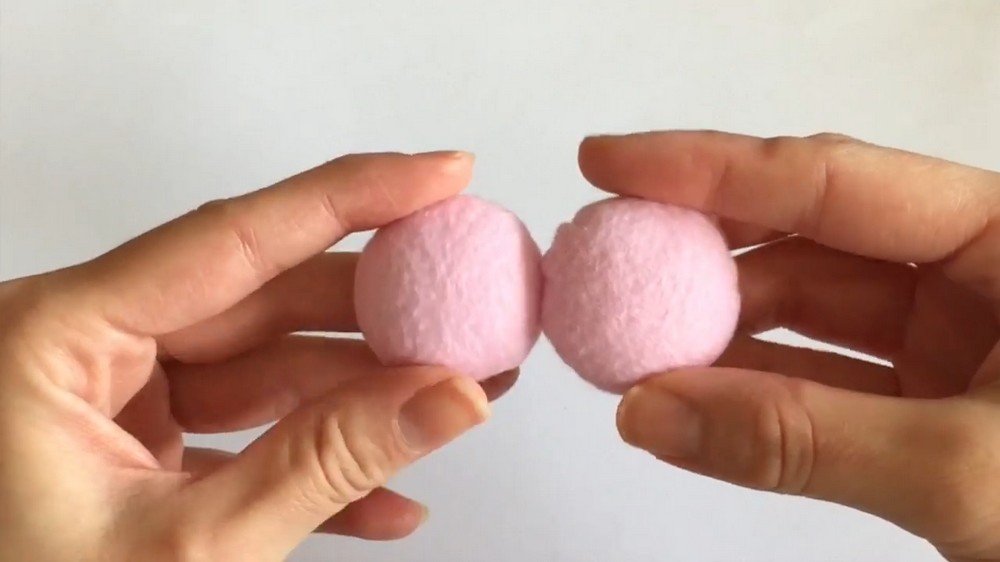
3. Sew the Macaron Halves
- Thread your needle with pink thread and tie a knot at one end.
- Sew small up-and-down stitches around the perimeter of one pink felt circle. Keep your stitches small (about 3 mm) for neat ruffles!
4. Add Stuffing and Close
- Place a pinch of stuffing in the center of the felt circle.
- Lay one metal tag on top of the stuffing.
- Pull the thread taut to gather the felt around the tag and stuffing. Tie a tight knot to secure it.
Repeat this process to make two halves for the macaron.
5. Glue the Macaron Together
- Cut a small cream circle (this will be the “filling”) and glue it between the two macaron halves.
- Add two smaller pink felt circles on the outer sides of the macaron for extra detail.
Your macaron is ready—let’s make the bear next!
Part 2: Making the Teddy Bear
Now for the bear, we’ll use needle felting to craft its adorable features.
1. Make the Head
- Take a piece of mint green wool and roll it into a tight ball, keeping it as smooth as possible.
- Use your felting needle to stab the wool evenly in all directions. Rotate the ball to maintain a round shape.
- The more you stab, the tighter and smaller the wool becomes. Work patiently until you’re happy with the size.
2. Create the Ears
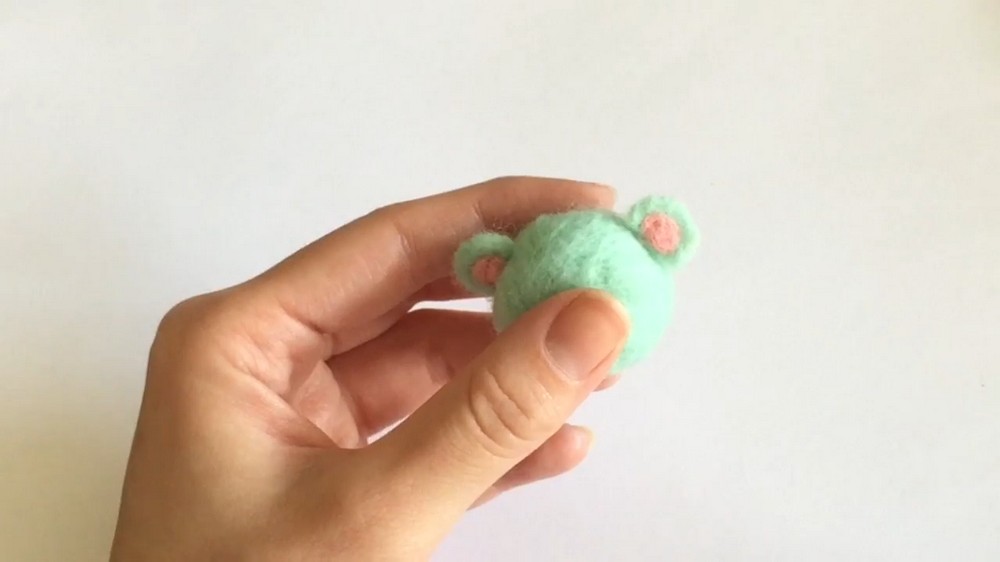
- Take a small pinch of mint green wool and needle felt it into a semicircle. This will be one ear.
- Add a bit of light pink wool in the middle of the ear for detail and needle felt the colors together. Repeat for the second ear!
- Attach each ear to the head, ensuring they are symmetrical.
3. Add the Face
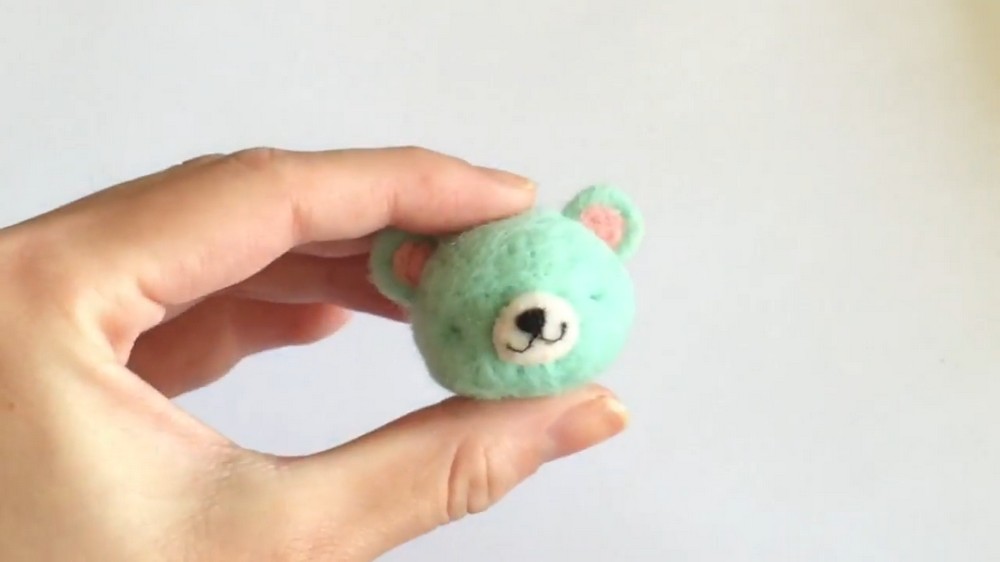
- Take cream wool and needle felt it into an oval shape (this becomes the bear’s mouth area).
- Needle felt black wool into a small nose and mouth using thin rolls of black wool (roll it between your fingers before felting carefully). This step takes patience—work slowly!
4. Add the Eyes
Option 1: Animal Eyes
- Use a felting needle to poke holes into the head where the eyes will go.
- Insert animal eyes and glue them into place if needed.
Option 2: DIY Polymer Clay Eyes
- Roll small black polymer clay balls to the size you want for the eyes.
- Flatten them slightly.
- Bake according to the clay instructions (around 250°F for 20 minutes).
- Attach gold eye pins to the back with super glue and poke them into the teddy bear’s head.
5. Body, Arms, Legs, and Tail
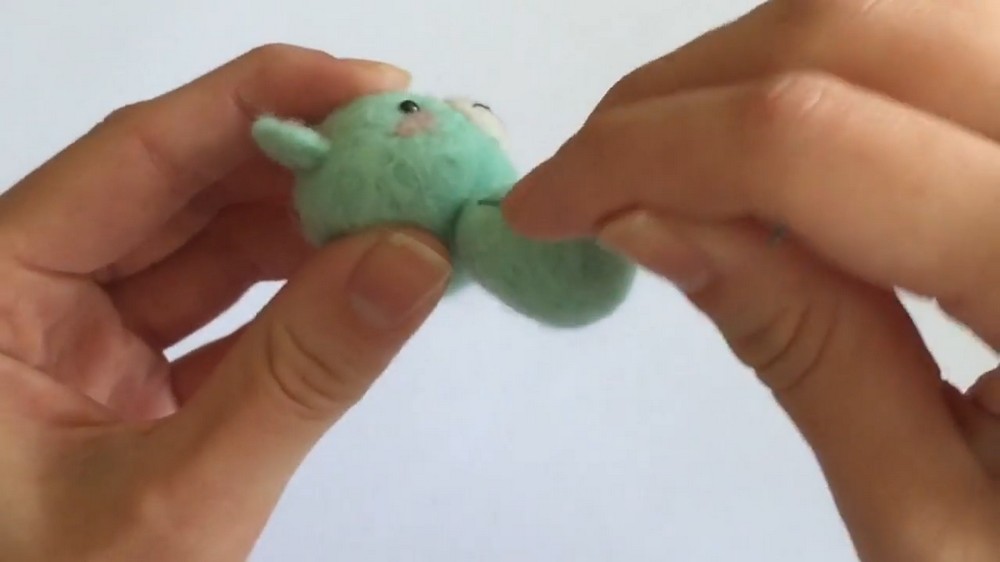
- Make the body slightly smaller than the head using mint green wool. Needle felt it into a pyramid-like ball, with a pointier end as the neck area.
- Felt four small cylinders for the arms and legs. Attach them parallel to each other on the body.
- Make a tiny tail by felting a small ball and placing it on the back of the bear.
Part 3: Putting It All Together
1. Attach the Macaron and Bear
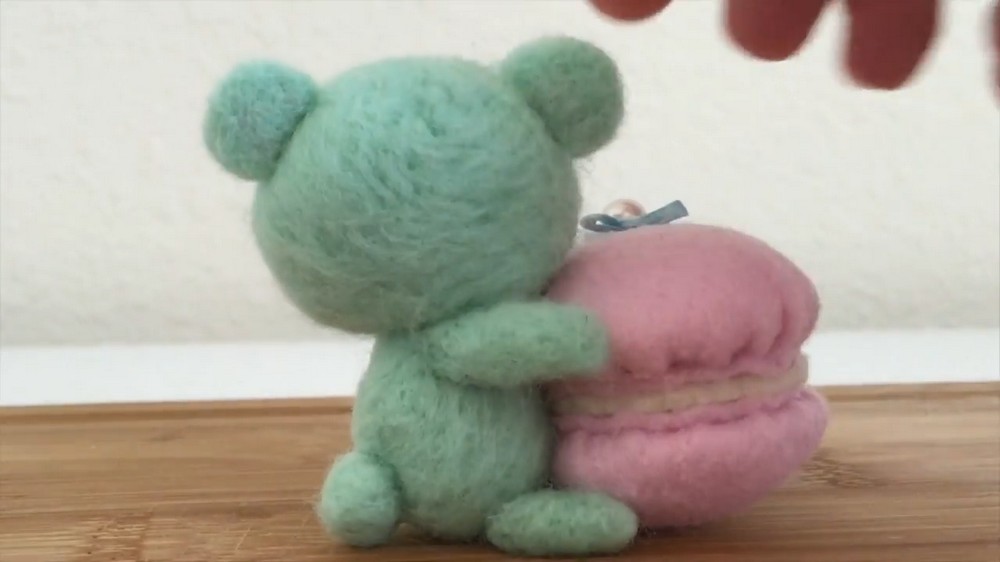
- Position the bear so it hugs the macaron. Use the hot glue gun (or super glue) to secure the body onto the macaron.
2. Decorate with Ribbon and Beads
- Tie a small bow using pink ribbon. Trim the edges neatly.
- Glue the bow on top of the macaron or place it on the bear’s neck.
- Add pearl beads or any other decorations you like!
Final Tip: Take Your Time!
This project is very customizable—you can make different colored macarons, bears, or bring in your own creative variations. Just remember to be patient while needle-felting and sewing. Little stitches and careful pokes make for a neat finish.