Make an adorable kitten couch charm using polymer clay, perfect for unique accessories or decor that adds a playful touch to your collection.
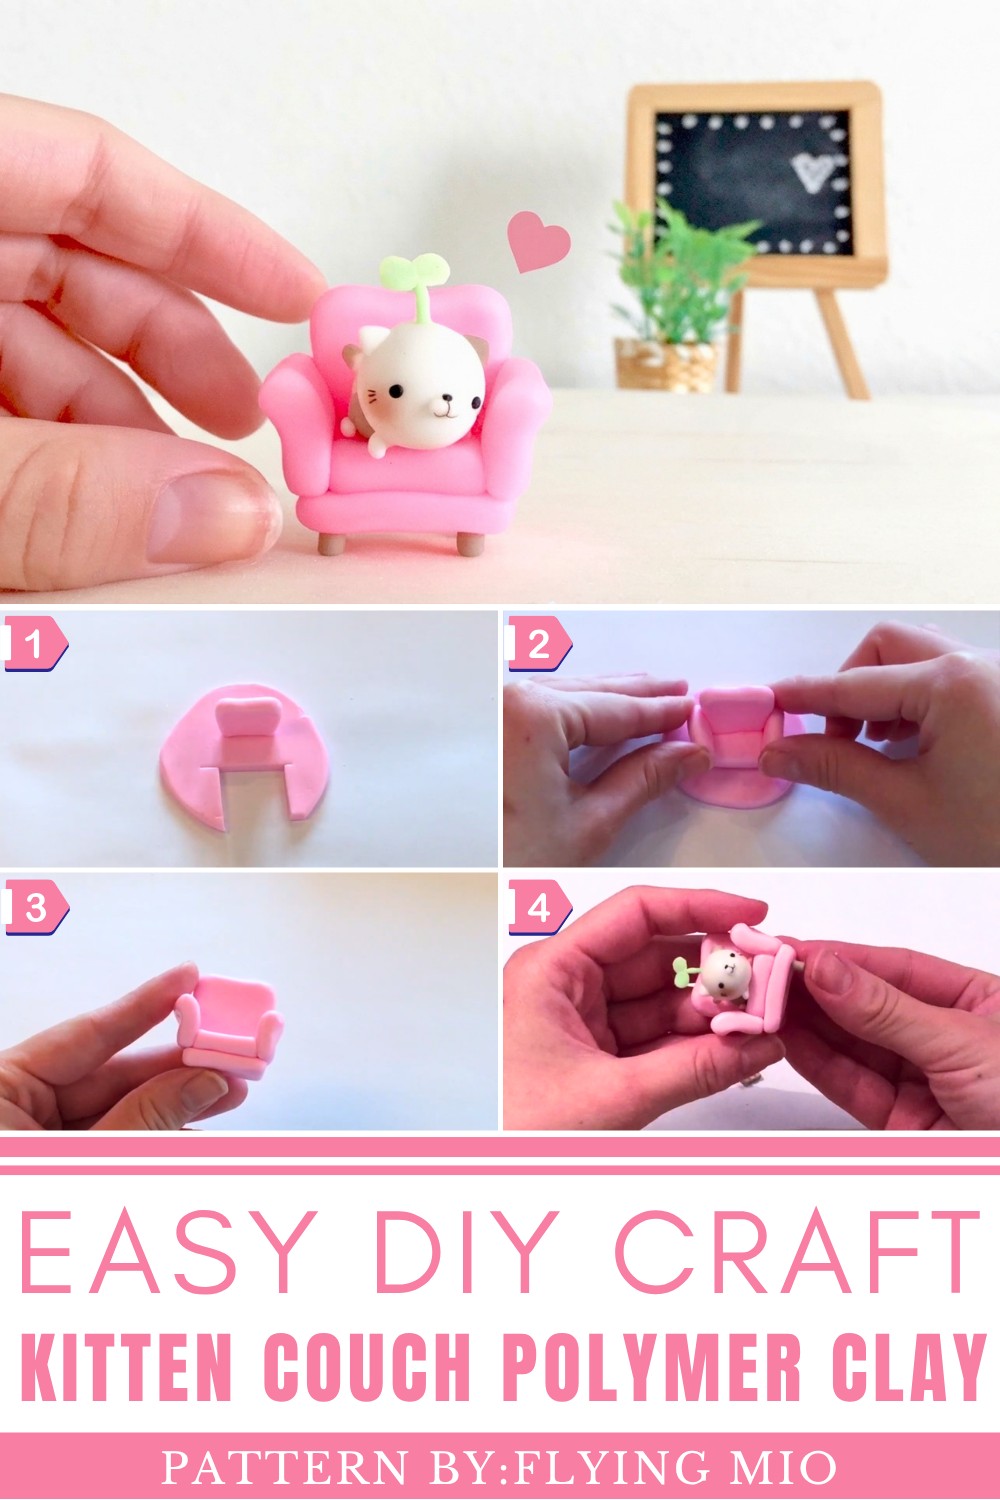
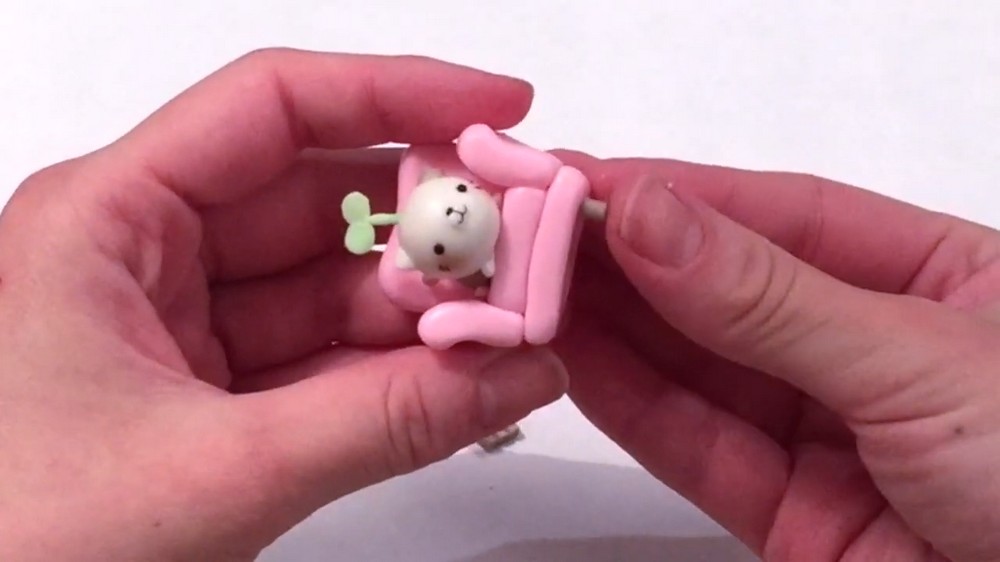
This miniature design radiates charm and coziness, offering an adorable take on a whimsical scene. The DIY Kitten Couch Polymer Clay creation features a delightful kitten lounging on a soft pink heart-shaped couch, complete with tiny armrests and playful finishing touches. Adding to its character is the sprouting green plant atop the kitten’s head, a quirky detail that makes this piece stand out. The kitten’s expressive eyes, blushing cheeks, and petite body proportions give it a gentle, heartwarming vibe. Whether as a decorative piece, a unique gift, or a collector’s treasure, this design perfectly balances creativity, cuteness, and artistry.
Handmade Mini Kitten Couch from Polymer Clay – Fun DIY Inspiration
Good Word About Designer!
A talented polymer clay artist (Mio), brings this imaginative creation to life on her channel. Explore her vast collection of playful and inspiring tutorials by visiting Flying Mio’s channel.
Styling Tips for the DIY Kitten Couch Polymer Clay Creation
1. Perfect for Desk Décor
Add a touch of whimsy to your workstation by placing this adorable kitten couch miniature on your desk. Its compact size and playful design can brighten your space and bring cheer to your daily routine.
2. Display in Glass Cabinets
Showcase the charm and intricate details of this DIY Kitten Couch Polymer Clay piece by placing it inside a glass display cabinet. It pairs beautifully with other handcrafted miniatures or collectibles.
3. Pair with Pastel-Themed Décor
Complement its soft pink hues and cozy vibe by styling it alongside pastel-colored décor items, such as candles, picture frames, or small trinkets, for a cohesive and aesthetic setup.
4. Make It a Centerpiece
Use the miniature as a conversation starter in your living room or bedside table setup. Its quirky plant detail and lounging kitten will instantly catch the eye and spark curiosity.
5. Gift Presentation
This piece makes a wonderful handmade gift. Enhance the presentation by pairing it with a thoughtful card or placing it in a small decorative box to create a memorable experience.
6. Incorporate Seasonal Designs
During holidays, enhance the charm of the kitten couch by styling it with seasonal elements like tiny ornaments or faux snow for winter, or floral accents for spring.
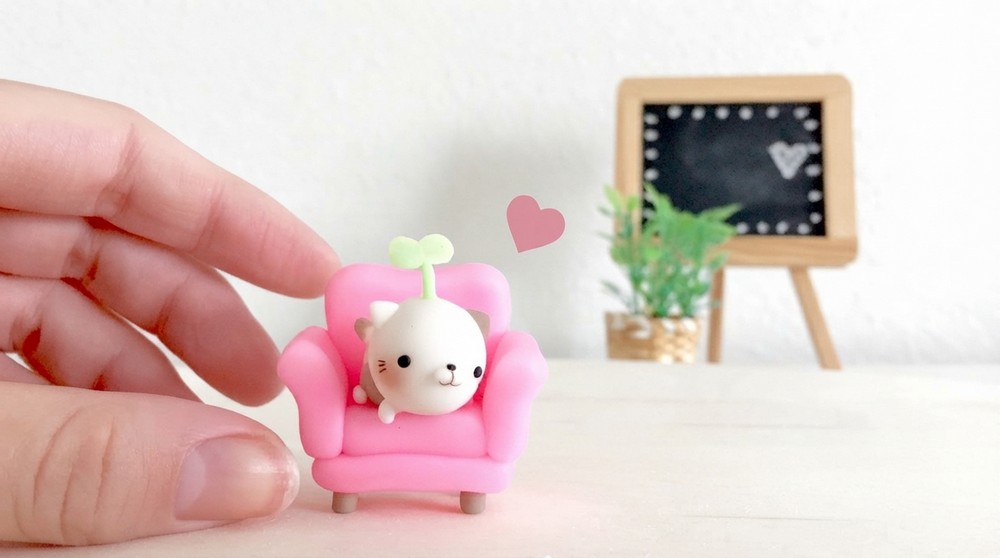
DIY Kitten Couch Polymer Clay tutorial
Here’s a super-friendly and detailed beginner-friendly guide to making your very own Kitty on a Miniature Couch using polymer clay! I've broken the project into simple, bite-sized steps so that you can have lots of fun while creating this adorable craft.
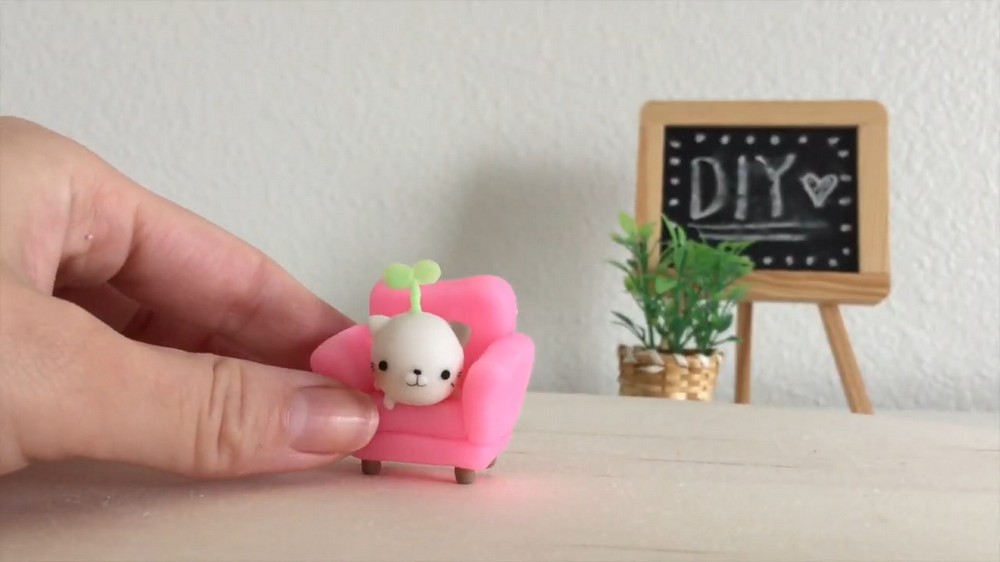
Materials You'll Need
- Polymer clay in different colors:
- Pink (light or hot pink for the couch)
- White (for the kitten)
- Black (for facial details and whiskers)
- Brown (for details like ears or patches)
- Green (for the sprout on the kitten’s head)
- A blade or craft knife
- A rolling pin (or any round object to flatten clay)
- Chalk pastels (pink or red for blush)
- A thin brush or cotton swab (for applying chalk dust)
- An oven (to bake your final creation)
- Optional: Craft tools for smoothing and shaping clay
Steps to Make Your Kitty on a Couch
Step 1: Make the Back of the Couch
- Roll out a piece of pink clay until it’s around 4-5mm thick (about half a centimeter).
- Using a blade or craft knife, cut this into a square or rectangle shape for the backrest of the couch.
- TIP: Make it as large as you want, depending on the size of your kitten figure!
- Round off the edges to make it smooth and more “couch-like.” You can use your fingers, a rolling pin, or even the back of a pencil for this.
- If you want, shape the top of the backrest into a heart shape, making the couch cuter.
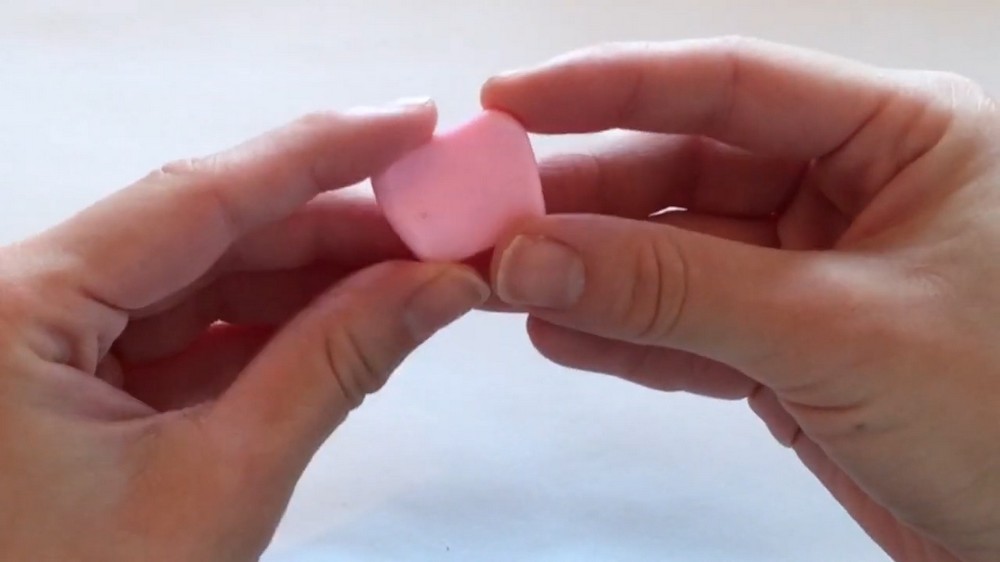
Step 2: Make the Seating Area of the Couch
- Roll out another piece of pink clay to the same thickness as the backrest.
- Use the backrest as a guide! Place it on top of the flattened clay to figure out the correct size for the seating section. Cut out a matching square or rectangle.
- Again, round off the edges to keep it smooth and realistic.
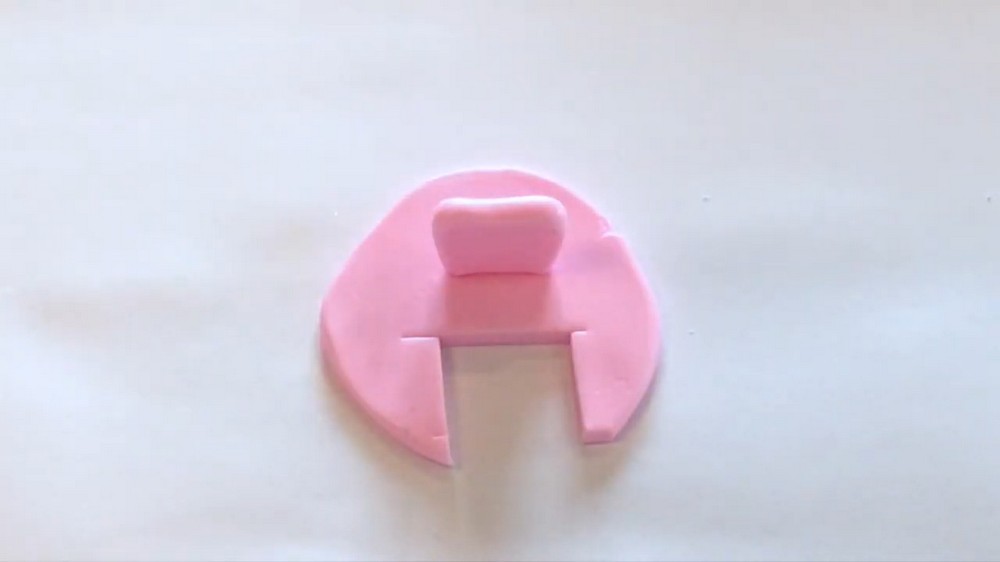
Step 3: Make the Couch Armrests
- Create two small rectangles or cylinders from pink clay to act as the armrests.
- Gently curve them slightly so they look like real armrests and fit nicely on the sides of the couch.
- If the armrests are too long, use a blade to carefully trim them until they sit perfectly beside the seating area.
- Smooth out all the edges.
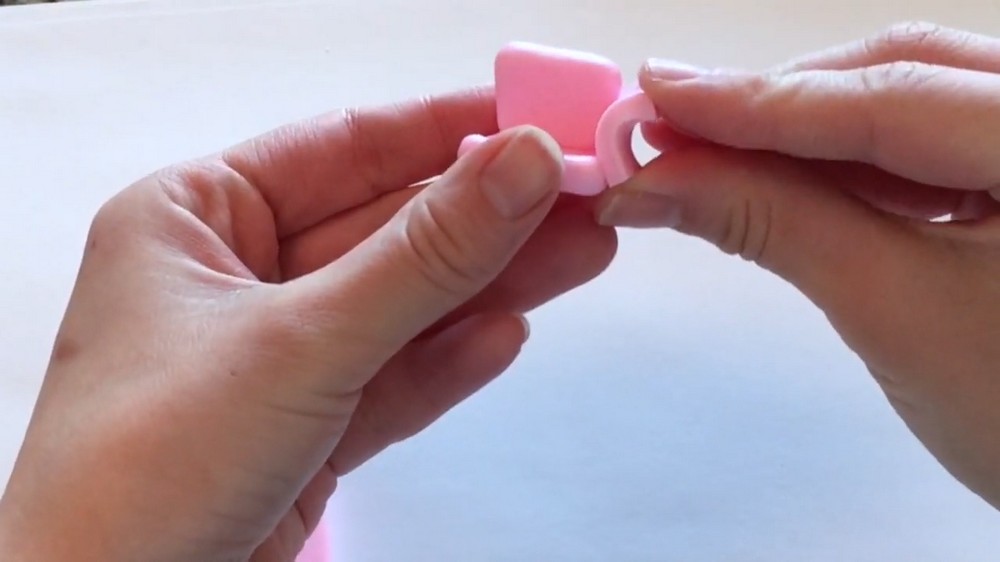
Step 4: Add a Bottom Cushion
- Roll out another piece of pink clay for the bottom cushion that supports the couch.
- Place the seating area of the couch on top of this clay and cut out another square or rectangle to match its size.
- Once cut, smooth out the edges and make sure everything fits together neatly.
Step 5: Assemble the Couch
- Attach the backrest to the seating area by lightly pressing them together.
- Add the armrests to either side.
- Place the bottom cushion underneath the seating area, so the couch has a thicker, “cushioned” appearance.
- Smooth all the edges and adjust the shapes until your couch looks plush and cute!
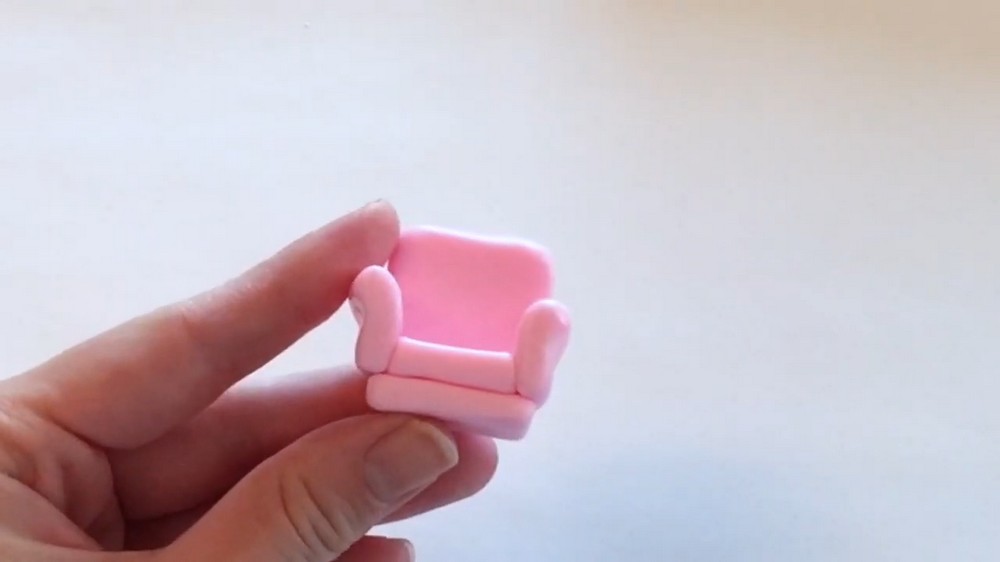
Step 6: Make the Kitty's Head
- Roll a small ball of white clay for the kitten's head.
- Add two tiny triangle ears on top of the head:
- Make one triangle out of white clay and the other out of brown clay (for a fun detail like a patch of fur!).
- Next, roll out two tiny black balls for the eyes and space them far apart on the head for extra cuteness.
Step 7: Add Kitty’s Face Details
- For the snout:
- Roll two tiny balls of white clay and place them side-by-side in the center of the face.
- Add a tiny black clay ball on top of the snout to make the nose.
- Roll thin black snakes of clay to create the mouth details*,* forming a little “U” shape or a soft smile connecting to the nose.
- TIP: This part is small and delicate, so take your time!
- Dust some pink or red chalk pastel under the eyes using a brush or cotton swab to create soft, rosy cheeks. It adds a lot of charm!
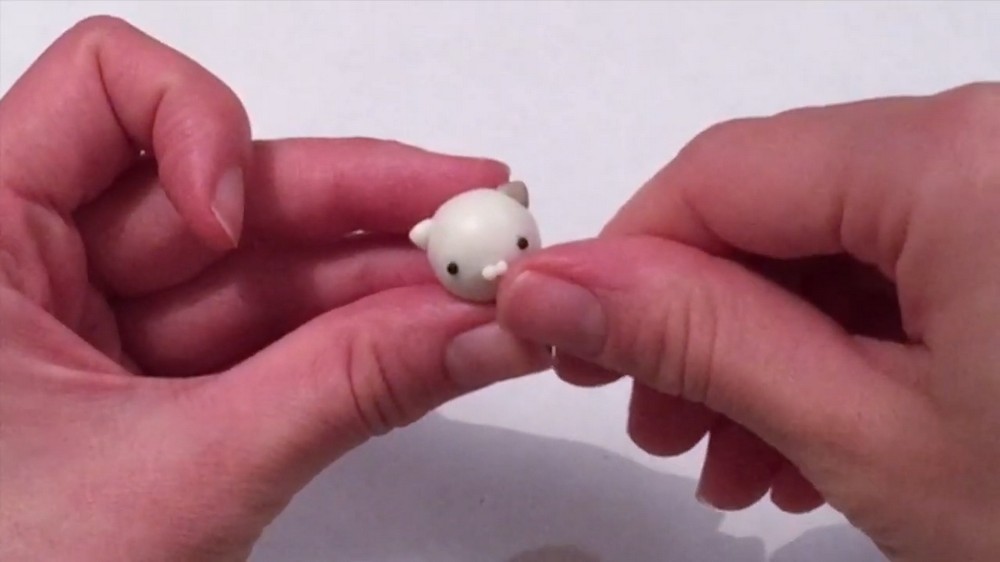
Step 8: Make the Body
- Roll a teardrop shape out of white clay for the kitten's body. The pointed end of the teardrop will go under the head.
- Attach the head to the rounded part of the body.
- Add tiny details:
- Roll small pieces of white clay for the legs and arms, attaching them to the body. Ensure they are super tiny!
- Add a little curved tail at the back of the body.
- For extra cuteness, add a brown patch of clay somewhere on the body to coordinate with the ear.
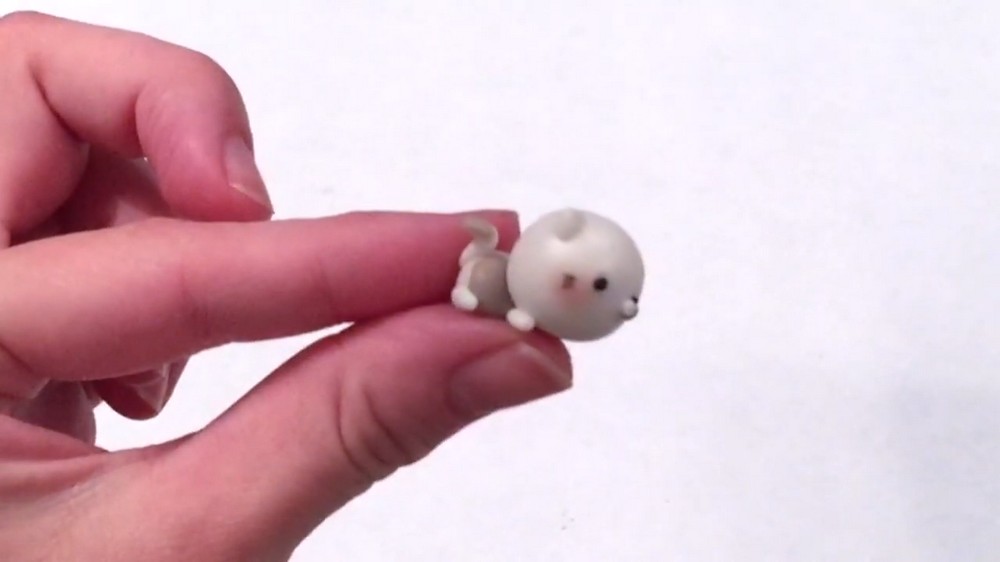
Step 9: Add the Sprout
- Roll a thin green snake of clay to form the sprout stem.
- Flatten small circles of green clay into two leaf shapes and attach them to the stem.
- Stick the sprout on top of the kitten’s head for that playful, whimsical look.
Step 10: Position the Kitty on the Couch
- Position the kitten carefully so it looks natural, sitting or reclining on the couch. You can have it look straight or tilt its head slightly to the side for added personality.
- Secure the kitten into place by gently pressing it onto the couch.
Step 11: Add Couch Legs
- Roll out a thin snake of brown clay and cut four even-sized pieces to create tiny cylinders (these will be the couch legs).
- Attach them evenly to the bottom of the couch, spacing them out properly.
Step 12: Bake Your Creation
- Preheat your oven to 250°F (120°C).
- Carefully place your masterpiece on a baking tray (lined with parchment paper if necessary).
- Bake for about 25 minutes (or follow the instructions on your clay package if different).
- Let it cool completely before handling.
You're Done!
This cute creation can now sit on your desk, shelf, or anywhere where it can make you smile. If you feel extra creative, you can even make more kittens, different colored couches, or add more details like tiny cushions or a rug.