Bring charm to your handmade creations with this detailed guide on making a baby alpaca figure using needle felting techniques for a professional finish.
With its charming size and delightful details, crafting a baby alpaca out of needle felt is a creative undertaking that blends art and practicality. This project is not just about crafting something adorable—it's an affordable, personalized way to create a piece that brings warmth and individuality to your living space or makes a thoughtful gift. Designed and demonstrated by "Flying Mio" on her YouTube channel, the tutorial walks beginners and seasoned crafters alike through every step of crafting this fluffy masterpiece.
DIY Baby Alpaca: Needle Felting Tips and Tricks
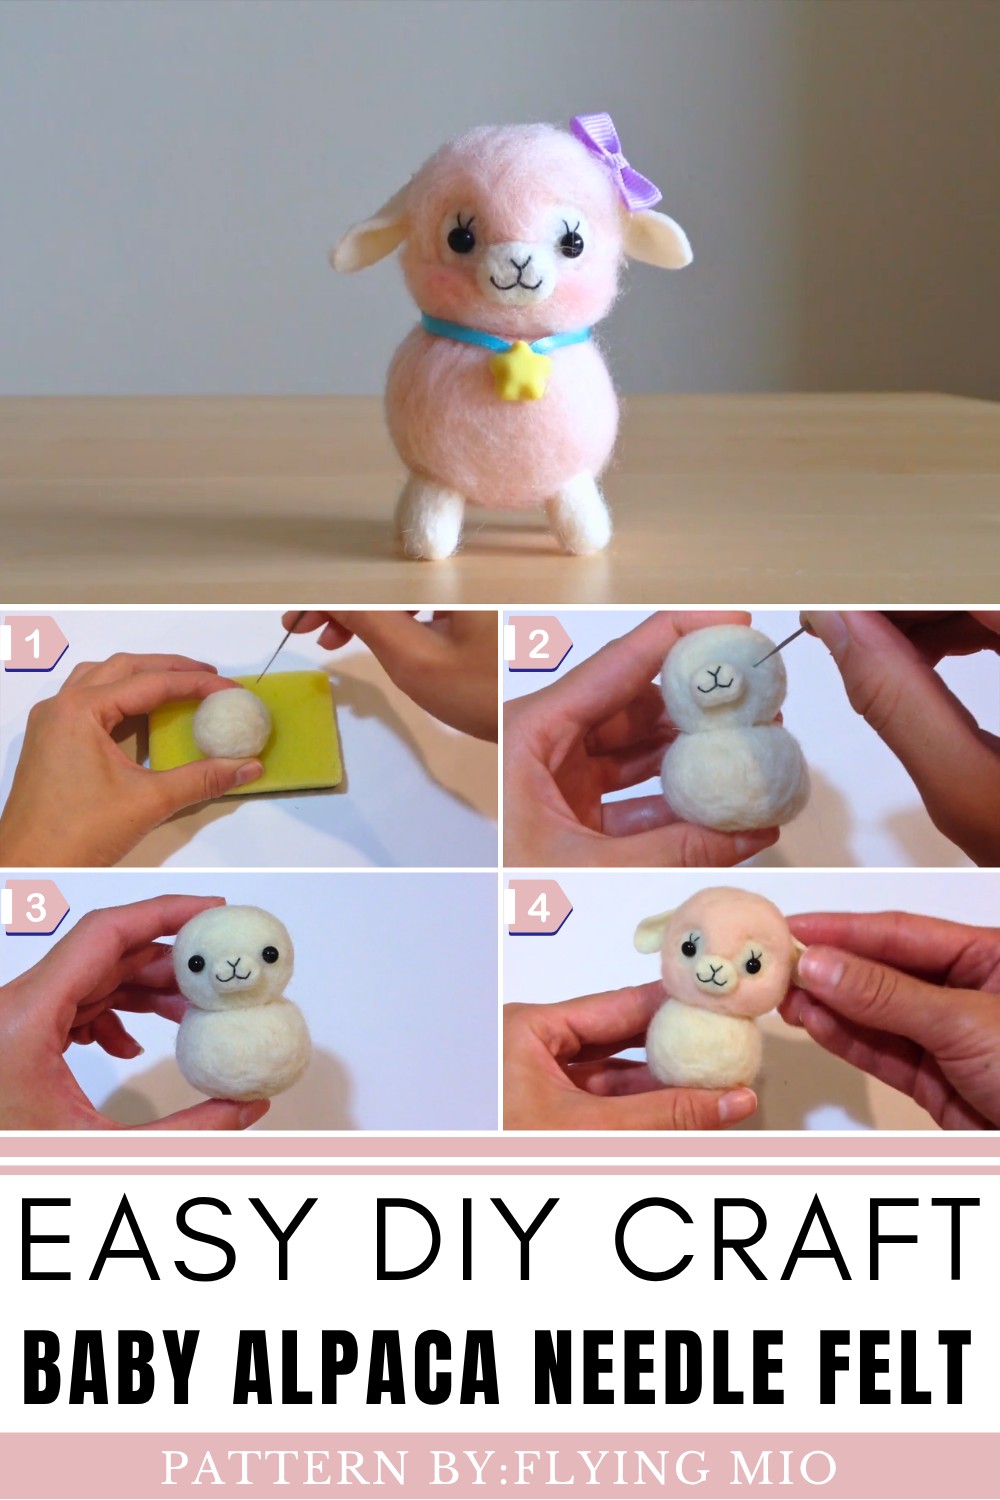
Inspired by colorful Japanese “Alpaso” models, the baby alpaca plushie starts with core needle felting techniques to form the head and body, using flesh-colored wool rolled into shapes and bound tightly with a felting needle. The project evolves with meticulous attention to detail, as features like the facial details are added using sewing thread for precision, animal eyes for a lifelike effect, and soft blush to give the plushie a warm, happy expression.
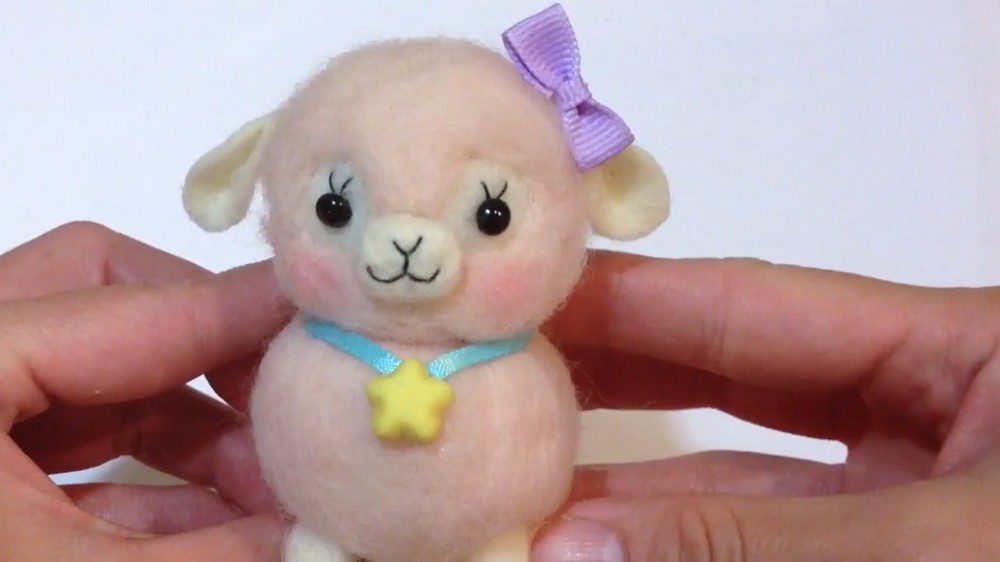
The real fun lies in customization. From a pastel pink coat for a cotton candy look to vibrant colors inspired by Alpaso designs, every crafter can make the alpaca their own. Touchable elements like a fluffy felt tail and folded felt ears add dimension, while accessories like mini polymer clay stars, ribbons, or blush further elevate its personality.
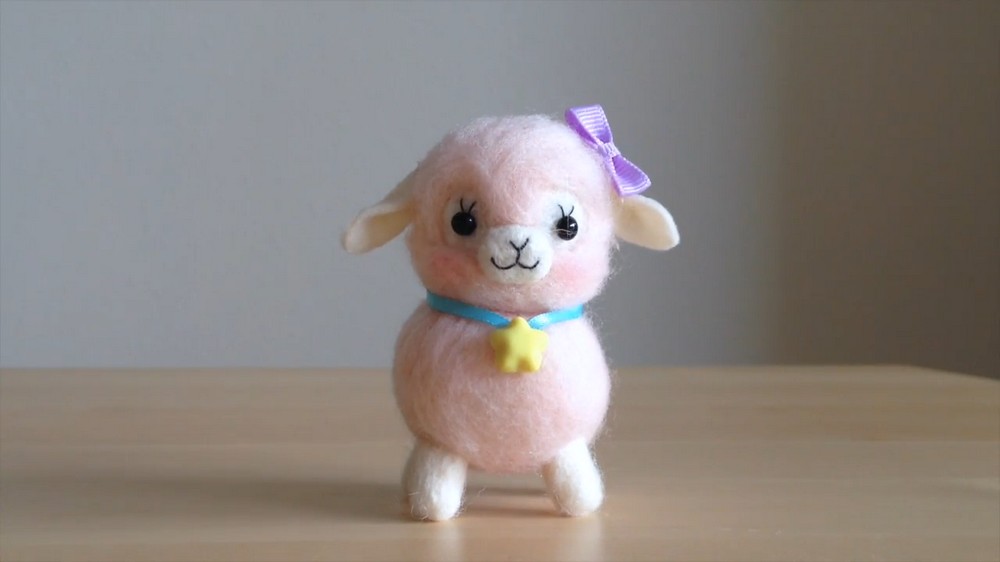
Baby Alpaca Needle Felt Tutorial
Here’s a detailed guide to making the super cute needle-felt alpaca, inspired by the Japanese Alpacasso designs. Follow along, crafting bunnies—you’ll have an adorable alpaca plush in no time.
Supplies Needed:
Tools:
- Felting needle (this is a special barbed needle, not a regular sewing needle).
- Sponge/foam board (used as a surface for felting).
- Sewing needle (optional, for the nose and mouth).
- Scissors.
- Hot glue gun or fabric glue.
Materials:
- Felting wool in:
- Base color: e.g., flesh white/cream for the body and head.
- Fur color: e.g., baby pink, mint green, blue, or any pastel for "fluffy coat."
- Small piece of felt (for ears—matching or slightly darker than the base).
- Black animal/safety eyes or black polymer clay.
- Optional:
- Ribbon (to accessorize the alpaca).
- Yellow polymer clay (to make a decorative star or charm).
- Pink eyeshadow/blush (for cheeks).
Step-by-Step Guide to Crafting the Alpaca
Step 1: Prepare Your Workspace
- Place your foam board/sponge on a flat surface.
- Keep your felting needle handy and handle it carefully—it’s sharp!
- Gather all your materials so they’re ready to go.
Part 1: Making the Alpaca’s Head and Body
Step 2: Make the Head
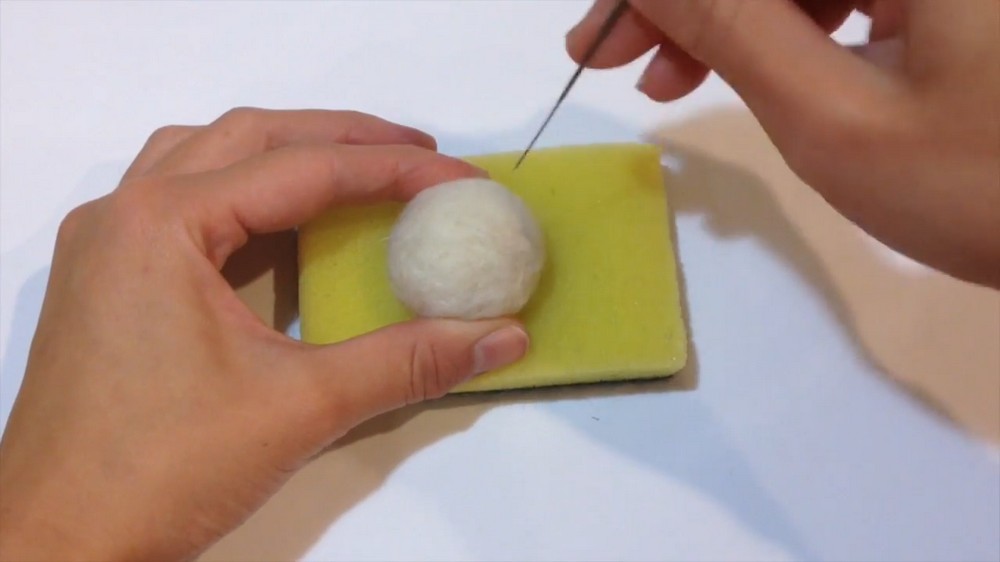
- Take a piece of base wool (flesh white/cream) and roll it into a short cylinder (like a marshmallow).
- Start poking the wool lightly with your felting needle.
- Rotate the wool as you poke to evenly shape it into a smooth round ball.
- The more you poke, the firmer and smaller the wool becomes.
- Keep poking until you’re happy with the size—this will be the head.
Step 3: Make the Body
- Take more base wool and roll it into a slightly longer cylinder (like a small hot dog).
- Use your felting needle to shape and solidify the wool.
- The body should be slightly longer than the head and rounded on both ends.
Step 4: Attach Head and Body
- Place the head on top of one end of the body.
- Gently hold the pieces together.
- Poke around the neck/joint area with your felting needle, joining the two pieces.
- Keep felting until the head and body are securely attached.
Part 2: Adding the Nose and Eyes
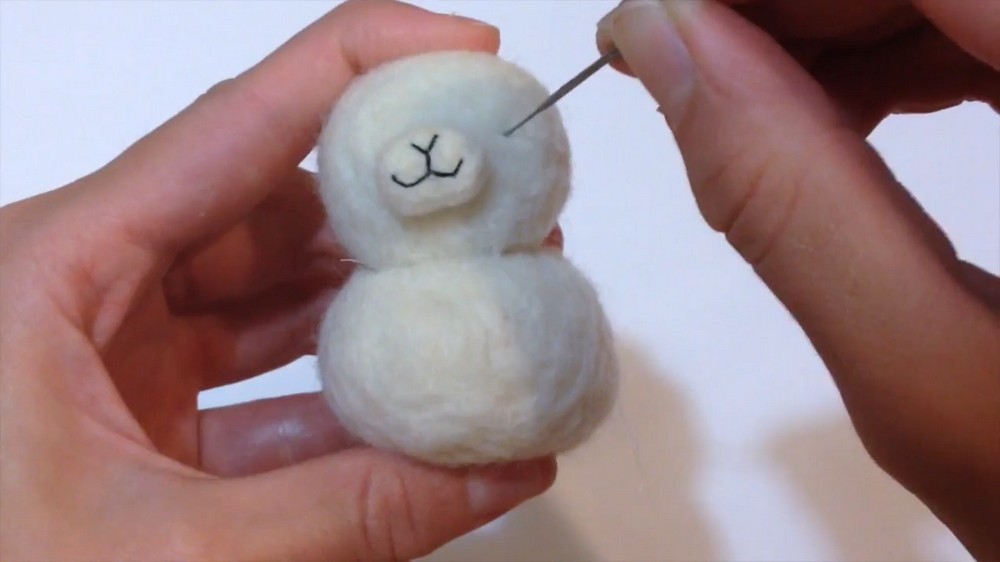
Step 5: Create the Nose
- Roll a tiny piece of base wool into a flat coin shape.
- Felt it until it’s smooth and flat—this will be the nose pad.
- Take a sewing needle and thread (black/dark brown) and stitch:
- A short vertical line for the nose.
- Either a simple “Y” shape or a small smile for the mouth.
- Once stitched, tie off the thread at the back and attach the nose pad to the face:
- Lightly felt it onto the alpaca’s head, or glue it into place.
Step 6: Add Eyes
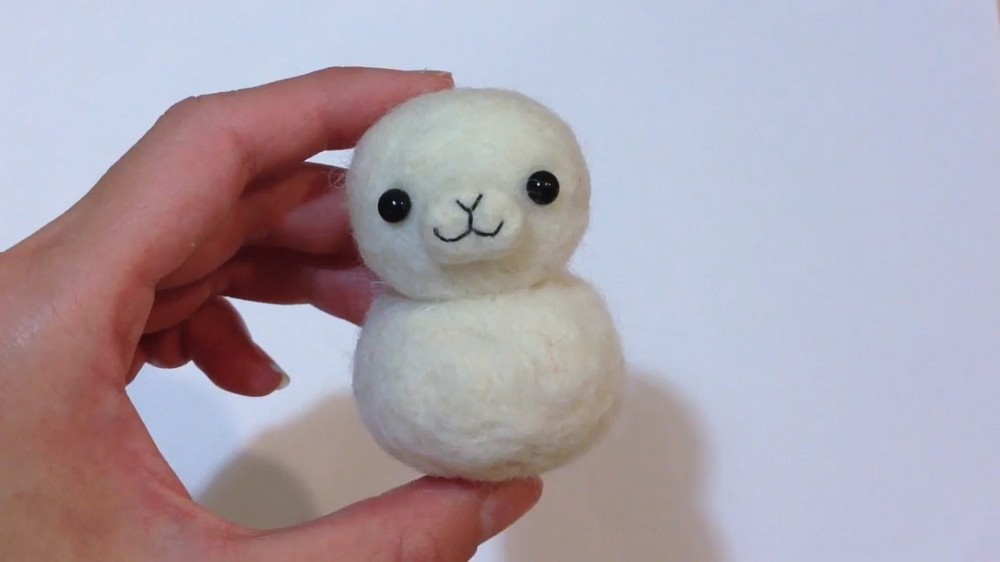
- Use your felting needle to poke two small holes where you want the eyes.
- Position the eyes evenly spaced around the nose and mouth.
- Insert animal eyes into the holes and glue them if necessary for security.
- If you don’t have animal eyes, you can make your own using black polymer clay. Roll tiny balls, bake, and glue them on!
Part 3: Adding the Fluffy Fur
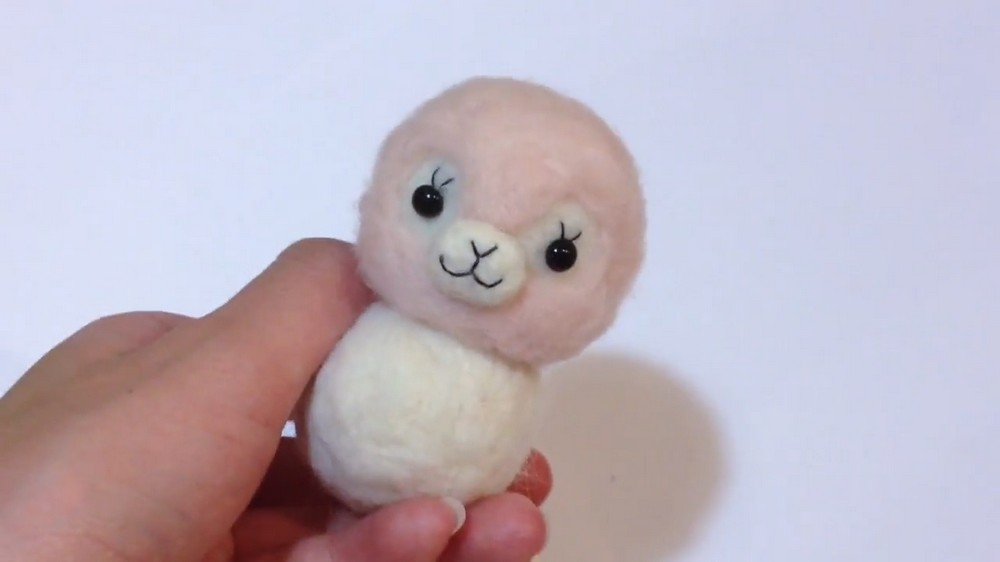
Step 7: Cover the Head with Fur
- Take thin wisps of your chosen fur color wool (e.g., baby pink).
- Lay the wool lightly over the alpaca’s head.
- Use your felting needle with very gentle, shallow pokes to attach the fur:
- Avoid the eyes and nose/mouth to keep those areas free of fluff.
- Aim to keep the texture soft and fluffy.
Step 8: Cover the Body
- Repeat Step 7 on the body, covering it with the same fluffy fur color.
- Felt lightly to maintain a soft plush look.
- Keep your felting pokes gentle to keep the alpaca looking cuddly!
Part 4: Making and Attaching the Ears
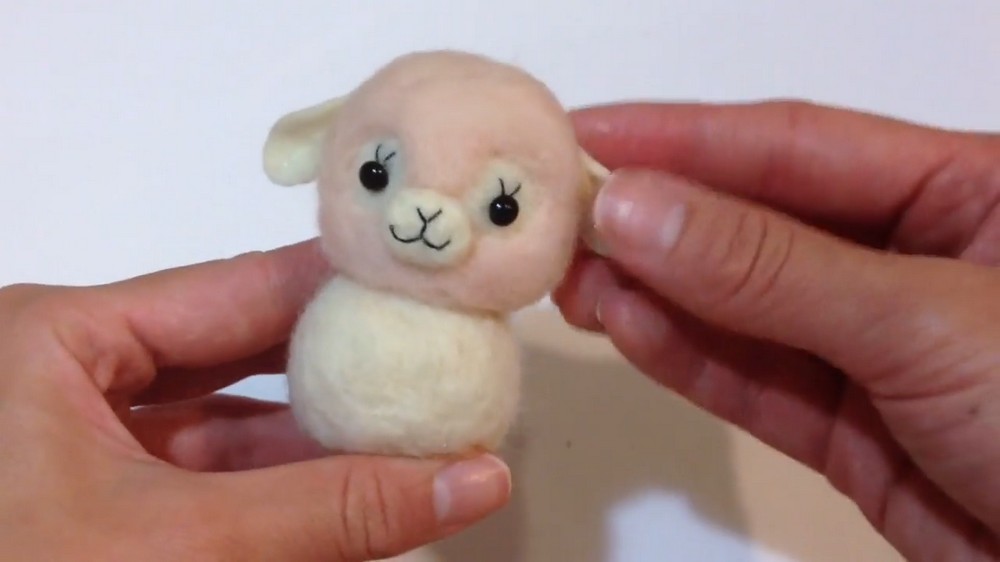
Step 9: Cut and Shape the Ears
- Take your felt sheet (matching or slightly darker than the base wool color).
- Cut two small rounded shapes (like semi-circles or triangles).
- Use your thumb as a guide for size—ears should be about thumb-tip size.
- Fold each ear in half for a bit more dimension.
Step 10: Attach the Ears
- Place the ears on the sides of the alpaca’s head.
- Attach them using either:
- Hot glue, for a quicker option, or
- Your felting needle, by gently poking the edges to secure them.
Part 5: Making and Attaching the Legs and Tail
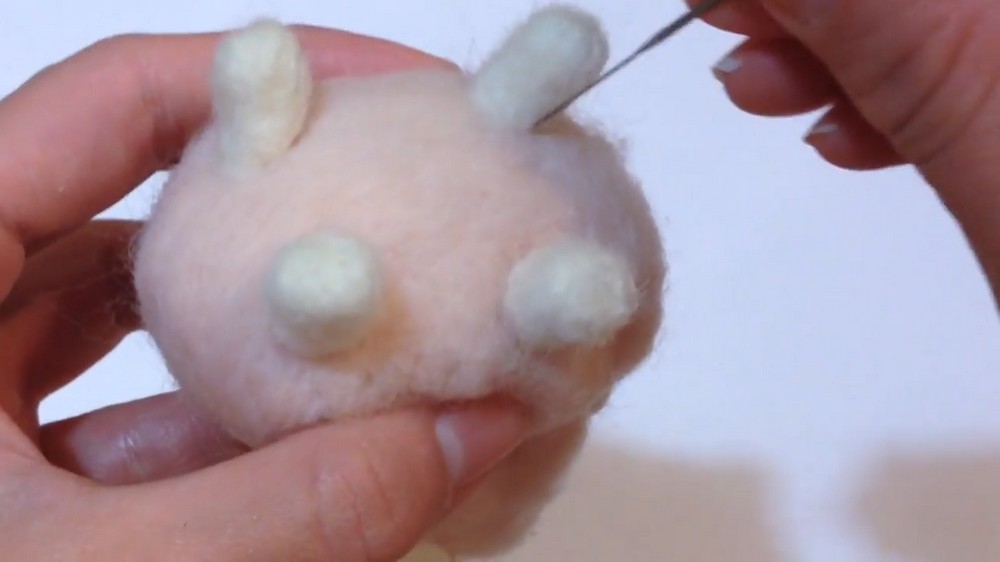
Step 11: Felt the Legs
- Use the base wool to roll four small cylinders—these are the stubby legs.
- Felt each cylinder until it’s firm but slightly soft.
- Attach the legs to the underside of the body.
- Position them evenly and felt them securely into place.
Step 12: Make the Tail
- Take some of your fur color wool (e.g., pink).
- Roll tiny balls of wool, just large enough to cluster together.
- Felt the balls onto the back of the alpaca, forming a cute fluffy tail!
- This step is extremely satisfying—like popping bubble wrap! 😊
Part 6: Decorating the Alpaca
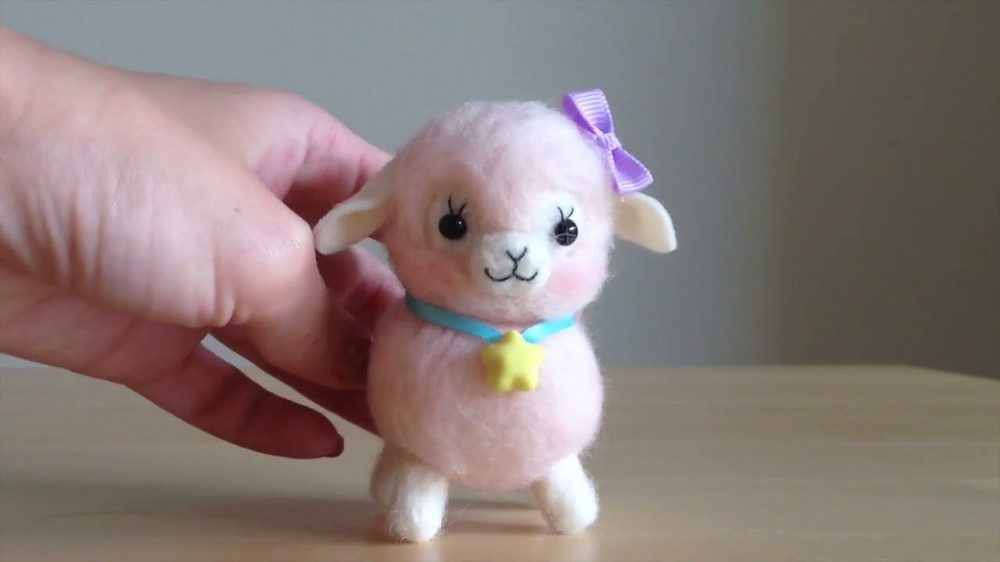
Step 13: Add a Star Charm
- Roll a ball of yellow polymer clay.
- Flatten the ball and pinch 4-5 points to form a star.
- Bake the clay according to package instructions (e.g., 250°F for 20 minutes).
- Once cooled, glue the star onto the alpaca.
Step 14: Add a Ribbon
- Grab a ribbon (or any decorative material you have).
- Wrap it gently around the alpaca’s neck to make a collar or bow.
- Tie it or glue it on securely.
Step 15: Add Blushing Cheeks
- Use pink eyeshadow or blush.
- Lightly dab under the alpaca’s eyes with a cotton swab or fingertip.
- Blend gently to give your alpaca an adorable rosy glow.
Final Check:
- Look at your finished alpaca from all angles.
- Trim any loose fibers or overly fluffy sections with scissors.
- Play around with decorations until your alpaca is just the way you want it.