Bring charm to your craft time with a DIY Octopus Fancy Plush, featuring creative ideas, simple steps, and a cute handmade finish for all skill levels.
Why settle for store-bought plushies when you can create something truly unique and heartfelt? Making your own adorable octopus plush is a fun and creative way to craft something special for yourself or your loved ones. Whether you’re looking to gift a soft handmade creation to a friend, brighten up your space with a pop of personality, or simply try your hand at a new hobby, this project is a delightful way to unleash your creativity.
How to Make a DIY Octopus Fancy Plush at Home
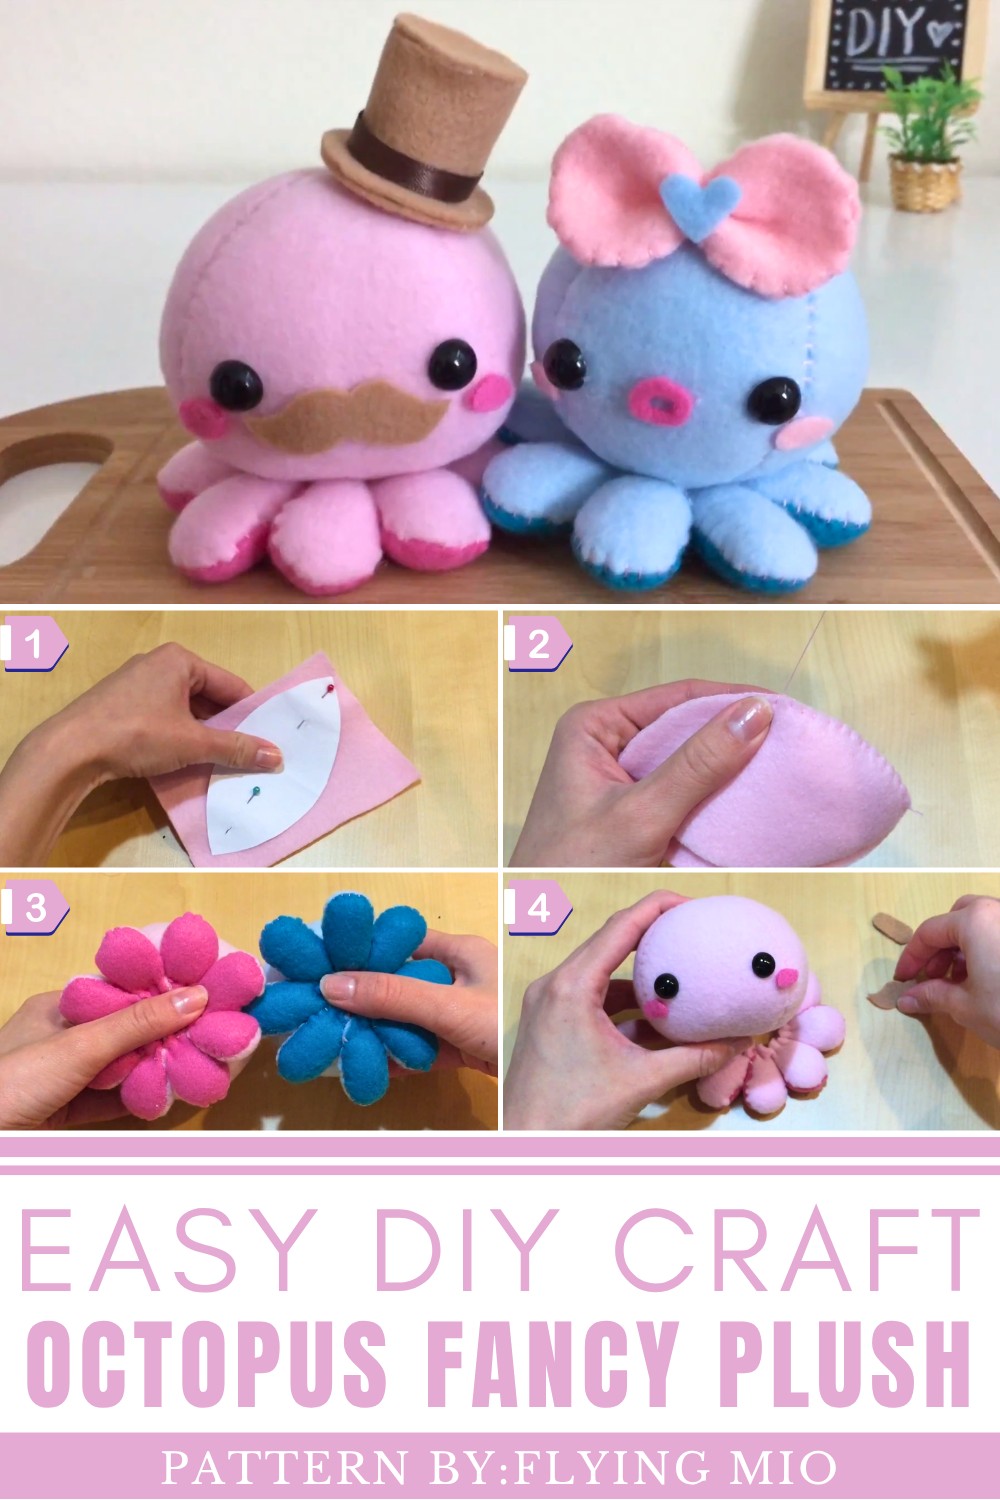
What makes this DIY even more exciting is how customizable it is! Choose colorful, soft fabrics to design a cheerful companion or experiment with patterns like polka dots or stripes for a quirky, fun vibe. Add sweet details like sparkly eyes, cute embroidered expressions, or even tiny accessories like a bow or a mini hat to give your plush a unique touch. It’s all about infusing your personal style into this cuddly creation.
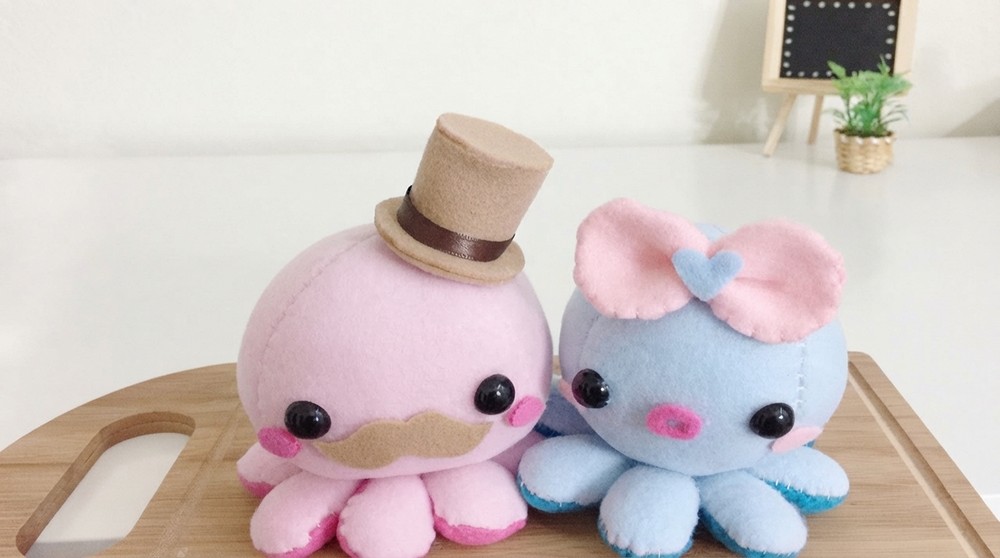
Beyond being a treat for your craft-loving heart, this plush octopus also doubles up as a charming room decor piece, a stress-relief toy, or even a unique gift that will leave everyone in awe of your creativity. And guess what? You don’t have to do this alone—Flying Mio’s amazing YouTube tutorial (watch it here) will guide you every step of the way to make your octopus friend.
DIY Plush Octopus
This beginner-friendly plush octopus is made from soft fleece, stuffing, and simple hand-sewing techniques. The finished octopus can be customized with different colors, facial expressions, and accessories.
1. Materials
- Fleece fabric for the body
- Fleece or felt for the tentacles
- Felt in different colors for facial decorations
- Sewing thread
- Stuffing or fiberfill
- Optional: stuffing from an unused pillow
- Optional: pinto beans for a weighted/beanie-baby style
- Plastic craft eyes
- Glue
- Paper for making the pattern
2. Tools
- Ruler
- Pencil
- Paper
- Scissors
- Sewing needle
- Sewing pins
- Hot glue gun
- Optional sewing machine
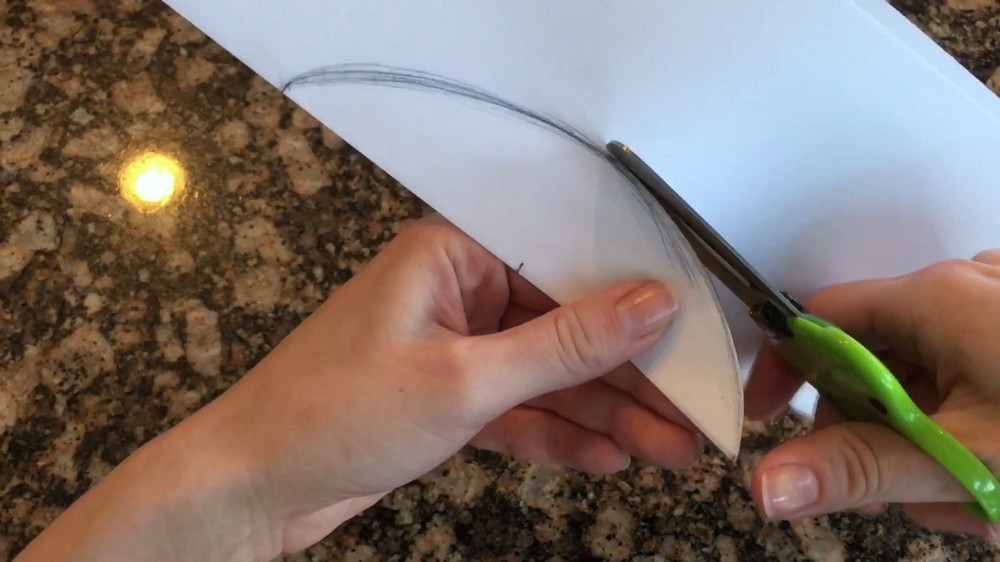
3. Preparing the Pattern
Step 1: Draw the Body Pattern
The body is made from four identical, football-shaped sections.
- Take a sheet of paper, ruler, and pencil.
- Draw a shape approximately 6 inches long.
- Mark the 3-inch point as the center.
- Measure approximately 1½ inches outward from the center on both sides to create the widest part.
- Connect the points smoothly.
- Try to make the ends approximately 90-degree angles.
- Cut out the pattern.
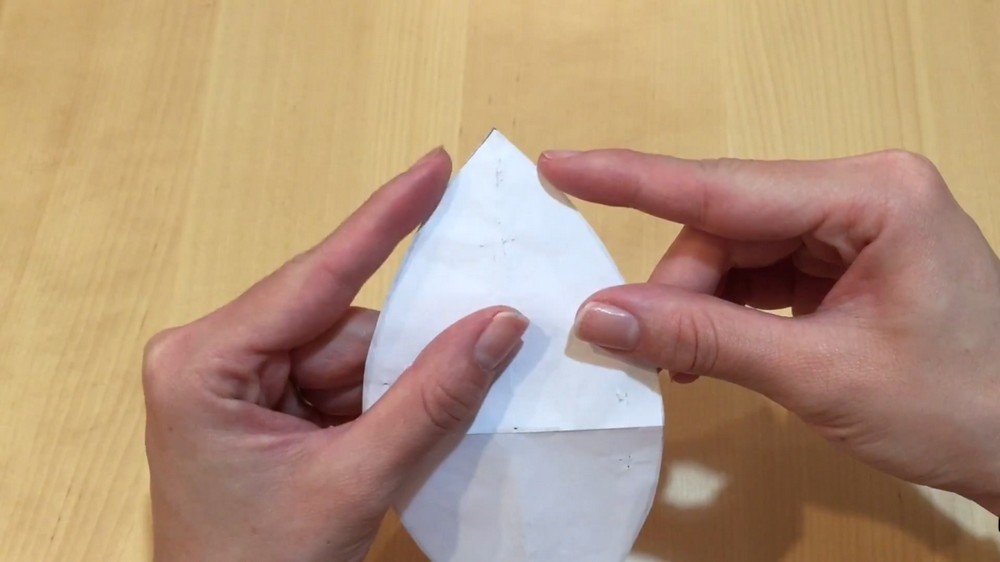
Step 2: Check the Pattern
Fold the paper pattern in half.
Check that both sides match and that the shape is symmetrical. Adjust it if necessary.
You will need four identical body pieces.
4. Cutting the Fabric
Step 3: Cut the Body Pieces
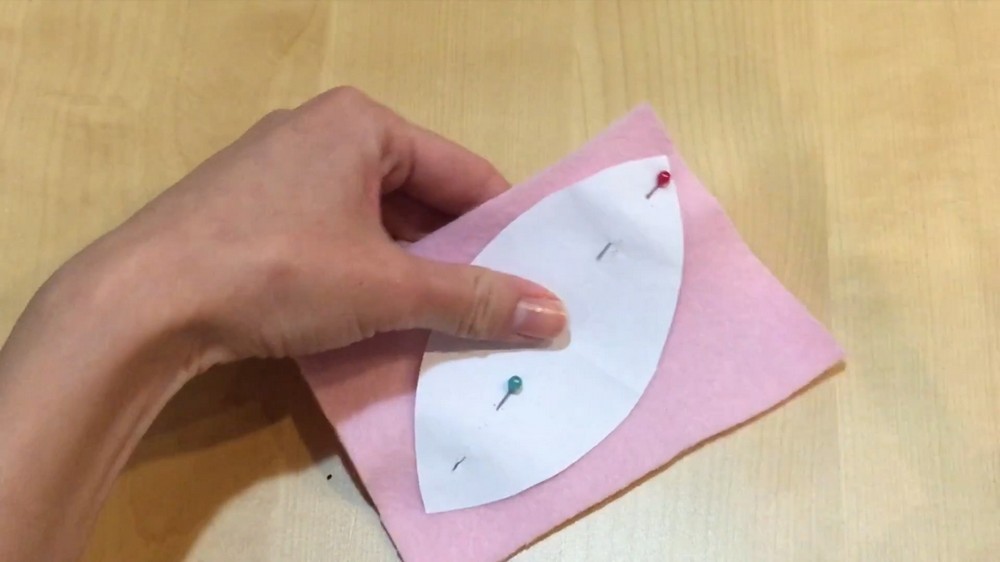
Place the paper pattern onto your fleece.
Pin it securely and cut around it.
Cut four body pieces.
Fleece is recommended because it is easy to work with and does not have a noticeable right and wrong side.
If using another fabric, remember to place the right sides together when sewing.
Step 4: Prepare the Tentacles
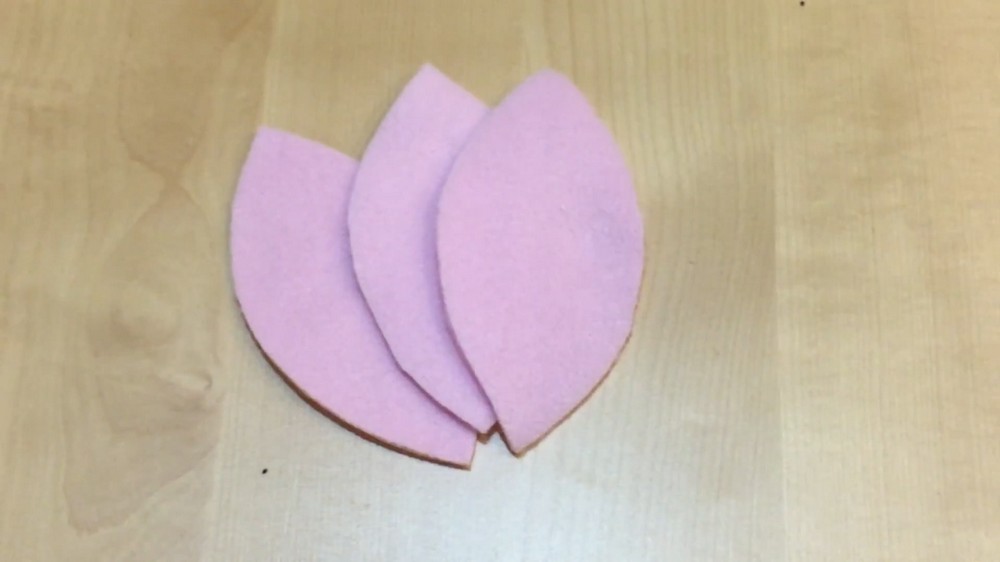
Create a small, rounded, hot-dog-shaped pattern for each tentacle.
The tentacle should be slightly larger than your thumb.
Cut:
- 8 light-colored pieces to match the body
- 8 darker pieces for the bottom section, if you want two-tone tentacles
Leave enough fabric around the edges to allow for sewing and turning.
5. Sewing the Tentacles
Step 5: Pair the Tentacle Pieces
Place each light tentacle piece together with its matching darker piece.
Align the edges carefully.
Step 6: Sew the Tentacles
Sew around the edges using a blanket stitch or another preferred stitch.
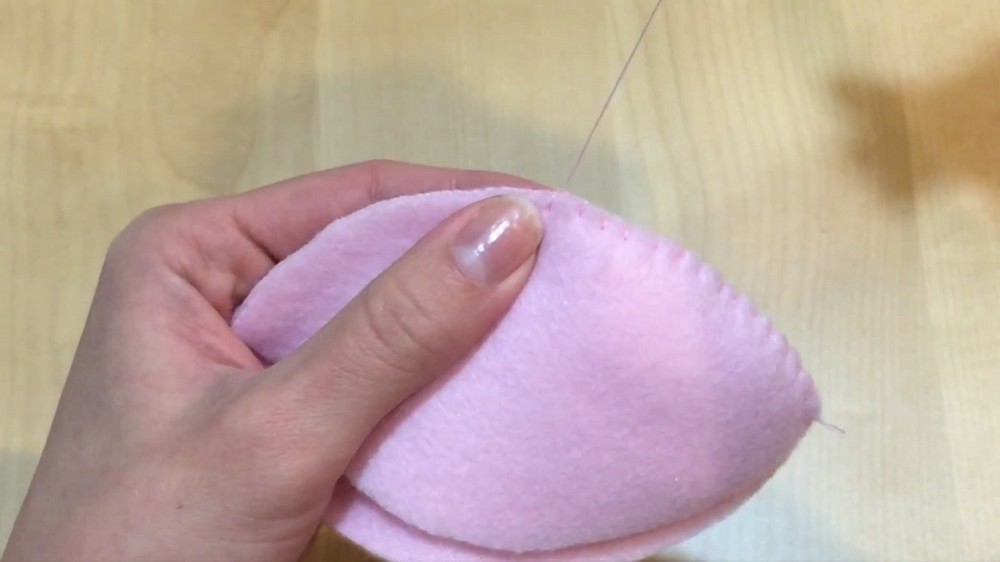
Leave the bottom opening unstitched.
This opening is necessary for:
- Turning the tentacle right side out
- Adding stuffing
Repeat this process until you have eight sewn tentacles.
Step 7: Turn the Tentacles
Carefully turn each tentacle inside out so that the stitching is hidden inside.
You should now have eight small, hollow tentacles ready for stuffing.
6. Sewing the Octopus Body
Step 8: Join Two Body Pieces
Take two football-shaped body pieces.
Place them together and sew along one edge.
Use small, even stitches.
Consistent stitches are important because they help the finished body form a smooth, round sphere.
Step 9: Add the Third Piece
Attach the third body piece to the opening created by the first two pieces.
Continue sewing along the edges.
Step 10: Add the Fourth Piece
Sew the fourth body piece onto the remaining opening.
However, leave approximately a 1-inch gap along one side.
This opening will allow you to turn the body right side out and add stuffing.
7. Turning and Stuffing the Body
Step 11: Turn the Body Right Side Out
Carefully pull the sewn body through the 1-inch opening.
The seams should now be on the inside.
The outside should look smooth and clean.
Step 12: Add Stuffing
Fill the body with stuffing.
You can use:
- Commercial polyester stuffing
- Stuffing taken from an unused pillow
- Other suitable soft stuffing available at home
Add enough stuffing to create a firm, round shape.
Do not leave empty areas inside the body.
Step 13: Close the Opening
Once the body has been completely stuffed, sew the remaining opening closed.
Make sure there are no holes or gaps.
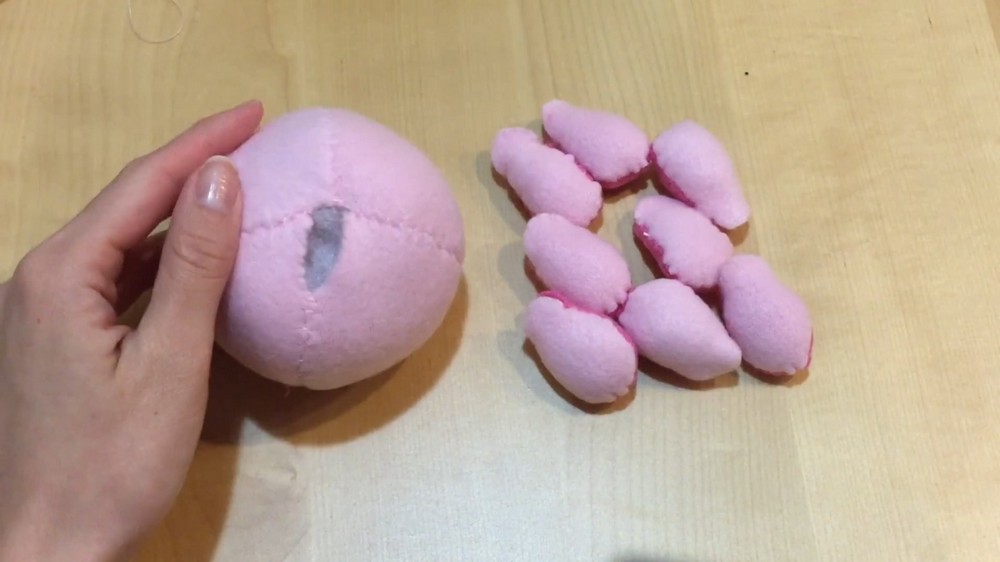
The finished body should form a nice, rounded sphere.
8. Stuffing the Tentacles
Step 14: Fill Each Tentacle
Take the eight sewn tentacles.
Add stuffing through their open bottoms.
Fill each one evenly so that they have a soft but defined shape.
Avoid overstuffing them.
9. Attaching the Tentacles
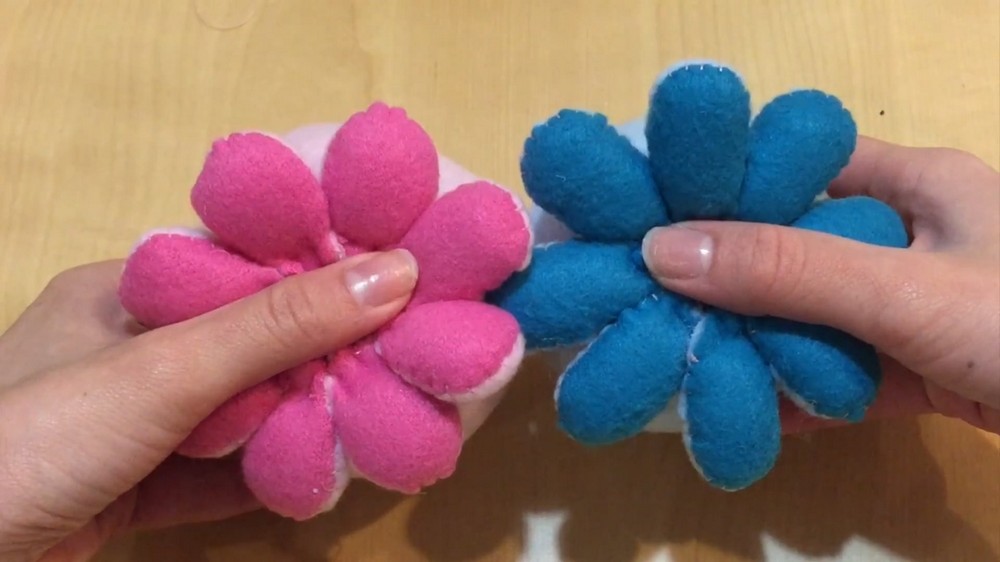
Step 15: Arrange the Eight Tentacles
Place all eight stuffed tentacles side by side in a circular arrangement.
Their open ends should meet in the center.
Arrange them evenly so the octopus will stand or sit naturally.
Step 16: Sew the Tentacles Together
Using one long piece of thread, sew through the sides of the tentacle openings.
Continue connecting all eight tentacles together.
When finished, they should form a complete ring of tentacles.
Secure the thread with a strong knot.
Step 17: Attach the Body
Place the round stuffed body on top of the tentacle ring.
Sew the body securely to the tentacles.
Work around the entire connection so that the head and tentacles stay firmly attached.
Your basic octopus is now complete.
10. Adding the Eyes
Step 18: Position the Eyes
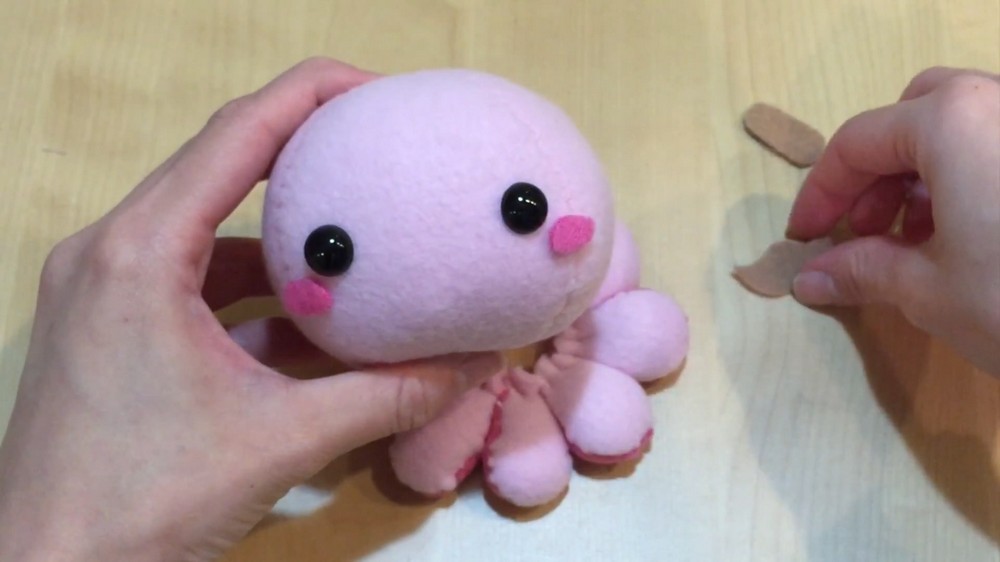
Place the plastic eyes on the front of the octopus.
Experiment with their position until you are happy with the facial expression.
Step 19: Mark the Eye Positions
Use a pencil to mark where the eyes will be attached.
Step 20: Make Small Openings
Using scissors, make a small cut at each pencil mark.
The opening should be just large enough to insert the back of the plastic eye.
Do not make the holes too large because the eyes could become loose.
Step 21: Secure the Eyes
Insert the eyes into their openings.
Apply glue to secure them firmly in position.
Allow the glue to dry.
11. Decorating the Face
Step 22: Cut Felt Facial Pieces
Use colored felt to create decorative facial details.
Possible pieces include:
- Cheeks
- Mouth
- Eyebrows
- Mustache
- Eyelashes
- Small decorative shapes
Cut each piece carefully according to the expression you want.
Step 23: Arrange the Decorations
Place the felt pieces on the octopus before gluing.
Try different arrangements until you are satisfied with the expression.
Step 24: Attach the Details
You can either sew the felt decorations onto the octopus or use hot glue.
Hot glue provides a quick and easy method.
Attach each piece carefully and allow the glue to cool.
12. Creative Styling Ideas
The octopus can have many different personalities.
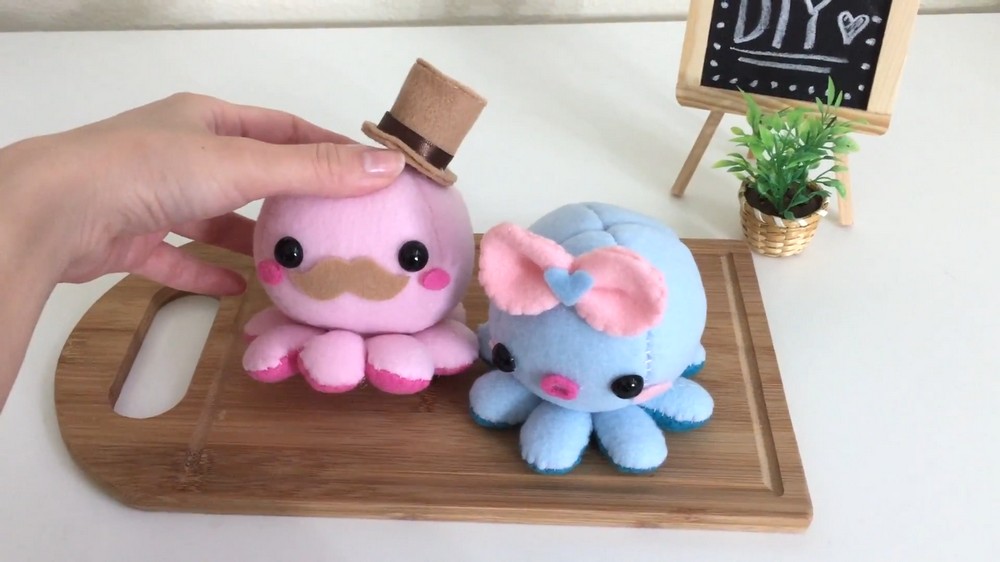
Cute/Girly Style
Use:
- Pink fleece
- A small bow
- Pink cheeks
- Eyelashes
- Pastel felt decorations
Fancy Style
Use:
- A mustache
- Eyebrows
- Darker colors
- A small bow tie or other accessory
Custom Style
Experiment with:
- Different body colors
- Two-tone tentacles
- Large or small eyes
- Different facial expressions
- Colorful cheeks
- Unique felt accessories
There is no need to copy one exact design—the face and colors can be completely personalized.
13. Features of the Finished Plush
The completed octopus has:
- A soft, round spherical body
- Eight individual stuffed tentacles
- A circular tentacle arrangement
- Large plastic eyes
- A customizable face
- Soft fleece construction
- Optional two-tone tentacles
- Handmade decorative details
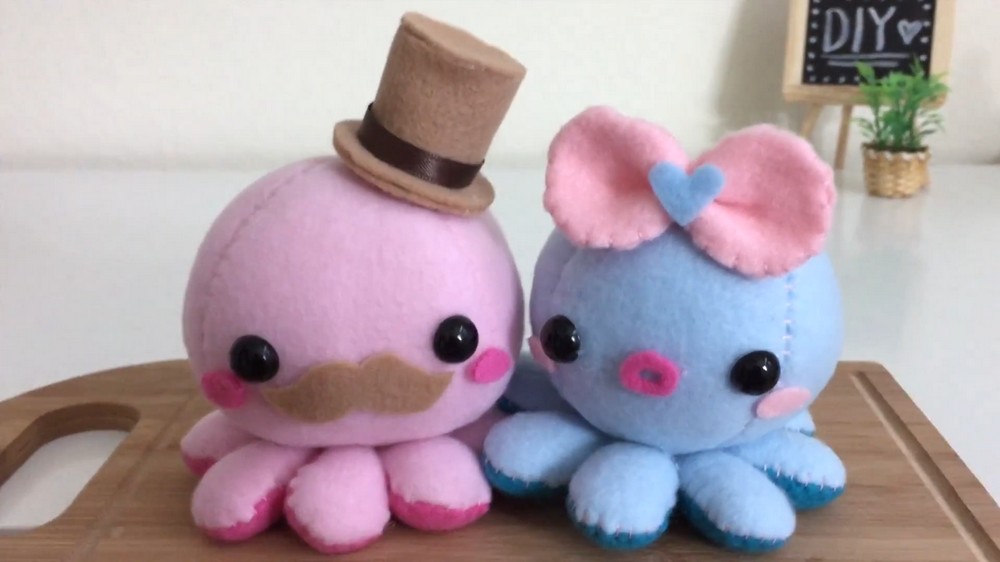
The basic design can also be modified into different sizes and color combinations.
14. Finishing
Step 25: Inspect the Seams
Check the body and tentacles for loose stitching.
Re-sew any areas that have opened.
Step 26: Check the Stuffing
Make sure the stuffing is evenly distributed and the octopus has a smooth, rounded appearance.
Step 27: Secure the Decorations
Check that the eyes and felt decorations are firmly attached.
Remove any loose threads or excess glue.
Step 28: Final Shaping
Gently adjust and fluff the body and tentacles.
Spread the eight tentacles evenly around the bottom so the octopus has a balanced appearance.
Your plush octopus is now finished and ready to display or customize further.