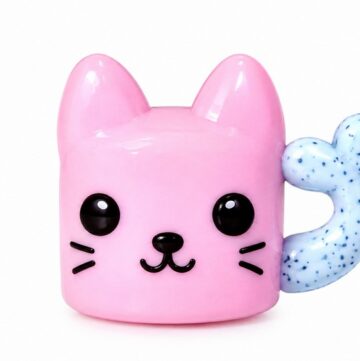
Switch between cute expressions with DIY Polymer Clay Changing Cat, a playful tiny figure full of personality that looks sweet on a bedroom shelf or desk.
Playful DIY Polymer Clay Changing Cat With a Fun Surprise
Featured By:PolymomoTea
The fun begins with the face. Little ears, rounded cheeks, and carefully placed eyes give the figure its character. A change in expression or position can give the finished piece a second personality. Soft clay is useful for shaping these small parts, and smooth edges help everything sit neatly together. Colors can stay simple so the changing feature remains the main point. Taking time over the tiny facial details can give the figure a cleaner finish.
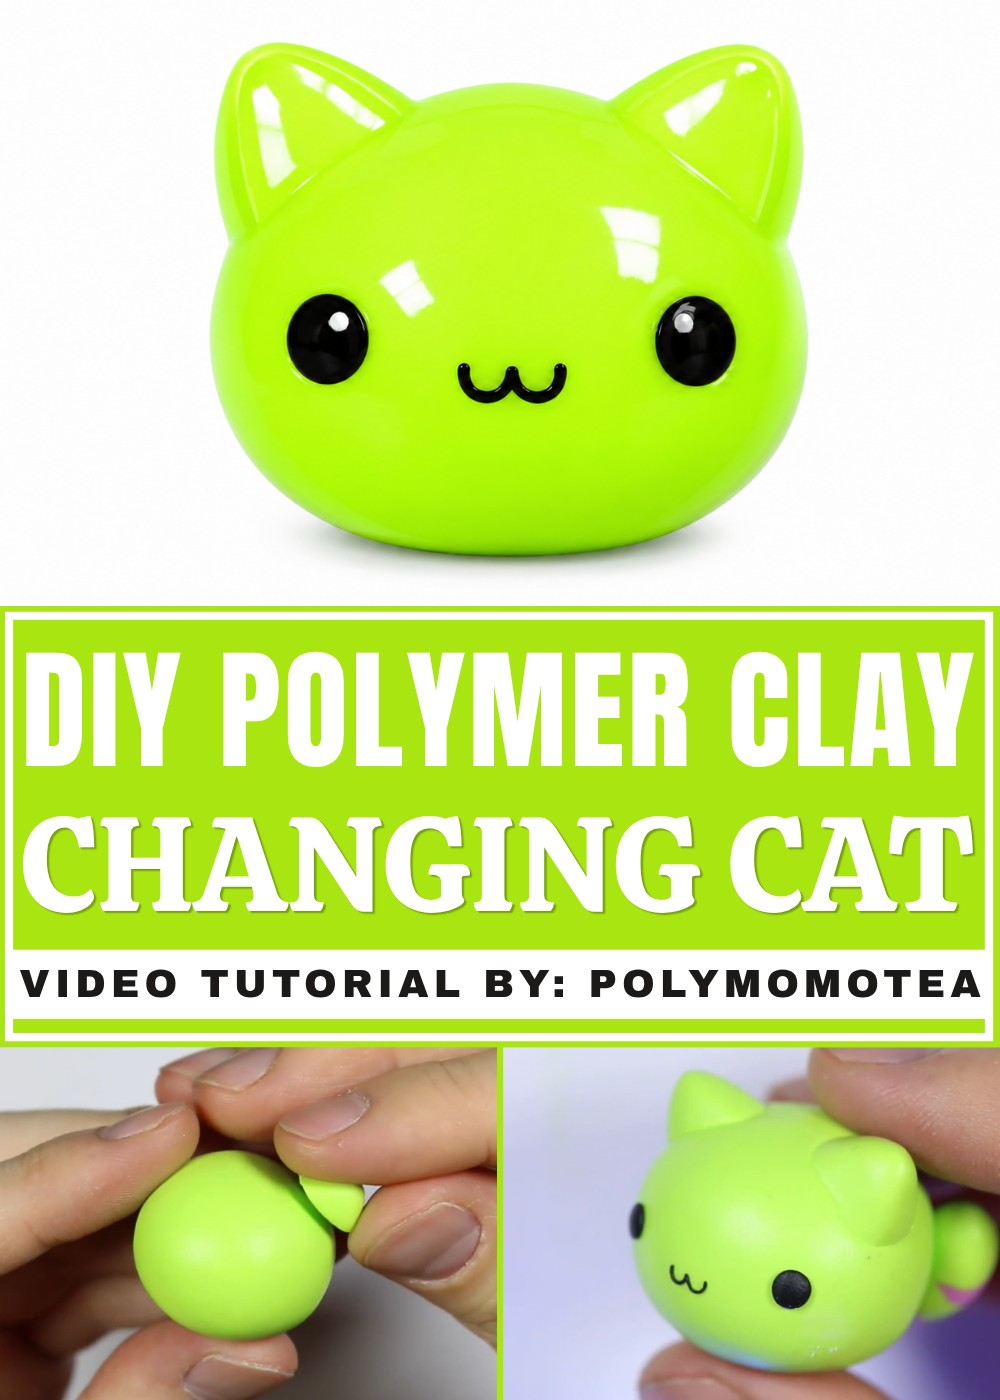
This is the kind of small project that feels cheerful on a desk beside notebooks or near a bedroom mirror. It can also become a sweet birthday present for someone who likes playful animal decorations. A pair of different expressions gives friends something to notice when they see it for the first time.
The nicest part is the element of surprise. Rather than relying on lots of added details, the little figure tells its story through a simple change. That keeps the result lighthearted, personal, and easy to admire.
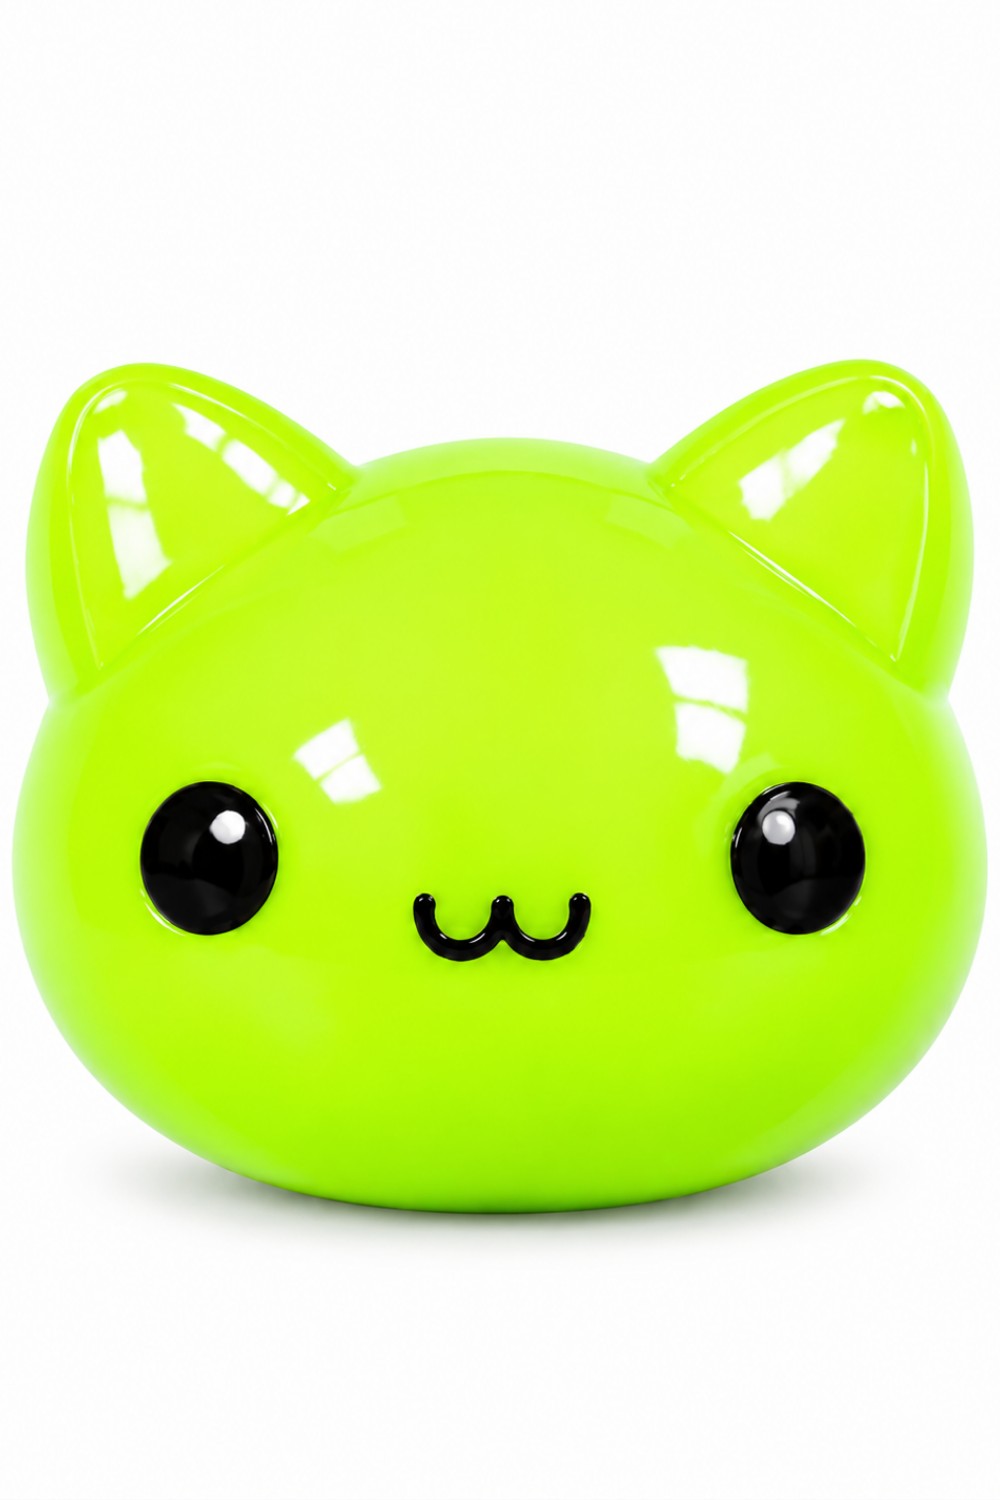
Polymer Clay Cat that Blushes Under UV Light
Materials & Tools
Materials
- Polymer clay (main body color, and accent color for stripes—pink, purple, etc.)
- Black polymer clay (for face details)
- UV color-changing pigment powder
- Glaze (for sealing, e.g., UV resin or specialized clay varnish)
Tools
- Clay blade or craft knife
- Blending/sculpting tool (or toothpick/cotton swab)
- Paintbrush (for applying pigment powder)
- Tissue and nail polish remover (acetone) (for cleaning off excess pigment powder)
- Oven (for baking clay)
- UV light or sunlight (to check the color-change effect)
Step-by-Step Instructions
1. Make the Cat’s Body
- Shape the body:
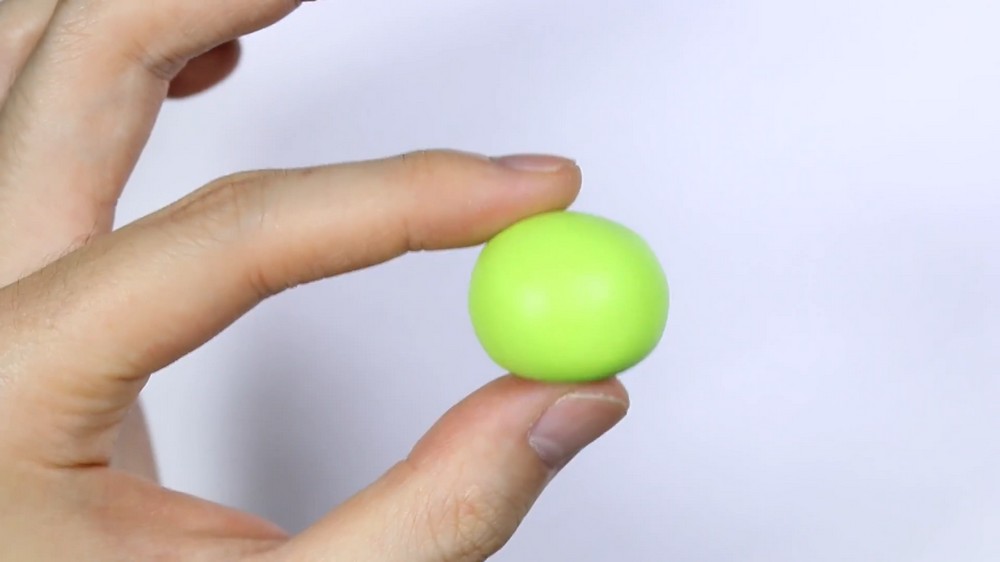
- Roll a ball of your chosen clay color for the cat’s body.
- Flatten it slightly to make a mound—think ‘chubby pancake’ shape.
- Make and attach the ears:
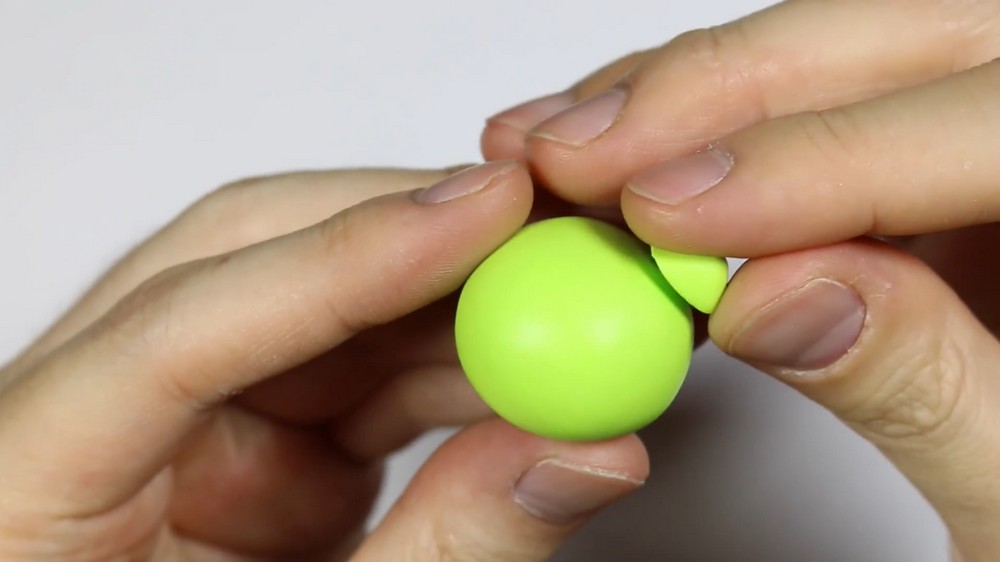
- Pinch two small triangles from the same clay.
- Trim the base of each triangle.
- Attach the ears to the top sides of your cat body.
- Use a blending (or sculpting) tool to soften and blend the ears into the body.
2. Create the Stripy Tail
- Roll the main tail:
- Roll a log of the main body clay into a long teardrop shape.
- Cut into three pieces.
- Prepare stripes:
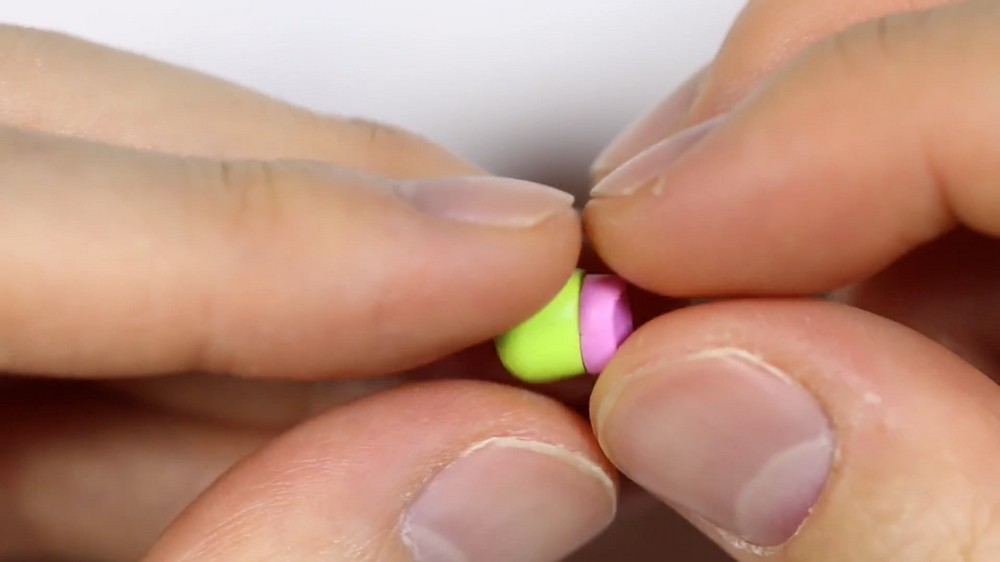
- Roll out your accent clay color (e.g. pink or purple) and cut a couple of small slices.
- Assemble tail:
- Alternate adding pieces of the two colors (main color and accent color) to make a striped pattern.
- Once you have your desired pattern, roll the tail gently again to smooth out any seams between the colors.
- Attach the tail:
- Cut the tail at a slant at one end.
- Attach this end to the back of the cat body, blending as needed.
3. Make the Face
- Eyes:
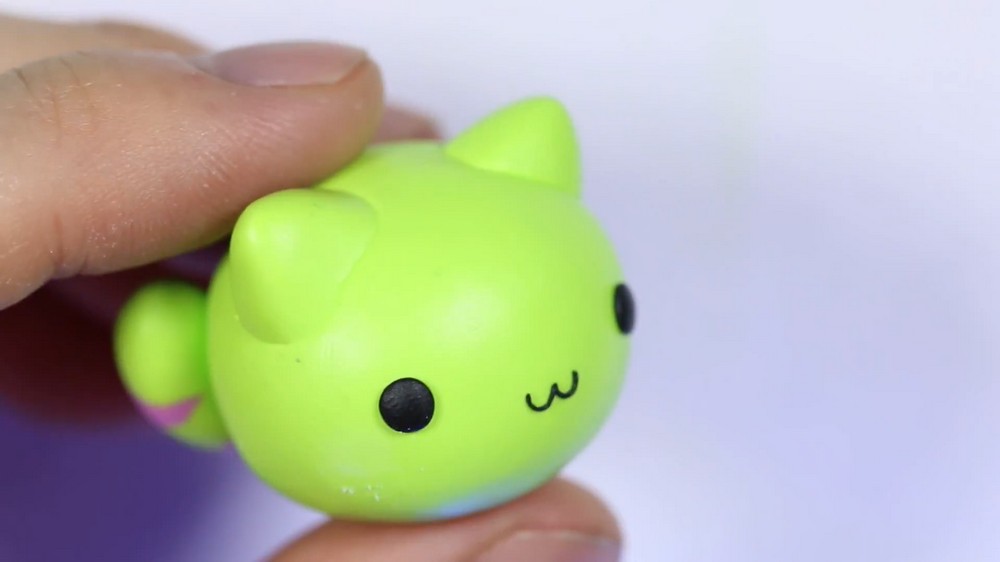
- Roll two tiny balls of black clay and press them onto the face for dot eyes.
- Mouth (the "W" shape):
- Roll black clay into a super thin snake.
- Cut two very small pieces.
- Carefully shape these into the "W" cat-smile and attach to the face, using a tool to refine the shape.
4. Add the UV "Blushing" Effect
- Apply UV pigment blush:
- Dip a clean, dry paintbrush into the UV pigment powder.
- Lightly brush pigment onto both cheeks (sides) of the cat’s face where blush would naturally go.
- Check the result under a UV lamp or in direct sunlight; adjust the amount if needed.
- Cleanup:
- If you got too much pigment, lightly wipe the excess away with a tissue moistened with nail polish remover (acetone).
5. Bake and Finish
- Bake:
- Bake your cat according to your polymer clay's instructions (typically 15-30 minutes at 110-130°C/230-265°F).
- Let it cool.
- Glaze:
- Apply a thin, even layer of glaze to seal in the pigment powder and give your cat a finished look.
- Let the glaze dry completely.
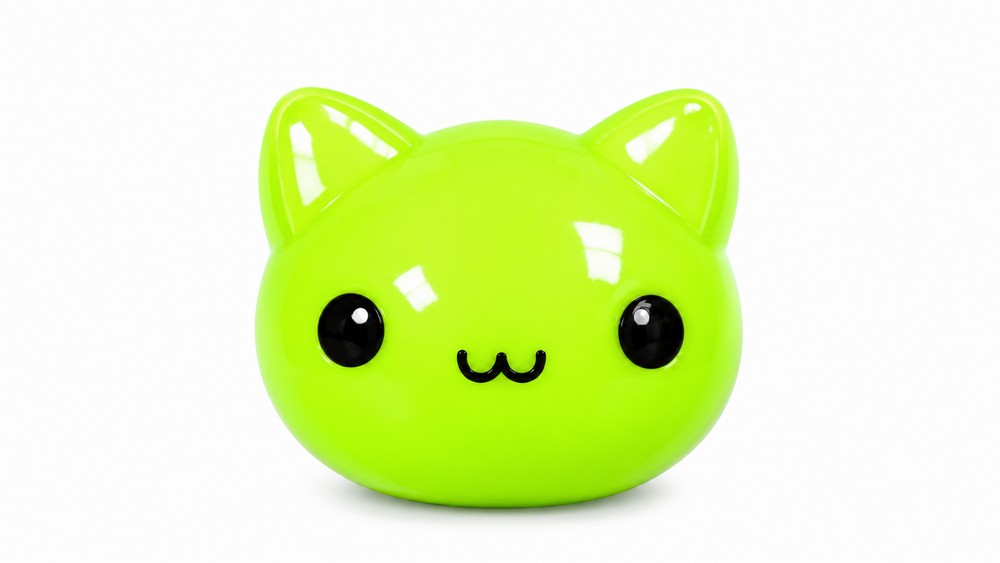
6. Enjoy!
- Show off your cat! When you put it in sunlight or under a UV lamp, the cheeks will blush and change color in a magical, animated way!
Extra Tips & Explanations
- Shaping: Don’t worry about perfection; chubby, simple shapes are extra cute and forgiving for beginners.
- Stripes and blending: Rolling the striped tail again after adding stripes helps smooth out any seams.
- Pigment powder: Start with less—it's easier to add more than to remove excess.
- Cleanup: Always use a small amount of acetone and test on a scrap piece if you’re not sure.
- Glaze: Glazing is very important to seal in the pigment and protect it from rubbing off.
Conclusion
You’ve made a super cute, magical kitty that blushes in the sun—a perfect gift or desk buddy.
Experiment with other colors or facial expressions and enjoy making more UV-reactive creations.