Celebrate colorful details with DIY Rainbow Unicorn Cake Polymer Clay, a sweet miniature decoration with a magical look for birthday displays and small gifts.
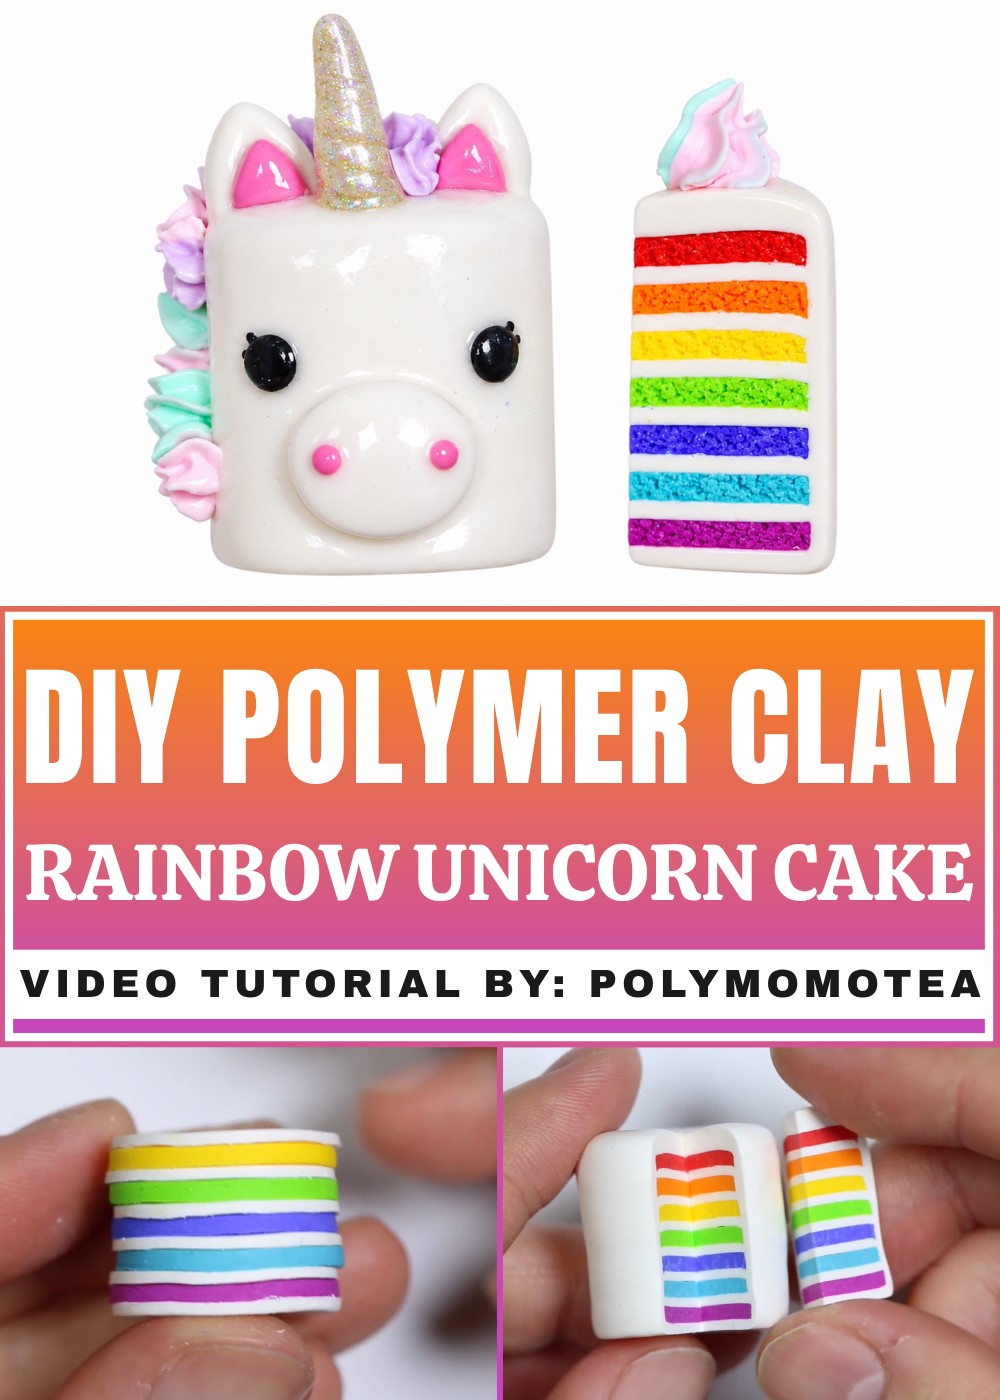
A celebration table can feel cheerful even when the sweetest decoration is not edible. DIY Rainbow Unicorn Cake Polymer Clay captures the joy of a colorful dessert in a small ornament that stays lovely long after the party ends. The idea joins two favorites: a cake shape and a unicorn theme.
Dreamy DIY Rainbow Unicorn Cake Polymer Clay | Free DIY Ideas
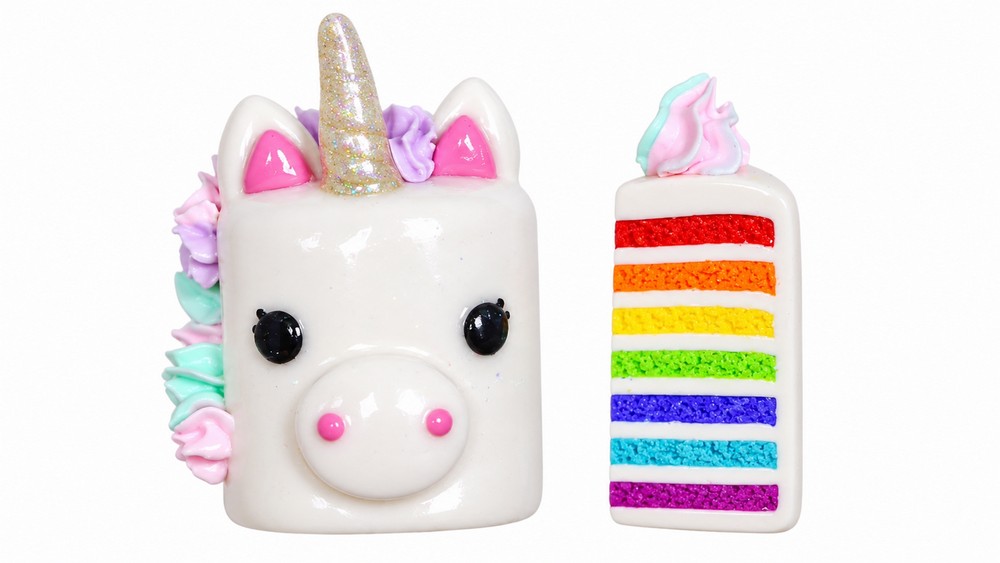
Round cake layers give the piece its familiar base. Above them, a little horn, pointed ears, and playful accents help it resemble a unicorn. Rainbow shades can appear in the decoration, keeping the look lively without needing a real slice of cake. The smaller parts benefit from careful placement because each one affects the overall expression. A balanced arrangement lets the horn stand out while the colorful details remain easy to see.
Creator Spotlight
Colorful food miniatures are a recognizable theme in the work of PolymomoTea. The channel often pairs familiar shapes with playful decorative ideas, giving small objects extra personality. A unicorn cake fits that approach through its cheerful theme and tiny details. It is an especially appealing example of imaginative clay decoration.
There is no cake batter or edible frosting involved in this decorative dessert. Polymer clay provides the shapes, and the finished item is intended for display rather than eating. It could sit near birthday cards, decorate a bedroom ledge, or join a collection of tiny food models. A friend who likes unicorns and sweet-looking decorations might also appreciate it as a cheerful present.
For anyone browsing Free DIY Ideas with a fantasy theme, this is a fun choice. Its appeal lies in the contrast between the realistic cake outline and the unexpected unicorn features. The little model gives a familiar party favorite a playful personality of its own.
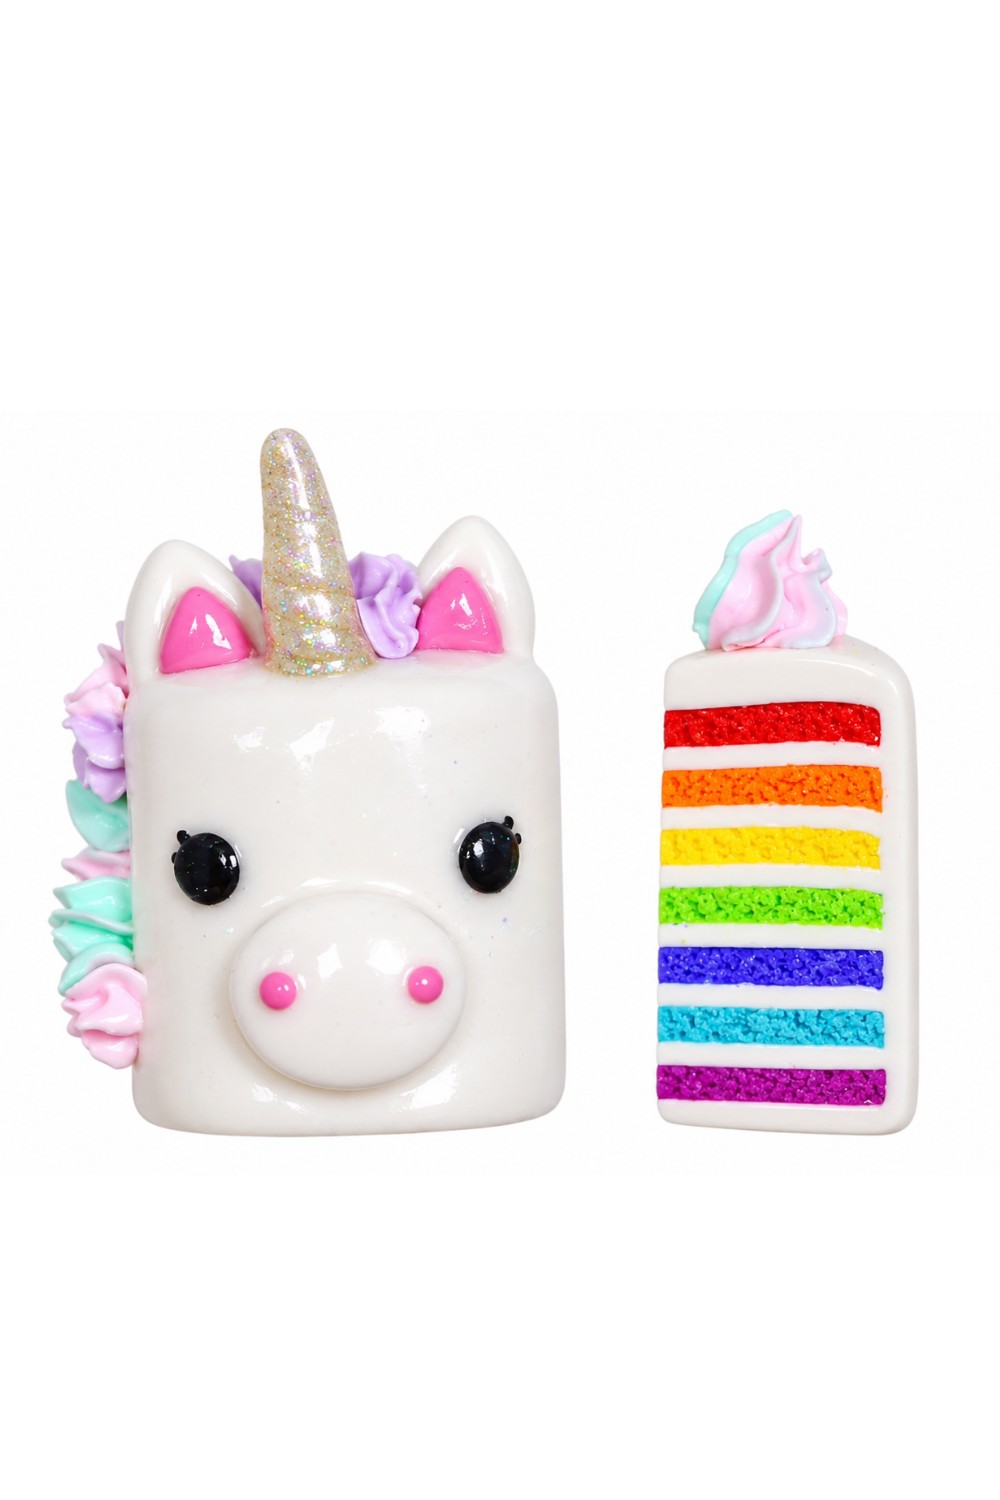
Unicorn Rainbow Cake Slice (Polymer Clay & Collage Clay)
Create a magical miniature unicorn rainbow cake slice that looks almost good enough to eat! In this beginner-friendly tutorial, you'll learn how to sculpt a whimsical cake slice with a rainbow interior, a unicorn face, and a swirl of colorful “frosting” on top. Made with polymer clay and a finishing flourish of Mod Podge Collage Clay piping for the frosting, this project is perfect for gifts, desk décor, or as a playful keepsake for yourself.
Introduction
The finished unicorn rainbow cake slice is bursting with color and personality. It features vibrant cake layers, fluffy white frosting around the outside, a smiling unicorn face, glimmering horns, ears, and a show-stopping swirl of piped “frosting flowers.” The techniques are simple and fun, making this project ideal for beginners, kids with supervision, or anyone looking for a cheerful new clay challenge.
Materials and Tools
Prepare everything in advance so you can work smoothly through each step. All the following materials and tools are mentioned in the video:
Materials
- Polymer clay (Rainbow colors, white, pink, and black)
- Mod Podge Collage Clay (for piped “frosting”—alternative: use lightweight air-dry whipped clay)
- Cheap acrylic paints (for coloring collage clay)
- PearlEx powder (for shimmer on the horn)
- Holographic glitter (for extra sparkling detail)
- Mod Podge glaze or any suitable polymer clay glaze (for shine)
Tools
- Popsicle sticks (two, to ensure even thickness of cake layers)
- Circular cap (as a clay cookie cutter)
- Blade or craft knife (for cutting and texturing)
- Needle or toothpick (for detailing and texturing cake)
- Clay modeling tools (for shaping and blending)
- Paintbrush (for applying glaze)
- Plastic ziplock bag (for piping colored collage clay)
- Small piping tip (for flower-shaped piping)
- Baking sheet and oven (for baking polymer clay, follow clay instructions)
- Small bowl or plate (for holding and mixing collage clay and acrylic paint)
Step-by-Step Instructions
1. Creating the Rainbow Cake Layers
1.1 Rolling Even Cake Layers
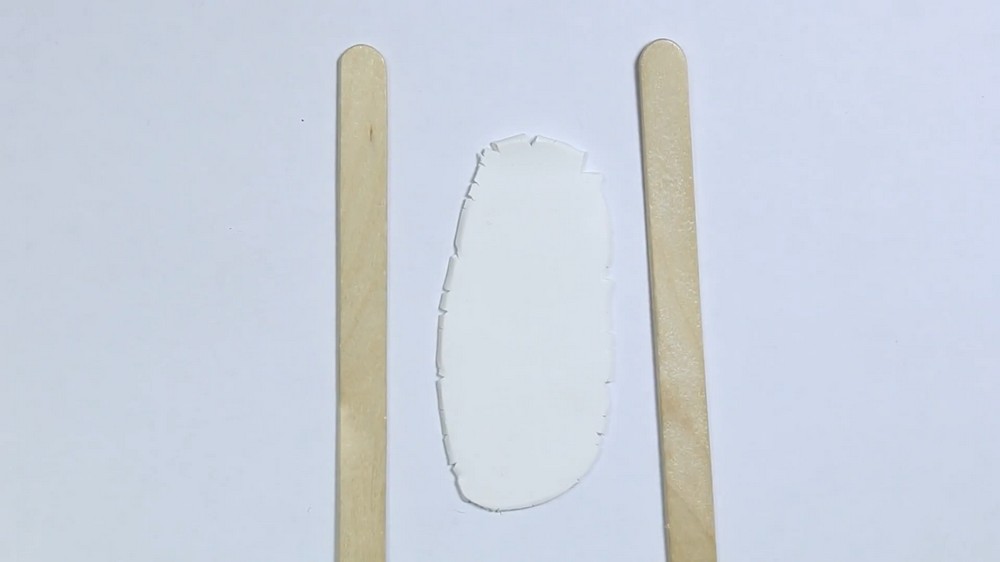
- Roll out each colored piece of polymer clay (red, orange, yellow, green, blue, purple, and white) between two popsicle sticks to get perfectly even thickness—this ensures each cake layer is consistent.
- Flatten the clay with a rolling pin or suitable tool, using the popsicle sticks as guides.
1.2 Cutting the Cake Rounds
- Use a circular cap as a cookie cutter to cut out equal disks from each colored sheet.
- Repeat for all colors and enough white for alternating layers and the outside.
1.3 Assembling the Cake Stack
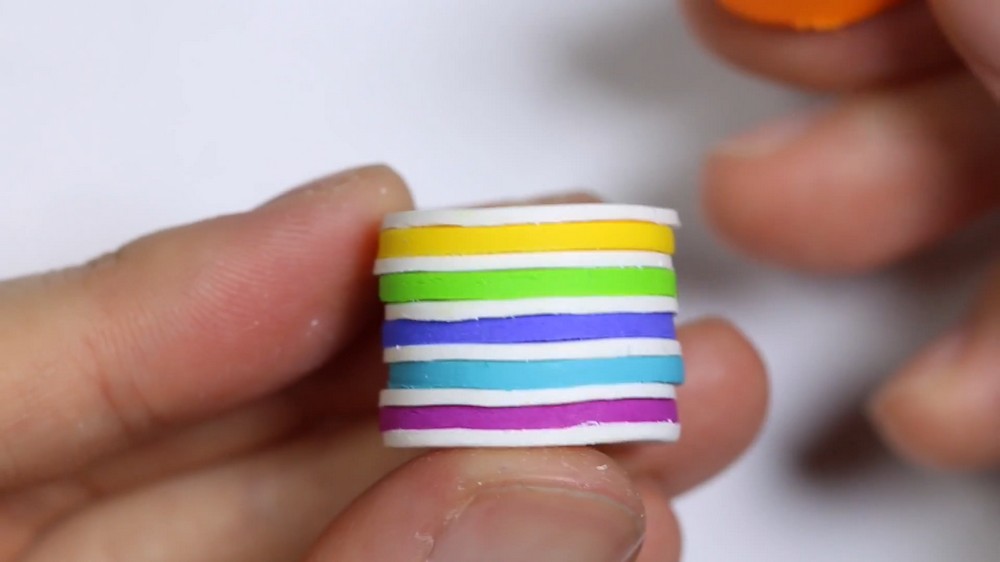
- Stack the layers in rainbow order (for example, red at the bottom up to purple at the top), alternating each color with a white clay layer in between for a frosted look.
- Gently press the disks together so the stack is stable but don’t squash the layers out of shape.
2. Wrapping and Detailing the Cake
2.1 Wrapping the Cake in “Frosting”
- Take white clay and roll it into a flat sheet large enough to wrap completely around the outside of the cake stack.
- Carefully wrap the sheet around the stack, gently pressing to get a smooth finish.
- Trim any excess clay with your blade or knife.
- Blend the seam with your fingers or a clay tool until invisible.
2.2 Cutting the Cake Slice
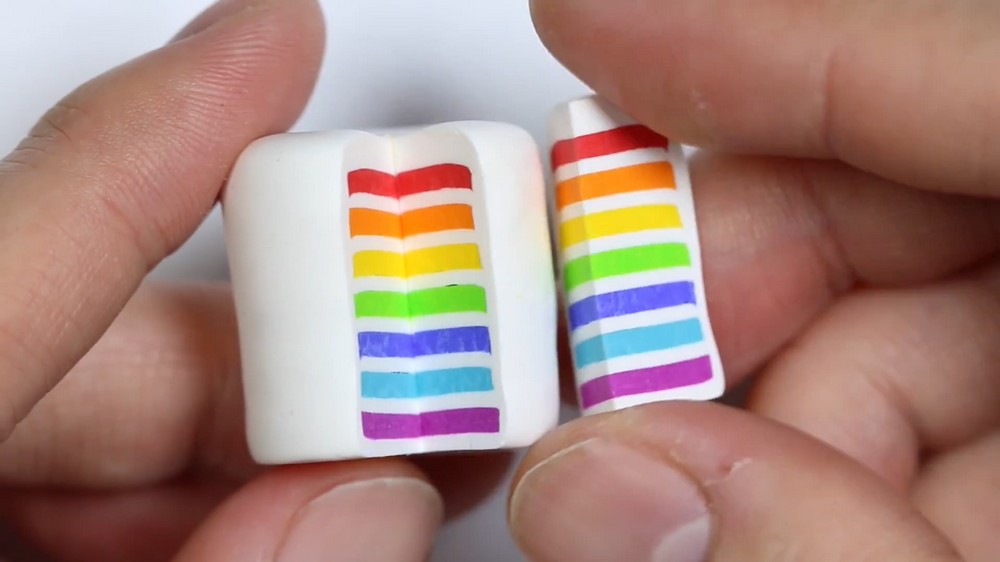
- Use a sharp blade or craft knife to cut out a wedge-shaped slice from the stack. Push straight down for a clean cut.
- You now have a realistic cake slice, revealing the happy rainbow layers inside.
2.3 Texturizing the Cake Interior
- Use a needle, toothpick, or blade to lightly scratch and poke the exposed colored cake surfaces.
- Texture only the inner cake (colored layers), mimicking the crumb of a real cake. Avoid texturing the white “frosting” for contrast and realism.
3. Sculpting the Unicorn Face
3.1 Adding the Snout
- Roll a small amount of white clay into an oval.
- Press the oval onto the front side of the cake slice (the area that will become the unicorn's face).
- Blend gently around the edges to secure.
3.2 Creating Facial Features
- Roll out tiny balls of black clay and press them onto the snout as the two dot eyes.
- Use black clay or a fine tool to add two eyelash details above the eyes for a cute, expressive look.
- Add two small pink dots below the eyes on the snout for nostrils.
4. Crafting Unicorn Ears and Horn
4.1 Making the Ears
- Roll two small pieces of white clay into teardrop shapes for ears.
- Create two smaller pink teardrop shapes for inner ear details.
- Press each pink teardrop inside each white ear.
- Trim the flat base of each ear so they will sit evenly on the cake.
- Blend or gently press the ears onto the top of your cake, spaced to allow for the horn in between.
4.2 Sculpting and Decorating the Horn
- Roll two thin snakes of clay (use gold, white, or yellow).
- Twist the snakes together tightly for a spiral effect.
- Dust the twisted horn with a mixture of PearlEx powder and holographic glitter for a shimmering, magical effect.
- Position the horn between the ears and gently press to secure.
5. Baking and Glazing
5.1 Baking Your Cake
- Transfer your sculpted cake and any additional pieces to a baking tray.
- Bake according to your polymer clay manufacturer’s instructions (usually around 265–275°F/130°C for 15–30 minutes, depending on thickness).
- Allow all pieces to cool completely before moving on.
5.2 Glazing for Shine
- Use a paintbrush to apply a thin, even layer of Mod Podge glaze (or any suitable glaze for polymer clay) over the cooled cake slice.
- This helps add shine and simulates the glossy look of “icing.”
6. Decorating with Piped “Frosting” Flowers
6.1 Coloring the Collage Clay
- Scoop out some Mod Podge Collage Clay into several small bowls or a plate, one for each desired color.
- Mix a small dab of cheap acrylic paint into each bit of clay to get the colors you want for your flowers.
6.2 Preparing for Piping
- Spoon the colored collage clay into a ziplock bag.
- Snip off a corner and add a small piping tip for flower effects.
6.3 Piping the Flowers
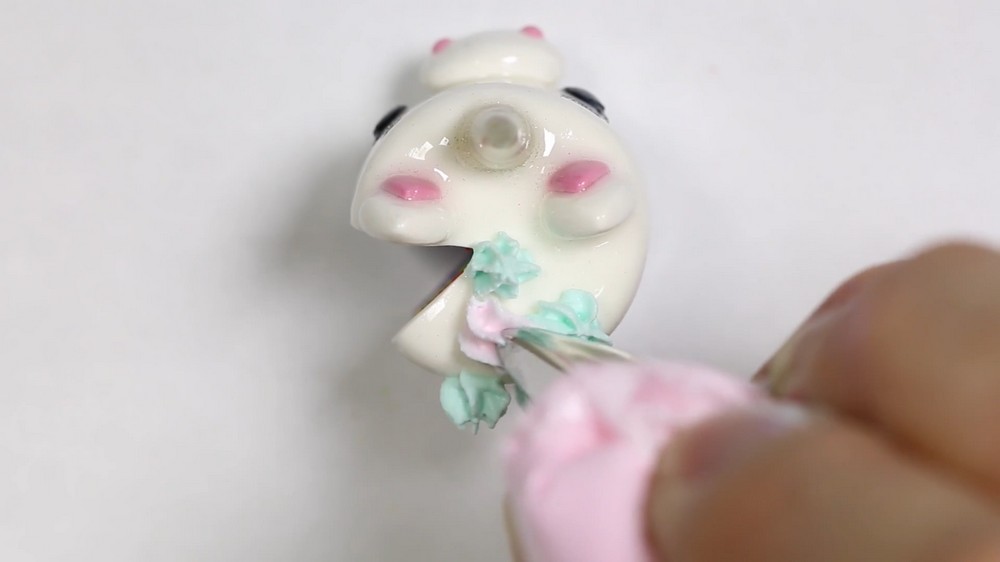
- Squeeze and pipe colorful little flower shapes onto the top edge and back of the cake slice, covering it as thickly and abundantly as you wish.
- Use as many or as few colors as you like; alternate them for a pretty, whimsical effect.
- Continue piping flowers until you’re satisfied with your decorative “frosting.”
7. Drying and Final Touches
7.1 Allowing to Dry
- Place the finished cake slice in a safe spot.
- Let the collage clay dry completely for at least 24 hours so all the piped details become firm and durable.
7.2 Assembling and Admiring
- Once dry, check all pieces and decorations—your unicorn rainbow cake slice is complete!
- Enjoy your adorable creation as a decoration, a unique gift, or as inspiration for your next magical baking (or crafting) session.
Conclusion
You’ve just made a dazzling Unicorn Rainbow Cake Slice using simple polymer clay techniques and a bit of creative piping. This beginner-friendly project is ultra-customizable—change the colors, add sprinkles or glitter, and don’t be shy with the floral decorations. The joyful combination of rainbows, unicorn features, and frosting flowers will make any space feel brighter. Perfect for holidays, birthday party favors, toy photography, or collecting, this unicorn cake slice is sure to spark a little magic wherever it goes.