Make charming DIY Sweet Dessert Polymer Clay pieces with this free project that’s perfect for fun crafting.
Featured By: PolymomoTea
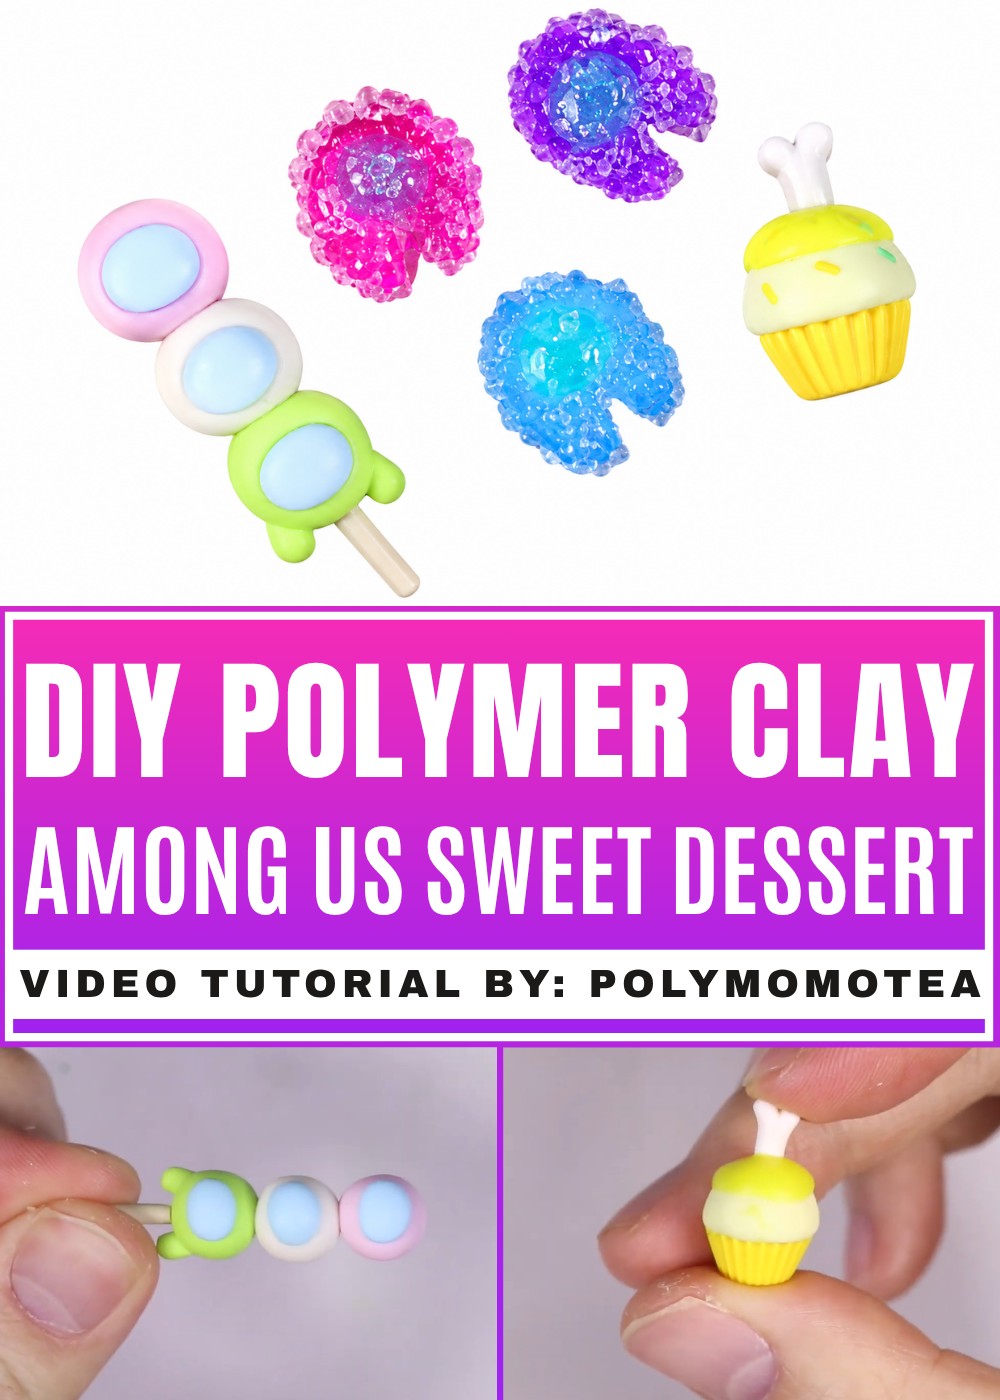
Game characters usually stay on a screen, but this idea turns them into funny little desserts. DIY Sweet Dessert Polymer Clay features Among Us inspired treats that mix the familiar game look with playful food shapes. The result is a collection of mini pieces that can stand out without taking much space.
Colorful DIY Sweet Dessert Polymer Clay Mini Food Ideas
Each dessert gives you a chance to work with a different shape. One may need a smooth round top, while another may have small layers or tiny decorations. Bold colors help the figures stand apart, and simple facial details can keep the Among Us theme easy to spot. Take time to check the size of each piece before joining the parts so the group looks balanced.
Start with clean hands and a flat work area. Roll and press the polymer clay gently, then use a small tool for marks that are hard to shape with your fingers. You can work on just one dessert first and move to the others when you feel comfortable. Follow the clay maker's instructions for heating and cooling your pieces.
These miniature sweets are not real food, so keep them separate from snacks and kitchen items. They work well as desk decorations, a small display for a game fan, or a birthday gift. Even someone new to clay can practice easy shapes here, and the silly game theme gives every little dessert its own charm.
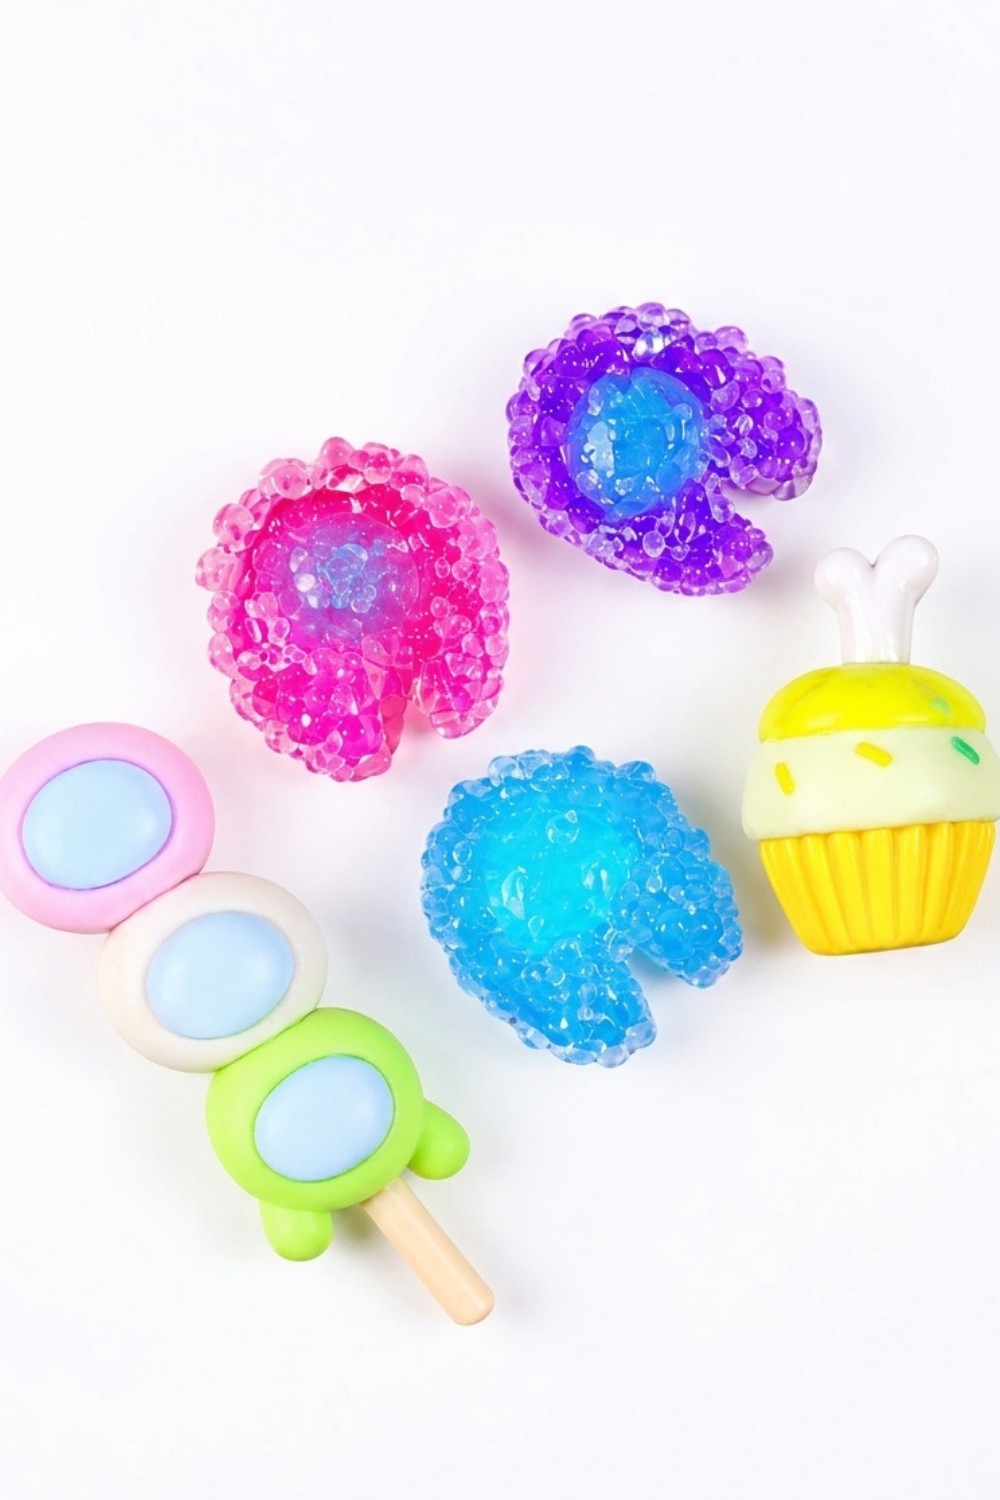
Among Us Themed Treats: Polymer Clay Tutorial
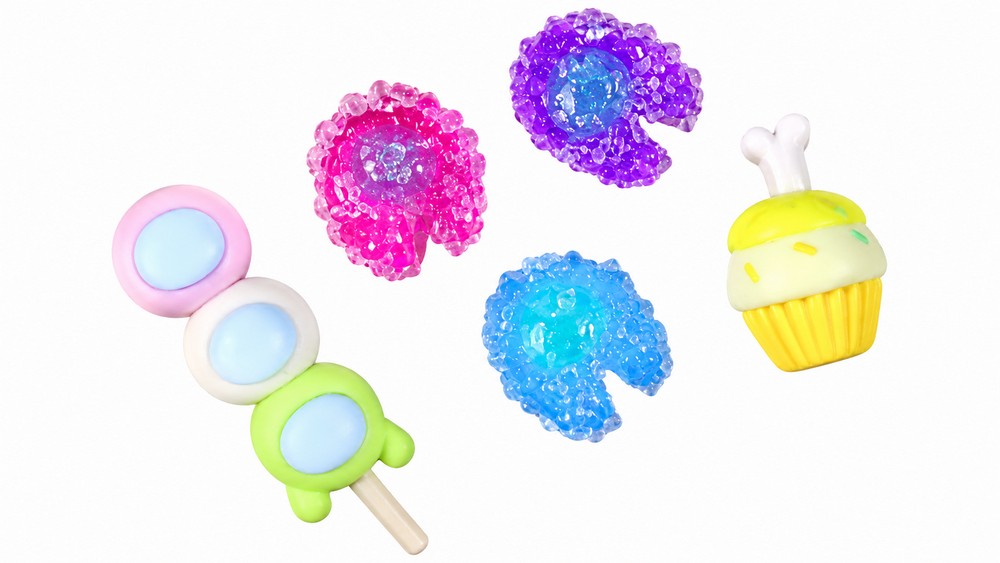
For fans of cute polymer clay miniatures and the popular Among Us game, this tutorial combines both worlds! Here, you'll learn to sculpt three unique Among Us-themed treats—sugar-coated gummies (or hard candies), a colorful dango skewer, and a whimsical cupcake—all using polymer clay and a few simple crafting supplies. Each project is easy and beginner-friendly, giving you a chance to explore new texturing, glazing, and assembling techniques, too.
Whether you plan to use these as charms, desk figures, or gifts, follow along step by step for adorable results every time!
Essential Materials & Tools
Polymer Clay Colors
- Translucent clay (clear, blue, and other colors for candies)
- Blue, pink, green, white, beige, and yellow clay (for dango and cupcake)
- Vanilla-colored clay (for cupcake “icing”)
- Optional: Brown/other accent colors
Glazing & Effects
- Clear gloss glaze (for shine and adhering embellishments)
- Crystal sand or faux sugar (for a sugar-coated look)
- Liquid Sculpey (optional, for cupcake swirl)
Sculpting Tools
- Craft blade or X-acto knife (for clean cuts and splitting clay)
- Thick paintbrush (for texturing surfaces)
- Clay roller or hands (for shaping)
- Molds (for cupcake base, optional)
- Baking tray (for oven-curing)
Other Supplies
- Work surface (smooth and non-stick)
- Oven (for baking clay per package instructions)
- Tweezers (optional, for placing small details)
Step-by-Step Instructions
1. Among Us Sugar-Coated Gummies (or Hard Candies)
These candies are simple yet realistic, thanks to translucent clay and sparkling sugar-coating!
Step 1: Sculpt the Gummy Base
- Shape the body:
- Take a small piece of translucent clay (clear color) and roll it into an oval.
- Using your fingers, gently flatten to get a nicely rounded, jelly-like body.
- Form the legs:
- With the craft blade, make a single downward cut at the bottom of the oval to split the legs.
- Gently round the inner edges with your fingers or a tool for smoothness.
Step 2: Create the Visor
- Sculpt the visor:
- Roll a tiny piece of translucent blue clay into a small oval.
- Cut off one end for a flat base.
- Place this on the upper “face” of your gummy, pressing gently to stick.
- Repeat in other colors:
- Make gummies in as many colors as you like, repeating steps 1-3 for variety.
Step 3: Bake and Glaze
- Bake:
- Place all gummies on your tray and bake according to your clay’s instructions.
- Apply glaze:
- Once cooled, brush a generous coat of clear gloss glaze over the surface.
- Dip in “sugar”:
- While glaze is still tacky, roll or dip each gummy in crystal sand (or a sugar-effect medium) to create a realistic, sour-candy look.
- Let dry fully, then repeat glazing and sugaring on the backside.
- Final cure:
- Let everything dry and enjoy your sweet-looking candies!
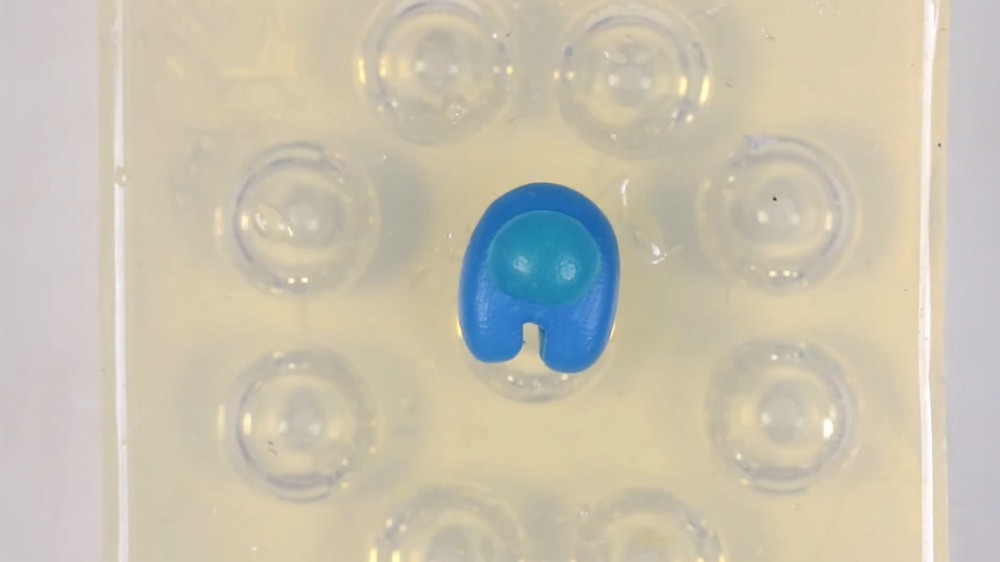
2. Among Us Dango Skewer
Inspired by Japanese dango (sweet mochi rice balls on a stick), this project stacks Among Us crewmates for a colorful treat.
Step 1: Roll Out Dango Balls
- Make the stick:
- Roll beige clay into a thin cylinder, cut to about 2 inches long for the skewer. Set aside.
- Colorful crewmates:
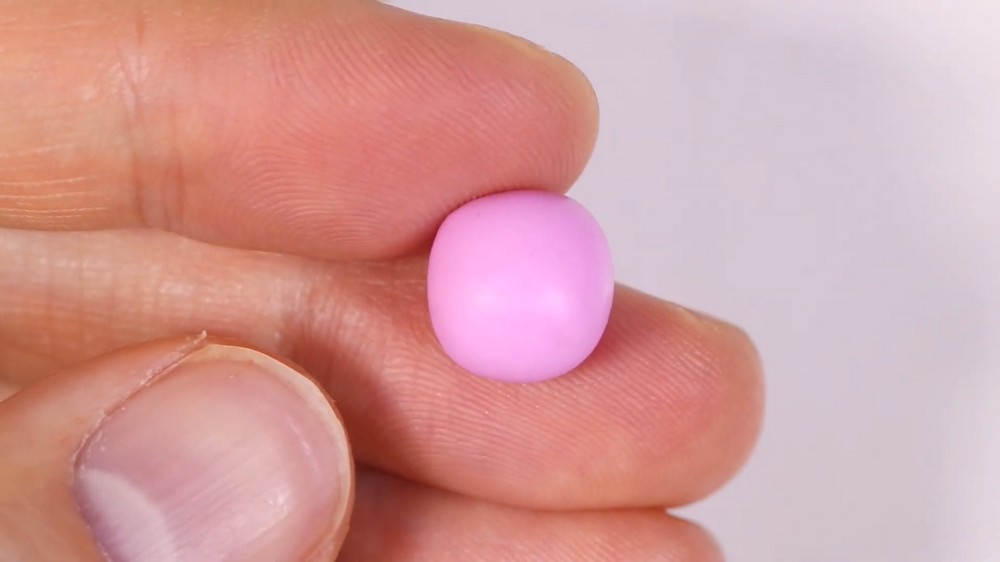
- Roll balls of pink, white, and green clay (or your favorite colors).
- For each color, flatten slightly into thick ovals to resemble dango balls.
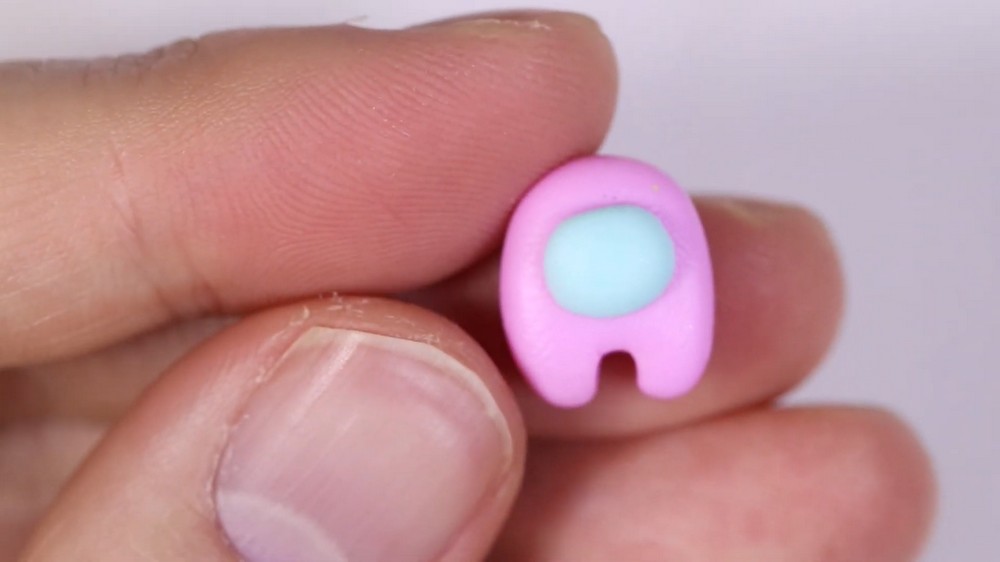
Step 2: Add Among Us Faces
- Helmet/visor:
- For each “dango,” roll a small oval of light blue clay, cut one end, and press onto the top side of the colored ball.
Step 3: Legs & Assembly
- Legs for bottom dango:
- Roll green clay into a thin log, cut each end at a slight slant to form two legs.
- Attach the legs to the bottom of the green dango.
- Stack:
- Place the three balls in this order: green (bottom, with legs), white (middle), pink (top).
- Carefully thread balls onto the beige stick, or press them together snugly in a stack with stick on the bottom.
- Bake:
- Bake entire assembly. After cooling, you get a fun, pastel dango skewer—no need for extra lines or outlines.
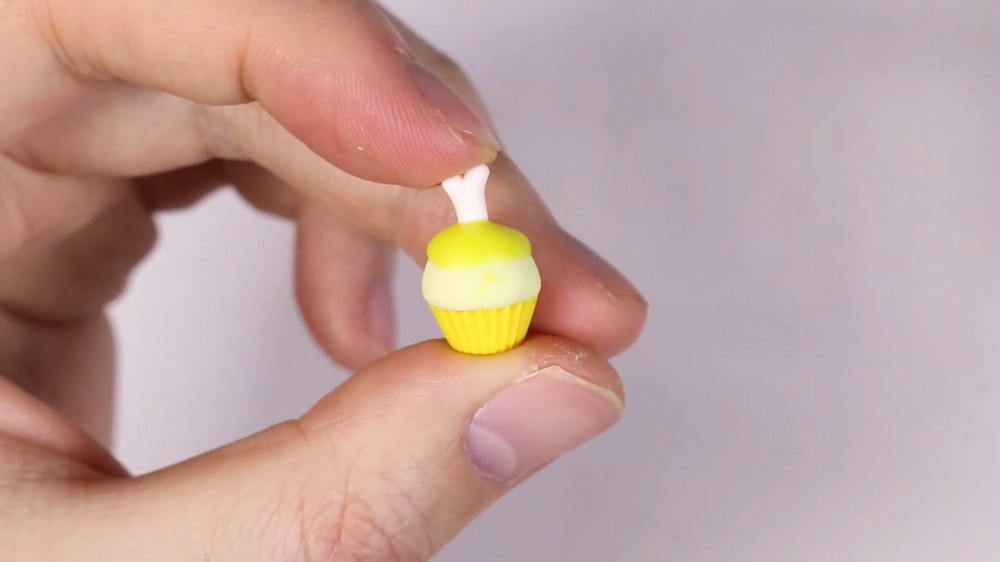
3. Among Us Cupcake (Body Found Cupcake)
A playful polymer clay cupcake with the Among Us “body found” bone popping out.
Step 1: Create the Cupcake Base
- Cupcake liner:
- Press yellow clay into a cupcake mold or shape by hand.
- Trim off excess clay to make a neat, ridged base.
- Cupcake top:
- Flatten a ball of vanilla clay into a dome shape and lay this on top of the base, blending edges for a seamless fit.
- Texture the surface:
- Use a thick paintbrush (or other textured tool) to make gentle indents, simulating a cake-like texture.
Step 2: Add Swirl Icing
- Prepare icing:
- Mix a bit of liquid Sculpey and vanilla clay for a creamy consistency.
- Dab or swirl this mixture atop the cupcake dome for a realistic dollop of icing.
Step 3: Make & Add the Bone
- Bone shape:
- Roll white clay into a thin snake.
- Flatten one end, then split that end with your craft blade into two halves, shaping into rounded lobes.
- Accent with gentle pinching and trimming for bone realism.
- Insert bone:
- Trim snake to size, press into the center of the icing to replicate the famous “body found” scene.
Step 4: Bake
- Bake the cupcake:
- Place carefully on your tray (bone up) and bake per instructions.
Step 5: Finishing Touches
- Glaze for shine:
- If desired, gloss the cupcake lightly for a polished dessert look.
Tips for Success & Customization
- Use translucent clay: For the most realistic gummy candies, especially when using “sugar” coatings.
- Experiment with dietails: Try sprinkles, different visor colors, or add blush to the faces.
- Personalize color schemes: Use your favorite colors for the dango or cupcake base!
- Make into charms: Add eye pins before baking to turn your candies or cupcake into necklace, bracelet, or keychain charms.
- Handle gently: Let glaze dry fully before moving or using finished pieces to avoid fingerprints.
Conclusion
With just a handful of polymer clay colors and simple craft tools, you can bring Among Us inspired treats to life! From sugar-dusted gummies to stackable dango crewmates, and a playful cupcake, these miniatures are fun for all ages. Use them as game-night decorations, personalized gifts, or a cute way to show off your love for the game.