Style a cute display piece with DIY Cat Ear Headphones With Polymer Clay, from pointed ears to a curved headband, and give a plain shelf a playful touch.
Headphone shapes can be surprisingly cute when a pair of pointed ears rises above the headband. DIY Cat Ear Headphones With Polymer Clay gives that familiar accessory a playful, animal-inspired look as a decorative model. The two ears attract attention first, while the round ear cups and curved band help the whole piece read as headphones.
Stylish Cat Ear Headphone Miniature Using Polymer Clay
About the Artist
On the PolymomoTea channel, familiar accessories often take on a softer, more playful appearance. The designer works with small forms and charming themes, showing how ordinary objects can inspire decorative clay pieces. This headphone idea reflects that lighthearted approach, especially through its animal ears and careful attention to shape overall.
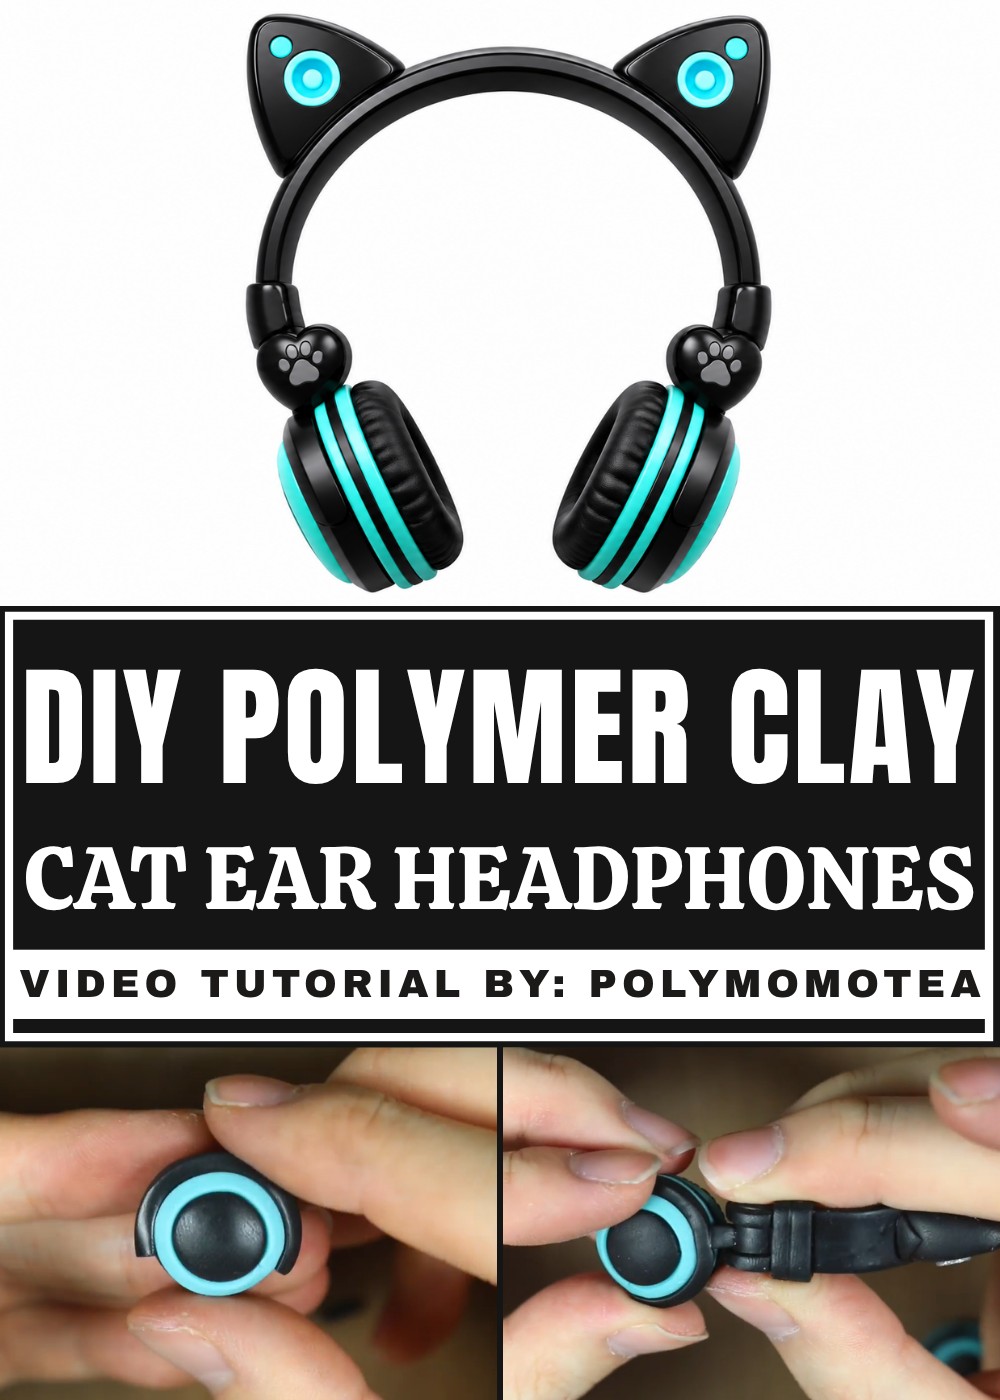
Unlike an ordinary electronic set, this version is all about appearance. The ear details can be shaped from small, smooth pieces, and the band needs a gentle curve to keep the outline balanced. Matching the ear cups on both sides is especially important. A little care with their size and placement gives the finished piece a tidy look. Soft colors can keep it sweet, while stronger shades lend a bolder style.
The result suits a bedroom shelf, a study desk, or a collection of tiny accessories. It has the fun feeling of a fashion item without taking up much room. Someone who loves cats, music, or unusual miniature objects might appreciate it as a small gift.
Free DIY Ideas do not always need a complicated theme to stand out. Here, an everyday shape gets its personality from just two pointed ears. That simple change gives the model a cheerful character, and its familiar outline makes it easy to recognize from across a table.
DIY Mini Cat Ear Headphones from Polymer Clay
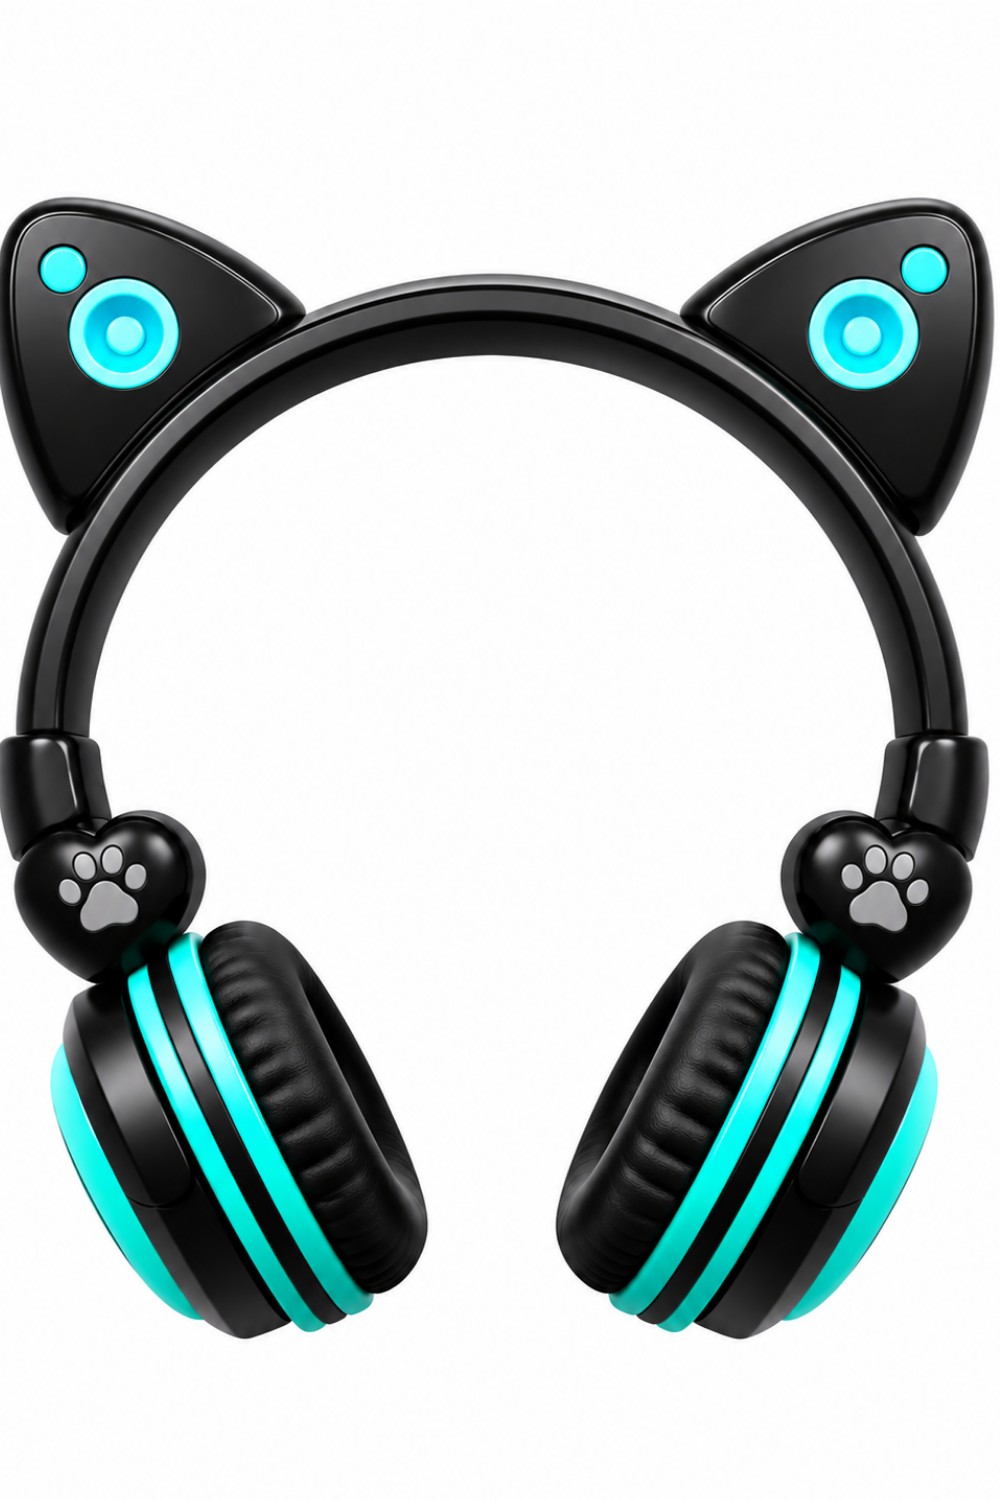
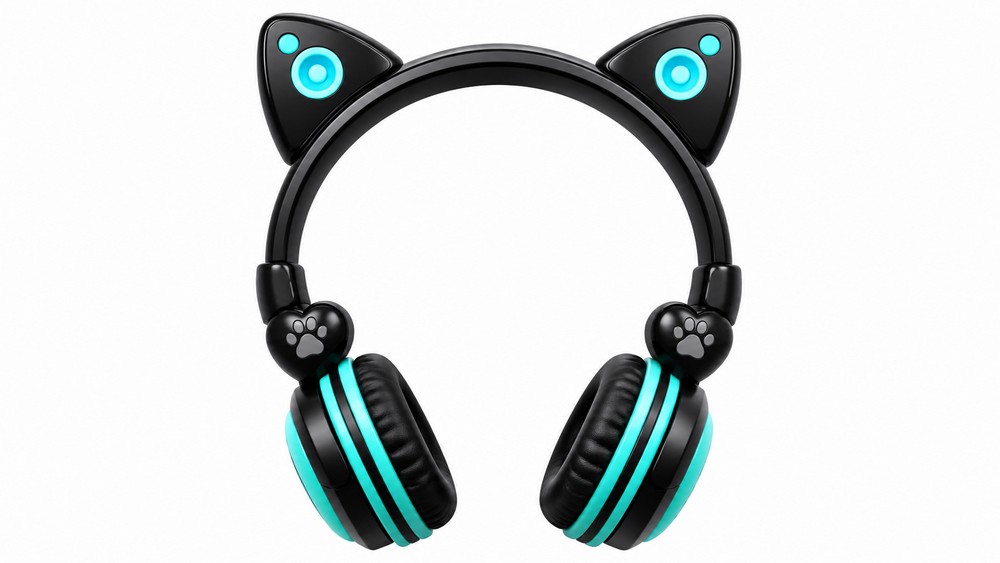
This project results in a miniature pair of cat ear headphones made entirely from polymer clay, complete with realistic details like speakers, glowing accents, ear muffs, and stylish colored bands. These headphones are sized for Tsum Tsums, but the basic technique can be adapted for any small plush or doll. The tutorial includes several creative touches, such as the use of glow-in-the-dark clay for the speaker elements, and a wire and paper towel roll mold to keep the headphone shape crisp and smooth during baking.
Materials and Tools
Before getting started, gather the following materials and tools. All items are mentioned in the video and are essential for completing the headphones.
Materials
- Polymer clay in black (for the main structure and detailing)
- Polymer clay in silver or glittery white/gold (for decorative rings and details)
- Glow-in-the-dark blue polymer clay (optional, for glowing speaker parts)
- Wire (for structural reinforcement and shape)
- Paper towel roll (used as a temporary mold)
- Tape (to hold wire in place on the mold)
- Optional: Additional polymer clay colors (such as light blue, for accent stripes)
Tools
- Dotting tool (for making holes and shaping)
- Clay blade or knife (for cutting and trimming clay)
- Circle cookie cutter (for making ear muff shapes)
- Super glue (for final assembly and reinforcing joints)
- Oven (for baking polymer clay according to package instructions)
Instructions
1. Preparing the Headphone Mold
1.1 Cutting the Paper Towel Roll
- Take a standard paper towel roll and cut it into a section slightly larger than your Tsum Tsum's head.
- Trim the edges cleanly so the roll stands upright.
1.2 Adding Wire for Shape
- Measure a length of wire to match the size and curve of your plush toy’s head.
- Tape the wire onto the roll so that it forms a semi-circle above the roll’s rim.
- This wire will serve as a support structure and will help hold the headphone shape during baking.
2. Making the Headphone Base
2.1 Forming the Headband
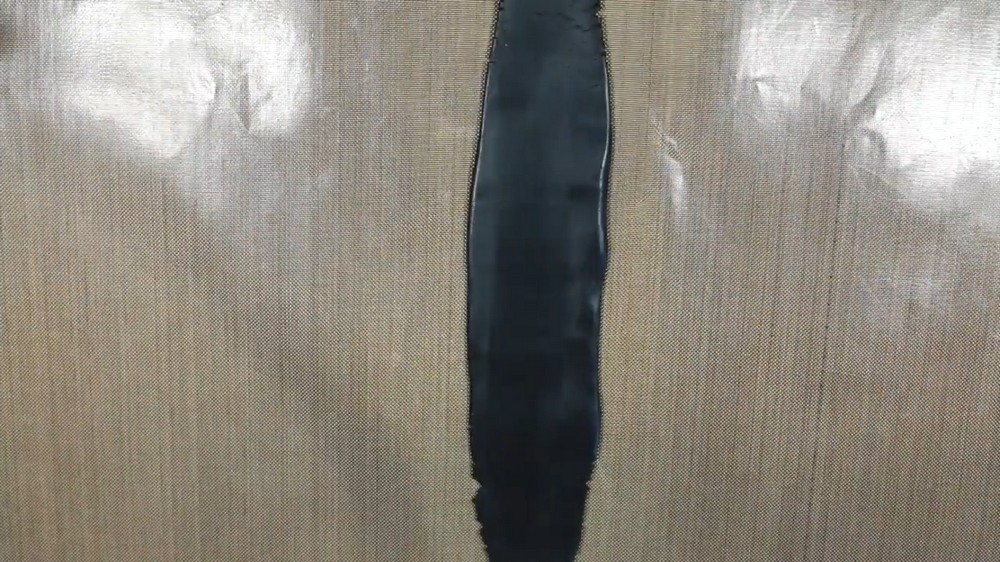
- Take black polymer clay and roll it out into a thick, even slab.
- Cut a long rectangle from the slab. The rectangle should be long enough to wrap securely around the wire on your paper towel mold.
- Drape the rectangle over the wire, adjusting the length so it fits perfectly without excess.
- If necessary, trim the rectangle so it does not overlap.
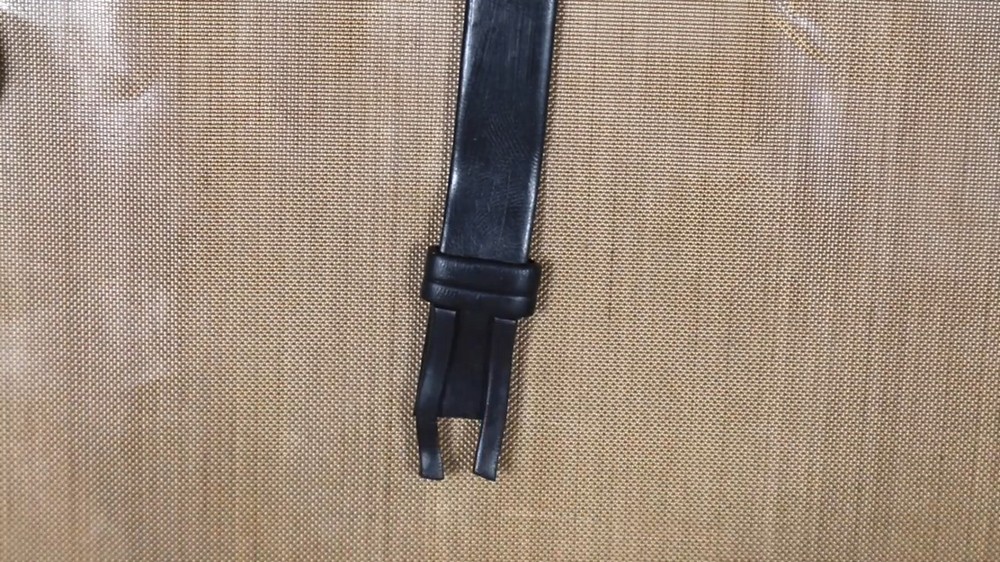
2.2 Adding Decorative Strips
- Roll out a new strip of black clay.
- Cut one end straight and make a small indent.
- Cut the other end so that the strip has a layered appearance.
- Position this strip at the base of your headphones and wrap it around, overlapping the headband slightly.
- Trim any excess clay and press the strip firmly in place.
- This creates the iconic layered design detail found on the real cat ear headphones.
3. Adding Vertical Strips and Silver Details
3.1 Creating Vertical Strips
- Roll out more black clay and cut it into thin vertical strips.
- Attach these strips vertically, starting from the ring you just formed. Press them into place, then trim away extra length.
- Make sure all strips are neat and parallel.
3.2 Adding Silver (or Gold Glitter) Rings
- Take silver clay, or use white glitter gold clay for extra sparkle.
- Form a slim strip and wrap it around the ends of the headband, where the headphones will meet the ears.
- Trim excess clay, and ensure the ring is crisp and sits flush against the base.
4. Sculpting the Cat Ears and Speaker Elements
4.1 Creating Cat Ears
- Take a generous amount of black clay and form it into two large teardrop shapes.
- Smooth out the edges, and pinch the top to form a pointed pyramid, giving the classic cat ear shape.
- Repeat for the second ear.
4.2 Adding Speaker Holes
- Using your dotting tool, make one small hole at the tip of each ear and one larger hole just below it.
- These holes will serve as the speaker openings.
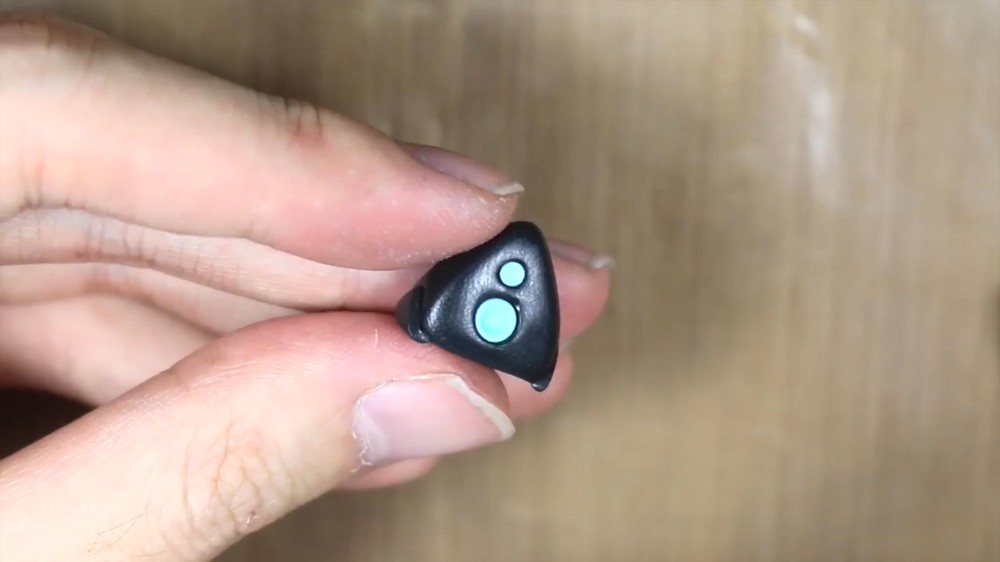
4.3 Wrapping Ear Bases
- Take more black clay and shape it into thin triangles.
- Wrap the triangles around the base of each ear to add definition and realism.
- Trim off excess clay and make sure the wraps are neat on both ears.
4.4 Creating Glow Accents (Optional)
- If you wish to mimic the "lit" headphones, fill the speaker holes with glow-in-the-dark blue clay.
- Press glow clay securely into place in both holes of each ear.
5. Decorating the Speaker Base
5.1 Adding Glitter Rings
- For the bottom circle of the cat ear speakers, wrap a thin ring of white glitter gold silver clay around the base.
- Press gently to blend the ring into the ear’s edge.
5.2 Making Speaker Dots
- Place a small dot of blue glow-in-the-dark clay in the center of the speaker openings for additional detail.
5.3 Attaching Ears
- Carefully blend the completed cat ears onto the top of the headband and position them evenly.
6. Making Ear Muff Components
6.1 Shaping the Ear Muffs
- Roll two balls of black clay and flatten each into a mound shape.
- These will be the ear muff cushions.
6.2 Adding Muff Details
- Roll out more black clay flat and use a circle cookie cutter to cut two circles.
- Place each circle on the center of an ear muff mound to form the inner pad.
6.3 Adding Glow-in-the-Dark Stripe
- Roll a thin strip of glow-in-the-dark blue clay and wrap it around the edge of the inner pad for a glowing accent.
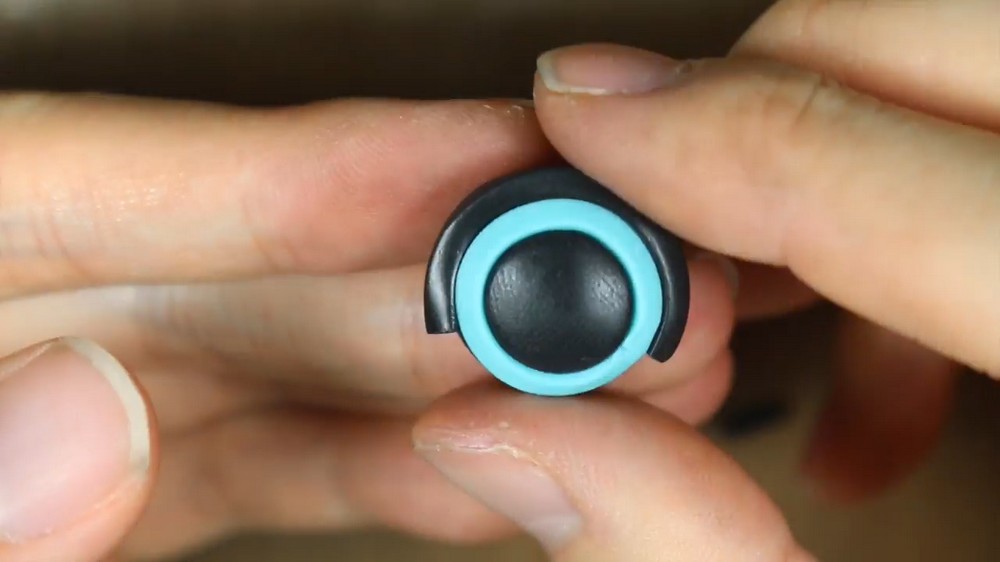
6.4 Attaching Connector Strips
- Roll out a thick strip of black clay and cut two long strips.
- Cut two small strips to serve as connectors.
- Wrap the long strips halfway around the ear muff, then attach the small strips in the middle, connecting the ear muff to the headband.
- Use a thin piece of wire for reinforcement; poke a hole in the silver loop and remove the wire for gluing later.
6.5 Adding Additional Muff Trim
- Roll a fat strip of black clay and wrap it around the inside of the ear muff. Trim excess.
- Using a blade, make regular etchings all around the muff to create a textured appearance.
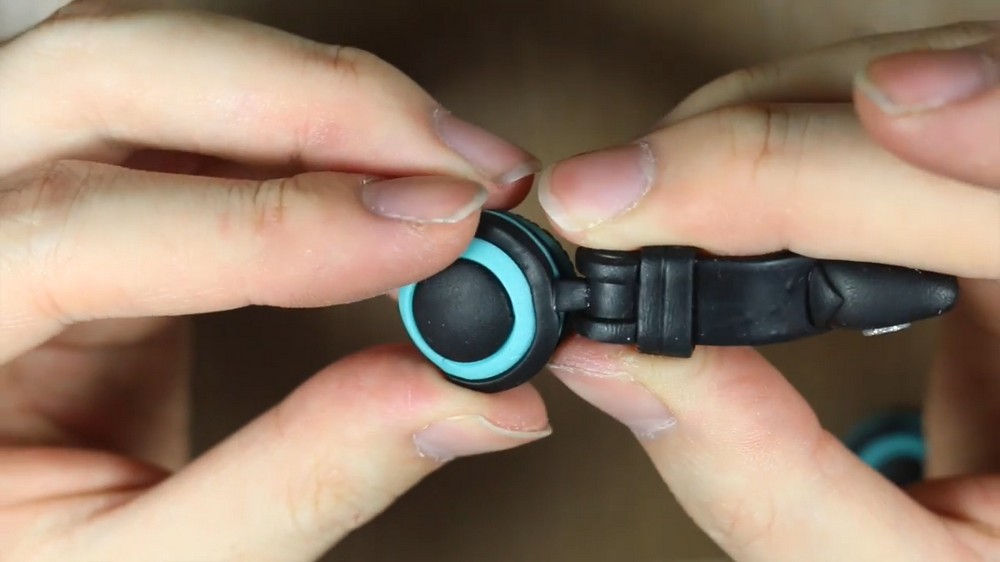
7. Applying Final Accent Stripes
- Take strips of light blue, black, and light blue clay and press them together.
- Roll them out to merge colors, creating a striped accent piece.
- Wrap this striped band around your headphones and trim any excess. This finishes off the design, making the headphones just like the originals.
8. Baking and Assembly
8.1 Baking
- Carefully transfer all assembled components (headband, ears, muffs) on their mold to the oven.
- Bake according to your clay package directions, usually at 275°F (135°C) for 15–30 minutes.
- Let all pieces cool completely.
8.2 Final Assembly
- Use super glue to secure the wire reinforcement inside the silver loop and other connection points.
- Attach all finished pieces together, blending any seams and reinforcing as needed.
9. Enjoy Your Mini Headphones!
Your fully finished cat ear headphones should look just like the original design and fit snugly onto your favorite Tsum Tsums or plushies. The glow-in-the-dark accents make them shine in low light, and the detailing brings a touch of realism and fun. Try fitting them on different characters—some may rock the headphones better than others.