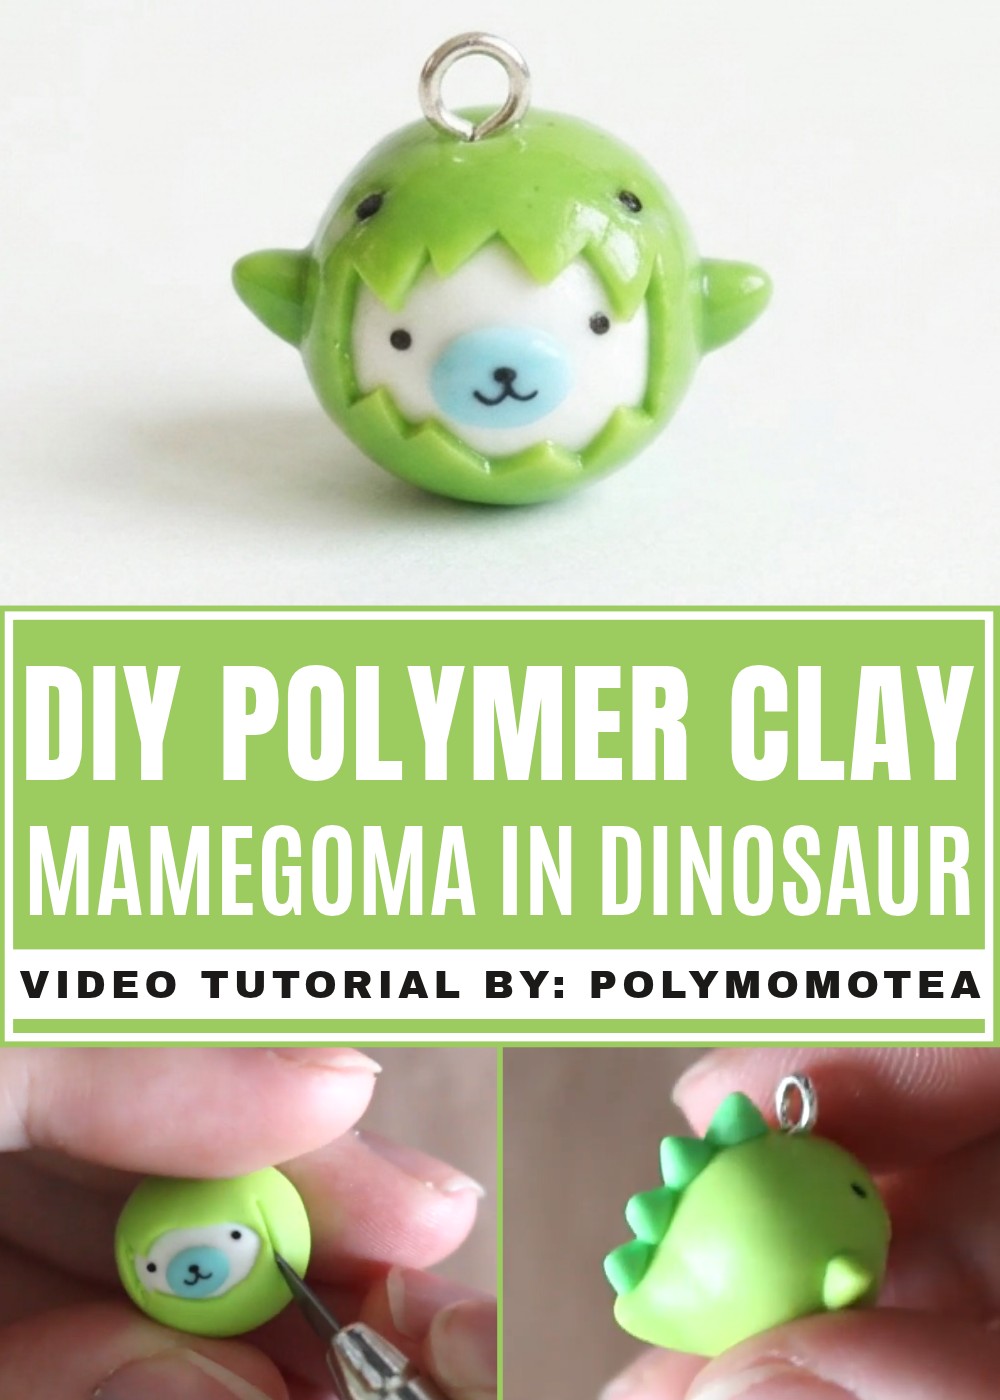
Its compact shape works well on a bedside table, bookshelf, or the corner of a study desk. You could also place it beside other small animal figures to start a cheerful collection. Someone who loves cute characters or dinosaurs may appreciate it as a small birthday gift. It feels personal without needing a large display area.
The basic form begins with rounded clay pieces for the body and face. Small additions help suggest the dinosaur outfit, while simple facial features keep the seal easy to recognize. Careful shaping around the edges helps the parts sit neatly together. The fine details are best handled gently so the figure keeps its soft, friendly appearance.
What stands out is the mix of two familiar animals in one tiny figure. It gives a plain spot at home a lighthearted touch and offers a different take on a simple clay animal project.
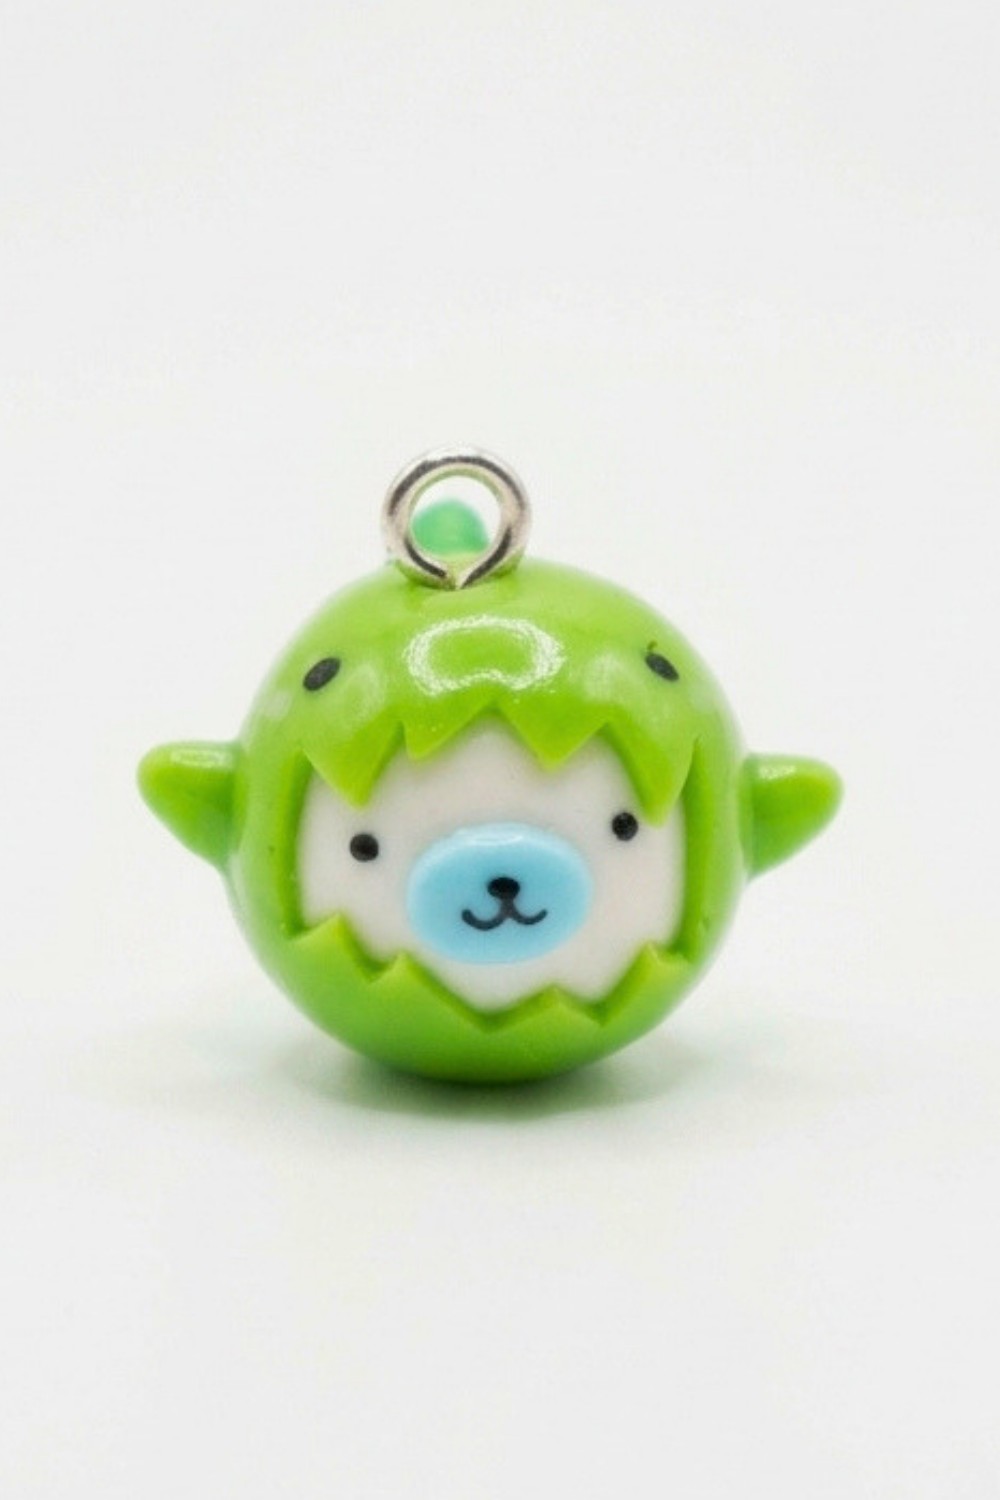
DIY Moga in a Dinosaur Costume: Polymer Clay
In this tutorial, you’ll create “Moga” (a round, ghost-like character) dressed up in a playful dinosaur costume, inspired by the classic look of Halloween disguises. The project uses simple shapes, a variety of clay colors, and a few easy sculpting techniques. You can personalize the face expressions, spell out your own monster’s “teeth,” and add those signature dinosaur spikes down the back.
Essential Materials & Tools
Gather these supplies before starting for a smooth process:
Materials
- Polymer clay:
- White (Moga head and base)
- Light blue (nose patch)
- Green (dinosaur costume and spikes)
- Black (for eyes and mouth)
- Pink (blush next to the eyes)
- Optional:
- Eye pin (if making a charm/keychain)
- Glaze (gloss varnish or UV resin for shine)
Tools
- Clay roller (or your hands) for flattening and shaping
- X-Acto knife, craft knife, or blade (for cutting mouth opening and trimming clay)
- Dotting tool or toothpick (for indenting and detailing eyes)
- Sculpting/blending tools (for smoothing and attaching pieces)
- Baking tray (covered in parchment paper or foil)
- Oven (for baking polymer clay, per manufacturer’s instructions)
- Paintbrush (for adding glaze, if used)
Step-by-Step Instructions
Step 1: Create Moga’s Head
- Roll the head:
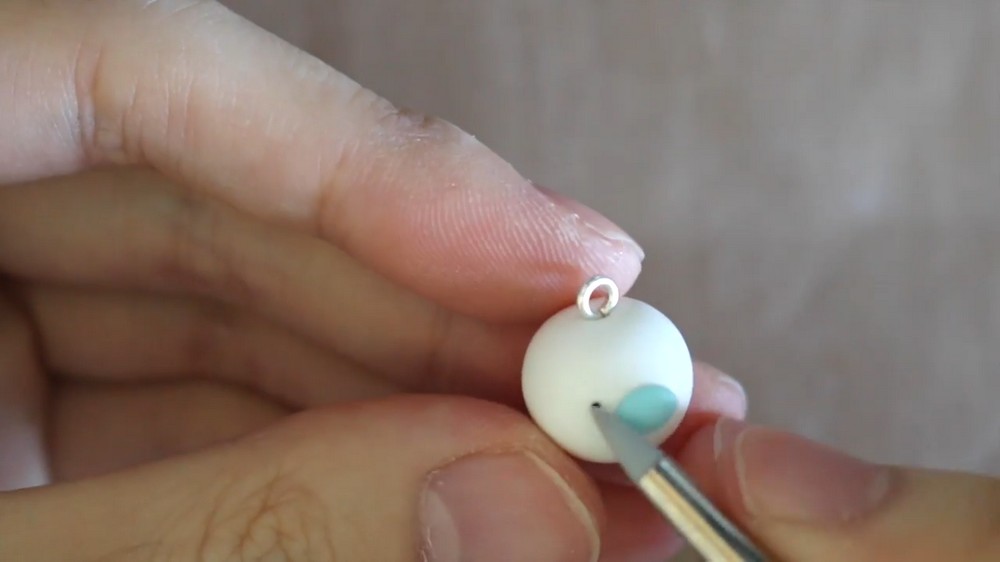
Take a ball of white polymer clay and smooth it between your palms to make a round base. - Nose patch:
Flatten a small piece of light blue clay into an oval shape and carefully press it on top of the white ball (where the nose will be). - Face details:
- Add two small balls or indents of black clay for the eyes.
- Make a little “w” shape with black clay for the mouth.
- Add a tiny black dot for the nose.
Optional: Use a dotting tool or toothpick to help place small pieces.
- Pre-bake:
Place the head on your baking tray and pre-bake for about 10 minutes—this helps it stay firm when adding the costume. Check your clay’s package for exact temperatures/times.
Step 2: Wrap the Dinosaur Costume
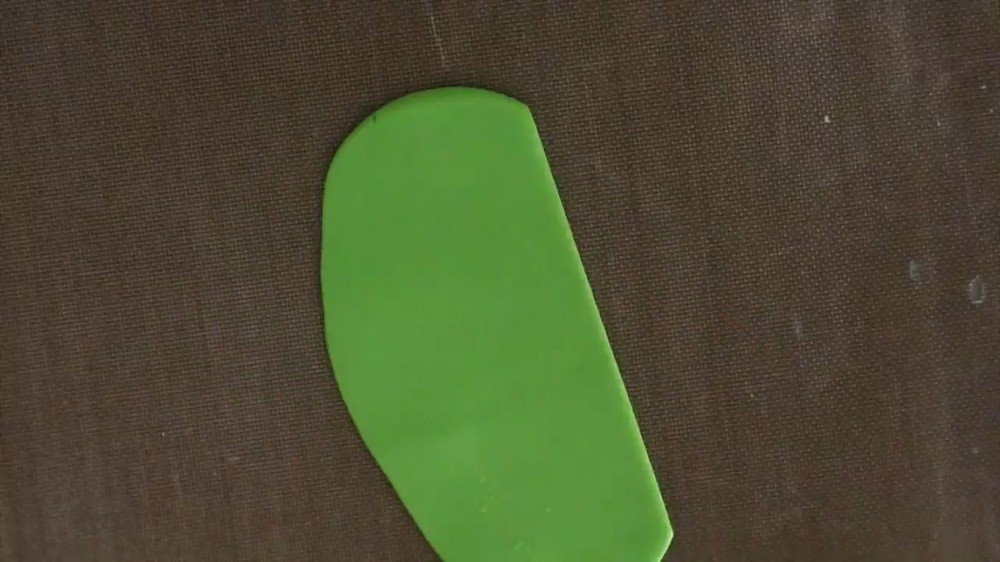
- Roll and flatten the dinosaur costume:
Take a generous amount of green clay. Flatten it into an even sheet large enough to wrap around your pre-baked head. - Wrap it around the face:
Trim one edge straight, then wrap the green sheet around your Moga’s head, covering everything except the face (where the facial features are). Overlap slightly at the back. - Close and blend:
Cut off excess clay at the join, then use your fingers and a sculpting tool to blend the seam so it’s invisible. - Shape the tail:
Instead of discarding all the excess green, gather it to one side of the head and mold it into a tapered, pointy dinosaur tail. (If you prefer, you can omit the tail, since it might be fragile.)
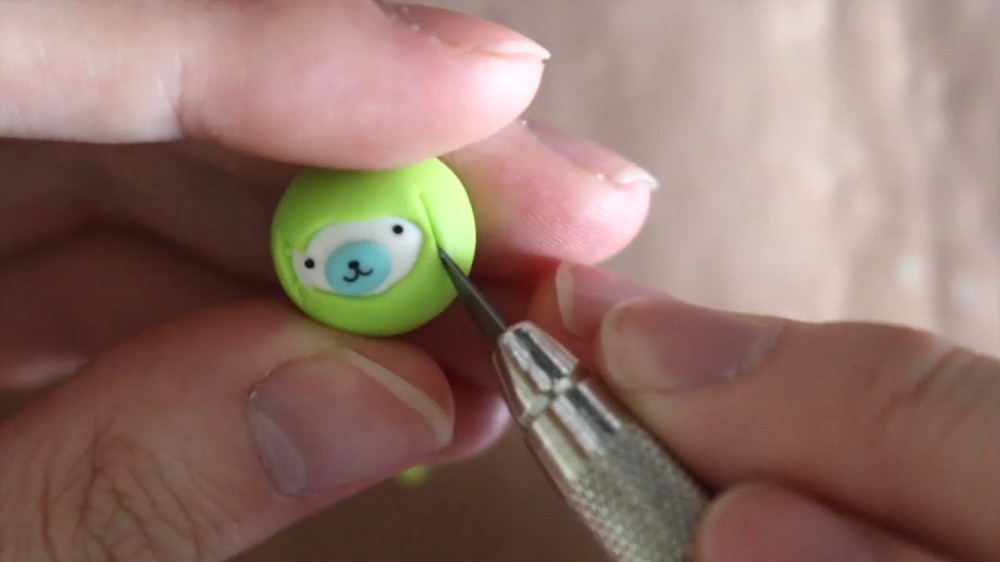
Step 3: Cut Out the Dinosaur Mouth
- Form the mouth opening:
Use your X-Acto knife or blade to carefully cut an opening for the mouth where Moga’s face peeks through.- Make a curved line next to the open face.
- Then, cut out several triangles along this curve to form the “monster’s teeth”—it should look like a zigzag/jagged edge.
- Remove excess clay:
Gently peel away the extra clay triangles, leaving the toothy opening exposed.
Step 4: Add the Dinosaur Arms
- Form the arms:
Roll more green clay into two short cone shapes. Trim the wide ends flat so they will attach easily. - Attach the arms:
Place the two arms to the sides of the costume, about where the character’s “shoulders” would be. Blend the joins into the body smoothly using your sculpting tool or fingers.
Step 5: Make the Dinosaur's Eyes
- Indent the eyes:
Use your dotting tool to make two small indents in the dinosaur hood, above the mouth. - Fill with black clay:
Roll two tiny balls of black clay and press them into the indents to complete the dinosaur’s eyes.
Step 6: Optional Stop – Ghost Costume
At this point, your Moga looks similar to a little ghost or a Mario Boo in costume. You can stop here if you prefer a simple Halloween ghost, or continue for the full dinosaur look!
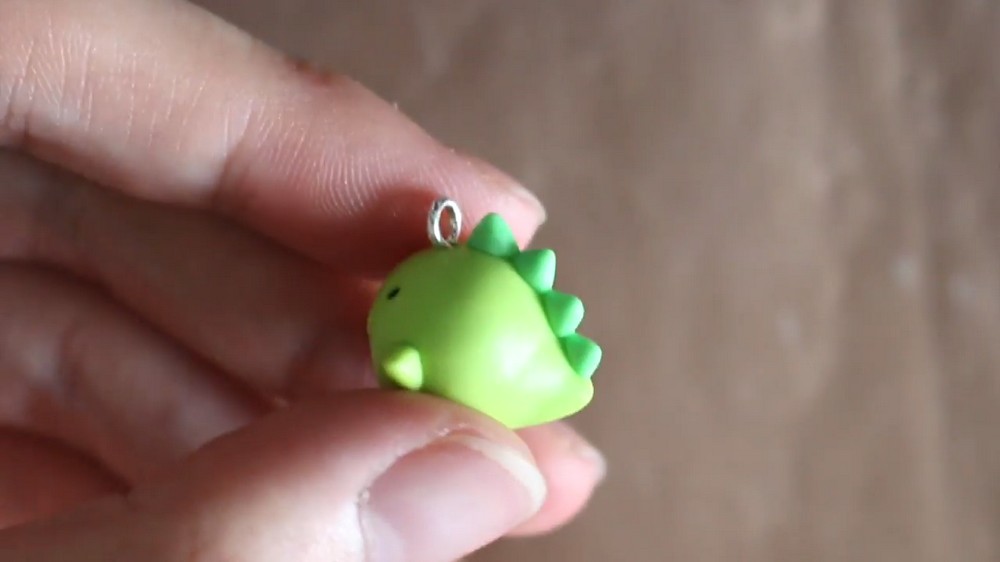
Step 7: Add the Dinosaur Spikes
- Form the spikes:
Take small pieces of green clay and pinch each into a triangle shape (roll a cone and flatten). - Attach spikes to the back:
Starting behind the dinosaur’s eyes (and around the eye pin if making a charm), attach spikes in a straight line down the back and all the way to the tip of the tail. Press and blend them on with your tool.
Step 8: Blush and Final Face Details
- Pink blush:
Roll two tiny ovals from pink clay and place one next to each eye on Moga’s face for an adorable blush effect.
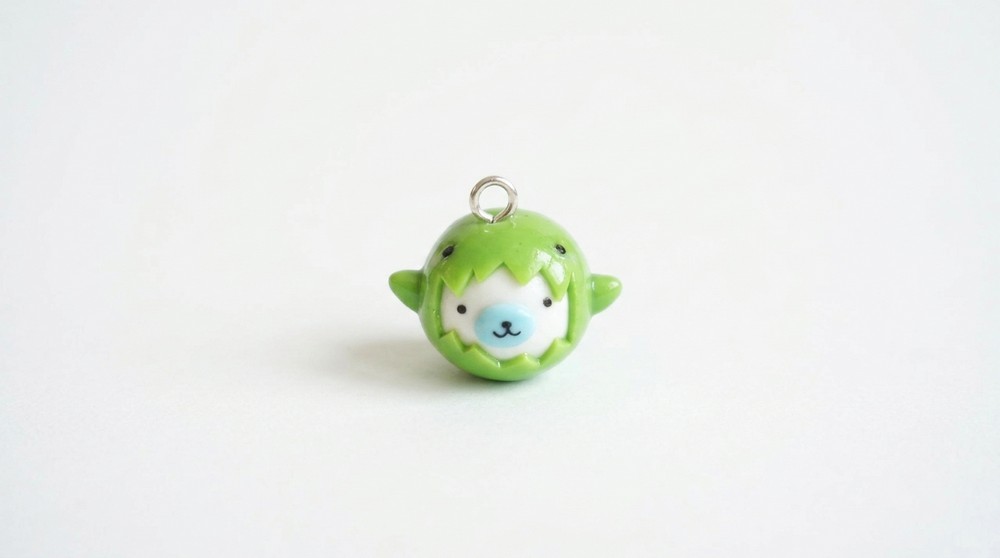
Step 9: Bake and Glaze
- Bake your figure:
Place your finished Moga on a baking tray and bake according to the clay’s instructions (typically 15–30 minutes at 250–275°F / ~120–130°C, but always check your specific clay). - Cool completely after baking.
- Glaze for shine (optional):
Only glaze the dinosaur costume section (not Moga’s “skin”) for a realistic mixed-texture effect. Use a clay-safe gloss varnish or a thin layer of UV resin. Let set/cure fully before handling.
Tips for Success
- Pre-baking the head keeps your facial features crisp even after adding the costume.
- Use a sharp blade for the mouth opening so the “teeth” have crisp edges.
- Roll thin, even sheets for the costume so it hugs the head nicely.
- Blend all seams and joins well for a clean, professional look.
- If making charms, insert an eye pin into the head before baking.
- If you skip the tail, your figure will be more durable for keychains.
Conclusion
You’ve just made your own adorable Moga in a Dinosaur Costume! This cute and simple project is perfect for playing with character design, color blending, and adding personal details. With alternating matte and glossy sections, and the freedom to change colors or facial expressions, each Moga you make will turn out unique.