Turn simple clay shapes into a cheerful Free DIY honey bee with this Idea, featuring striped details, little wings, and a sweet look for your favorite shelf.
Featured By: PolymomoTea
A little honey bee can turn ordinary clay into a cheerful decoration with plenty of character. DIY Polymer Clay Honey Bee is a Free DIY Idea centered on a familiar insect with a round body, bold stripes, and delicate wings. Its small size and happy appearance give it a friendly feel, even for people who usually prefer flowers or other animal figures.
Honey Bee Miniature – Easy Free DIY Idea with Polymer Clay
Yellow and black are the colors that tell the bee's story. A rounded body forms the main shape, with dark bands placed across it to show the striped pattern. Tiny wings, eyes, and antennae complete the look. Keeping the parts smooth and balanced helps the finished bee look neat. The small features also give you room to adjust its expression, from a simple smile to a more curious face.
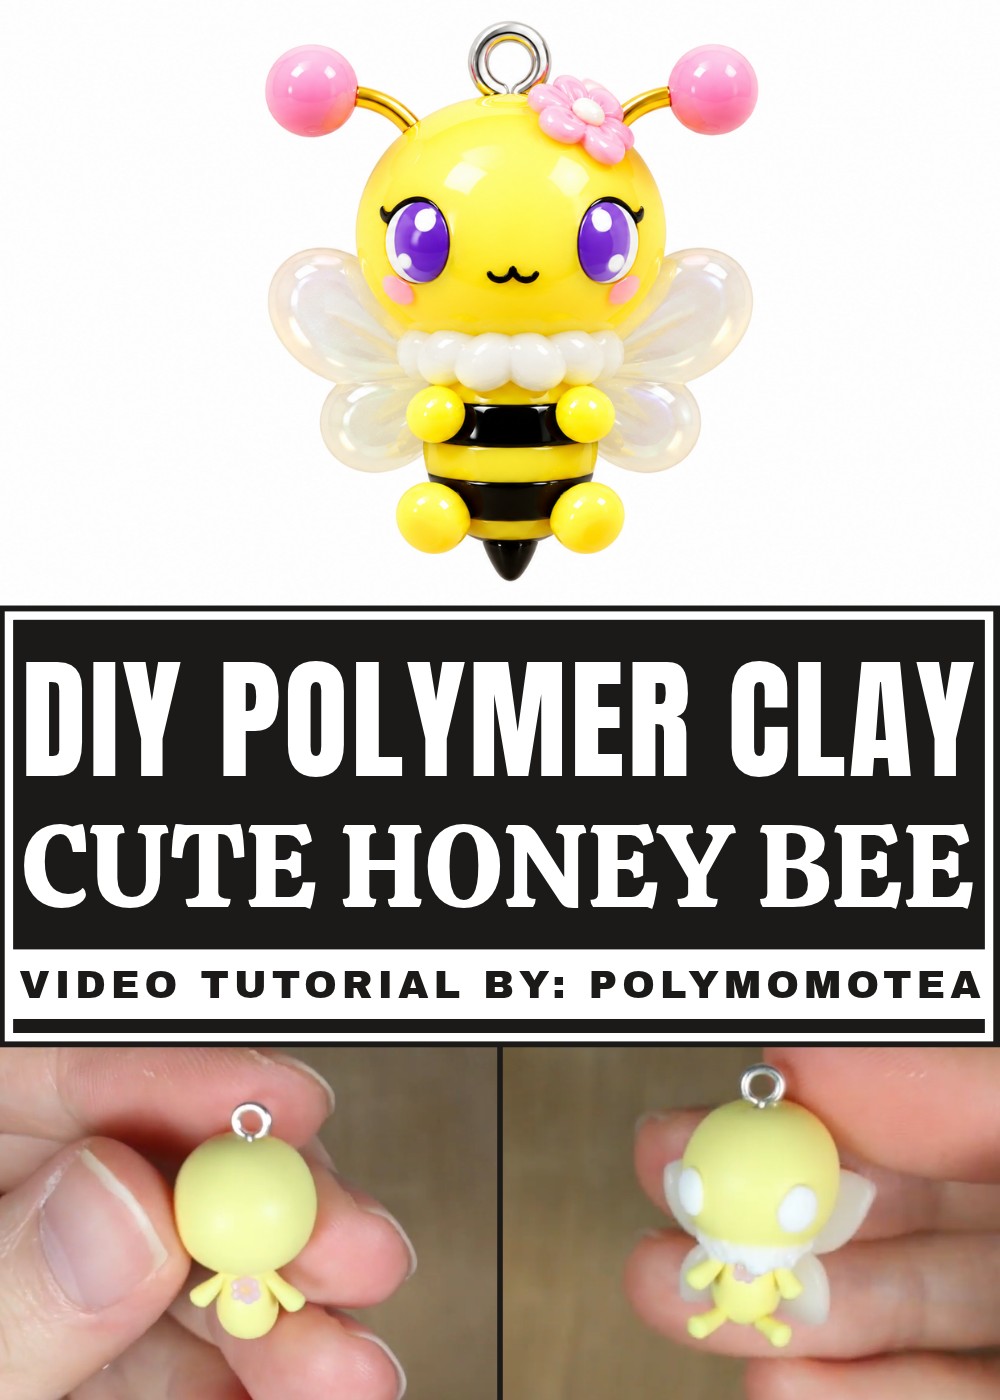
This little figure can sit near a plant pot, decorate a bedroom shelf, or brighten a study corner. A bee theme also fits a handmade birthday present for someone who likes insects or nature. Because it does not need a lot of space, it can sit alongside other miniature decorations without crowding them.
The nicest part of this project is how a few easy shapes turn into an instantly recognizable creature. With its stripes and rounded form, the bee has a lively look that feels welcoming rather than busy. It is a sweet choice for a simple day of working with clay.
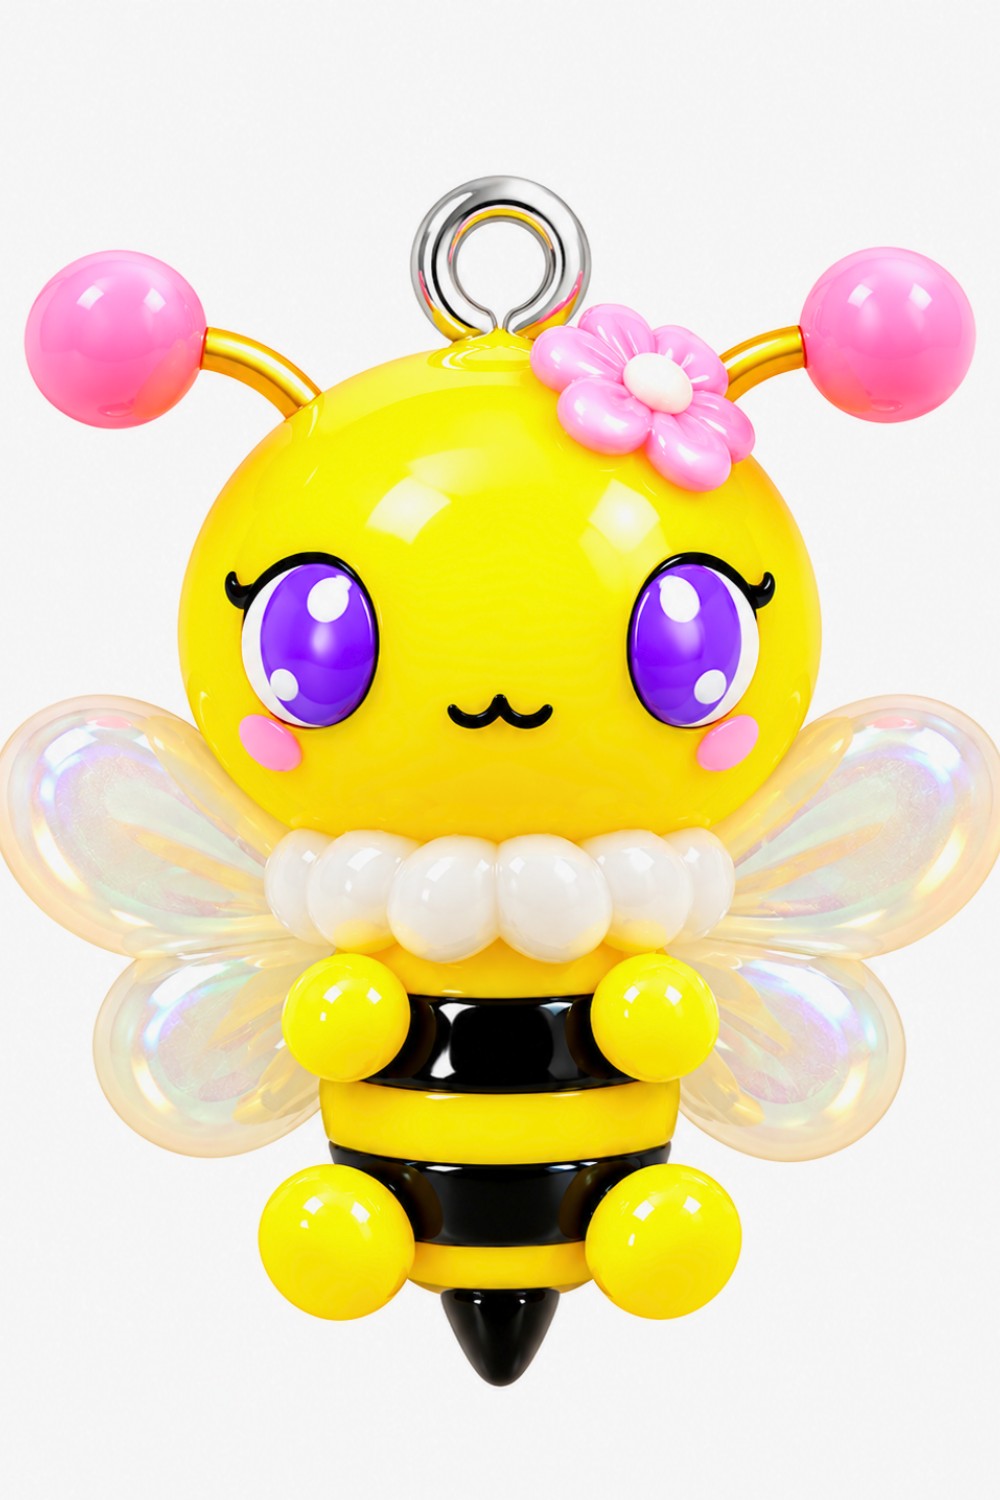
DIY JewelPet Charlotte (Bee) Polymer Clay Charm Tutorial
Charlotte is a beloved character from the JewelPet series, known for her bright personality and adorable bee design. This tutorial will show you how to recreate her in miniature using polymer clay and a few simple tools. We’ll walk through building her adorable rounded body, gem embellishments, fluffy details, delicate wings, and her iconic expressive face. Plus, you’ll learn how to add painted details and secure her cute bouncy antennae!
Essential Materials & Tools
Before you get started, gather the following:
Materials
- Polymer clay in the following colors:
- Yellow (main body and head)
- White (fluff, stinger, wings, eyes)
- Black (eyes, eye outlines, mouth, stripes)
- Purple (flower gem petals, bow)
- Orange (flower gem center, nose)
- Pink (cheek blush, antenna balls)
- Primo Translucent or translucent clay (may be used for wings)
- Eye pin(s) (for making a charm)
- Thin wire (for antennae)
- Super glue (for attaching small baked elements)
- Acrylic paints: black, light purple, dark purple, white (for eye and stripe details)
- Glaze/sealant (clay-safe, gloss type)
- Optional: UV resin for strong shiny finishing
Tools
- Clay blade or craft knife (for precise cutting and shaping)
- Dotting tool or ball stylus (for making indents and texture)
- Clay roller (or a round pen/bottle)
- Paintbrushes (fine tip for details)
- Baking tray (with parchment or foil)
- Palette for mixing paint
- Oven (for baking clay, follow manufacturer instructions)
- Tweezers (for handling small clay details)
Step-by-Step Instructions
1. Sculpt Charlotte’s Head & Body
Head
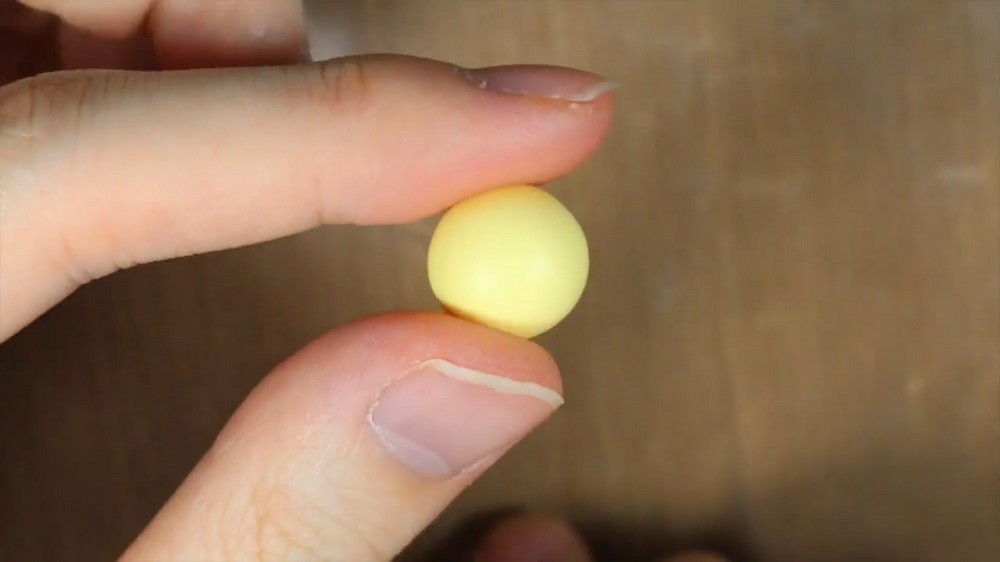
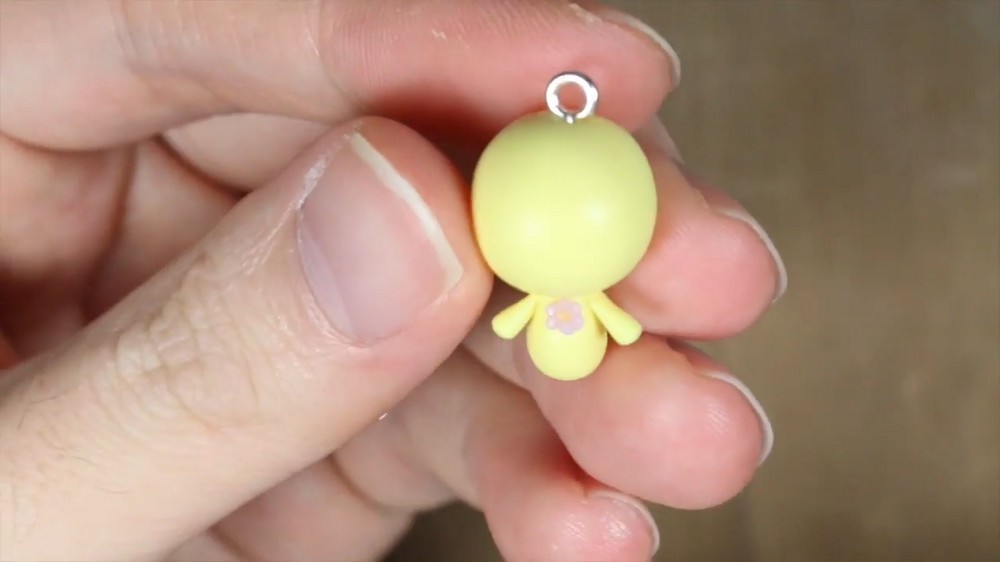
- Roll a smooth ball of yellow clay for the head.
- Insert an eye pin gently into the top if you are making this as a charm/keychain (this helps later assembly).
Body
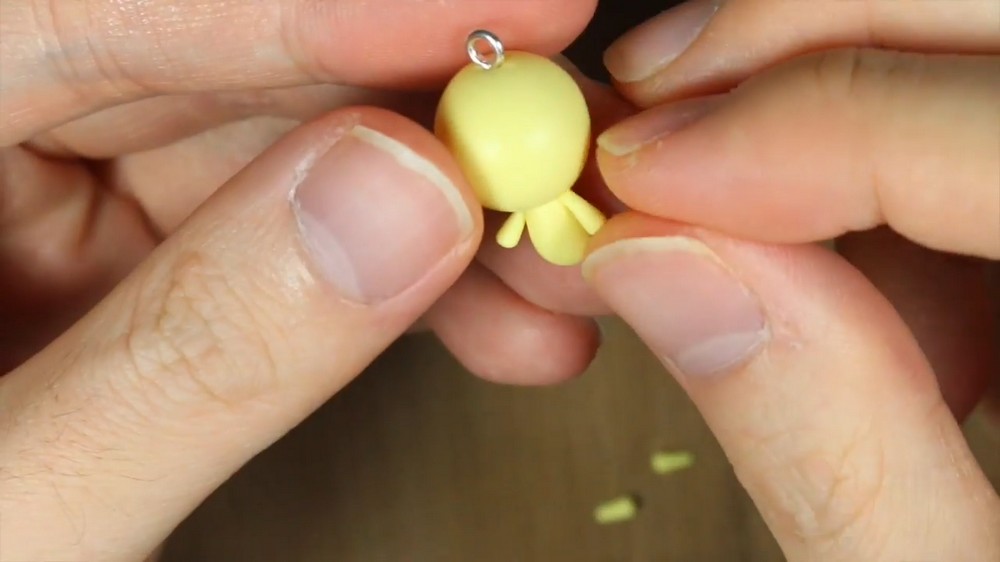
- Roll a thick, short snake of yellow clay.
- Cut the end off, flatten it gently for a stable base, and blend the trimmed end onto the underside of the head to attach the body.
- Smooth out any seams, making sure the “neck” area is rounded and clean.
2. Make and Add the Arms & Legs
- Roll out a thin “snake” of yellow clay for limbs.
- Shape the end of each limb slightly fatter than the rest (for hands and feet).
- Cut sections for arms: blend onto Charlotte’s body, right below the head.
- Save the leg sections for later (they will be attached after you add the fluff and gem).
3. Sculpt Charlotte’s Flower Gem
- Roll six little balls of purple clay for the petals.
- Roll a medium-sized ball of orange clay for the center.
- Arrange purple balls around the orange ball to form a “flower” (try to keep it looking tidy and hexagonal).
- Gently flatten the gem, keeping the petal details.
- Press this assembled flower lightly to Charlotte’s chest/body.
4. Add the White Fluff Collar
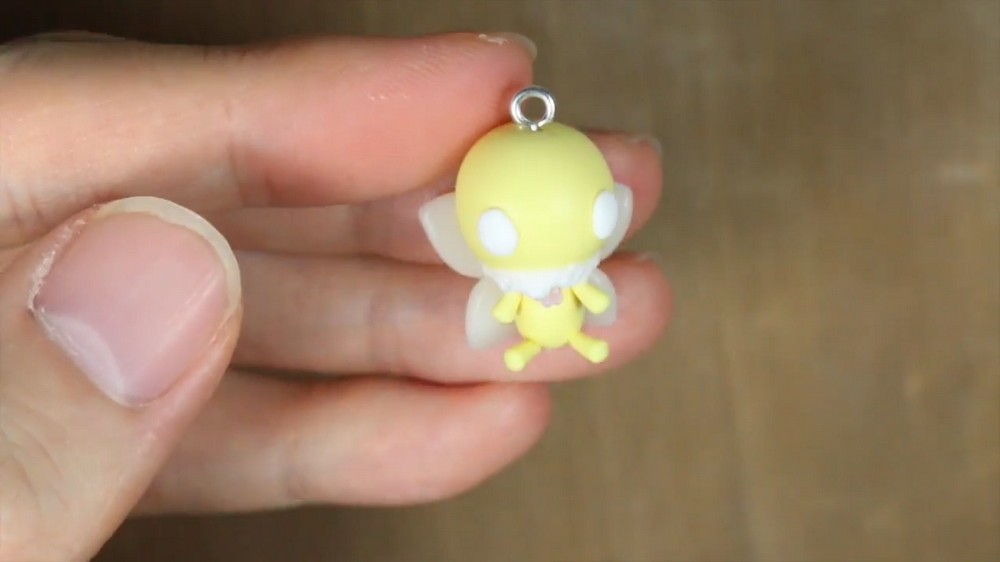
- Roll a thin “snake” of white clay.
- Wrap it around Charlotte’s neck, just beneath the head, but above the flower gem.
- Use your dotting tool to poke and texture the snake, creating a fluffed look.
5. Finish Legs, Stinger, & Attach to Body
- Attach the yellow leg pieces you made earlier to the lower body.
- For the stinger: roll white clay into a short, sharp cone. Slice the wide end flat.
- Attach the pointy end (stinger) to Charlotte’s back/bottom and blend gently.
6. Make and Attach the Wings
- Use translucent clay (Primo Translucent or similar) or white clay for the wings.
- Pinch small pieces into leaf-like shapes; make two smaller and two larger wings.
- Attach the two smaller wings to the lower back, and the two larger to the upper back, arranging them in a bee-like wing pattern.
7. Build Charlotte’s Facial Features
- Roll two small ovals of white clay and place them as the foundation for the eyes.
- Roll thin snakes of black clay and wrap around the outer half of each eye (for the outline).
- Roll and add a very thin black snake with a gentle curl to the outer corner of each eye; this is for her distinctive eyelash detail.
- Roll a small orange oval for the nose and position it between the eyes.
- Use black clay to form a small “w” or cheery smile beneath the nose.
- Add two tiny pink ovals under the eyes for blush.
8. Make the Purple Bow
- Mix purple and a small bit of translucent clay for a soft gem-like color.
- Flatten and cut two small squares for the main bow loops.
- Affix them to the top of the head.
- Roll a tiny purple ball and press it between the loops for the “knot” of the bow.
9. Antennae Preparation
- Roll two small pink balls for the antenna tips.
- Insert thin wire pieces through each pink ball.
- Bake these separately to keep shape.
10. Bake Your Charm
- Bake Charlotte (and her antennae) according to your clay instructions (usually 250–275°F (120–130°C) for 15–30 minutes).
- Let everything cool completely before assembly or painting.
11. Paint Bee Stripes & Add Eye Details
- Use a small paint brush and black acrylic paint to carefully paint a thick black band around Charlotte’s base and another stripe on the back. If paint gets on the legs or stinger, scrape away excess gently with a blade.
- For the eyes: Paint a light purple oval covering roughly the lower ⅔ of the white eye base. When dry, paint a smaller dark purple oval covering about ⅔ of the light purple for depth.
- Paint a thin dark purple outline along the upper edge of the eye for dimension.
- Use white paint to add a highlight oval and two tiny dots to each eye, bringing them to life.
12. Attach & Final Assembly
- Bend the wire ends of the antennae, trim to size, and glue them into the holes you made atop the head.
- Double check all parts are secure and fully painted.
13. Glaze and Finish
- Seal the entire piece or just the clay parts with a gloss glaze for a shiny finish, or use UV resin for extra durability.
- Let dry and cure per product instructions.
Helpful Tips
- Work slowly: Attach tiny parts with tweezers.
- Neaten seams: Blend and smooth as you work for a professional look.
- Customize: Change Charlotte’s expression or color palette for your own bee!
- Secure eye pin: Insert before baking to make attachment strong.
Conclusion
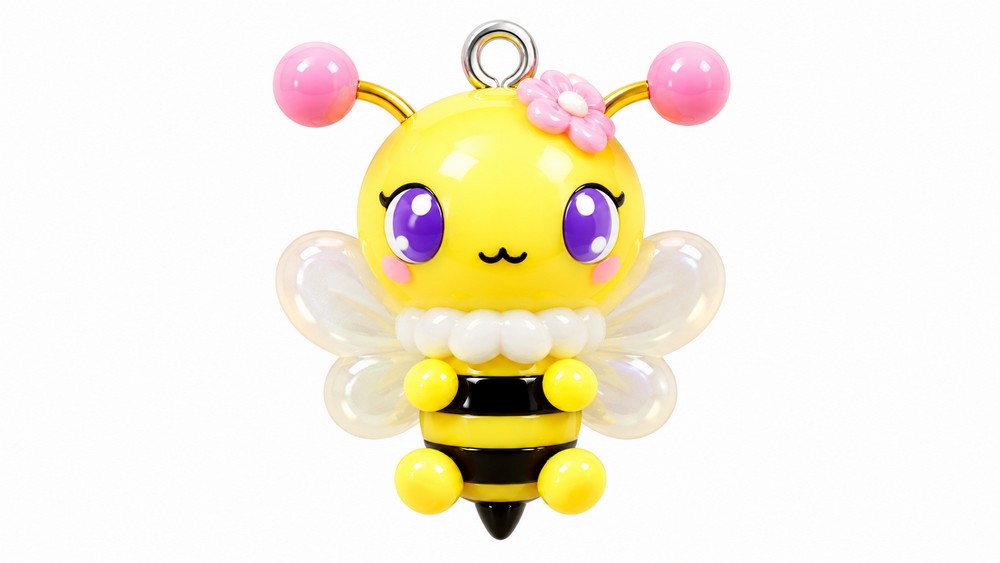
You have sculpted your very own Charlotte the Bee from JewelPets, complete with a glossy finish and brilliant painted details. This charm is sure to add cuteness to any collection, backpack, or jewelry display.