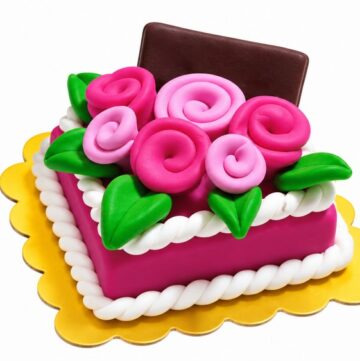
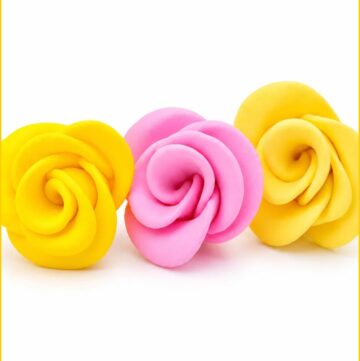
Create a DIY Clay Flower Cane for vibrant floral designs which is for jewelry or decor projects, it adds a polished and artistic touch to creations.
If you’re looking for a creative way to design colorful patterns out of clay, flower canes are a fun and fascinating option. This craft allows you to work with polymer clay, layering and shaping it to create intricate floral designs that can be sliced into smaller pieces. Flower canes are versatile and can be used to decorate jewelry, pens, or any other clay project, making them a great choice for crafters of all skill levels.
DIY Clay Flower Cane Design for Handmade Crafts
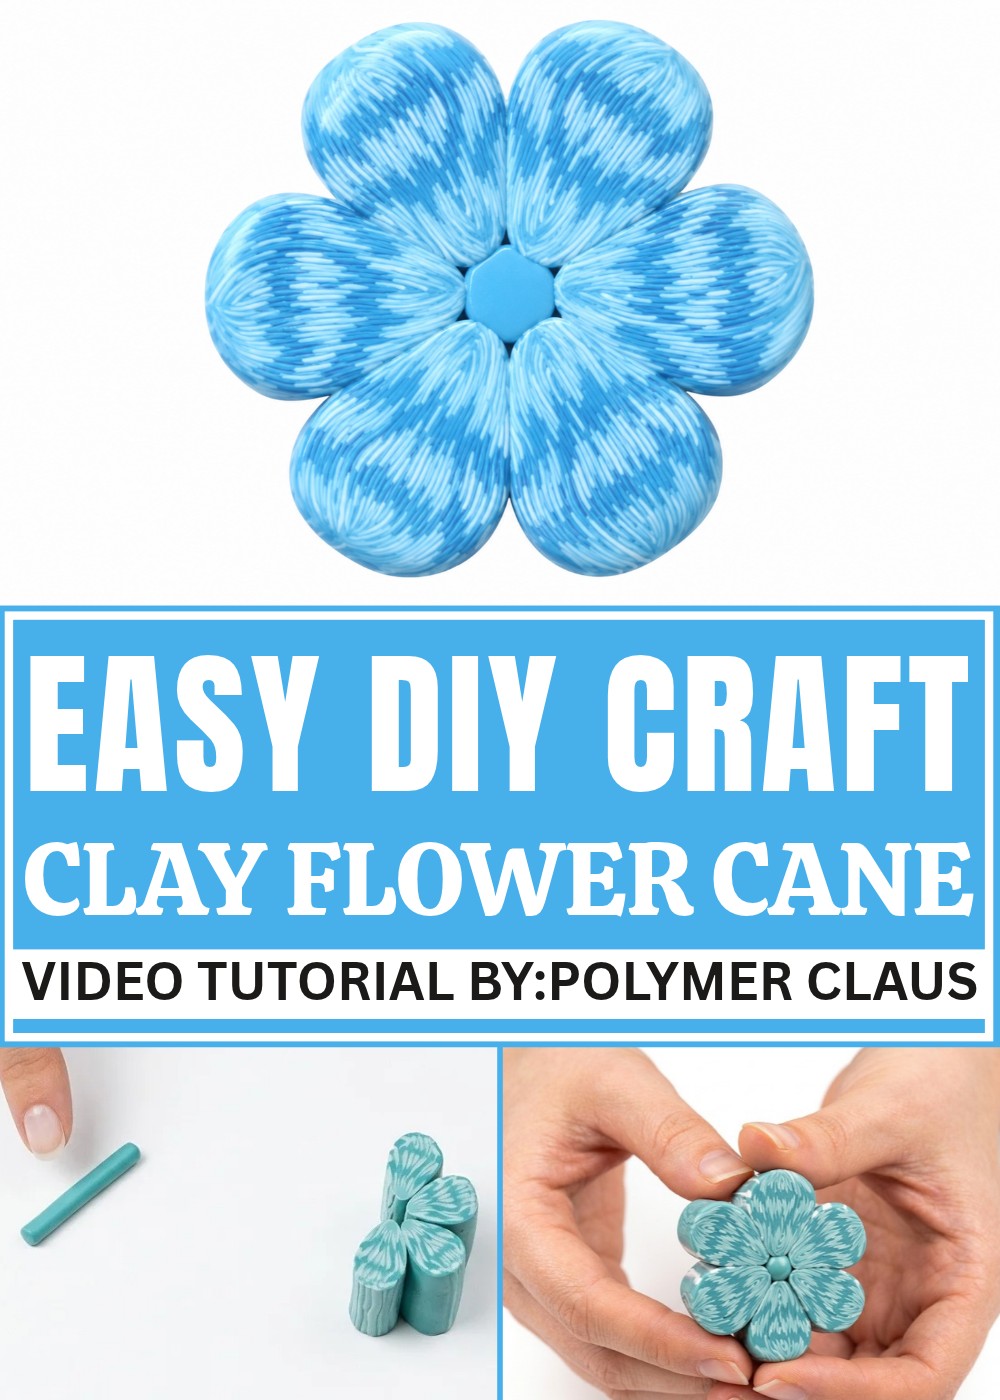
The DIY Clay Flower Cane idea is exciting because you can make each design unique. By mixing different colors and arranging the clay in clever ways, you can create flowers with vibrant petals or textured patterns. Once your cane is shaped and baked, you can slice it into thin sections, revealing the same beautiful design inside each piece. It’s a satisfying project that teaches both creativity and technique.
These clay flower canes can be used for making beads, pendants, or embellishments for bigger projects. The process is simple yet impressive, and the results are always eye-catching. Whether you want to create something for yourself or as a gift, the flower cane technique is a wonderful way to add a personal touch to your crafts. It’s a relaxing, fun project that turns simple clay into blooming beauty.
About This Project
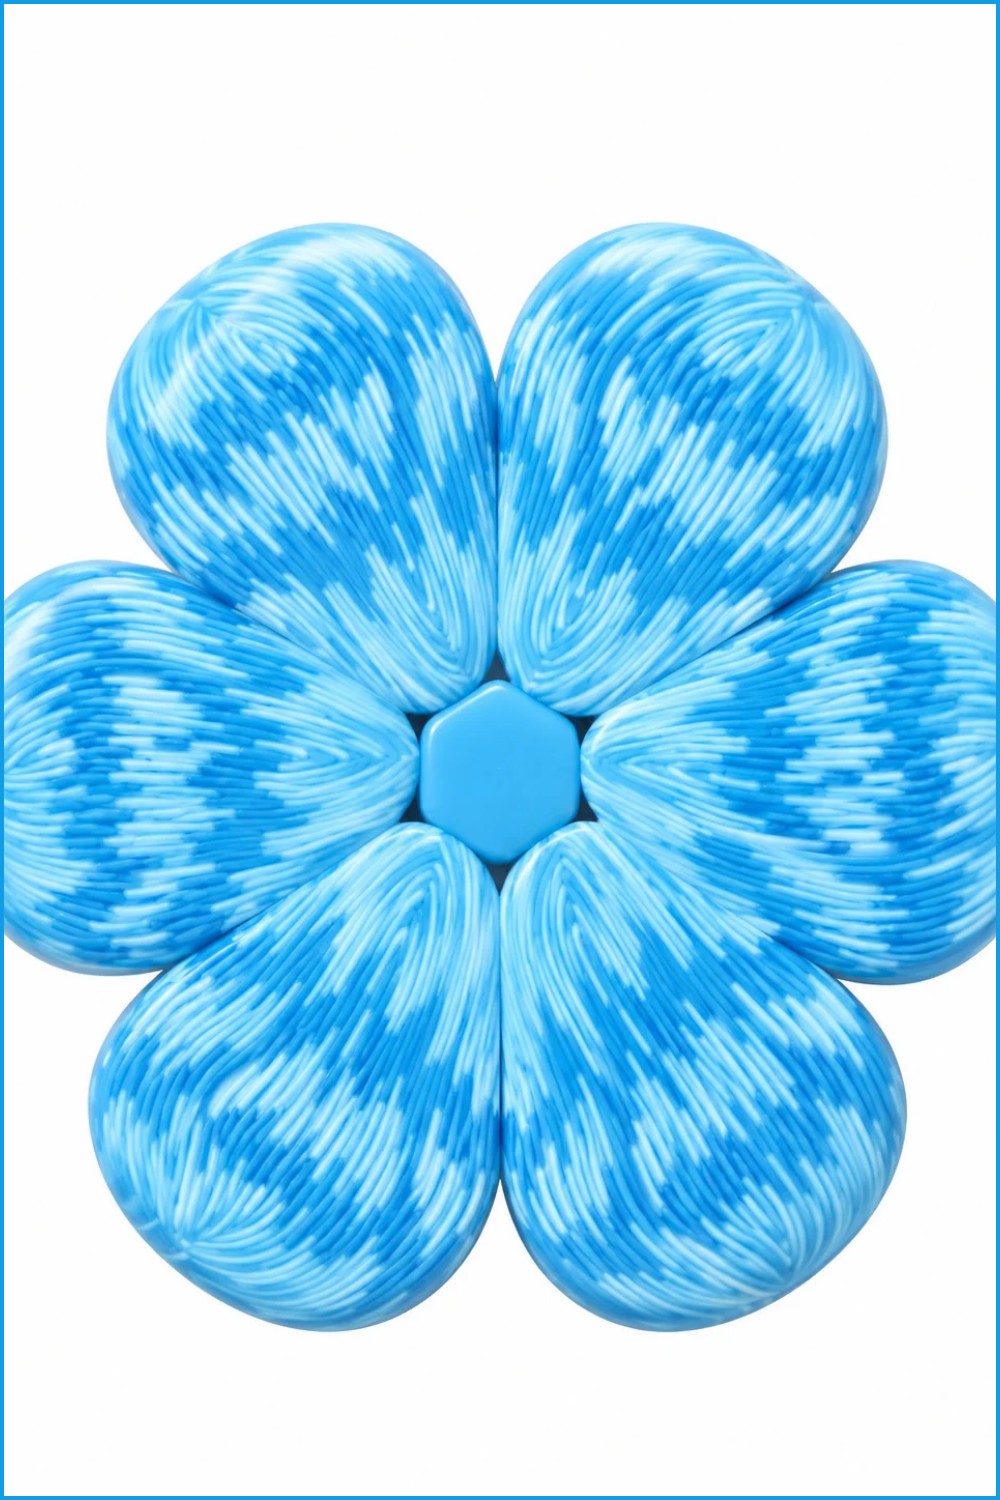
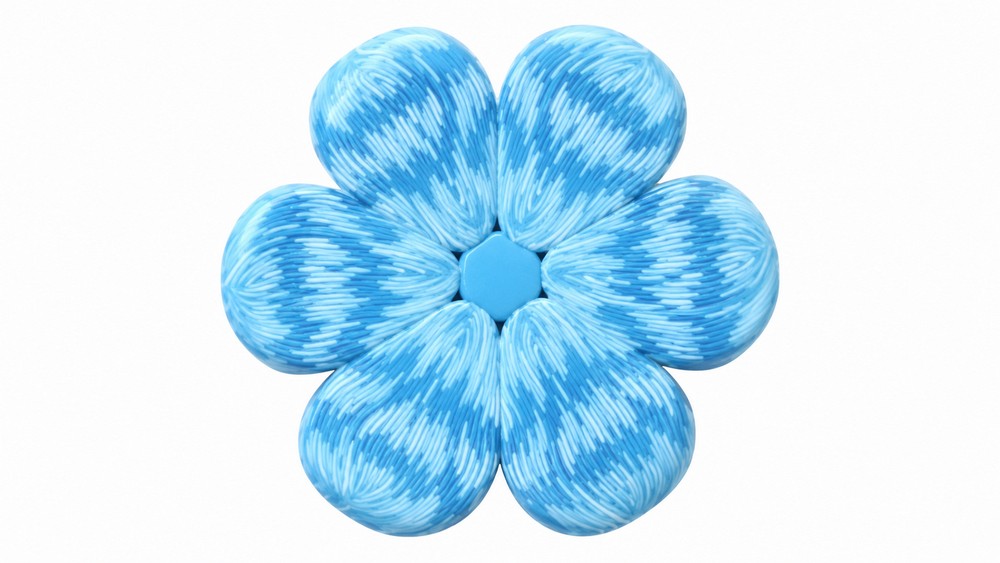
This project guides you step-by-step to make a simple millefiori (thousand-flower) cane that forms a stylized flower motif. The technique avoids a Skinner blend and uses less clay than more elaborate canes. You will mix a turquoise base with ochre and a tiny touch of darker color, form white petal tubes, stack and reduce layers by repeated cutting and overlapping, shape individual petals, and assemble six petals around a small central core. Finished slices work well for jewelry, inlays, decorative accents and small craft elements.
What You'll Need
- Polymer clay: turquoise, ochre, white, translucent, plus a tiny amount of a darker shade.
- Roller or brayer and a pasta machine (optional but helpful).
- Sharp craft blade for cutting cleanly.
- Work surface (glass or tile recommended).
- Toothpicks, clay shapers, or needles for fine adjustments.
- Ruler or straight edge for measuring rectangles.
- Oven for baking finished pieces if you want them cured.
- Tweezers for handling small slices.
- Small container for scraps to avoid contamination.
- Sandpaper or buffing tools if you’ll finish cured slices.
Before You Begin
- Condition each color thoroughly until soft and homogeneous. Conditioning makes clay predictable when stretching and compressing.
- Prepare a turquoise rectangle approximately 2 cm thick as your base block. Add ochre (about 23 parts ochre to turquoise as used in the demo) and a very small amount of darker shade to deepen the tone. Mix until even.
- Roll white clay into long thin tubes roughly half the rectangle’s height. Cut these tubes into short segments to create petal elements.
- Keep translucent sheets ready to interleave or cover layers for smoother compression and subtle depth.
- Plan how many stacking and reduction cycles you will perform; more cycles produce smaller, more detailed petals.
How to Make It
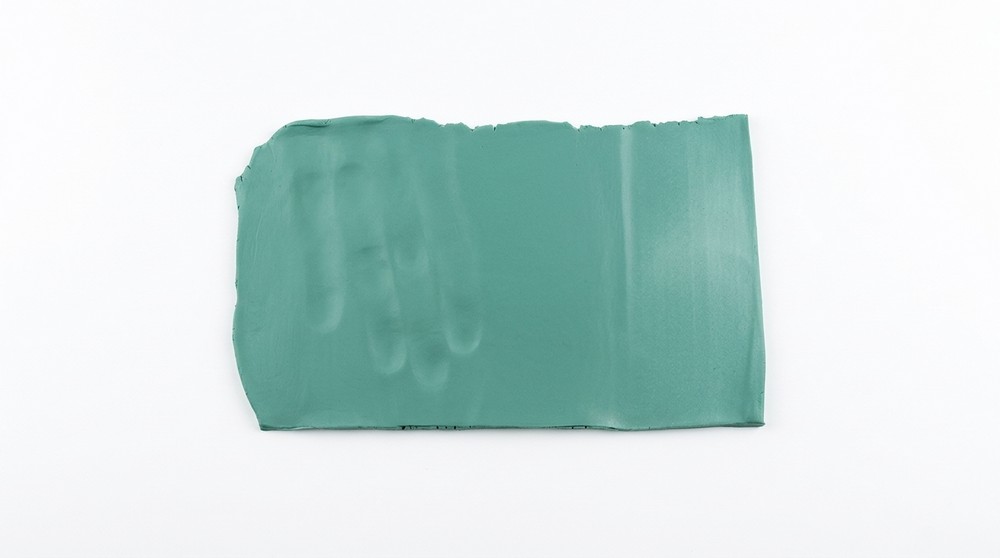
Step 1: Prepare the Base Block
- Roll the turquoise-ochre mixture into a neat rectangle about 2 cm thick.
- Keep edges squared and the surface free of dust or fingerprints.
- Place the rectangle on your work surface and set aside while you prepare the petal tubes.
- Use a ruler to check dimensions and ensure consistent starting size for predictable reduction.
Step 2: Create White Petal Tubes
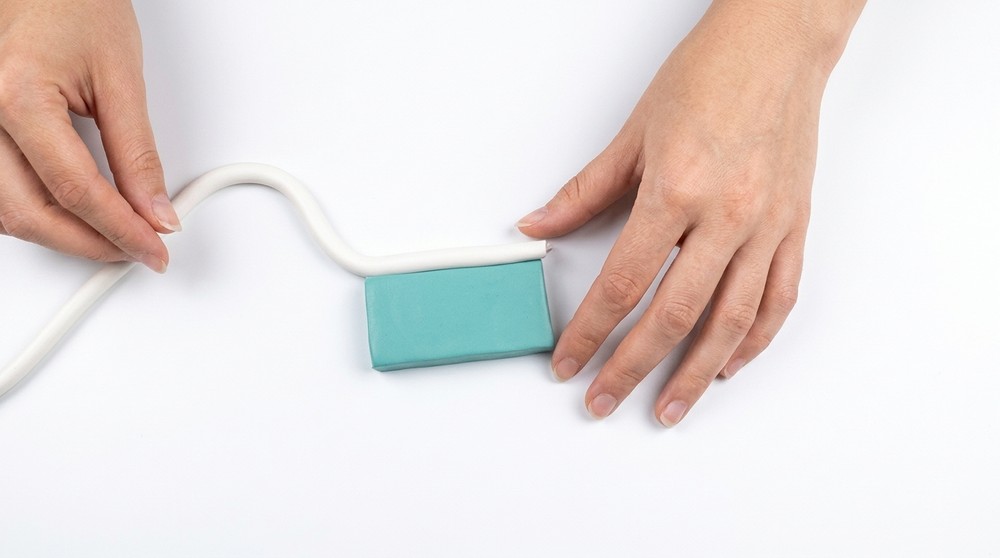
- Roll white clay into a long tube that measures about half the rectangle height.
- Cut the long tube into several small segments; these will become the white elements inside petals.
- Position a first white segment across the center of the turquoise rectangle.
- Add more small white tubes into the center area if you want a fuller petal pattern.
- Optionally lay thin translucent clay over the assembly to seal and blend layers.
Step 3: Stack, Cut and Overlap — First Reductions
- Compress the assembly lightly to expel air and bond layers.
- Stretch or elongate the block slightly to prepare for cutting.
- Slice the block in half with a sharp blade.
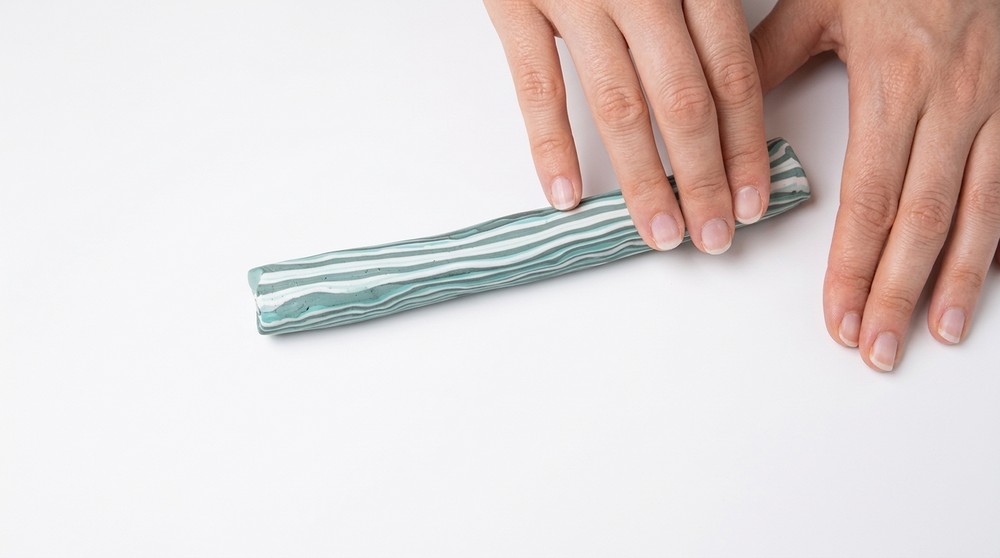
- Overlap the two halves so the white tubes interleave; press and crush firmly to merge.
- Repeat this cut-overlap-crush cycle multiple times: cut, overlap, compress, then cut again. Each cycle reduces the overall size and increases internal repetition of the motif.
- Work steadily and keep pressure even to avoid stretching the design in one direction.
Step 4: Compress into a Petal Shape
- After several stacking cycles, compress the layered block into a thicker, compact piece.
- Pinch and tighten the bottom portion to start forming a petal; join the two flaps at the base to create the petal’s seam.
- Round and slightly taper the tip of the petal while preserving the internal white stripe visible from the side.
- Refine the profile by gently squeezing and rolling between fingers to maintain symmetry.
- Reduce the petal length or width as needed so each petal will match others when assembled.
Step 5: Make Multiple Petals and Assemble
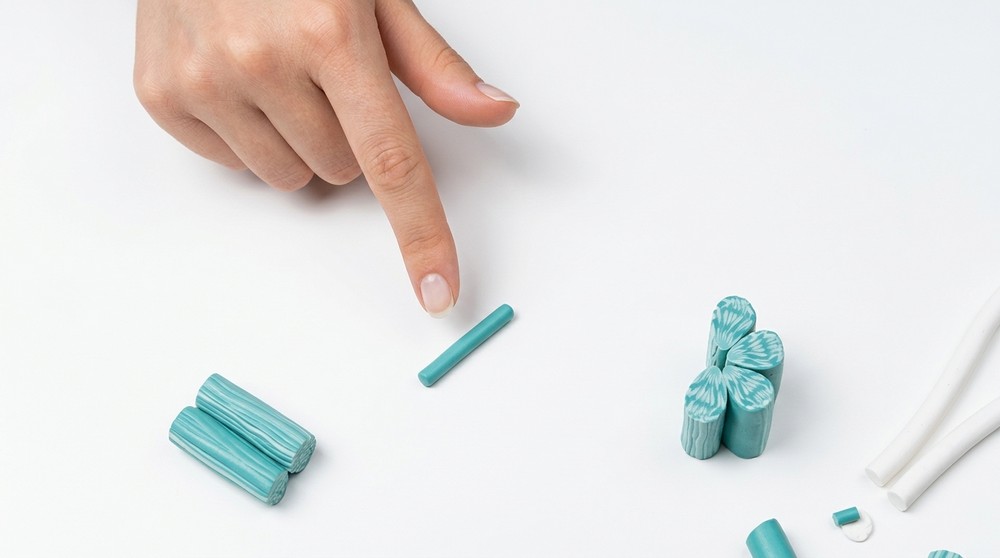
- Repeat Steps 2–4 to produce six petals of similar size and shape.
- Refine each petal individually: trim uneven edges, smooth seams, and ensure uniform taper.
- Create a tiny central core by rolling a small tube of clay and trimming it to size.
- Arrange the six petals around the central tube, joining bases gently and pressing delicately to bond without squashing details.
- Adjust spacing so the petals sit evenly; use a needle tool or toothpick to nudge seams and remove trapped air.
Finishing Details
- Decide whether to add a translucent jacket around the assembled flower to soften edges; this is optional and changes final appearance.
- If you plan to cure slices, preheat the oven according to your clay manufacturer’s instructions and bake following recommended temperatures and times for the total thickness.
- Allow the cane or finished piece to cool completely before slicing or sanding.
- For cured pieces, sand edges smoothing from coarser to finer grits if desired. Polish or varnish according to the clay and finish you want.
Helpful Tips
- Work on a clean surface to avoid debris embedding in the clay.
- Use even pressure during compression passes; asymmetrical pressure distorts petal shapes.
- Keep spare scraps separate by color to prevent contamination.
- Test-slice early if you want larger motif slices; further reductions will shrink detailed features.
- Practice one full cane before making a batch to understand how many stacking cycles produce your desired size.
Your Finished Craft
You will have a neat, simplified millefiori flower cane suitable for slicing into multiple decorative pieces. Slices can be used for jewelry, inlays, bead covers, or applied decorations on mixed-media projects. The method prioritizes straightforward cuts, overlap repetitions, and careful shaping rather than advanced blending, making it accessible while producing attractive, repeatable motifs.