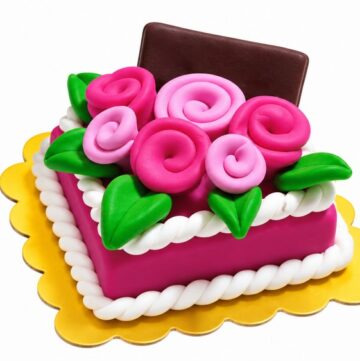
DIY Polymer Clay Rose offers an easy way to shape lifelike floral details, perfect for personal touches in decor, gifts, or art projects.
Flowers don’t last forever, but what if you could make one that does? Crafting realistic roses with polymer clay is a delightful way to create something beautiful and enduring. This simple DIY project allows you to shape and design your own roses, perfect for decorating jewelry, gift boxes, or home décor. It’s a relaxing and satisfying craft that doesn’t require special skills, making it great for beginners and experienced crafters alike.
DIY Polymer Clay Rose Craft Ideas for Unique Decorations
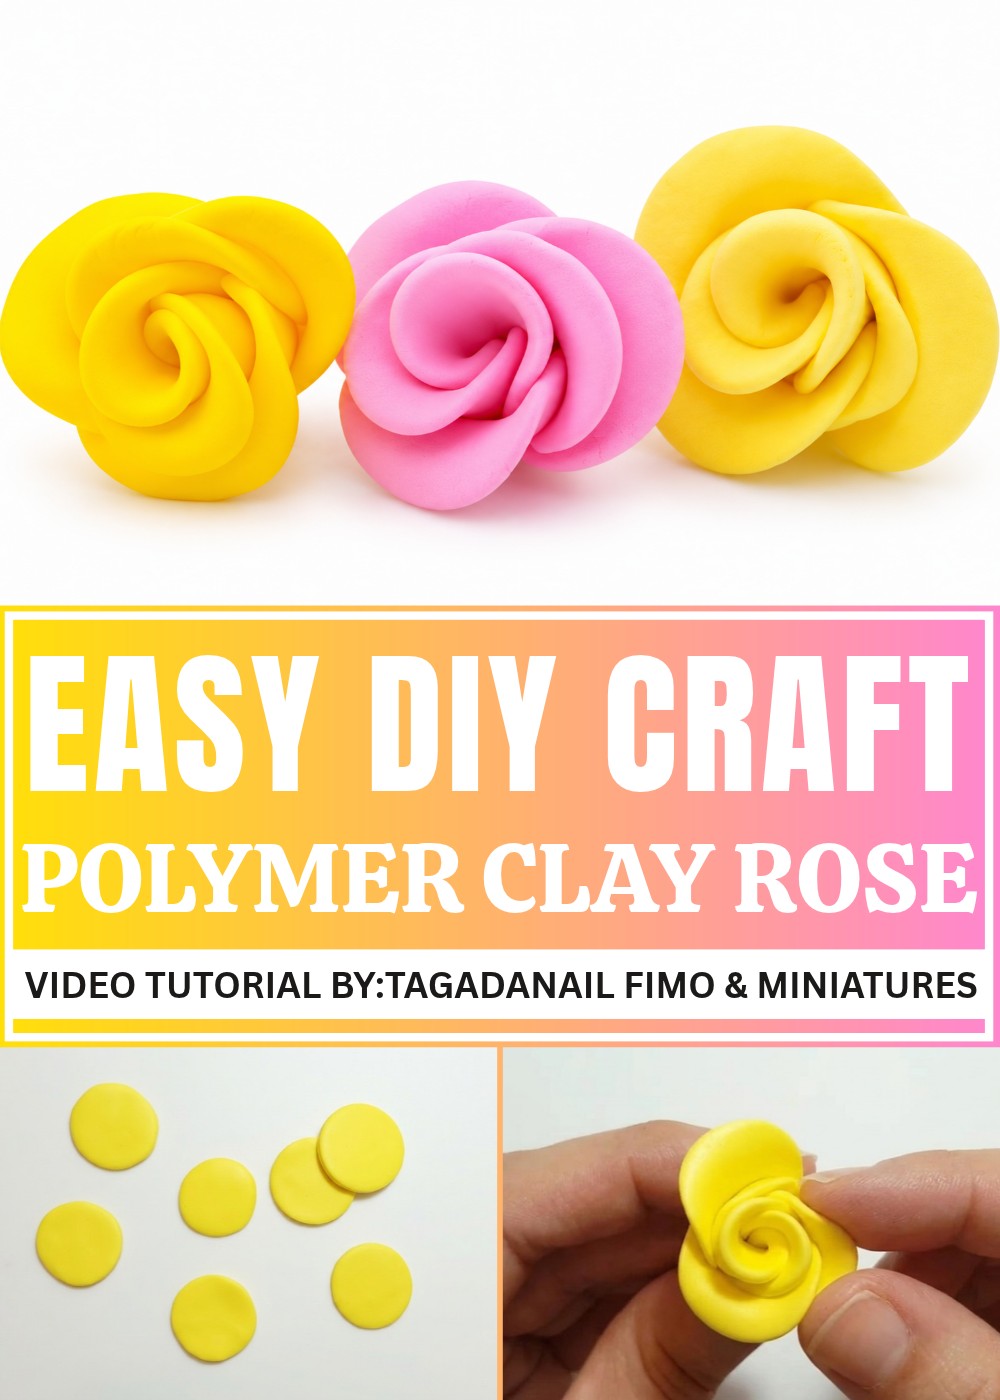
The DIY Polymer Clay Rose project is all about elegance and creativity. You can customize the color, size, and even the texture of your rose petals to match your vision. Layering thin pieces of clay to form delicate petals feels like building a real flower, and the results are stunning. Once baked, these roses are sturdy and can be turned into pendants, pins, or anything you’d like. It’s a perfect craft to create heartfelt gifts or personalized accessories.
Whether you’re crafting a single rose or a full bouquet, this project is perfect for anyone who appreciates handmade beauty. The materials are easy to find, and the process is simple to follow, making it a fun activity for all ages. By the end, you’ll have a clay rose that stays just as vibrant and fresh as the day you made it – a lovely keepsake that never fades!
DIY Polymer Clay Rose
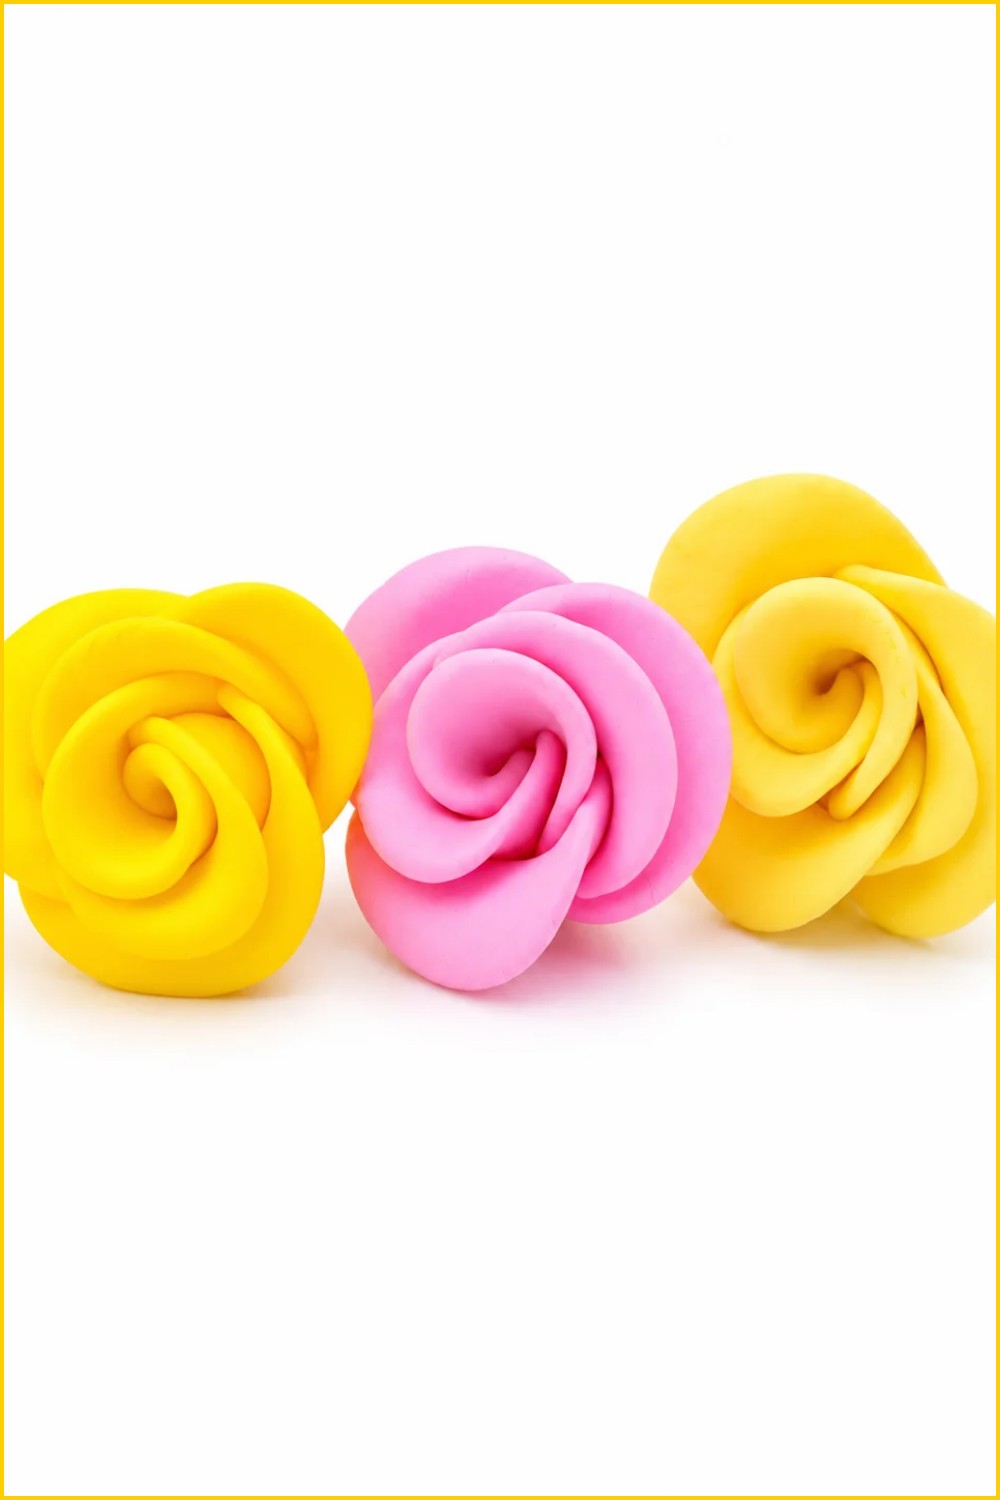
This tutorial explains how to make small rose buttons from polymer clay quickly and easily. The method produces tidy miniature roses suitable for jewelry, cake toppers, charms, and embellishments. The technique uses a rolled sausage of clay, division into equal pieces, shaping into discs, stacking, rolling, pinching, trimming, and opening petals slightly before baking. The process is accessible to beginners and efficient for making multiple identical roses.
Supplies and Equipment
- Polymer clay in the chosen color for roses.
- Clay roller or smooth work surface.
- Sharp craft blade or cutter.
- Toothpick or needle tool.
- Small round stylus or metal rod for pinching and indenting.
- Baking tray and oven for polymer clay.
- Fine sandpaper and varnish for finishing, optional.
- Small container to hold scraps.
Measurements and Specifications
- Sausage length: adjust to desired final rose size; longer sausage yields more discs.
- Disc count: cut the sausage into about six equal pieces for a small rose.
- Disc thickness: thin discs approximately one to two millimeters thick work well.
- Baking: follow manufacturer temperature and time; commonly around 110 degrees Celsius for 25 to 30 minutes depending on thickness.
Getting Everything Ready
- Condition the clay by kneading until soft and uniform in color and texture.
- Work on a clean surface free from dust and debris to avoid contamination.
- Preheat the oven only when the assembled pieces are ready to bake.
- Keep all tools within reach to maintain a steady workflow.
- Prepare a scrap pile for excess clay that you will reuse.
Making Instructions
Step 1: Form the Sausage
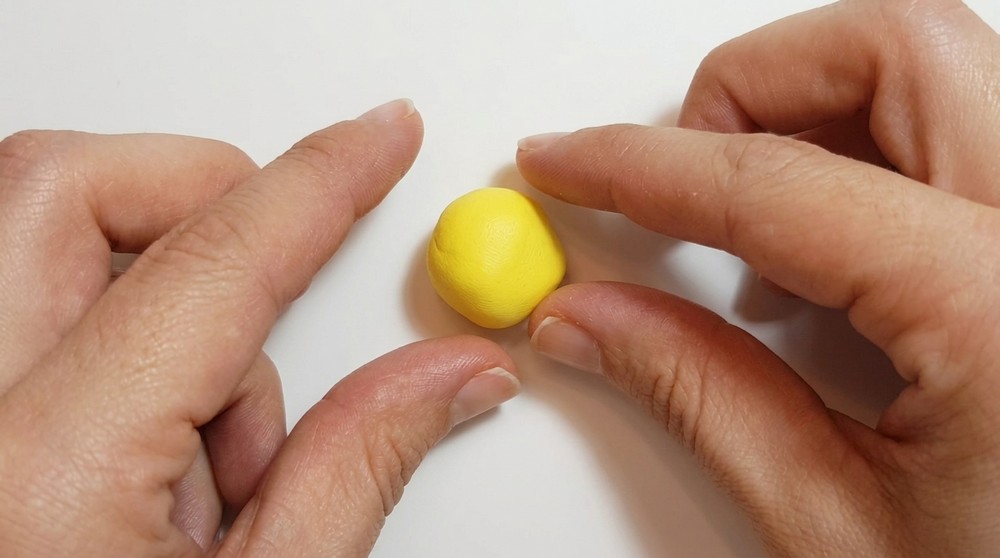
- Roll a ball of clay between your palms to warm and smooth it.
- Roll the ball into a uniform sausage shape, keeping the thickness consistent.
- Ensure one end is not excessively tapered if you want even discs.
- Make the sausage slightly longer than necessary to allow trimming.
Step 2: Cut into Equal Pieces
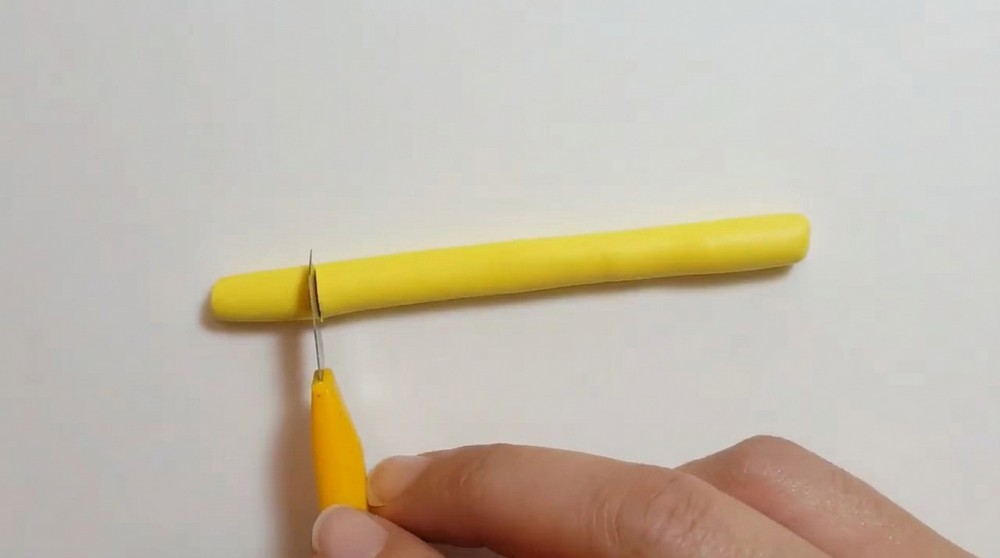
- Using a sharp blade, cut the sausage into approximately six equal segments.
- Take care to cut straight for uniformity in disc size.
- Adjust the number of pieces if you want a larger or smaller rose.
- Keep the cut pieces in order to reuse any trimmed ends.
Step 3: Shape Discs
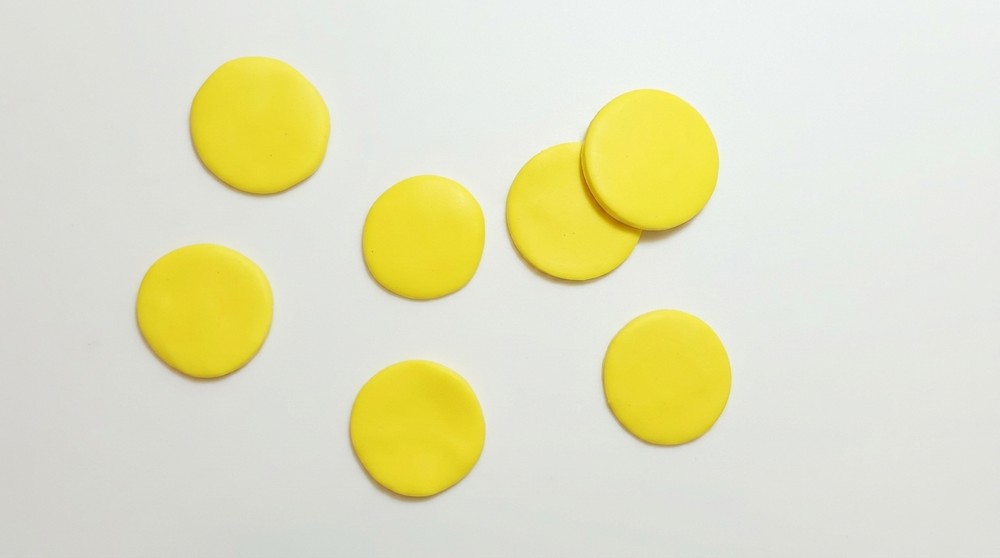
- Roll each small segment into a ball and then flatten gently between your fingers.
- Produce round discs roughly the same diameter and thickness.
- Remove any excess clay by trimming with the blade for consistent edges.
- Smooth surfaces lightly to avoid visible finger marks.
Step 4: Stack and Roll
- Place the discs stacked one on top of another directly in your palm or on the work surface.
- Press gently to adhere the layers without flattening the central core.
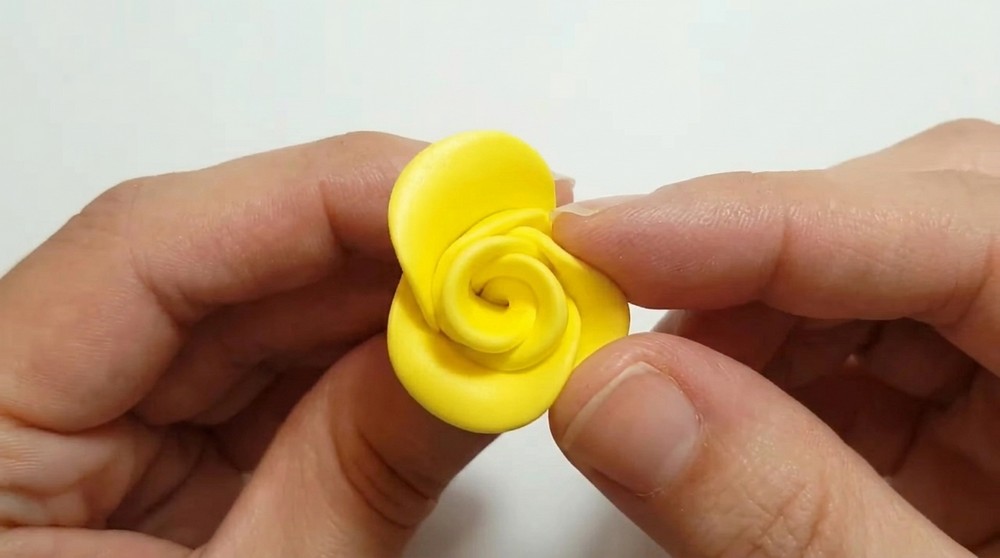
- Starting at the edge, roll the stacked discs inward to begin forming petals.
- Keep the base of the coil slightly open to allow shaping and attachment.
Step 5: Pinch, Trim, and Open Petals
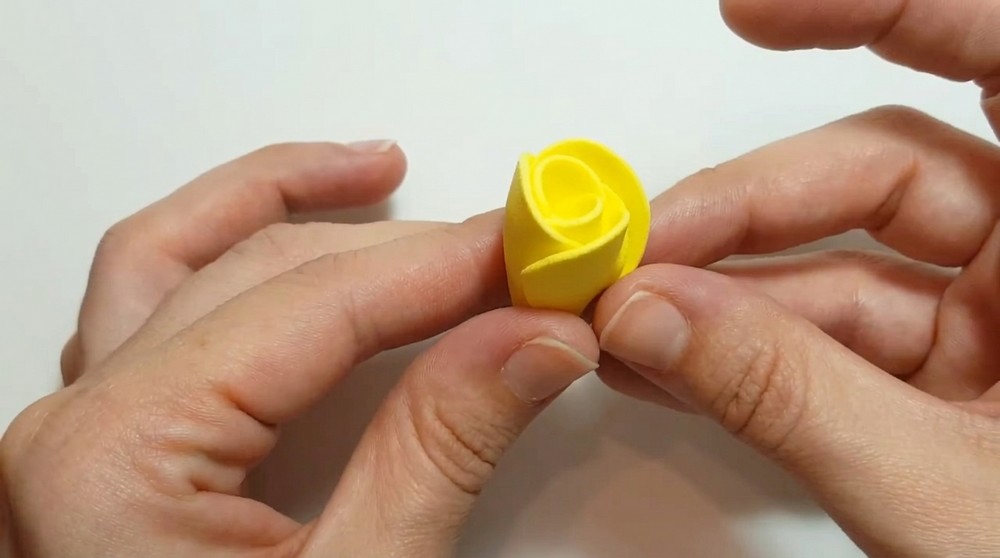
- Pinch the underside of the rolled rose to secure the base and refine the shape.
- Trim any excess clay from the base so the rose sits flat if needed.
- Gently separate outer petals with a needle or fingernail to create a natural opening.
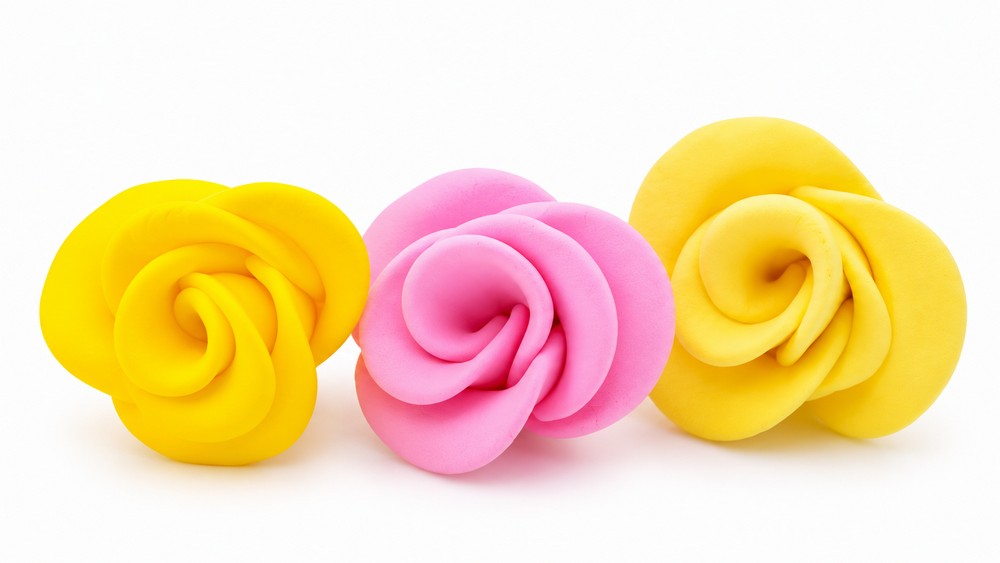
- Decide whether to leave the rose as a tight bud or open it more for a blossom effect.
Assembly
- Arrange finished rose buttons on a baking tray, spacing them to prevent sticking together.
- If attaching to a base or charm, press lightly to adhere before baking.
- For combined decorations, position additional leaves or buds before curing.
Final Touches
- Bake the clay following manufacturer recommendations for temperature and duration.
- Allow pieces to cool completely on the baking surface to avoid warping.
- After cooling, sand any rough edges with fine-grit sandpaper.
- Apply a thin coat of varnish if you want a glossy finish, or leave matte for a natural look.
Tips for Better Results
- Work with similarly conditioned clay for consistent texture across pieces.
- Practice once with scrap clay to find the right disc thickness and coil tension.
- Use a template or guide to cut equal sausage segments more accurately.
- Keep movements gentle; overworking can flatten petals unintentionally.
- Store finished roses in a dust-free container to preserve detail.
Troubleshooting
- If petals collapse during baking, ensure pieces were not too thin or overhandled.
- If layers separate, increase gentle pressure when stacking or use a small slip of liquid clay to bond.
- For uneven roses, trim and rework the base before baking or make a replacement.
Creative Variations
- Make multi-colored roses by twisting two colors before forming the sausage.
- Create larger blossoms by increasing the number of discs or using thicker discs.
- Add tiny centers in a contrasting color for realism.
- Combine rose buttons with leaves and beads to craft pins, necklaces, or cake decorations.
Storage and presentation ideas include mounting roses on small metal pads, glueing them onto earring posts, attaching them to magnetic backs, or using them as embellishments on gift boxes. For jewelry applications, press the rose onto a thin metal disc before baking to create a secure flat base. If you need a loop for hanging, insert a small eye pin through the base up to half the length, and then remove it prior to baking so a shallow hole remains to set a pin or bale after curing. When creating a set of roses for mixed projects, vary sizes slightly and alternate colors to produce a natural cluster appearance.
If you prefer a vintage look, dust lightly with pastel powder before sealing, or mix in a small amount of translucent clay to soften tones. For a more realistic texture, press a fine toothbrush or cloth into outer petals to create tiny surface irregularities. Remember to label and date your clay batches, especially when mixing custom colors, to be able to reproduce them later. Finally, practice patience; most improved results come from small iterative adjustments and careful observation of how heat, pressure, and time affect your finished miniatures. Enjoy making your rose buttons today.