Bring a playful miniature to life and explore the charming DIY Polymer Clay Mouse design for a cute, creative, and eye catching display.
The finished design has the charm of a tiny character stepping into a playful seaside scene. The DIY Polymer Clay Mouse stands out as a cute miniature figure paired with a small buoy, giving the piece a light and cheerful summer feel.
Creative DIY Polymer Clay Mouse Miniature Project
Its appeal comes from the simple story it seems to tell: a little mouse enjoying a moment near the water, with the buoy adding a fun sense of adventure. The character has a sweet, friendly presence that makes the design feel more like a tiny scene than an ordinary decorative figure. The compact form and playful theme also give it a handmade miniature style that can catch attention at a glance.
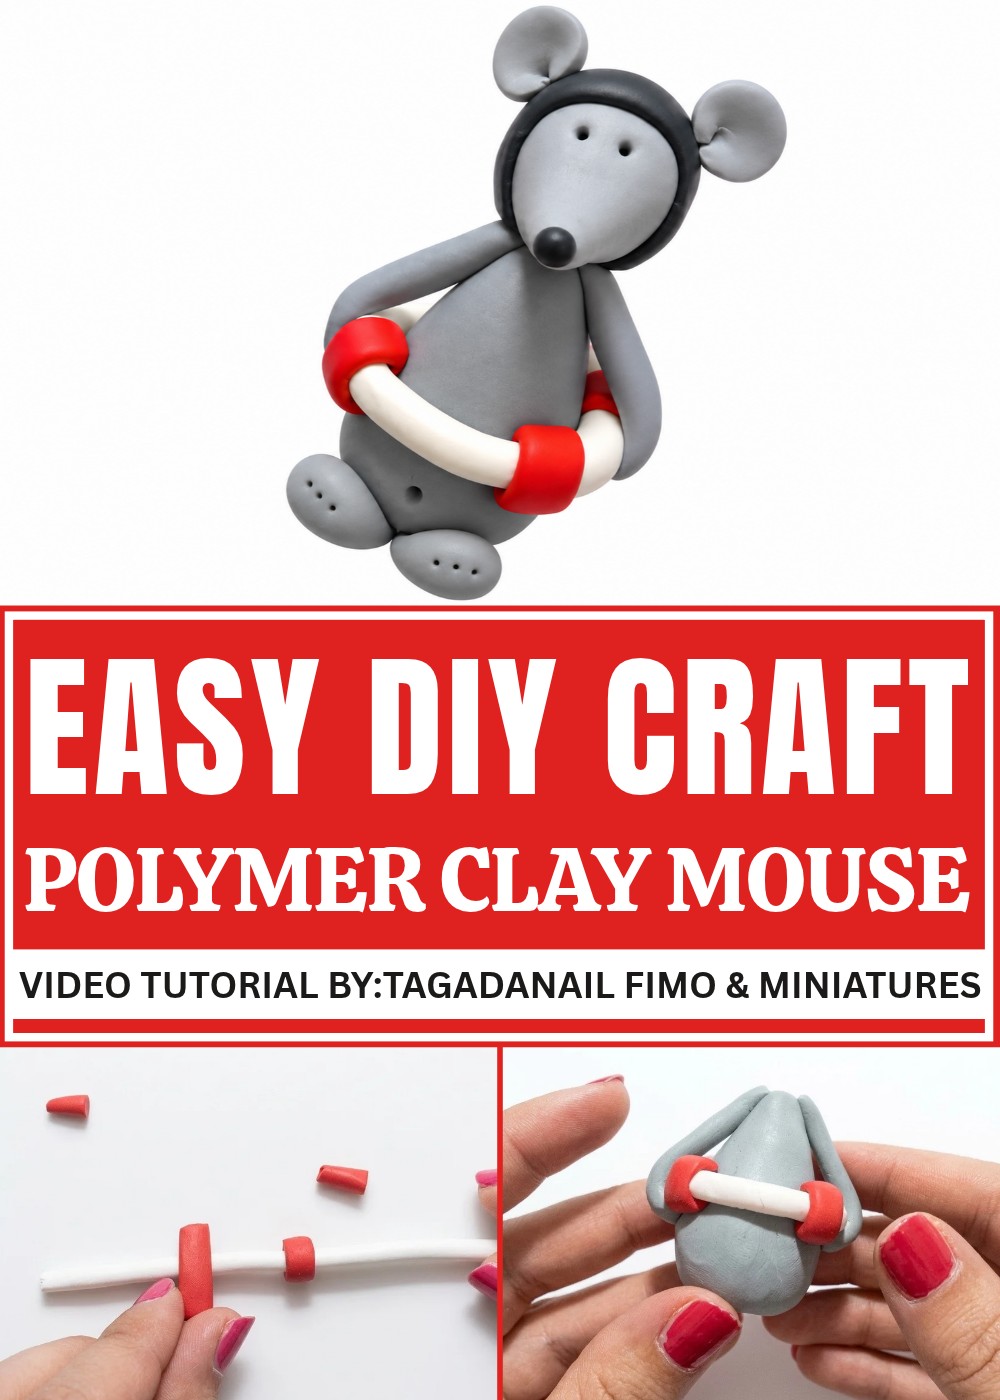
What makes this DIY Polymer Clay Mouse especially interesting is the way the mouse and buoy work together as one character-focused display. Instead of relying on a large or complex setting, the design creates personality through a small figure and a clear theme. It would suit anyone who enjoys cute miniatures, whimsical animal characters, or small decorative pieces with a story behind them.
Overall, the design feels cheerful, imaginative, and easy to appreciate. Its tiny scale, playful character, and water-inspired theme make it a memorable miniature that brings a little fun to any creative collection or display.
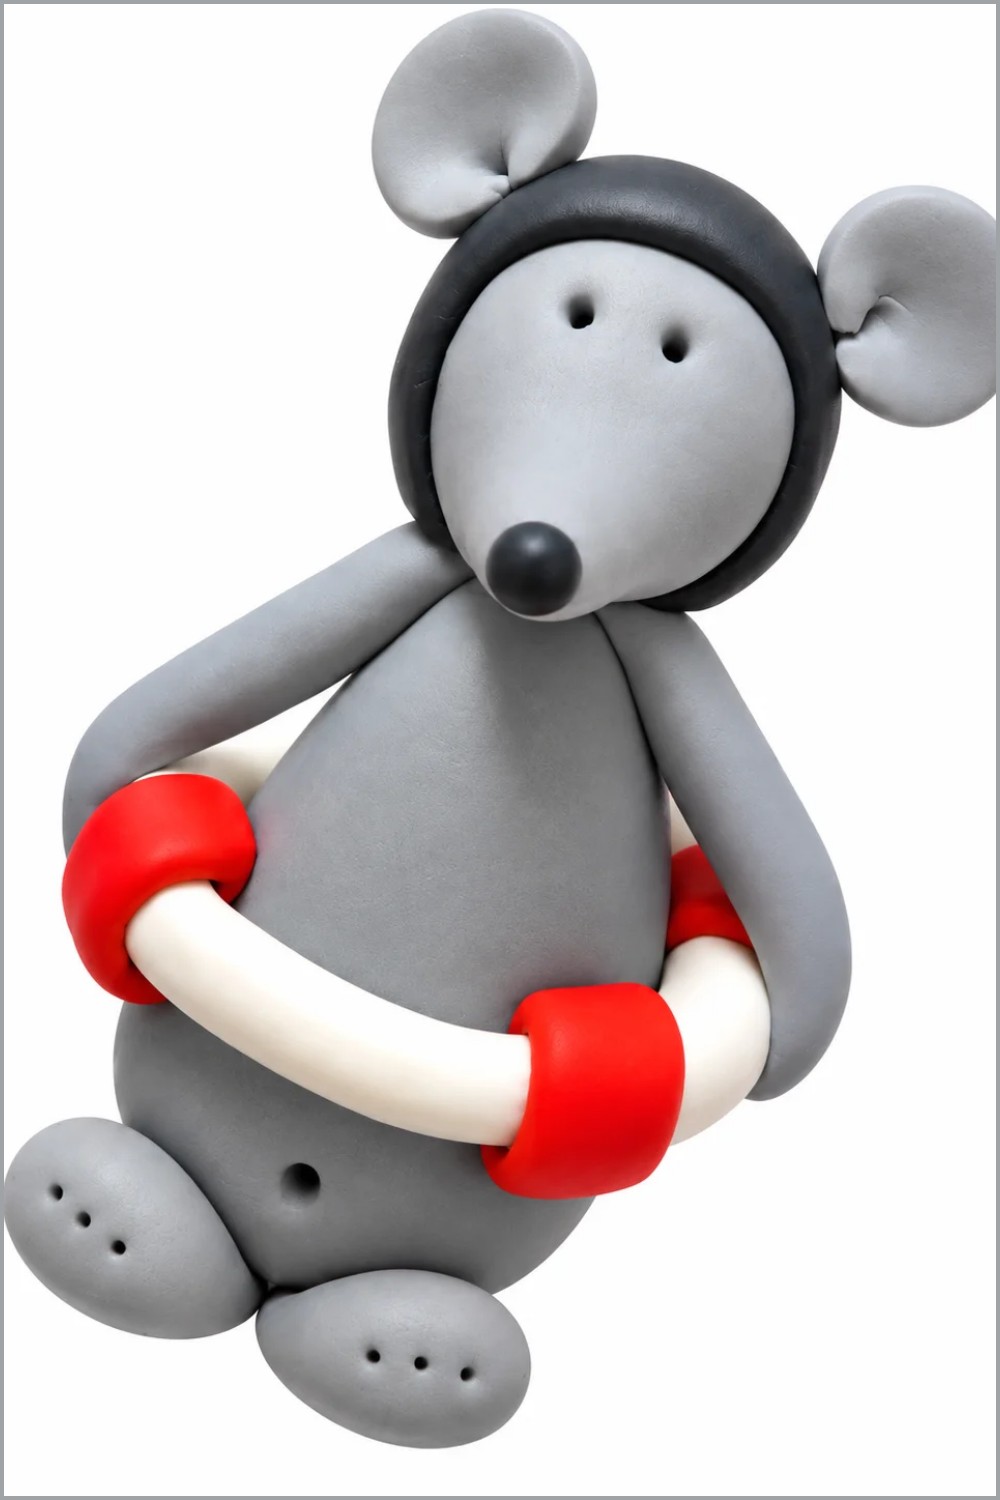
DIY Polymer Clay Mouse
This project guides you to make a small sitting mouse figurine from polymer clay. The design features a rounded body, tiny arms holding a decorative ring (a lifebuoy), a pointed snout, a little hat, and folded ears for a cute, handcrafted look. The finished piece is ideal as a miniature decoration, keychain charm, or gift topper.
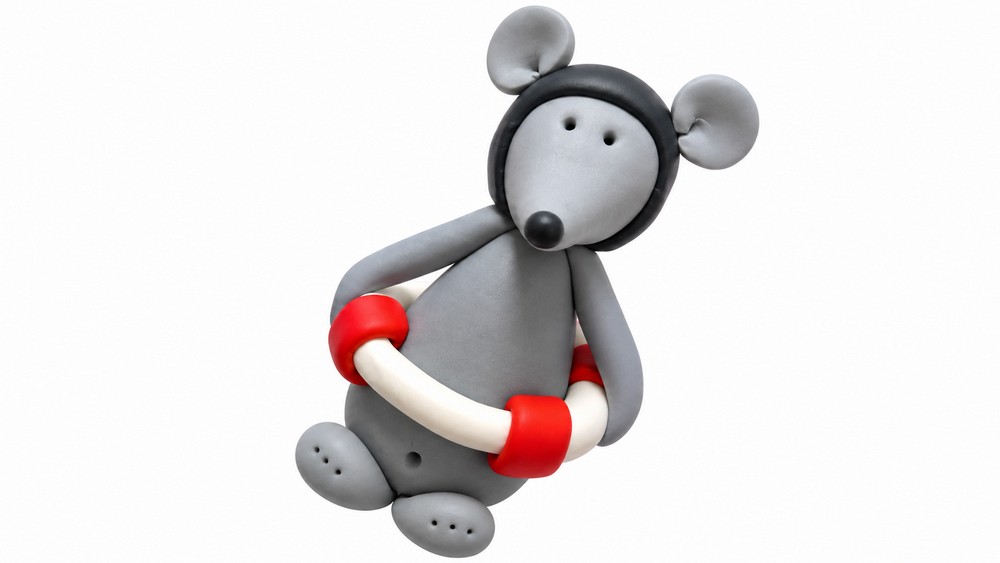
- Cute, compact sitting pose with the mouse holding a round life ring.
- Simple shapes combined: balls, short cylinders, flattened pieces and small details.
- Beginner-friendly: basic techniques like rolling, pinching, attaching, and texturing.
Gather Materials — Why they matter
Choosing the right materials and tools makes the modeling process much easier and gives cleaner results. Good-quality polymer clay stays pliable while you shape it and bakes into a firm, durable figurine. Proper tools let you add tiny details, make clean joins, and avoid fingerprints or cracks. A controlled baking process prevents warping or burning.
Materials & Tools
Materials:
- Grey polymer clay (main body and limbs)
- White polymer clay (life ring base)
- Red polymer clay (life ring decorative segments)
- Black polymer clay (hat tip, nose if desired)
- Small amount of flesh or pink clay (optional for inner ear)
Tools:
- Toothpick or wooden skewer (for making holes, assembling)
- Small blade or craft scalpel (for clean cuts)
- Clay roller or smooth dowel (to roll clay evenly)
- Needle tool or dotting tool (for eye and belly button holes)
- Oven and baking tray (to cure polymer clay at recommended temperature)
- Sanding paper or buffing tool (optional, for finish)
Important Tips Before Starting
- Condition your clay by kneading until soft and even in color; this prevents cracking and makes shaping easier.
- Work on a clean, smooth surface to avoid dust or fibers embedding in the clay.
- Always join parts by slightly flattening contact areas and blending with a little pressure or a toothpick so the pieces adhere well before baking.
- Bake according to the clay manufacturer’s instructions (temperature and time); do not exceed recommended temperatures.
Pattern — Step-by-step Instructions
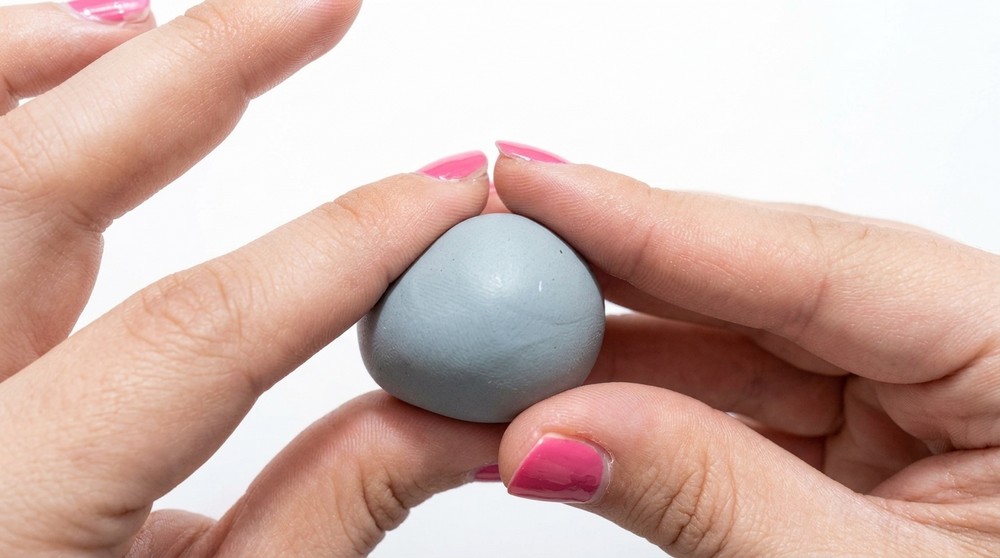
Round 1: Make the Body
- Roll a medium-sized ball of grey clay between your palms until smooth.
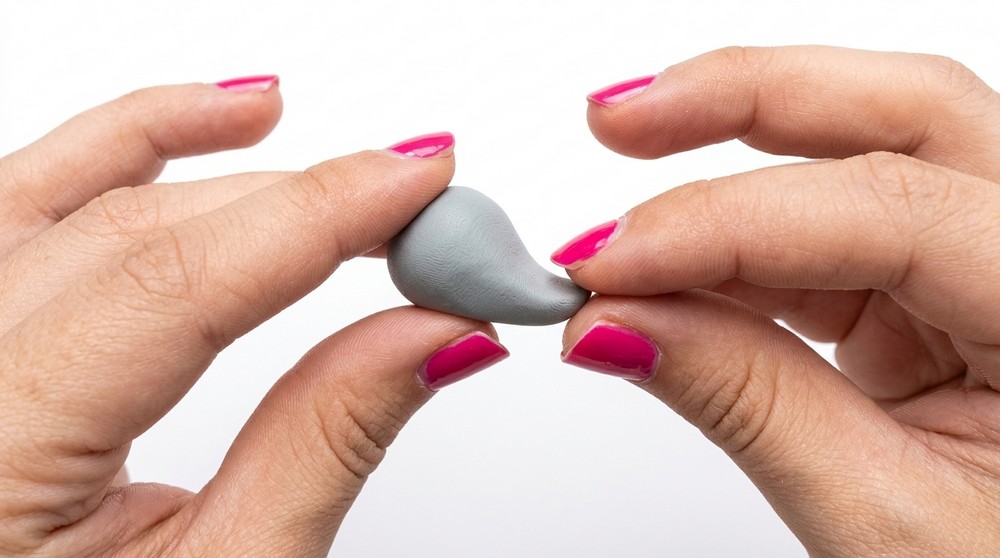
- Shape the ball into an elongated teardrop: one end slightly pointed, the other rounded. This pointed end becomes the tail-end; the rounded front is the belly.
- Smooth the surface and set it upright so the rounded belly is down.
Round 2: Insert Tail Support
- Take a toothpick or wooden skewer and insert it into the pointed end of the body, leaving about half of the skewer protruding.
- This provides internal support and will help attach the head later.
- Trim the excess skewer so it does not stick out too far; ensure enough remains to anchor the head.
Round 3: Make the Head
- Roll a smaller ball of grey clay for the head.
- Shape it into a smaller teardrop, tapering one end more sharply to form the nose.
- Slightly tilt the whole head upward by flattening the bottom and shaping the neck area so it looks raised when attached.
Round 4: Create the Life Ring (Bouée)
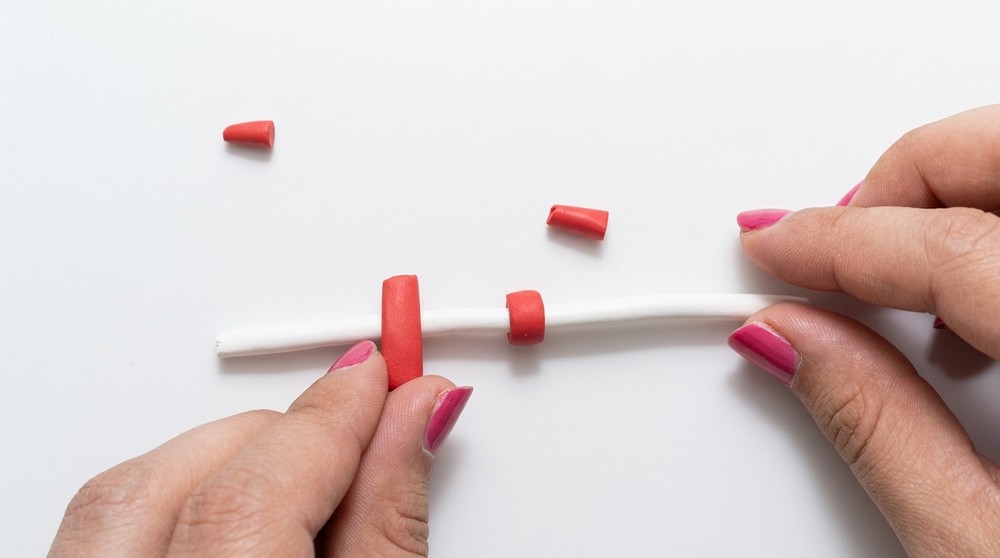
- Roll a short, even white clay cylinder (a white sausage).
- Roll a thin red clay cylinder and cut it into four equal segments.
- Take each red segment and press it onto the white cylinder, then wrap the white around so the red pieces become visible as decorative bands.
- Repeat until the ring is fully decorated, then join the two ends of the white cylinder to form a closed ring. Trim and smooth the seam so the ring is perfectly round.
- Place the ring around the mouse’s belly, pressing gently so it sits snugly. Trim excess clay from the seam and blend carefully so the ring looks integrated with the body.
Round 5: Arms and Hands
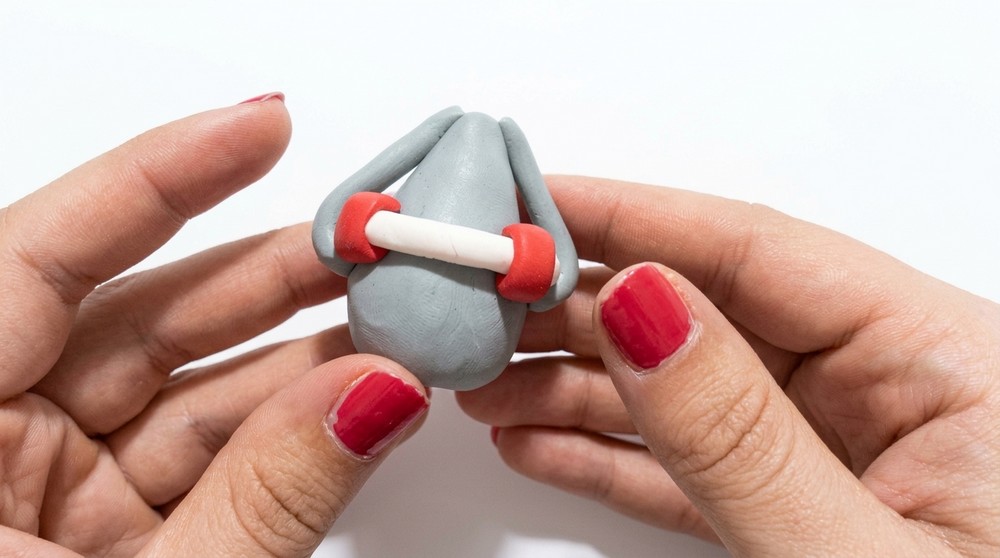
- Roll a small grey cylinder and cut into two equal pieces.
- Shape each piece into a short arm; flatten slightly at one end to make a palm.
- Attach each arm on either side of the body so the hands rest on the life ring. Press gently to blend joints and give the appearance that the mouse is holding its ring.
Round 6: Attach the Head
- Carefully slide the head onto the exposed part of the toothpick/skewer, pushing it down until it sits naturally on the neck area.
- Adjust the tilt so the head leans slightly upward and forward as in the design.
- Smooth where the head meets the body to eliminate visible seams.
Round 7: Legs and Feet (Paws)
- Roll two small grey balls and flatten them slightly to create feet shapes.
- Press them under the front of the body so the body sits naturally on them. Flattened base must be even so the mouse can sit without rocking.
- Add small indentations for toes using a needle tool if desired.
Round 8: Eyes, Belly Button, and Nose
- Using a needle or dotting tool, make two small depressions for the eyes on the head. Slightly off-center positioning gives a lively look.
- Make a tiny hole or dimple in the belly area for a belly button.
- Roll a tiny ball of black clay for the nose and attach it to the tip of the snout. Ensure the nose is proportionate and well-seated.
Round 9: Hat and Head Details
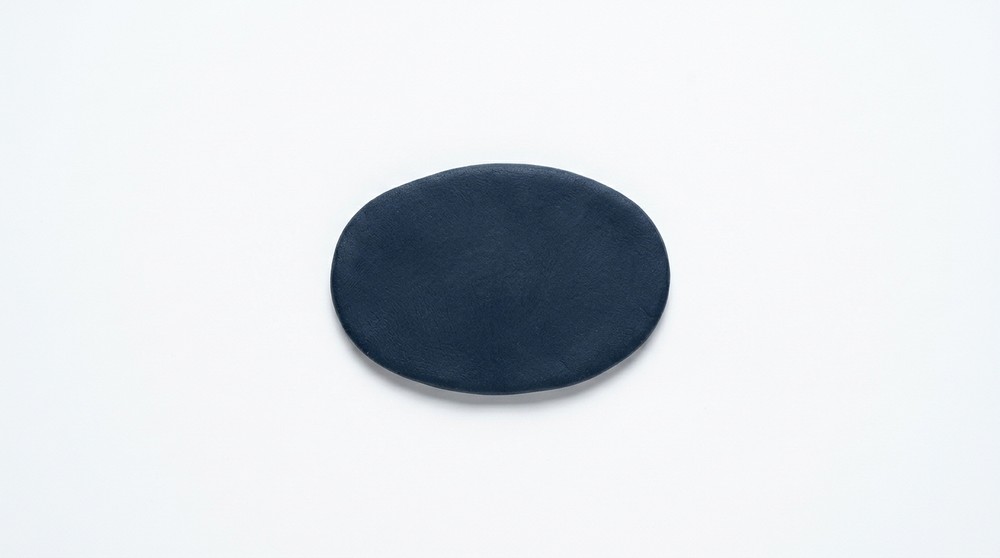
- Flatten a thin piece of black clay and cut a semicircle shape to make a small cap. Trim the edges cleanly with a scalpel.
- Attach the cap to the back/top of the head and smooth the edges so it integrates with the head shape.
- Add a very small black dot under the hat for any extra decoration if desired.
Round 10: Ears and Tail
- Roll a thin grey cylinder and slice two thin discs. Flatten each slice slightly, pinch to form a folded ear shape and press gently where the ear will attach.
- Place ears symmetrically on each side of the head. Fold slightly to create a natural ear curve.
- For the tail, use the remaining skewer support if visible: roll a thin tapered grey sausage and attach at the back; blend the base smoothly with the body.
Round 11: Final Textures and Baking
- Recheck all joins and smooth any fingerprints with gentle rolling or a soft tool.
- Use a needle tool to add three small whisker dots on each cheek area if desired.
- Place your mouse on a baking tray and bake in a preheated oven following the polymer clay manufacturer’s temperature and time instructions (typically around 110°C / 230°F for 20–30 minutes depending on size). Do not overbake.
- Allow the piece to cool completely before handling.
Conclusion
Once cooled, you can sand or buff any rough edges and add any extra paint details if desired. The result is a sturdy miniature mouse with a charming pose, suitable for display or as a small keepsake. Keep notes on what worked and what you might adjust next time to refine proportions or color choices.