Save DIY Puppycat for a quiet afternoon and shape a polymer clay version of the grumpy little star with pointed ears, pink cheeks, and a tiny yellow bell.
Grumpy expressions are surprisingly fun to sculpt when almost everything else about the character is soft and round. DIY Puppycat takes its cue from Bee and PuppyCat, Natasha Allegri’s animated series. With small paws, pointed ears, and a bell under the chin, the figure is easy to recognize even when it is short enough to fit beside a keyboard.
Learn To DIY Puppycat Polymer Clay Project
The Artist Behind the Project
Fan projects are one part of PolymomoTea’s channel. Alex Lee took part in a Puppycat collaboration with TheLittleMew, who shared a version of the same character. Comparing the two versions gives viewers a chance to spot choices such as pose, the character’s facial expression, and how each piece is finished.
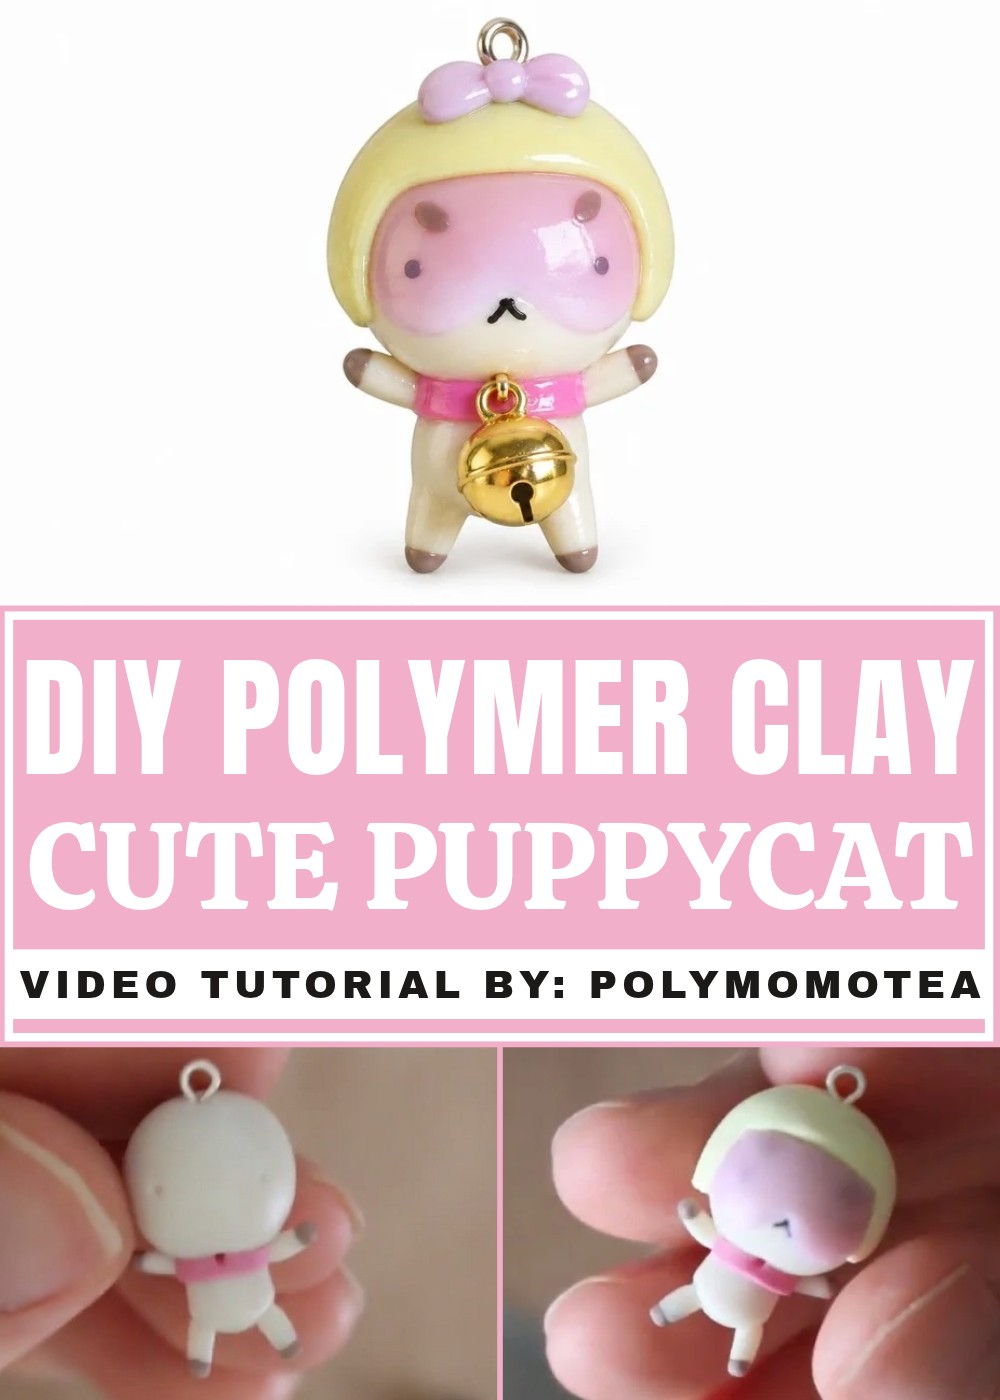
Use pale clay for the rounded head and body, then consider how Puppycat should sit. Paws tucked close together suggest a patient wait, while a head angled upward gives the impression that someone has interrupted a nap. Shape the ears separately so you can match their height before attaching them. Leave enough open space between the ears and the cheeks for the face, where a small change in the angle of an eye can shift the mood from bored to annoyed.
Pink cheek marks and a collar break up the pale body. The yellow bell can be a flattened bead of clay with a shallow line across the front. Look at the figure at eye level before baking it so you can see whether the bell peeks out below the face. Once finished, Puppycat can sit in front of a few books or on a desk beside a favorite print from the show. Turning the figure slightly gives the ears and the rounded side of the body more room to show.
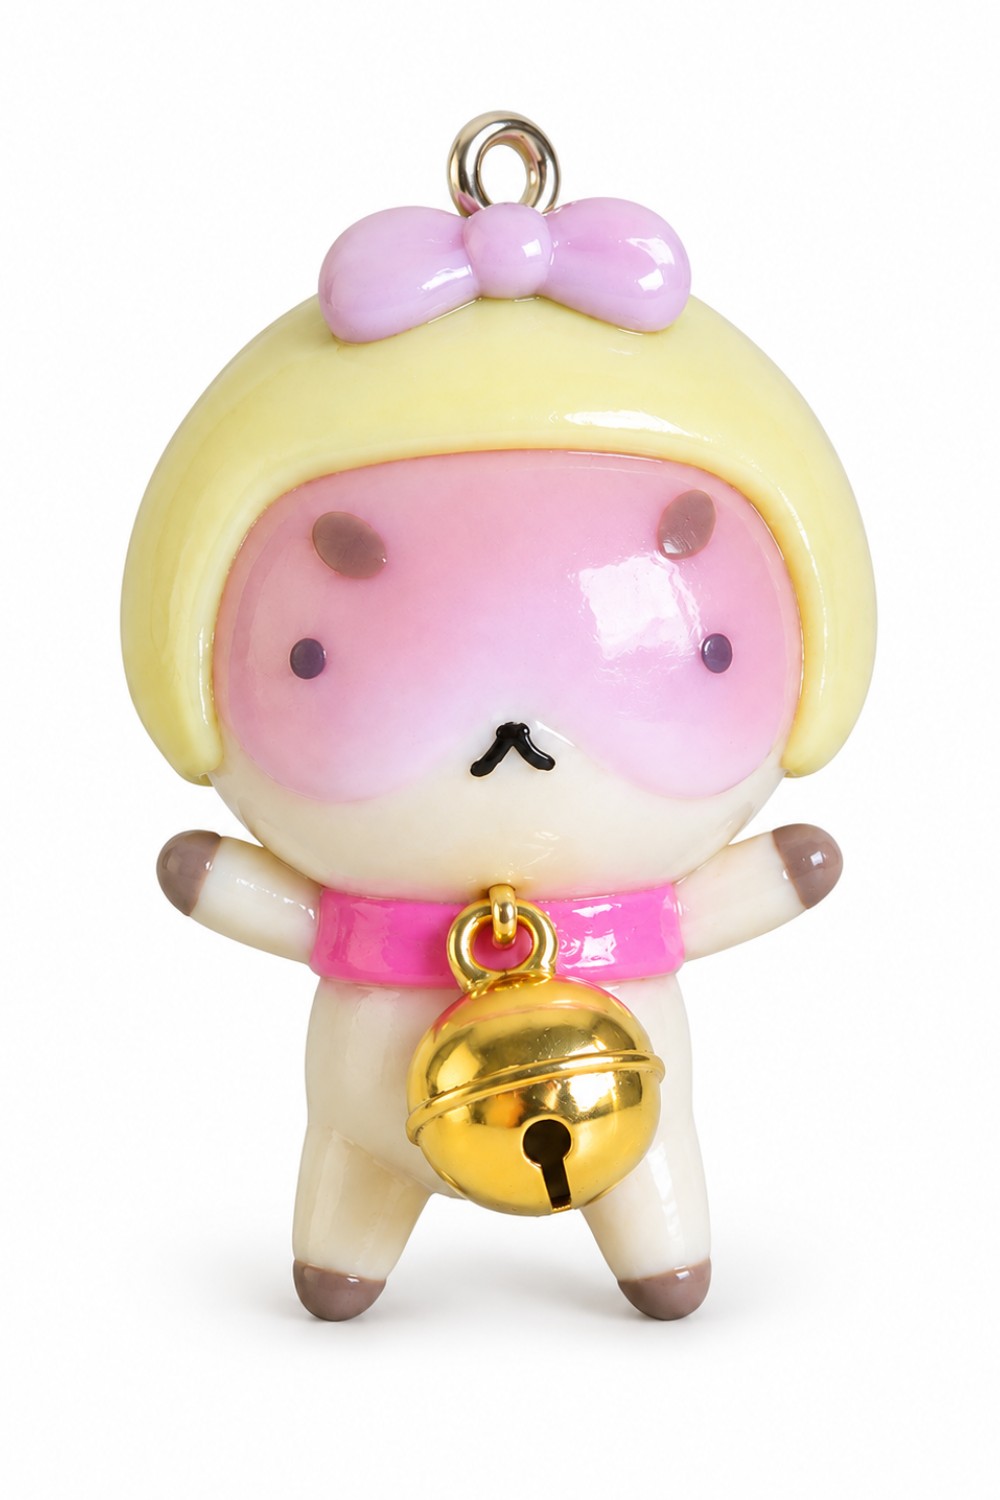
PuppyCat with "Too Cute to Poot" Helmet Pattern
This pattern provides step-by-step instructions to craft your own adorable PuppyCat figurine wearing a "Too Cute to Poot" helmet. Using polymer clay, you will sculpt the body, limbs, and helmet, and finish the design with added details like a dangling bell and painted words. It’s an enjoyable and creative project that captures the charm of PuppyCat while allowing space for personalization and experimentation.
Materials & Tools
Materials
- Polymer Clay:
- White clay: For the head, body, and limbs.
- Brown clay: Mixed with white to create a lighter shade for the feet and hands.
- Pink clay: For the collar, bow, and helmet text accents.
- Light yellow clay: For the helmet.
- Translucent clay: For the visor detail (mixed optionally with a small dot of red clay).
- Eye pins:
- One for shaping the helmet and securing the dangle bell.
- Paint:
- Pink paint: To write text on the helmet.
- Dingly bell:
- A small metal bell to complete the design.
- Super glue:
- For attaching the bell securely.
- Glaze:
- For a shiny, polished finish.
Tools
- Clay Roller or Fingers:
- For flattening and shaping clay evenly.
- Clay Blade or Craft Knife:
- To cut and refine clay shapes.
- Dotting Tool or Ball Tool:
- To create details for the face and collar.
- Paintbrush:
- For applying paint to the helmet.
- Pliers:
- To shape the eye pin for the bell attachment.
- Non-stick Work Surface:
- Prevents sticking during sculpting.
- Baking Tray and Oven:
- To bake the polymer clay according to package instructions.
Step-by-Step Instructions
Chapter 1: Sculpting the Body and Limbs
- Sculpt the head:
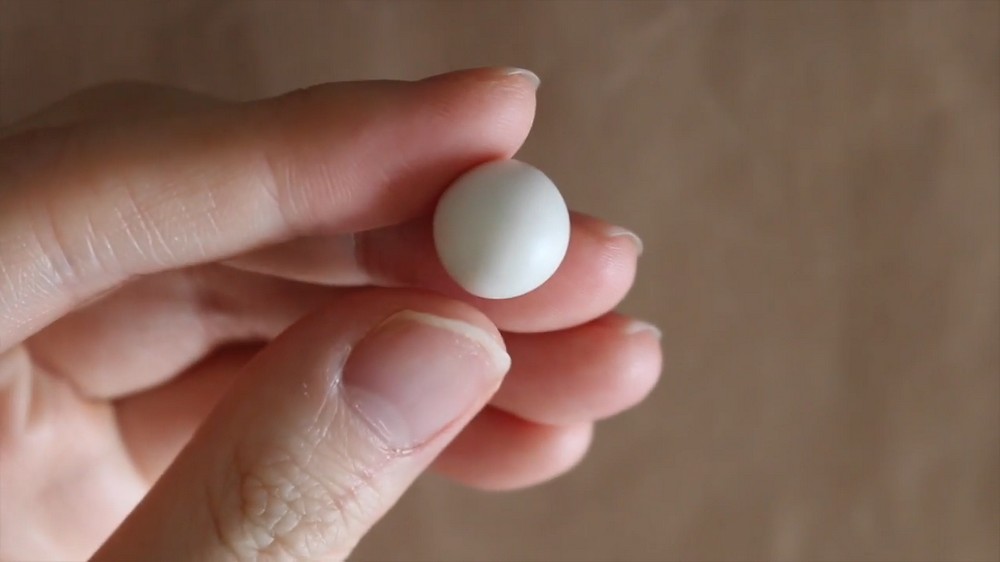
- Roll a ball of white clay for the PuppyCat’s head. Smooth it into a spherical shape using your fingers or a roller.
- Shape the body:
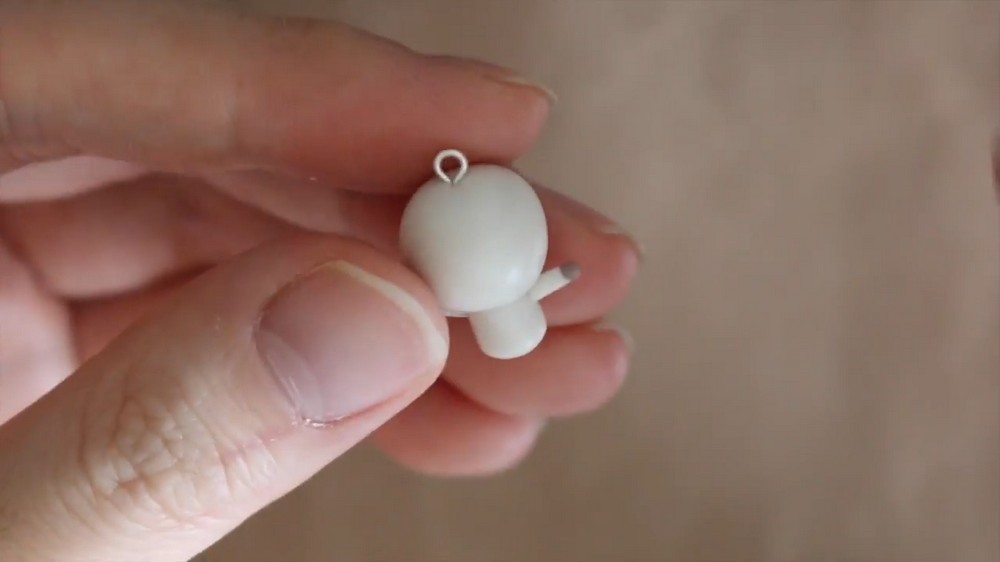
- Roll another piece of white clay into a thick, short snake shape.
- Cut the edges off the snake to create a cylinder, which will be the body.
- Attach the cylinder under the head and blend the edges carefully for a seamless connection.
- Insert an eye pin:
- Insert an eye pin into the connection area between the head and body. However, do not use TLS or glue for now as it will be removed later to work on the helmet.
- Form and attach the limbs:
- Roll small pieces of white clay into cylinder shapes for the arms, legs, and tail.
- Create the feet and hands by mixing a portion of brown clay with white clay to create a soft brown shade.
- Mold the ends of the arms, legs, and tail with this brown mix, then reshape them together for a natural gradient effect.
- Attach the limbs around the body, blending carefully to ensure they stay in place.
Chapter 2: Detailing the Face and Collar
- Create the collar:
- Roll out pink clay into thin strips.
- Wrap these strips around the neck, arms, and legs to form decorative collars. Trim the strips neatly where necessary.
- Prepare for the bell:
- Use a dotting tool or eye pin to poke a small hole in the center of the neck collar. This hole will later hold the dangling bell.
- Add facial features:
- For the eyes, use the dotting tool to make two small indentations on the face, then fill them with black clay dots.
- For the mouth, roll thin snakes of black clay, then shape them into an upside-down V. Add a small black oval at the top of the V for the nose.
- Position the eyebrows above the eyes by shaping two small brown ovals into a slight V and attaching them carefully.
- Bake for the first time:
- Bake the PuppyCat figurine for 10 minutes based on polymer clay baking instructions.
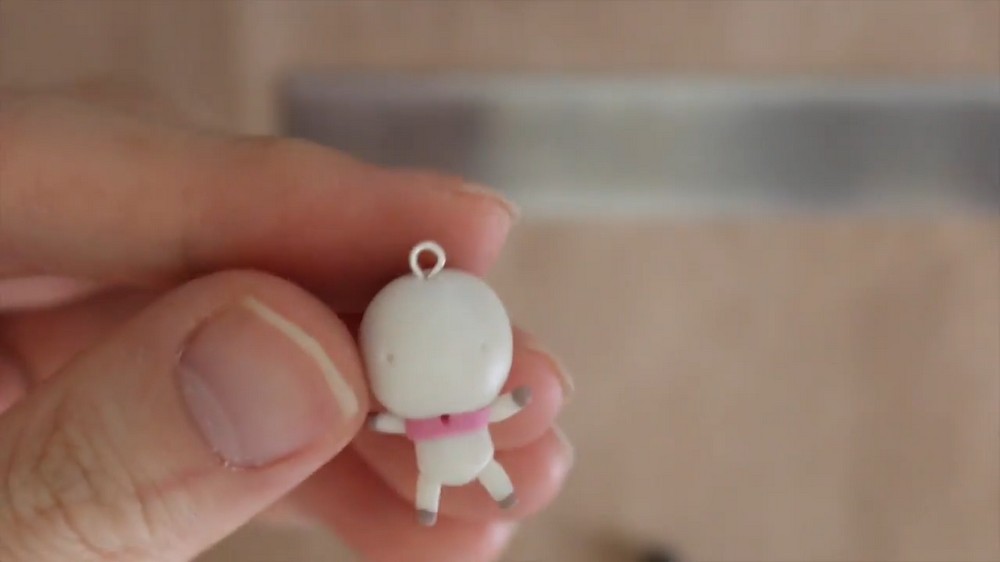
Chapter 3: Making the Helmet and Visor
- Sculpt the helmet:
- Roll out a thick layer of light yellow clay and flatten it as evenly as possible.
- Cut a rectangular shape from the flattened clay for easy handling.
- Remove the previously inserted eye pin and carefully wrap the rectangle around the head. Trim off excess clay and blend the seams for a snug fit.
- Adjust helmet height:
- If the helmet seems too high, cut a thin strip of yellow clay and attach it just above the eyebrows. Blend the edges to achieve a more balanced and smooth look.
- Craft the visor:
- Mix a small speck of red clay into translucent clay to create a light tint.
- Roll the translucent clay as flat as possible to ensure maximum transparency.
- Cut a visor-like shape from the translucent clay, ensuring it fits over the face snugly but doesn’t cover the nose. Stretch the clay slightly if needed to match the dimensions.
- Refine the visor:
- Position the visor on the PuppyCat’s face and trim around the edges with a blade for a clean, smooth fit.
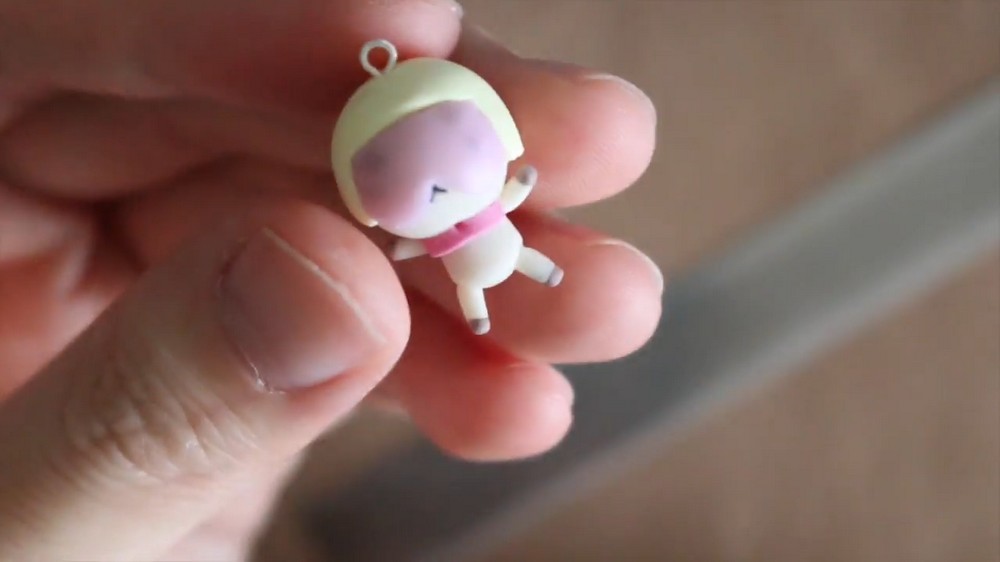
Chapter 4: Final Details and Finishing Touches
- Add the bow:
- Roll a small piece of pink clay into a triangle shape and carve a slight indent to mimic a bow structure.
- Add a tiny pink dot to the middle of the bow and attach it to the helmet.
- Bake again:
- Bake the figurine for the second time to harden the helmet and bow. Ensure the translucent visor remains thin enough to allow visibility of the face.
- Paint the helmet:
- Use pink paint to write "Too Cute to Poot" on the helmet. Let the paint dry completely before proceeding.
- Seal with glaze:
- Use a clear glaze to coat the entire helmet and figurine, giving it a shiny, durable finish.
- Attach the bell:
- Take an eye pin and bend the end into a hook shape using pliers. Attach the dingly bell onto the hook and close it securely. Trim off excess eye pin length and use super glue to insert it into the pre-made collar hole.
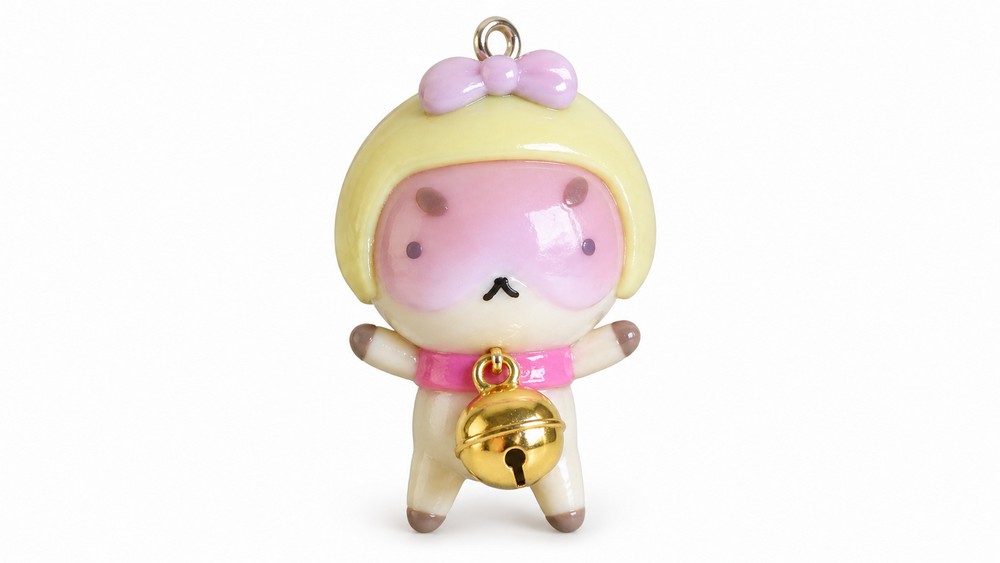
Conclusion
This PuppyCat figurine wearing a "Too Cute to Poot" helmet captures the lovable and quirky essence of the popular character. With detailed features and creative additions like the textured visor and dangling bell, this project is charming and fun to make. It is versatile enough for experimentation with colors, collar designs, or accessories, making it perfect for gifting or showcasing as a personalized collectible.