Give Lilo’s rag doll a place on your shelf with DIY Scrump, a small polymer clay figure with mismatched button eyes, a pink bow, and a stitched mouth.
Mismatched buttons are part of what gives Lilo’s little doll its personality. DIY Scrump turns that familiar face from Lilo & Stitch into a polymer clay figure you can sit beside a favorite movie keepsake. Between the wide head, floppy-looking limbs, and oversized bow, the doll has a handmade look that suits a clay version especially well.
Pocket-Sized DIY Scrump in Polymer Clay
Meet the Designer
Alex Lee shares small sculpting projects through PolymomoTea and wrote Kawaii Resin and Clay Workshop. The book covers shaping, adding color, and working with molds. Its focus on small objects makes it a companion for readers who want to turn familiar characters into display pieces, bag charms, or wearable accessories.
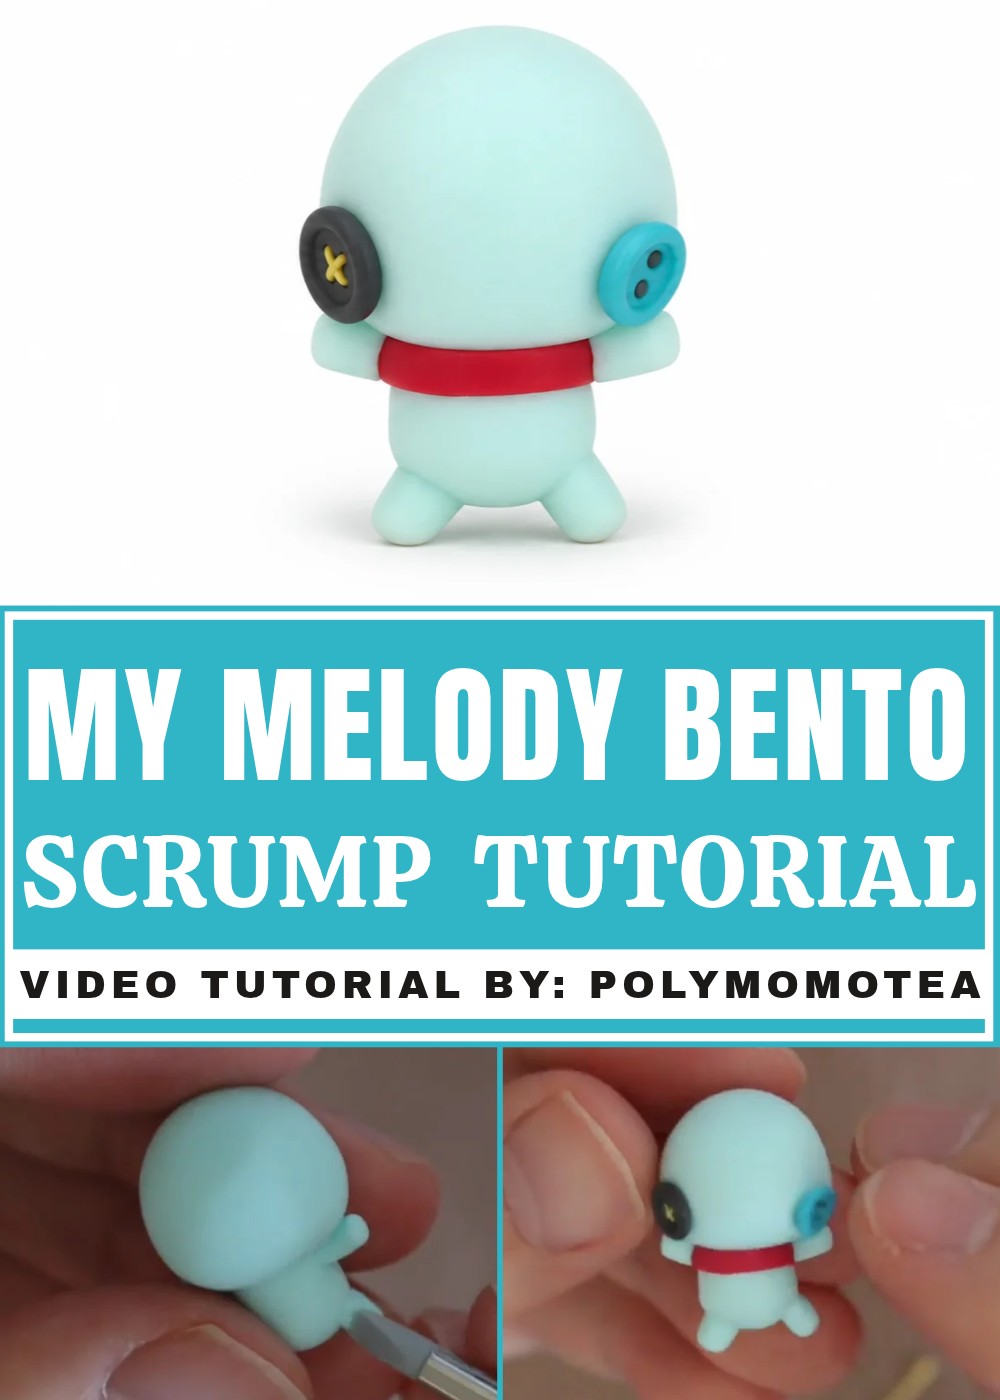
Start by sorting out the proportions. Flatten a piece of clay slightly for the head and keep the body smaller so the face stays prominent. Short arms and legs are enough to suggest the soft limbs of a rag doll. For the eyes, press two different-sized clay circles into place and mark small holes to suggest buttons. Use a pointed tool to draw the mouth, then put short marks across it to mimic stitches. A pink bow at the top gives the face a clear frame and leaves room for the stray strands that help identify the character.
Before baking, look at the figure from the front and check whether the bow leaves both eyes visible. Scrump is also a good excuse to keep a few handmade marks in the clay. One slightly uneven arm can suit this doll better than a pair of identical ones. Stand the finished miniature by a photo frame, or fit it into a small shadow box with a still from the film.
Scrump Charm Pattern
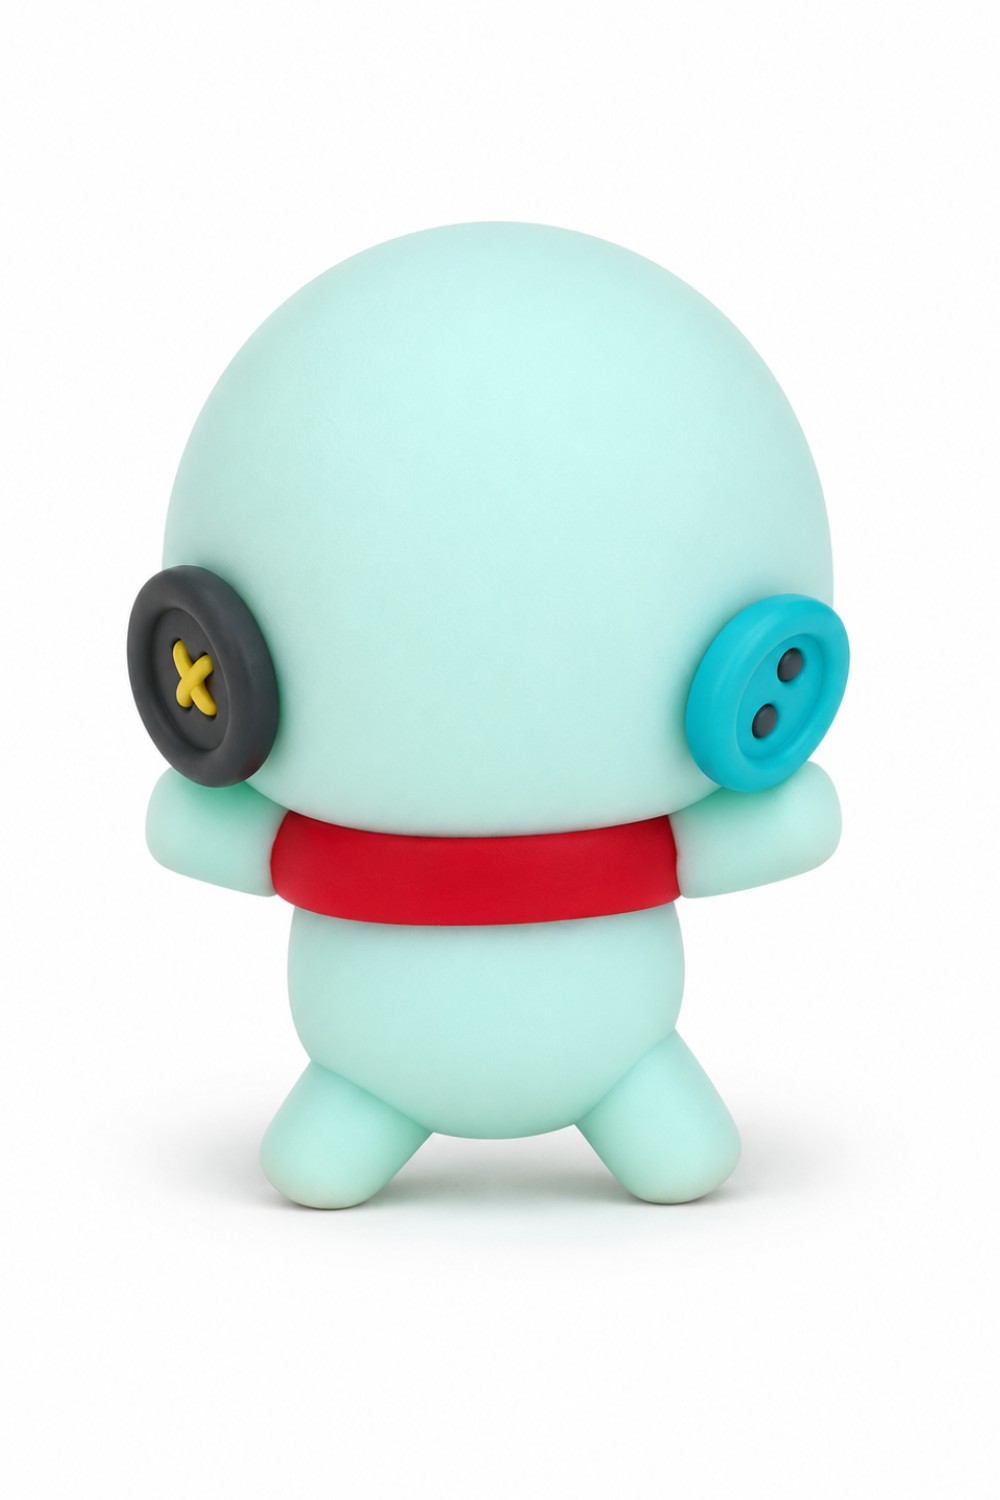
This detailed guide will help you create your own adorable Scrump charm. Using polymer clay, this project takes you through the process of making the iconic character step by step. While the original Scrump charms are smaller, this design makes a slightly larger version, giving you more room to work on details like buttons, smiles, and stitches. Perfect for a keychain or a cute accessory, this Scrump charm is a delightful addition to your collection.
Materials & Tools
Materials
- Polymer Clay:
- FIMO Mint Clay – For the body, arms, legs, and head.
- Red Clay – For details like the stitches.
- White Clay – For certain design elements.
- Yellow Clay – For the hair and buttons.
- FIMO Peppermint Clay – For the peppermint button details.
- Pink Clay – For the bow.
- Black Clay – For the buttons and mouth.
- Optional Embellishments:
- Pearl clays (optional) – To add a sparkly texture to your charm.
Tools
- Clay Roller or Rolling Pin:
- For flattening clay evenly.
- Clay Blade or Knife:
- For cutting clay into precise shapes or trimming excess clay.
- Ball Tool:
- To create indentations in details such as the buttons.
- Eye Screw:
- To attach your charm to a keychain or jewelry piece.
- Baking Tray and Oven:
- For baking polymer clay according to package instructions.
- Glaze (optional):
- For a shiny, durable finish.
Step-by-Step Instructions
Chapter 1: Sculpting the Head
- Shape the head:
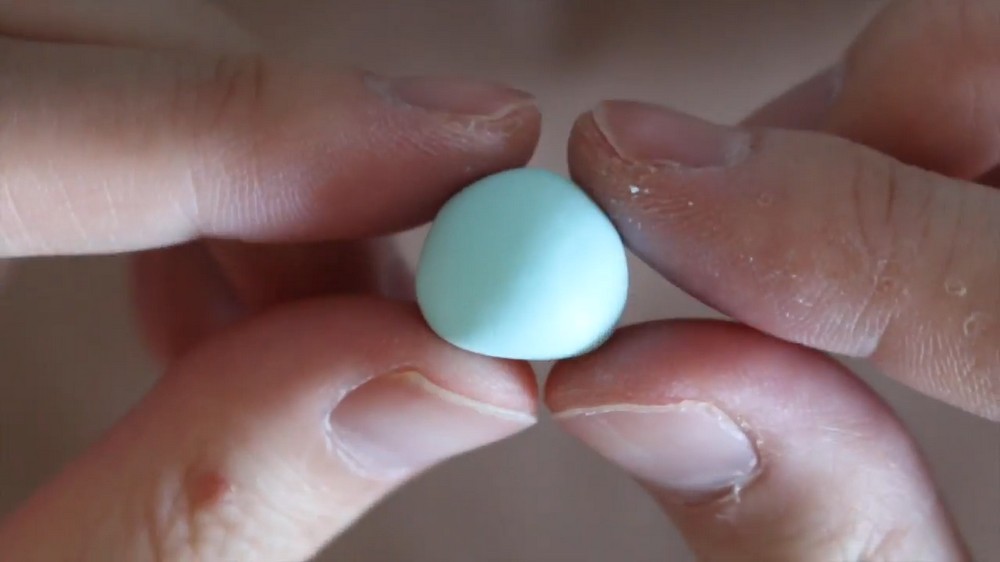
- Take a medium-sized ball of FIMO Mint Clay and roll it into a smooth sphere.
- Gently press the bottom of the ball and pinch it slightly inward.
- Using your fingers, rotate the ball at an angle (as if working on a pottery wheel) to create a smooth, rounded mound shape.
Chapter 2: Shaping the Body
- Create the body:
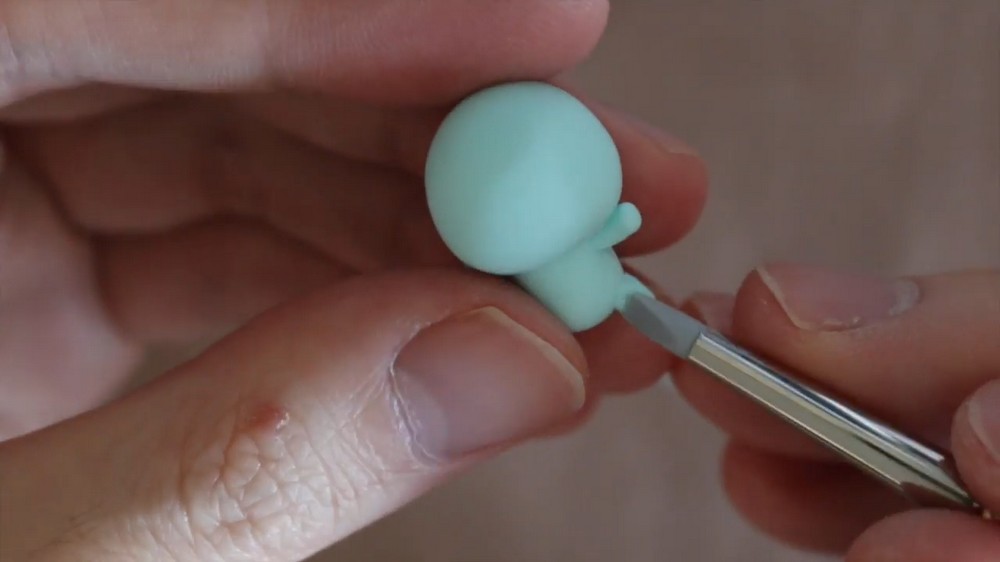
- Roll a piece of mint clay into a short, thick cylinder to form the body of the charm.
- Cut and flatten the bottom of the cylinder to help it sit upright.
- Attach the head and body:
- Position the head on top of the body.
- Press gently to attach them, and use your fingers to blend the edges where the two pieces connect, creating a seamless joint.
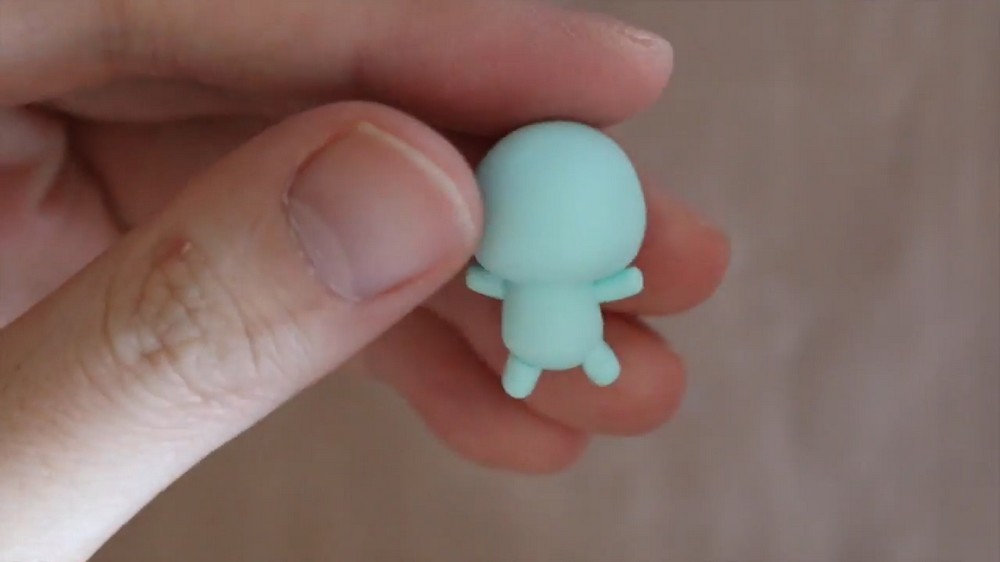
Chapter 3: Making the Arms and Legs
- Shape the arms:
- Roll out a smaller piece of mint clay into a cylinder.
- Cut off two equal-sized pieces to form the arms. These should be proportionate to the body.
- Shape the legs:
- Repeat the process for the legs, but make the pieces slightly thicker and stubbier than the arms to give the charm a cute appearance.
- Attach the arms and legs:
- Place the arms on the upper sides of the body.
- Attach the legs to the bottom of the body, positioning them evenly.
- Blend where the limbs meet the body for a smooth finish.
Chapter 4: Crafting the Collar
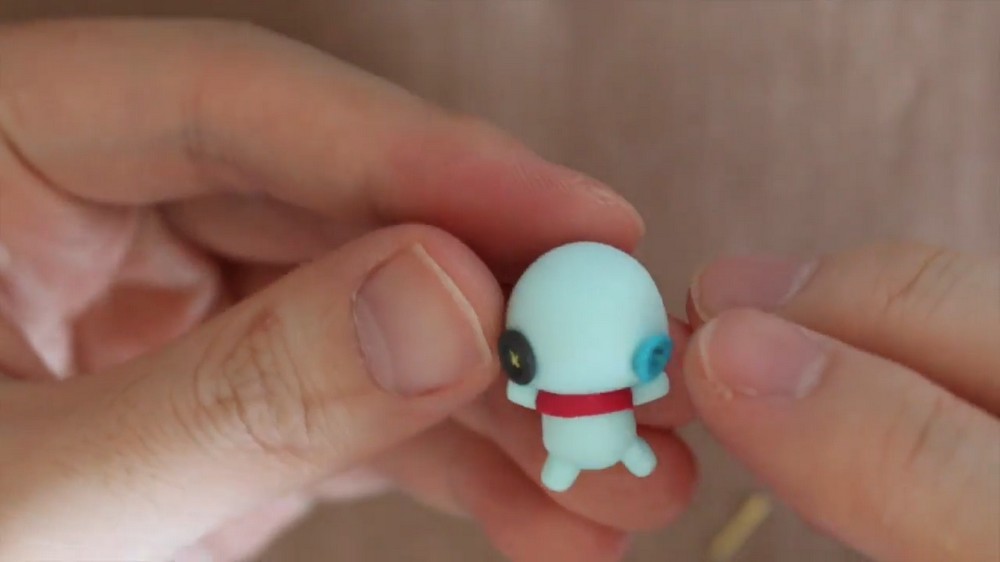
- Mix red clay with pearl:
- Combine red clay with an equal amount of pearl clay to create a subtle shine for the collar.
- Flatten the clay:
- Using a clay roller, flatten the mixture into a thin, even layer.
- Create the collar strips:
- Cut two long rectangular strips from the flattened clay.
- Attach the collar:
- Place one strip around the body, aligning it from one arm to the other.
- Trim off the excess clay as needed.
- Repeat the process on the opposite side of the body to complete the collar look.
Chapter 5: Making the Buttons
- Prepare the button clay:
- Create a mix of black clay with pearl clay to make it a little shinier.
- Roll a small piece into a ball and flatten it to form the black button.
- Use peppermint clay to roll and flatten two more small balls for additional buttons.
- Add details to the buttons:
- Use a ball tool to make a small indent in the center of the black clay button for definition.
- Poke four small holes into one of the peppermint buttons using a needle or pointed tool.
- For the remaining peppermint button, roll tiny snakes of yellow clay and form an X shape in the center.
- Position the buttons:
- Attach the black button to the left side of the scrump’s chest.
- Place the peppermint button with the holes on the right side of the chest.
- The peppermint button with the yellow X serves as the belly button and is placed at the center of the lower body.
Chapter 6: Adding the Hair
- Shape the yellow clay:
- Roll out a thin cylinder of yellow clay.
- Cut two short strips for side pieces and one slightly longer strip for the middle strand.
- Position the hair strands:
- Attach the yellow strips to the top of the head, arranging them into a simple hair-like pattern. Place the longest strip in the center.
- Secure the eye screw:
- Screw your eye screw securely into the top of the scrump’s head, placing it next to the hair. This will allow you to attach the charm to a keychain or necklace.
Chapter 7: Making the Bow
- Form the bow pieces:
- Roll out a small ball of pink clay and shape it into two small triangles for the bow’s sides.
- Roll out and flatten a thin strip of pink clay to serve as the bow’s center.
- Assemble the bow:
- Position the two triangles side by side and use the pink strip to connect them by wrapping it around their center.
- Attach the bow:
- Position the completed bow in front of the hair on the scrump’s head.
Chapter 8: Adding the Mouth and Stitches
- Create the smile:
- Roll out a very thin snake of black clay and shape it into a soft, happy smile. Attach it near the bottom of the head.
- Add the stitches:
- Roll tiny fragments of red clay into thin snakes and cut them into short pieces. Line these up along the black smile shape to mimic decorative stitches.
Chapter 9: Final Steps
- Bake the charm:
- Bake your fully assembled scrump charm in the oven according to the instructions for your polymer clay brand. Generally, bake at 265°F–275°F (129°C–135°C) for 15–30 minutes. Allow it to cool completely before proceeding to the final step.
- Apply glaze (optional):
- If desired, use a glossy glaze to coat the charm. Apply the glaze evenly with a brush for a shiny, finished look and let it dry completely.
Conclusion
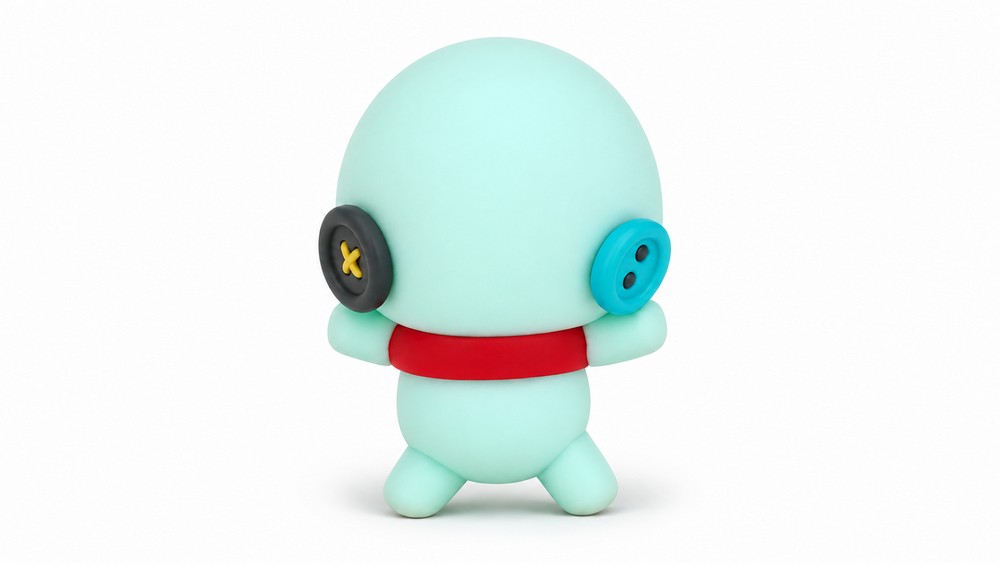
The scrump charm is an adorable craft project, filled with fun details like its happy smile, stitched mouth, playful buttons, and a tiny bow on its hair. The project allows for personalization, so you can experiment with different colors, textures, or button designs. This charm is a simple but rewarding craft for polymer clay enthusiasts, whether you’re making it as a keychain, a gift, or just a fun decoration. The result is a charming, slightly larger version of scrump that showcases a handmade touch with a lot of personality.