Put Steven in the spotlight with this Polymer Clay DIY Steven Universe Chibi idea featuring his classic star shirt and a fun shape for your cartoon collection.
Curly hair and a star on a shirt are enough for many cartoon fans to recognize Steven. Polymer Clay DIY Steven Universe Chibi keeps those clues in view while giving him the large head and short body typical of chibi figures. That change in proportion leaves room for a clear expression and gives his familiar outfit the look of a little collectible.
DIY Polymer Clay Steven Universe Chibi For Cartoon Shelf Decor
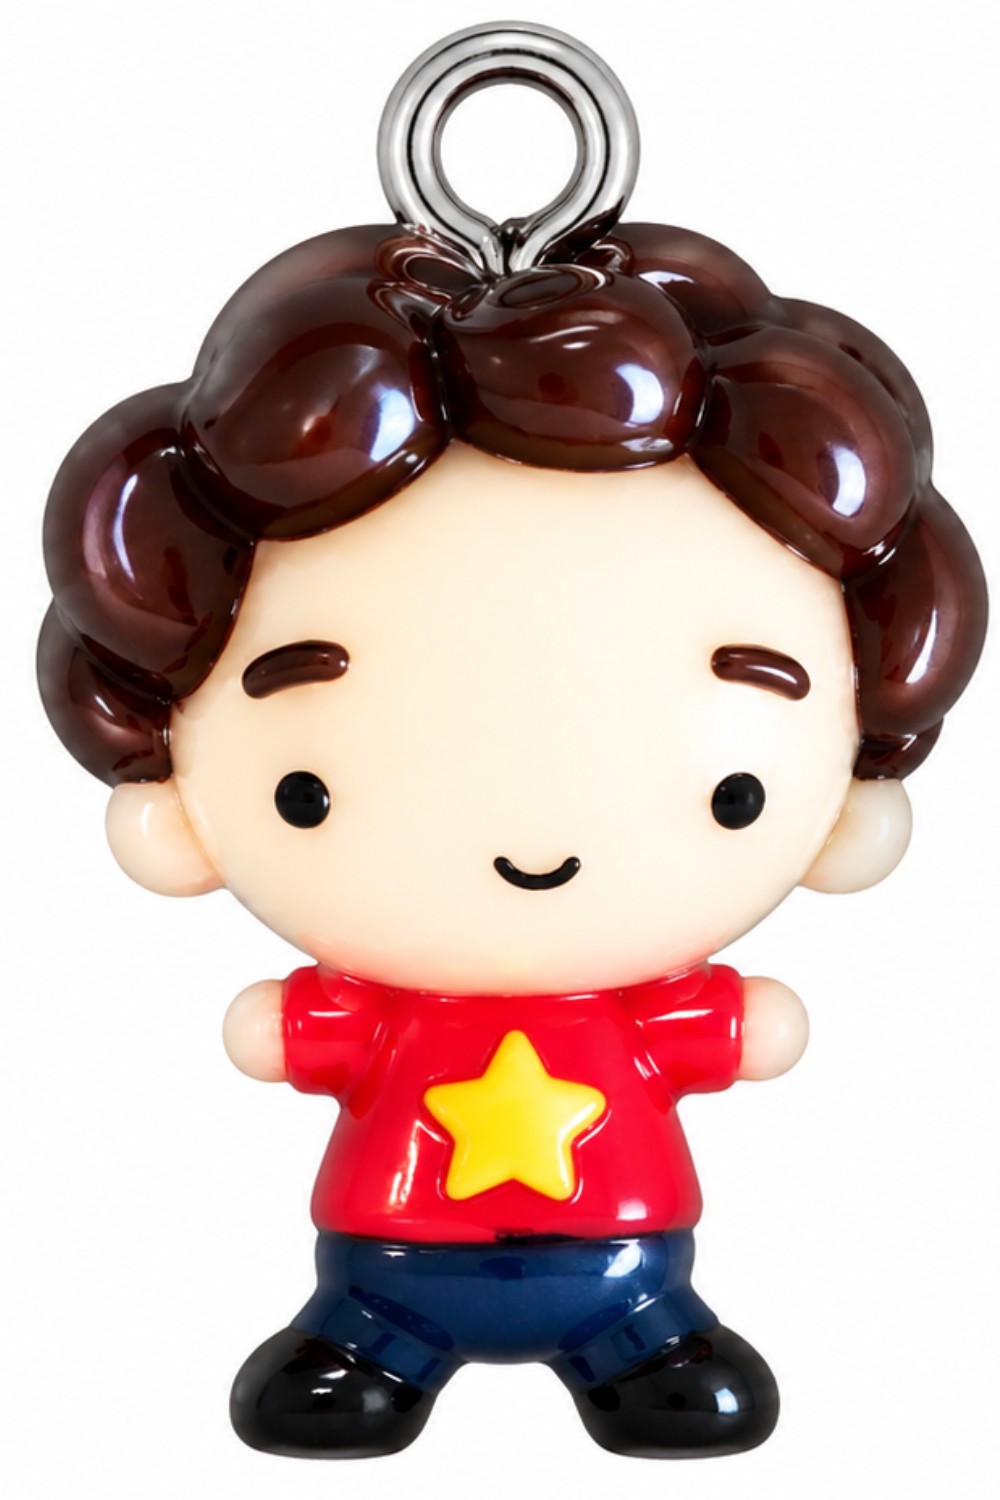
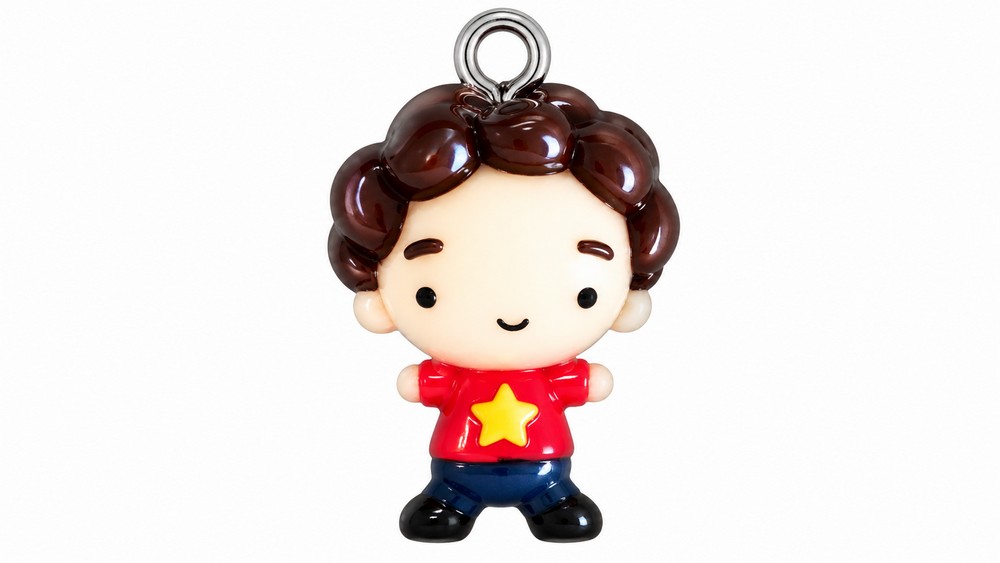
Size the head and torso together so there’s room for the star on the chest. Leave enough space below it for the edge of the shirt to show. In Steven’s classic outfit, the yellow star stands out on a red shirt, with black jeans below. Shape the hair in small rounded sections to keep the curls readable around the forehead. For the star, five points of roughly the same length will stay clear after you press it onto the shirt. A simple smile gives the hair and outfit room to stand on their own.
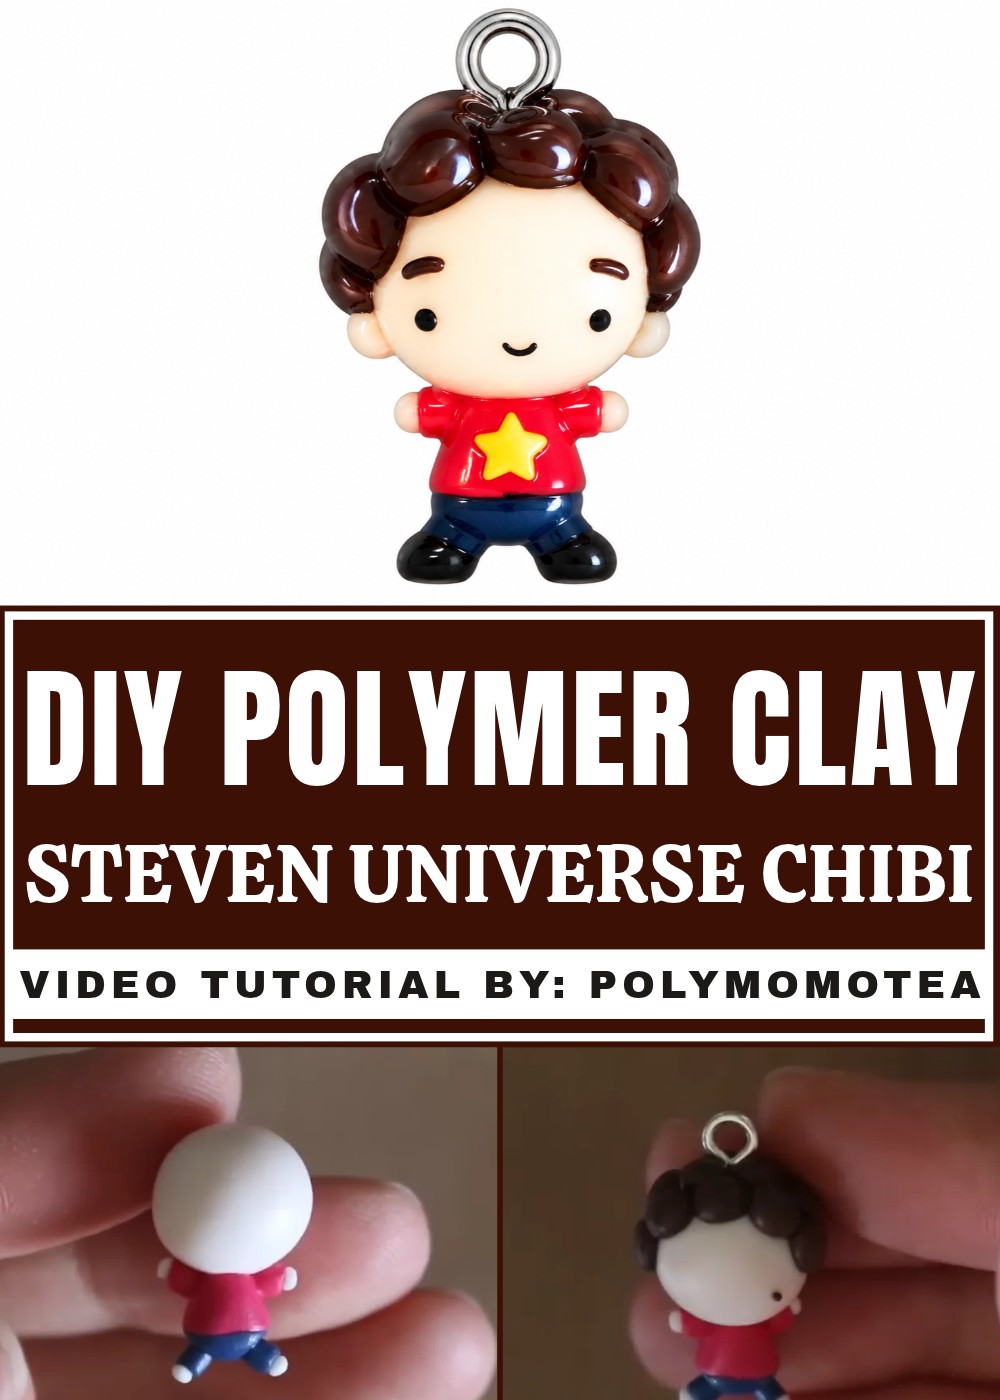
On a bookshelf, Steven can sit near a favorite comic or in front of a row of DVDs. Turning the figure slightly gives the curls more shape in a photo, while a straight view shows off the shirt. Wrap it as a birthday gift for someone who first watched the show with you.
The Artist Behind This Chibi
Viewer requests prompted Alex Lee to try a chibi version of Steven for PolymomoTea. He mentioned that he rarely made figures in this style at the time. For regular viewers, it was a chance to see him work with a bigger head and shorter limbs on a character they knew.
Steven Universe Chibi Pattern with Polymer Clay
This pattern is inspired by the beloved character Steven Universe in a cute chibi style. By using polymer clay, it's easy to create a miniature version of Steven’s signature appearance, including his red shirt, blue jeans, and poofy brown hair. This guide walks you through the steps to create a detailed and adorable Steven Universe chibi figure, perfect for fans of the show, as a decoration, or a collectible charm.
Materials & Tools
Materials
- Flesh-colored polymer clay – For the head, hands, and feet.
- Red polymer clay – For Steven’s shirt and sleeves.
- Blue polymer clay – For Steven’s pants and legs.
- Brown polymer clay (dark chocolate color) – For Steven’s hair and eyebrows.
- Yellow polymer clay (optional) – For the star on Steven’s shirt. Alternatively, paint can be used for the star.
- Eye pin (optional) – To turn the chibi into a charm or keychain.
Tools
- Blade or craft knife – For cutting and shaping clay.
- Dotting tool or toothpick – For making fine details, eyes, and facial features.
- Clay mold for the star (optional) – For creating a clean and precise yellow star. If you don’t have a mold, you can paint the star on after baking.
- Oven and baking tray – For curing the polymer clay pieces (follow brand instructions).
- Paint (optional) – For facial details or the star if not made from clay.
- Clay gloss (optional) – For glazing and adding shine to the finished figure.
Step-by-Step Instructions
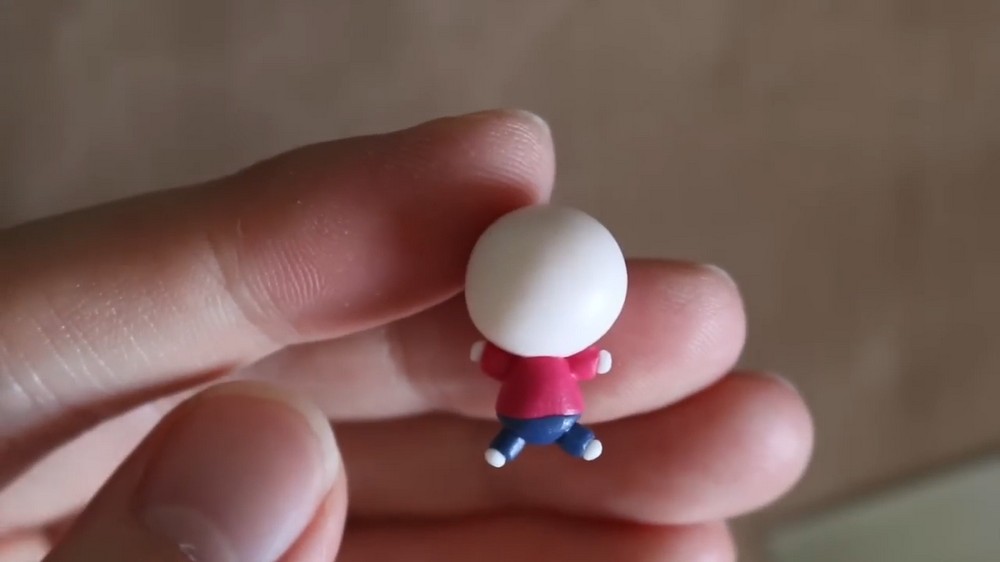
1. Creating the Head
- Shape the head:
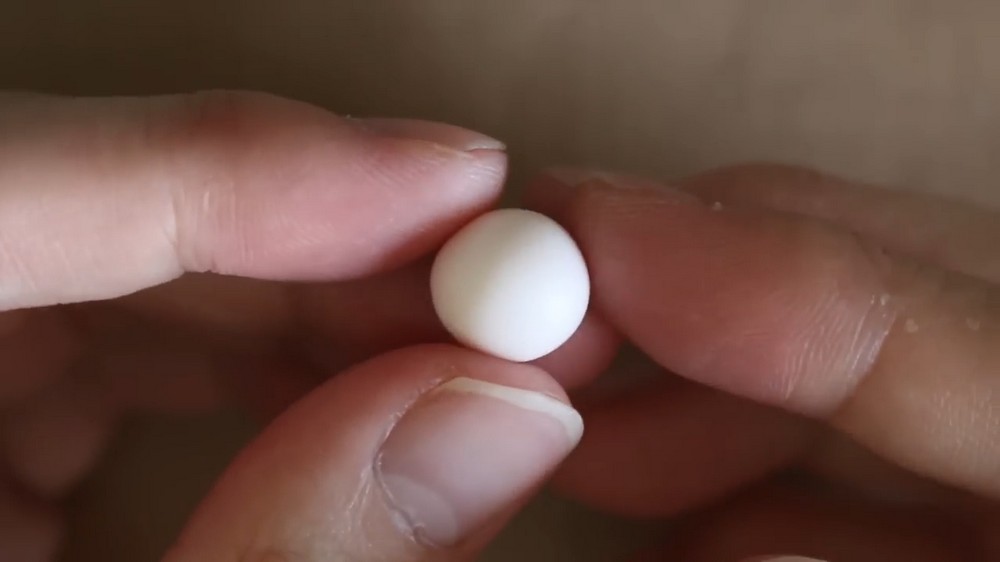
- Use flesh-colored polymer clay to create a smooth, round ball.
- Roll the clay between your hands until a sphere is formed with even pressure and no marks.
- Set aside the head:
- Reserve the completed ball for now; this will act as the foundation to which the body, hair, and other details will later be attached.
2. Forming Steven’s Shirt
- Roll the shirt base:
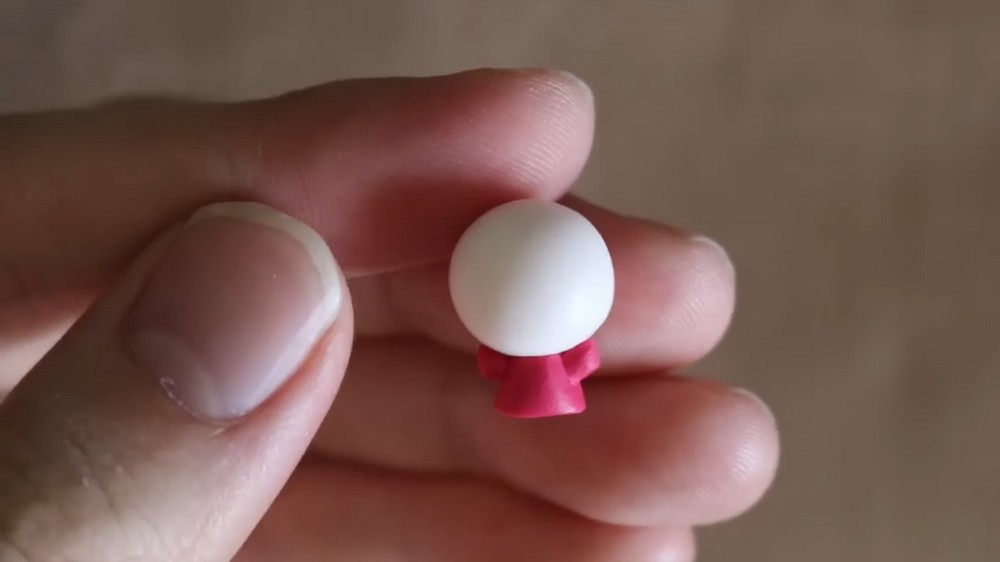
- Use red clay to create a thick cone shape.
- Trim off the narrow end of the cone using a blade or knife to give one flat edge.
- Attach to the head:
- Position the larger flat end of the red cone directly under the flesh-colored ball.
- Blend the edges where the shirt meets the head to make a seamless transition.
- Make the shirt sleeves:
- Roll additional pieces of red clay into short cone shapes.
- Slightly flatten and widen the thicker ends of the cones to create sleeve-like shapes.
- Blend the sleeves onto the shirt's sides to complete Steven’s short-sleeved shirt.
3. Sculpting Steven’s Jeans
- Create the pants base:
- Use a ball of blue clay, flatten it slightly, and cut off a portion of the ball with a blade.
- Attach this trimmed ball to the bottom of the red shirt to form Steven’s pants.
- Shape the pant legs:
- Roll blue clay into two cylindrical strips for the pant legs.
- Attach each strip to the lower part of the pants, one on the left and one on the right, blending gently where the pieces meet.
4. Adding Hands and Feet
- Make the hands:
- Roll two small balls of flesh-colored clay for the hands.
- Flatten the balls very slightly and attach them to the ends of the sleeves (Steven’s arms).
- Make the feet:
- Take two slightly larger pieces of flesh-colored clay and roll them into oval shapes.
- Flatten the ovals and attach them to the bottom of the pant legs to form Steven’s feet. Ensure the figure can balance and stand upright.
5. Crafting Steven’s Hair
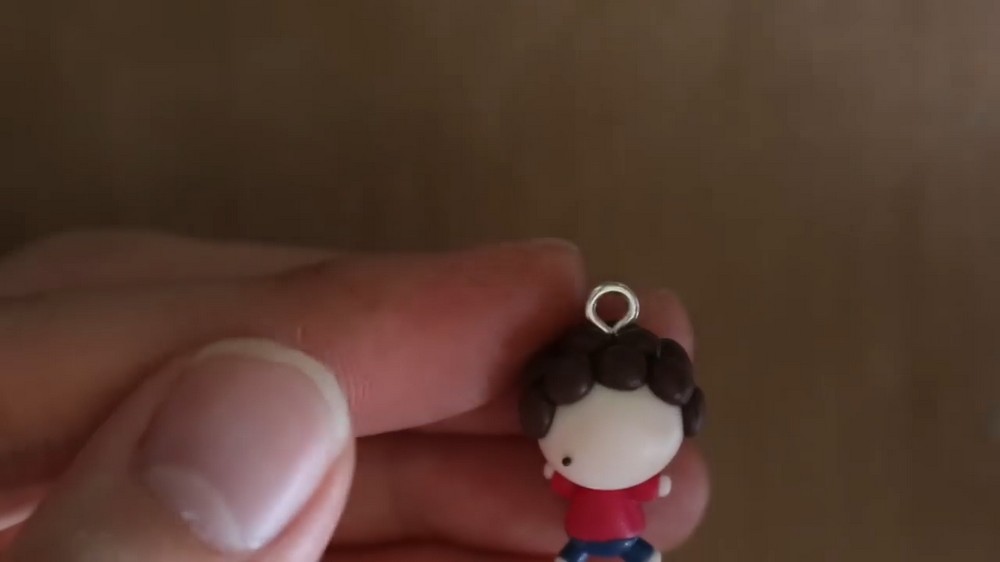
- Prepare brown clay for the hairline:
- Use dark chocolate polymer clay to roll several small cylinders.
- Cut each cylinder in half, forming rounded hemisphere shapes.
- Outline the hairline:
- Starting at the forehead, place the brown hemispheres in a line around the head for the hairline.
- Adjust the placement as necessary to ensure that the hairline frames the face evenly.
- Layer the remaining hair:
- Add a second layer of brown hemispheres above the first. Stagger the placement slightly, and repeat as necessary to cover the back and upper part of the head.
- For added texture and a poofy effect, keep the hairpieces slightly raised rather than tightly pressed against the head.
6. Adding Facial Features
- Insert the eye pin (optional):
- At this point, if you plan to turn the chibi into a charm, insert an eye pin into the top of the head. This should be done before adding facial details.
- Make Steven’s eyes:
- Use a dotting tool to gently create two shallow holes in the face for Steven's dot eyes.
- Roll tiny black clay balls and place them in the eye sockets.
- Add a simple mouth:
- Roll a small snake of black or flesh-colored clay for Steven’s mouth. A simple straight or slightly curved piece placed under the eyes works well.
- Include the eyebrows:
- Roll two tiny snakes of brown clay (the same color as his hair). Shape them into slightly curved lines to give Steven happy, expressive eyebrows. Position these above the eyes and gently press them down.
7. Decorating Steven’s Shirt
- Create the star emblem:
- If you have a star-shaped mold, press yellow clay into the mold and carefully remove the resulting yellow star.
- Without a mold, you can either carefully shape the star from yellow clay or paint it onto the shirt after baking.
- Place the star:
- Attach the yellow star onto the center of the red shirt. Gently press it to adhere without distorting its shape.
8. Baking and Finishing Touches
- Bake your chibi figure:
- Preheat your oven according to the instructions for your polymer clay (typically between 110°C to 130°C / 230°F to 275°F, depending on the brand).
- Place the figure on a baking tray lined with parchment paper or foil to avoid sticking. Bake for approximately 15–30 minutes, depending on the figure’s thickness.
- Cool completely:
- Once baked, allow your figure to cool fully before handling it to avoid damaging the details.
- Glaze the figure (optional):
- Apply a thin coat of clay gloss if you want a shiny, finished look.
Conclusion
This chibi version of Steven Universe captures the character in a playful and stylized way. Through the use of carefully blended polymer clay pieces, dynamic hair textures, and a few key details like the star on the shirt and Steven’s cheerful expression, this project is both simple and rewarding.
Customize your Steven Universe chibi further by adding more details, using different clay techniques, or even creating other characters from the show to make a full collection. With minimal tools and just a few simple materials, this project is a delightful choice for fans and clay enthusiasts alike.