Mix cheerful colors with a little magic through DIY Sherbert Unicorn in Polymer Clay and shape a lovely mini figure that feels fun to display or share.
Rainbow shades do not need a big canvas to stand out. DIY Sherbert Unicorn is a cheerful idea for anyone who likes fantasy animals and sweet, ice cream inspired colors. The name suggests a lighthearted style, so soft pinks, gentle blues, and other bright shades can give this miniature its own happy personality.
Pastel DIY Sherbert Unicorn Figure Made From Polymer Clay
Start by thinking about the unicorn's outline. A small body, an upright horn, and a flowing mane are the features that tell the story at first glance. Rounded forms keep the figure friendly rather than serious. Polymer Clay allows you to roll, curve, and join these little parts while deciding how the colors should sit together.
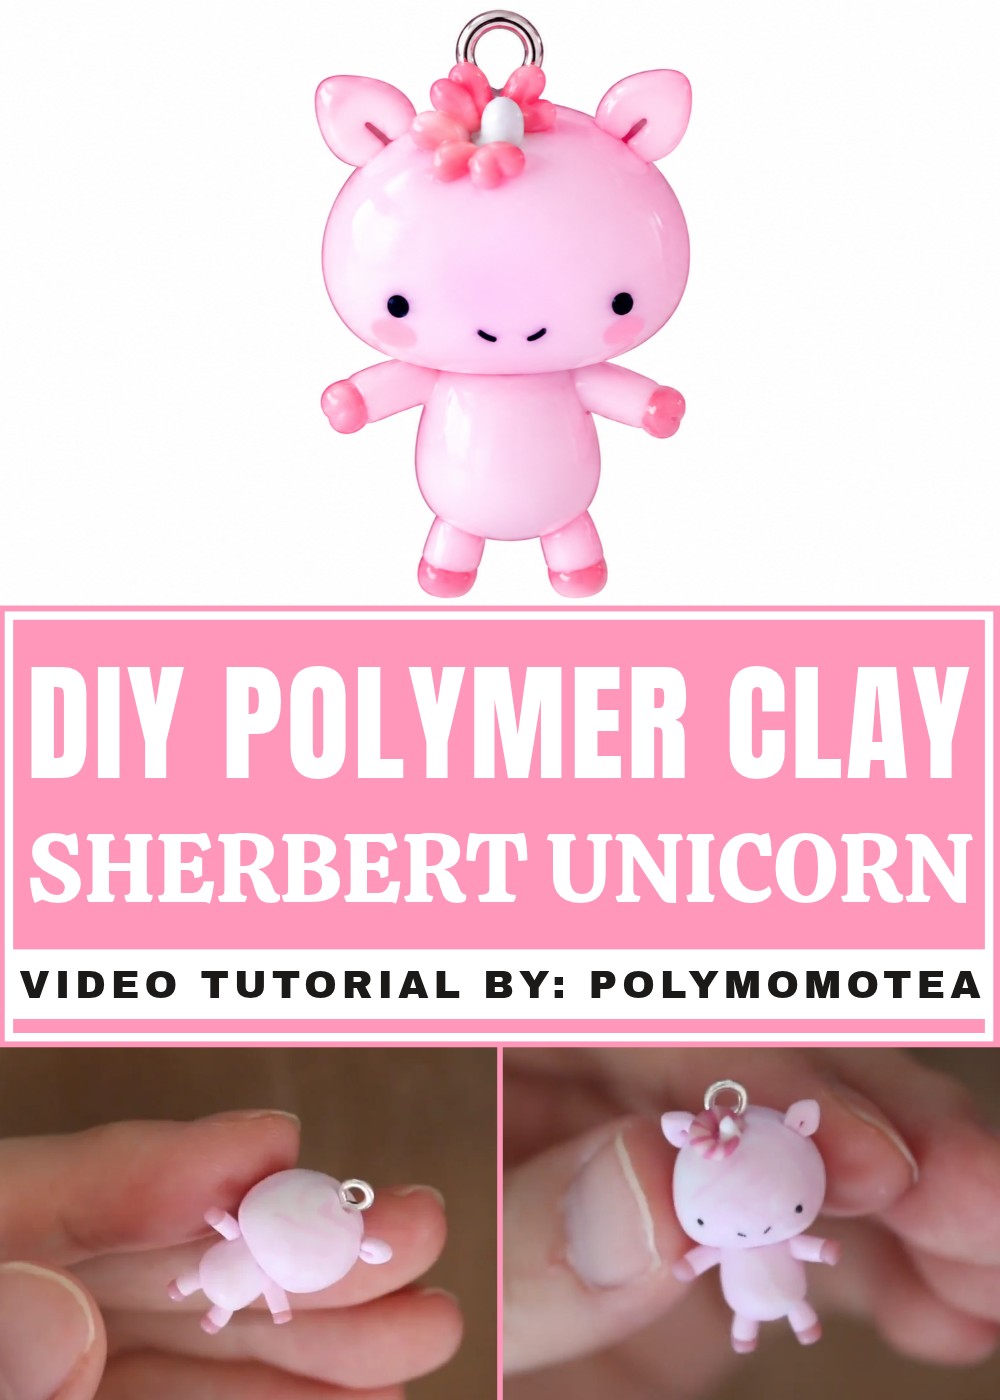
One nice approach is to work on the largest shapes first, leaving the mane and facial features until later. Changing the direction of a curl or the size of an ear can give the animal a fresh expression. Keep the parts neat, and check the instructions on your clay before baking. Color choices can stay simple or become more playful, depending on the look you prefer.
Finished as a tiny ornament, this unicorn can give a plain shelf a fun touch. It also suits a birthday gift for a friend who loves magical characters. More than anything, the design is about enjoying bold imagination on a small scale and giving an ordinary piece of clay a bright new identity.
A Closer Look at the Artist
Alex Lee brings a lively sense of color to the projects featured on PolymomoTea. Alongside his online videos, he wrote Kawaii Resin and Clay Workshop, a book about making tiny charms and figures. His ideas show how ordinary materials can become cheerful pieces with their own distinct and playful personalities.
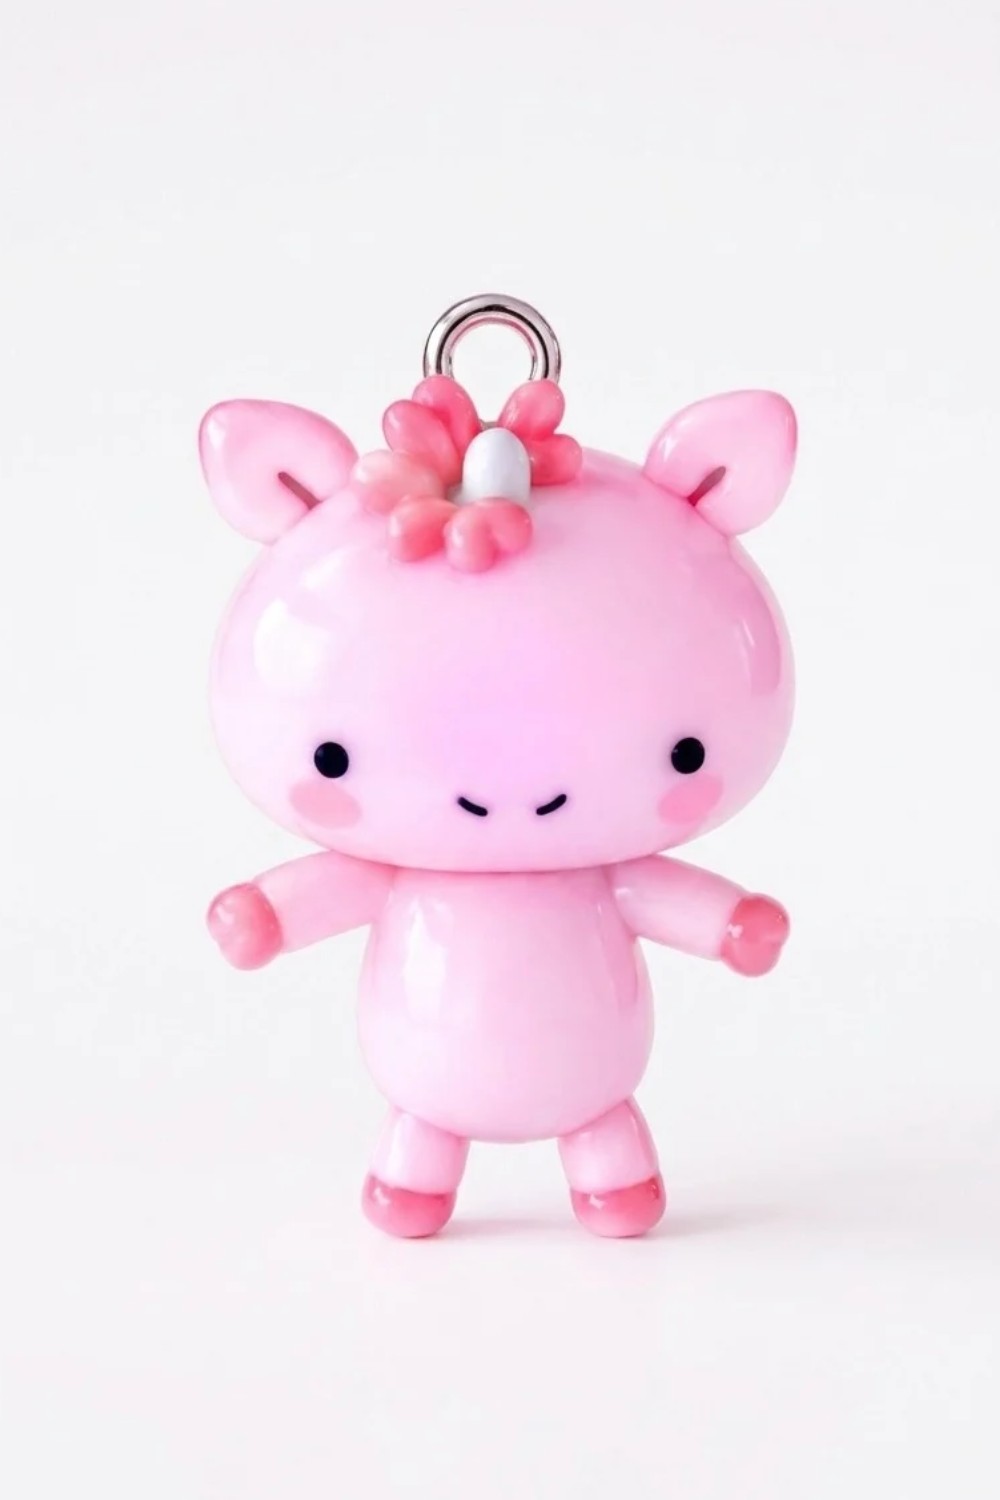
How to Make a Chubby Unicorn Charm
Unicorns are magical, whimsical, and oh-so-fun to craft! In this tutorial, I’ll walk you through how to make your very own chubby unicorn charm using polymer clay. This step-by-step guide is beginner-friendly, ensuring you can create a colorful and unique unicorn without any prior experience.
Materials & Tools
Materials:
- Polymer Clay:
- White (for the head, body, tail, horn, and accents)
- Pink (or Fimo Rose Pink for mixing with white clay)
- Multiple colors of your choice (e.g., blue, purple, yellow, etc., for the tail and mane)
- Black (for the eyes)
- Eye Pin (to turn the unicorn into a charm or keychain)
Tools:
- A Craft Knife or Blade
- Needle Tool or Toothpick
- Rolling Pin (optional; for shaping clay)
- Clean Work Surface
- Baking Tray and Oven (for curing the polymer clay)
Step-by-Step Instructions
Step 1: Create a Cotton Candy Swirl Effect
- Mix clay for the unicorn’s body:
- Take small portions of white and pink clay.
- Mix them together gently without fully blending. This creates a swirled "cotton candy" effect in the clay.
- Set aside some of the swirled clay:
You’ll use the leftover swirled clay later for the unicorn’s mane and other details.
Step 2: Sculpt the Head
- Shape the head:
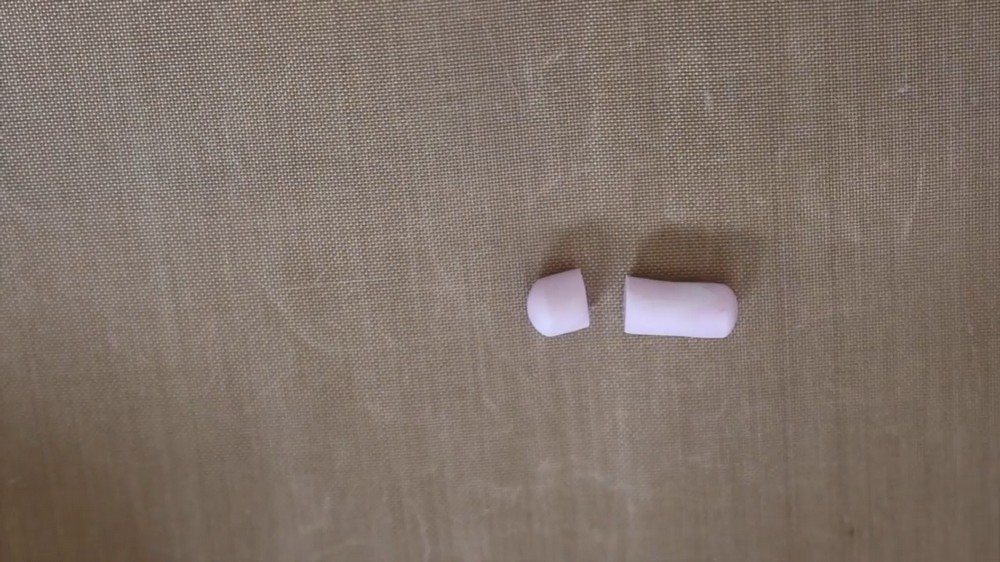
Roll a small ball from the swirled clay to form the head. Flatten it slightly at an angle by pressing gently on one end. - Create a mound shape:
Use your fingers to pinch and sculpt the clay into a soft mound that will serve as the unicorn’s head.
Step 3: Form the Body
- Create the main body:
Take a larger portion of the swirled clay and roll it into a fat cylinder. - Cut and connect:
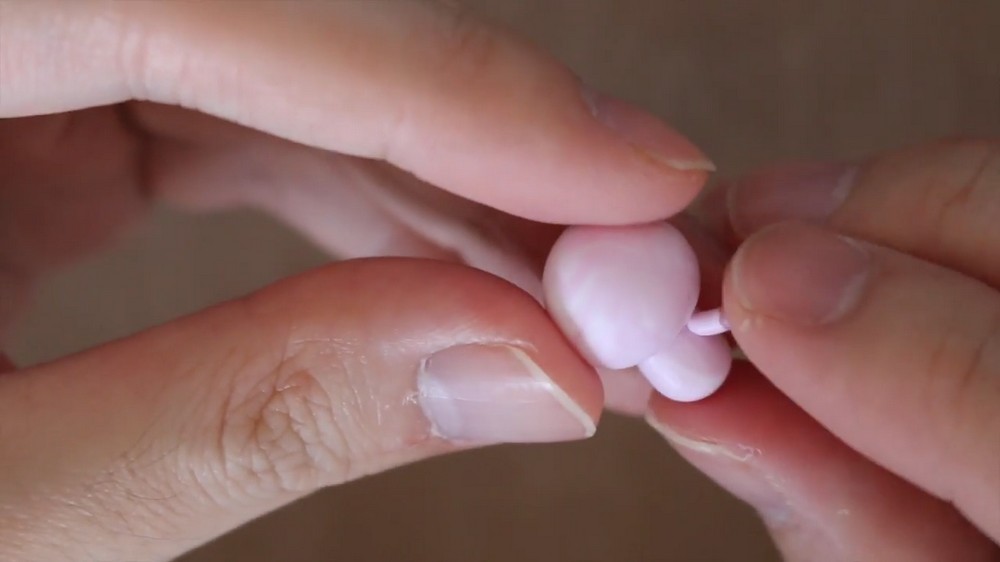
Use your craft knife to trim and clean up one side of the cylinder. Attach this cut end to the bottom of the head, carefully blending the edges together to ensure the head and body connect smoothly.
Step 4: Craft the Arms and Legs
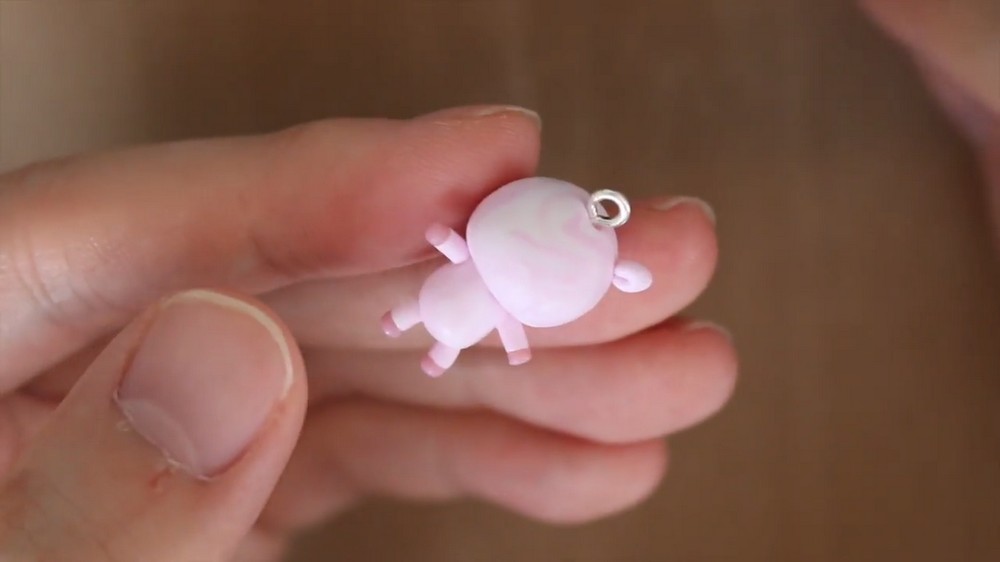
- Shape the arms and legs:
- Roll a thin "snake" of white or swirled clay for each limb.
- Cut the ends cleanly using your craft knife.
- Add hooves:
- Shape small balls of darker clay (or use a contrasting color like black or purple) to create hooves.
- Attach these small clay balls to the ends of each snake.
- Attach limbs to the body:
- Cut the arms and legs at a slight angle so they blend easily onto the body.
- Position the arms to lean outward slightly, while the legs rest at the base of the body.
Step 5: Add the Tail
- Choose tail colors:
Select as many colors as you like for your unicorn tail. Popular choices include pastel blue, pink, yellow, and purple. - Create the tail:
- Roll out thin snakes of each color.
- Combine the snakes together and twist them gently into a spiraled rope.
- Attach the tail:
Cut off one end of the twisted rope to clean it up, then swirl the opposite end into an "S" shape or a curve. Attach this to the back of the body as the unicorn’s tail.
Step 6: Add the Horn
- Shape the horn:
Take a small piece of white clay and roll it into a cone or point shape. - Attach the horn:
Place the pointed horn on the top of the unicorn’s head, blending the base so it securely attaches. - Decorate with leftover swirled clay:
Using your leftover swirled clay (from Step 1), roll out small sections and wrap them around the horn in a spiraled fashion to mimic hair movement.
Step 7: Create the Mane (Hair)
- Use swirled clay:
Use pieces of leftover swirled clay or other colorful clay to make the mane. - Shape the strands:
Roll thin snakes or spirals. Cut them to size and swirl them along the back of the head and neck to create a flowing mane effect.
Step 8: Sculpt the Face
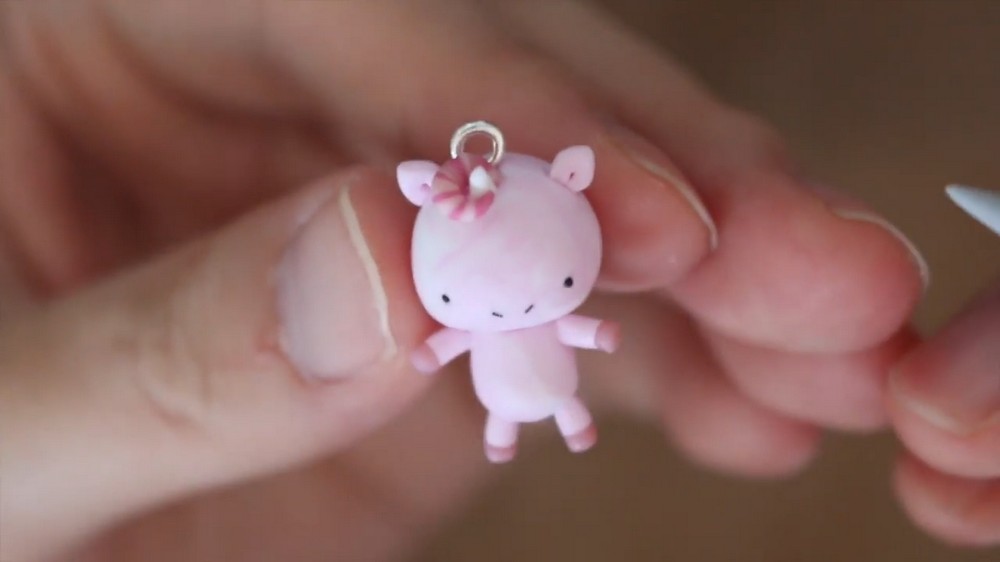
- Add eyes:
- Using a needle tool or toothpick, make small indents where the eyes will go.
- Roll tiny balls of black clay and place them inside the indents.
- Add nostrils:
- Make two small slits in the front of the face (above the mouth area).
- Position the nostrils in a slight "V" shape to give the unicorn a cheerful expression.
Step 9: Insert the Eye Pin
- Insert the eye pin into the head:
Push the eye pin gently into the top center of the unicorn’s head. Make sure it is firm and secure.
Step 10: Bake Your Unicorn
- Prepare for baking:
Place your finished unicorn charm on a baking tray lined with parchment paper. - Bake the clay:
Follow the instructions for curing your specific brand of polymer clay. Typically, bake at 110–130°C (230–275°F) for 15–30 minutes, depending on the thickness of your creation. - Cool the charm:
Allow the unicorn to cool completely before handling or using it.
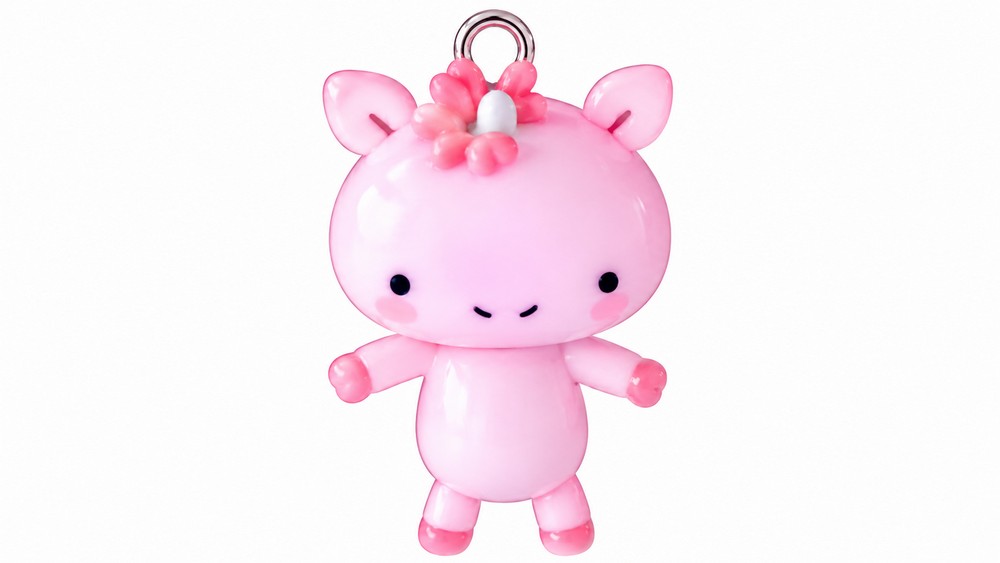
Final Touches and Tips
Tips for Beginners:
- Take your time blending pieces together to ensure a smooth finish. Using a toothpick can help refine smaller details.
- If your clay feels dry or crumbly, warm it between your hands before shaping.
- Experiment with different tail and mane colors to make unique unicorns that match your style.