Shape a lovely DIY Polymer Clay Eeyore Tsum Tsum lip balm cover with sweet character details, simple clay ideas, and a playful finish for Disney fans.
Little character details can turn an ordinary lip balm container into something worth keeping on a desk. DIY Polymer Clay Eeyore Tsum Tsum gives an everyday item a cheerful Disney look, using the familiar donkey from Winnie the Pooh as its main theme. This project is based on an Eeyore Tsum Tsum style EOS lip balm cover rather than a plain clay statue.
Playful Eeyore Tsum Tsum Clay Decoration Tutorial
The rounded form suits the small character's sleepy expression. Long ears, a soft-looking face, and gentle features help Eeyore remain easy to recognize without needing a large model. Purple and blue tones are often linked with this character, while small contrasting details can help the face stand out. The best part of the idea is how a useful object becomes a sweet little decoration.
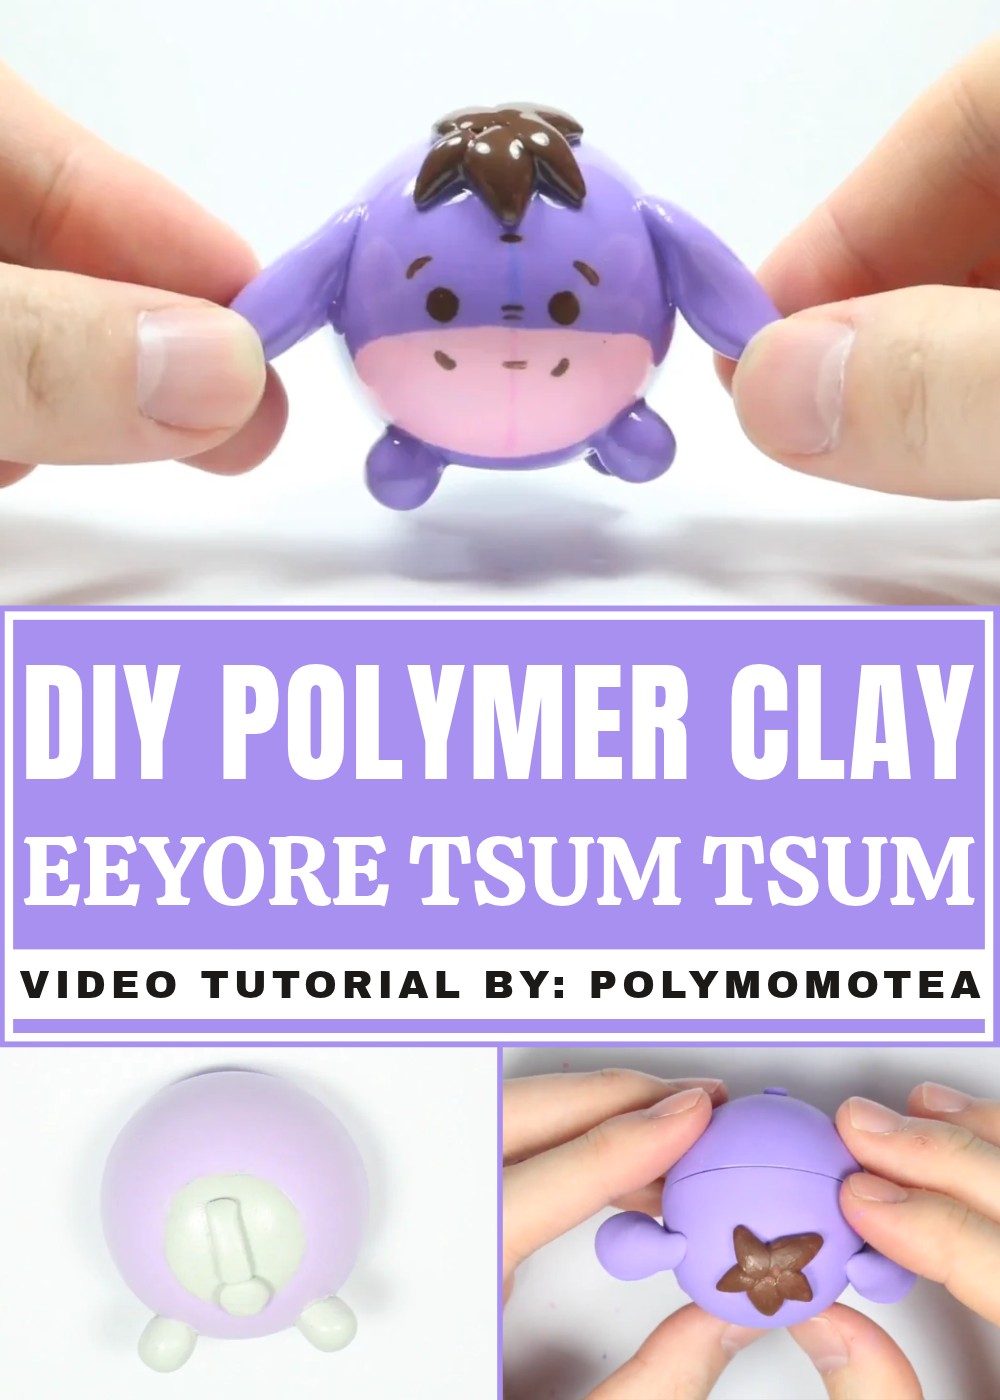
This miniature style works well for people who like Disney characters but prefer small items instead of large figures. It can sit on a dressing table, stay with a personal collection, or become a thoughtful present for a friend who loves Eeyore. You can also use the idea as inspiration for matching character-themed accessories.
Neat shaping matters more than complicated decoration here. Keeping the ears balanced and leaving the face clear gives the finished cover a friendly appearance. It is a playful way to give a simple lip balm container its own personality.
About the Designer
Known for playful miniature art, PolymomoTea is the YouTube channel of Alex Lee. His polymer clay projects often turn familiar characters into tiny figures with expressive little faces and careful details. Fans of cute collectibles can find plenty of inspiration in his videos, especially when they prefer small, colorful designs.
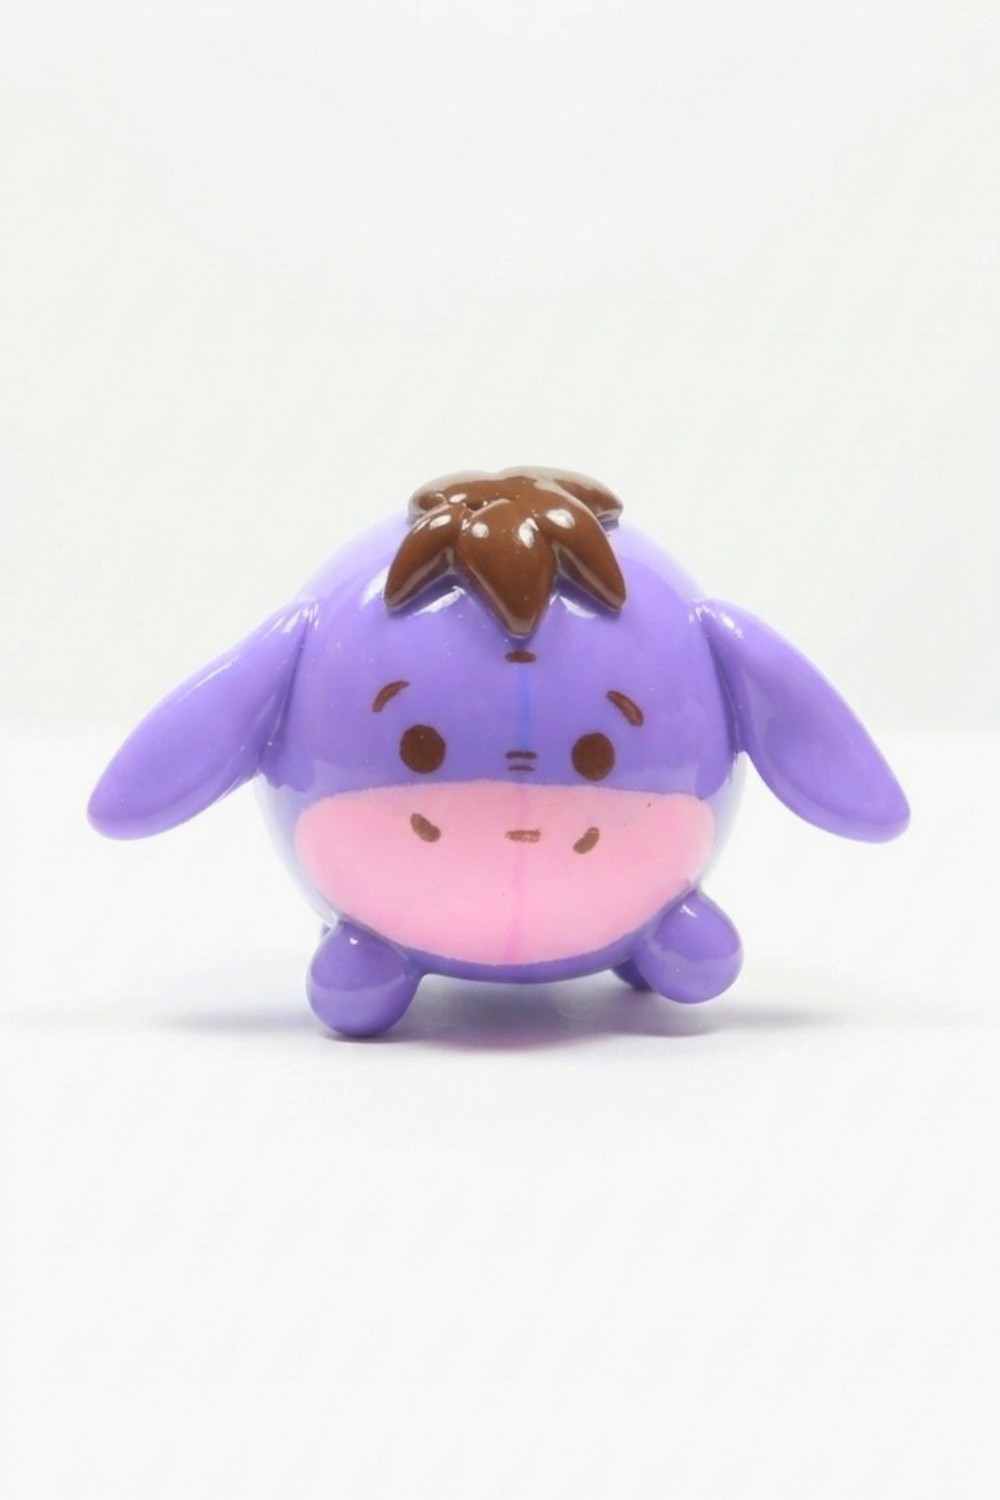
DIY Eeyore Tsum Tsum EOS Lip Balm Case Upcycling
Do you love adorable Disney Tsum Tsums and want to personalize a cute item for your collection or as a gift? With this easy, step-by-step tutorial, you’ll learn how to upcycle your empty EOS lip balm container into everyone’s favorite gloomy but lovable donkey: Eeyore! Using two-part epoxy clay as your sculpting base and a few simple painting techniques, you’ll create an irresistibly chibi version of Eeyore, complete with signature floppy ears, stitched snout, tufted hair, and a pink bow.
Upcycling is a wonderful way to give new life to everyday items. EOS containers are perfectly shaped for Tsum Tsum-inspired projects thanks to their symmetry and roundness. This project is beginner-friendly and accessible—even if it’s your first time sculpting or painting. Ready to turn your EOS into a treasure? Let’s get started.
Essential Materials & Tools
Before diving into your project, gather all the necessary supplies. Having everything ready will make the whole process smooth and fun.
Materials
- Empty EOS lip balm case (washed and dried)
- Two-part epoxy clay (such as Apoxie Sculpt, Milliput, or another brand)
- Acrylic paints in the following colors:
- Purple (for Eeyore’s body)
- Brown (for hair tufts and stitched details)
- Pink (for inside the ears and bow)
- Dark purple & dark pink (for snout and stitches)
- Black (for eyes, nostrils, eyebrows)
- Polymer clay (pink, for the bow)
- Super glue (to attach the bow)
- Gloss glaze or UV resin (for a shiny and protective finish)
- Water & paper towels (for brush cleaning)
Tools
- Clay blade or craft knife (for cutting and shaping clay)
- Dotting tool or toothpick (for painting small facial details)
- Paintbrushes (flat for coverage, fine-tip for detail)
- Sculpting tools (optional, for blending clay; fingers work too)
- Disposable gloves (recommended when handling epoxy clay)
- Oven (for baking polymer clay bow)
- Palette or plate (for paint mixing)
- Tweezers (optional, for handling small pieces)
- Sandpaper/emery board (optional, for smoothing dry epoxy)
Step-by-Step Instructions
Now, let's create your Eeyore Tsum Tsum step by step. Take your time with each stage for the best results.
Step 1: Prepare the EOS Base
Clean your EOS container thoroughly. Make sure it’s dry and all traces of lip balm are gone. If possible, separate the top and bottom halves for easier sculpting and painting.
Step 2: Build the Eeyore Shape with Epoxy Clay
A. Fill and Smooth the EOS Case
- Mix equal parts of the two-part epoxy clay until you have a uniform color and texture.
- Begin filling the flat base of the EOS container. Smooth out the clay so the bottom becomes rounded—just like a real Tsum Tsum. This will make your “donkey” form look extra cute and plush.
- Fill and cover the rest of the EOS shell, scraping off any excess clay so you have nice, seamless curves. Use your sculpting tool or lightly dampened finger to achieve a smooth effect.
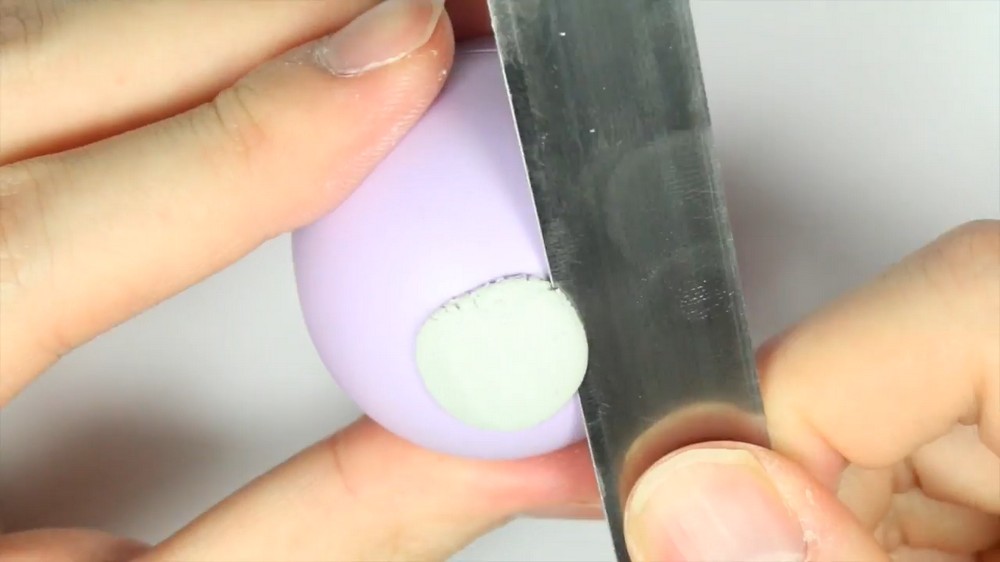
B. Sculpt Eeyore’s Feet
- Take a small ball of epoxy clay, roll it into a short, thick cylinder shape, then cut in half.
- Attach these halves to the front-bottom of the EOS, blending where the feet meet the EOS base. Smooth the clay so the feet look naturally part of the body, supporting your “Tsum Tsum.”
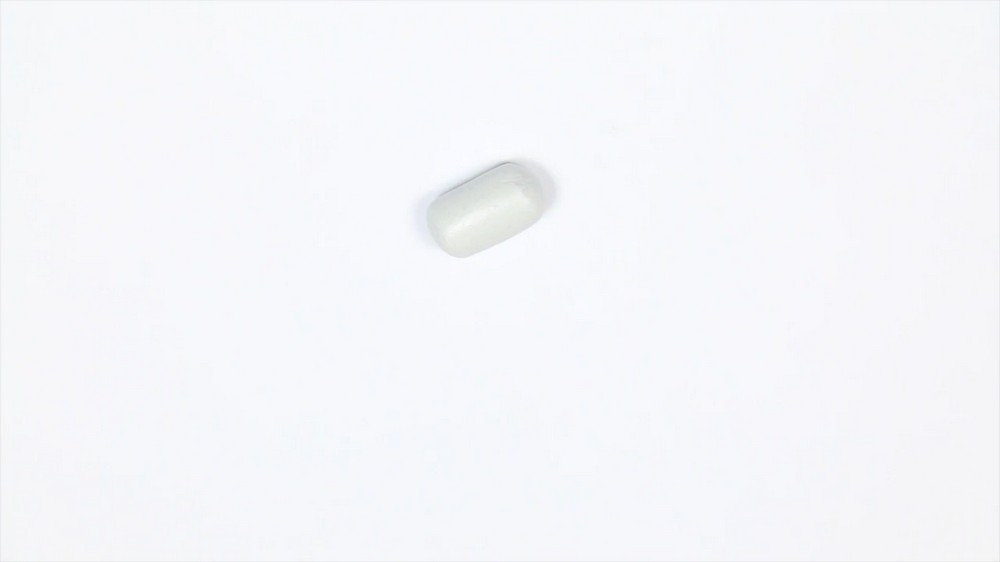
C. Make the Floppy Ears
- Flatten two pieces of epoxy clay into teardrop shapes—slightly longer and not too thick.
- Pinch each end to create a soft point.
- Attach one ear to each side of the EOS case (top half), blending the base into the container. The more seamless the join, the more “cute plush” your charm will appear.
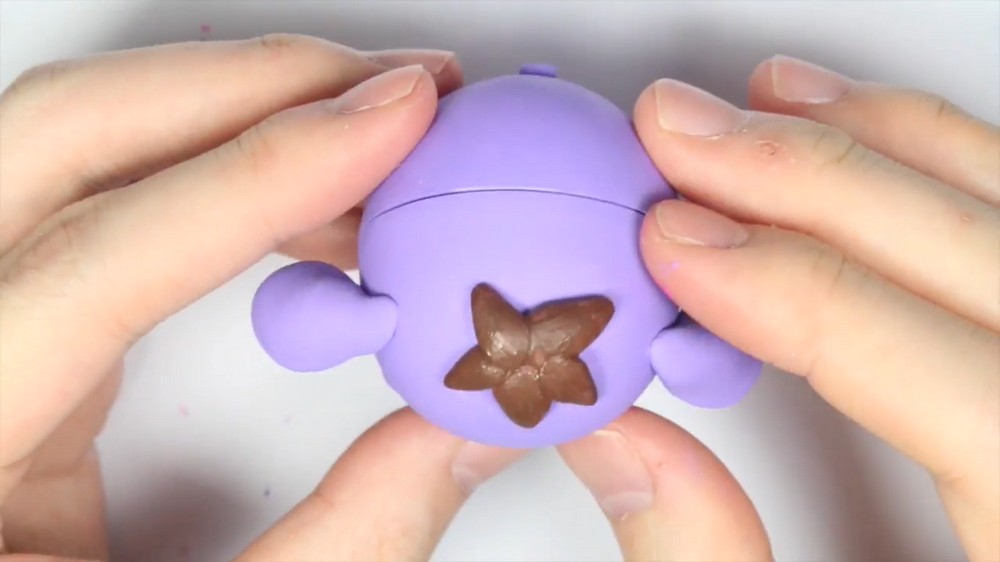
D. Add Hair Tufts
- Roll five tiny teardrop shapes of epoxy clay. These will become Eeyore’s signature forehead tufts.
- Arrange these tufts in a loose star or flower pattern at the top, between the ears.
- Blend the bases well for a plush, cartoon appearance and durability.
E. Sculpt His Tail
- Roll a slim, short rectangle of epoxy clay for the tail base.
- Create a small circle, flatten it, and attach it to the end of your rectangle—this forms Eeyore’s tail tuft.
- Affix this tail to the lower back of the EOS, blending both parts into the main shape.
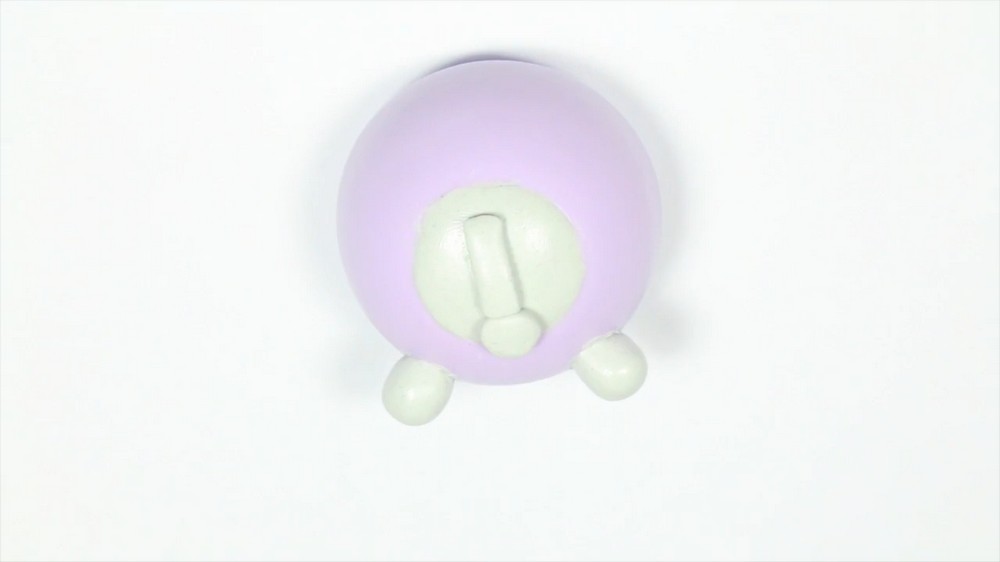
F. Let the Epoxy Dry
- Allow your sculpted pieces to cure fully. Most epoxy clays need 24 hours, but follow your brand’s instructions.
Step 3: Paint Your Eeyore
Now that your charm is sculpted, it's time to bring Eeyore to life with color!
A. Paint the Body
- Use your flat brush and purple acrylic paint to coat the entire EOS case—top, bottom, ears, feet, and tail. Thin, even layers are best to avoid streaks.
- Allow each layer to dry before adding the next. Usually 2–3 coats are needed for opaque coverage.
B. Add Hair and Tail Details
- Swap to a smaller brush. Paint the hair tufts and circle part of the tail brown for Eeyore’s signature look.
C. Paint the Ears & Snout
- Use pink paint for the inside of the ears.
- Paint an oval shape on the lower half of your EOS’s “face” for the snout. This should be a lighter shade or pale purple for contrast.
D. Paint Snout Stitches and Seams
- Paint a vertical line in dark purple down the snout’s center, just like Eeyore’s stitched “repair.”
- Add a dark pink horizontal line below, and mark any seams or patchwork on his face and body with brown paint to mimic classic Tsum Tsum stitches.
E. Paint the Eyes and Details
- Using a dotting tool or toothpick and black paint, dot two expressive eyes above the snout.
- Paint two small nostrils on the snout.
- Add happy arched eyebrows, also in black.
- Let all paint dry before moving on.
Step 4: Make and Attach the Pink Bow
A. Make a Bow from Polymer Clay
- Flatten a piece of pink polymer clay into a small rectangle.
- Pinch the center to make a classic bow shape, using your fingers or a sculpting tool.
- Bake the bow according to polymer clay product instructions—usually at 265–275°F (130°C) for 15–30 minutes. Let cool.
B. Glue the Bow
- Using super glue, attach the bow to the tuft of Eeyore’s tail.
Step 5: Glaze and Finish
Once all paint and glue is dry, protect and add shine:
- Apply your clay-safe gloss glaze or UV resin over the charm, following product instructions.
- Allow to dry/cure completely before handling.
Tips for Success
- Smooth epoxy while wet for easier blending; lightly dampen fingers or tools.
- Paint in thin layers—don’t rush coverage, as streaks and clumps detract from your design.
- Glazing is essential for durability and a polished, professional look.
- Add your own touch: Glitter, pastel finishes, or alternate color schemes for a unique style.
Conclusion
You’ve now created your very own Eeyore Tsum Tsum EOS charm! From sculpting the rounded body and iconic floppy ears to painting detailed stitches and finishing with a pastel bow, you’ve transformed ordinary lip balm packaging into a one-of-a-kind, handmade collectible. This method can be adapted for other Tsum Tsum characters—just change the colors, ears, and accessories for a whole Disney collection.