Give a familiar cartoon favorite a sleepy new look with DIY Sleeping Donald using Polymer Clay for a sweet little figure that feels lovely on any shelf.
Quiet afternoons feel a little nicer when a familiar cartoon face is nearby. DIY Sleeping Donald turns that peaceful mood into a small figure with a resting pose and a friendly expression. Instead of the usual busy Donald Duck, this version focuses on his calm side, which gives the piece a different kind of charm.
Charming DIY Sleeping Donald Figure With Polymer Clay
Behind the Cute Creations
PolymomoTea is the creative home of Alex Lee, who shares playful miniature ideas using Polymer Clay and resin. His work often centers on small, recognizable shapes and cute expressions. That friendly approach makes his channel an appealing place for people who love character figures, tiny decorations, and simple hands-on hobbies.
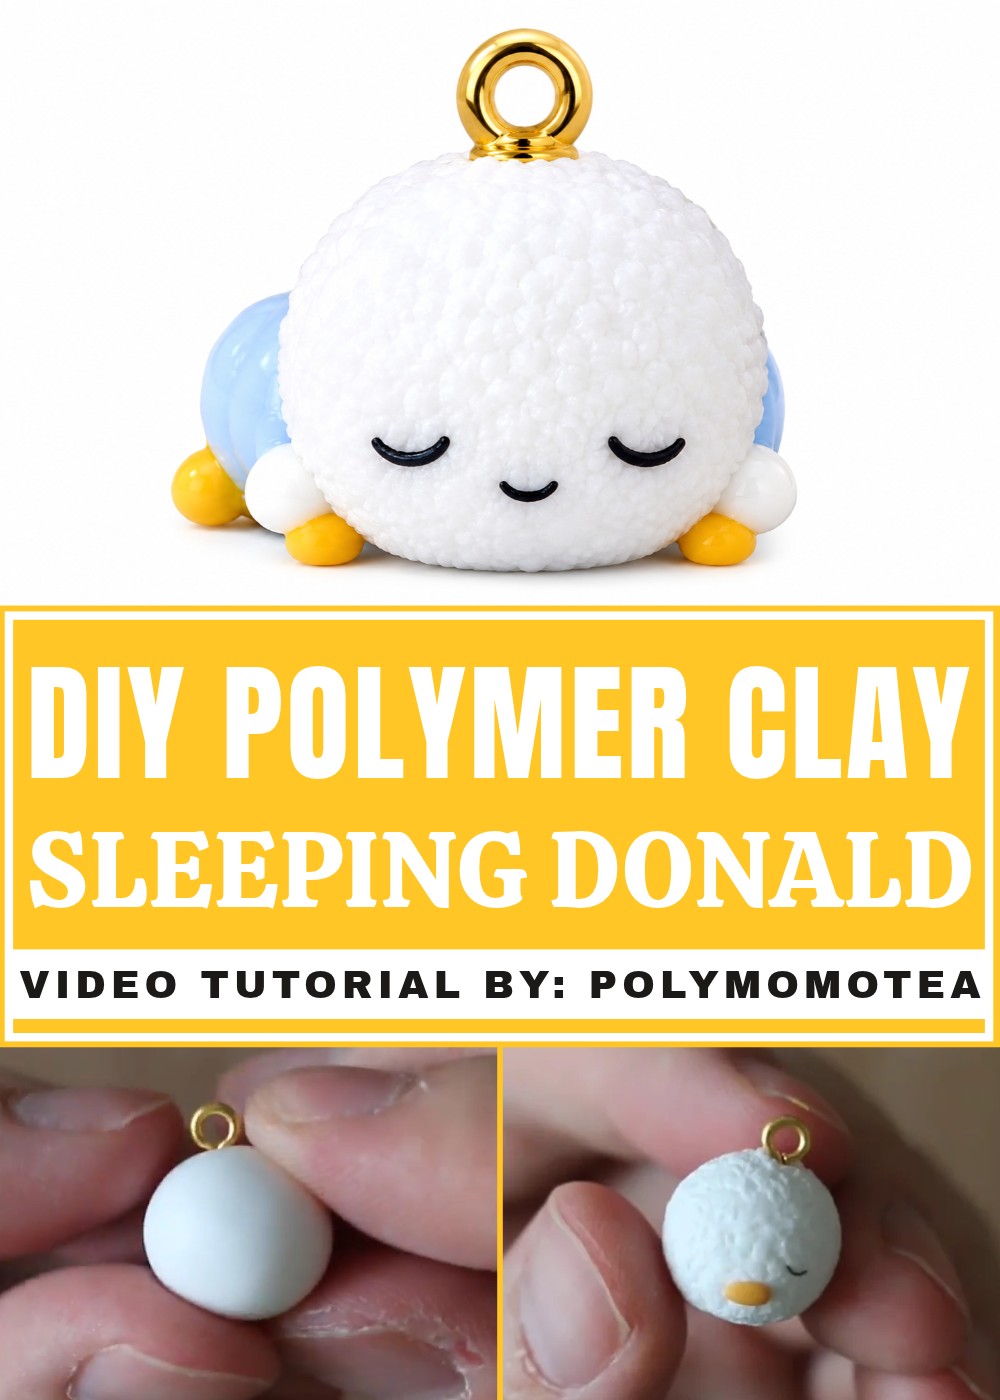
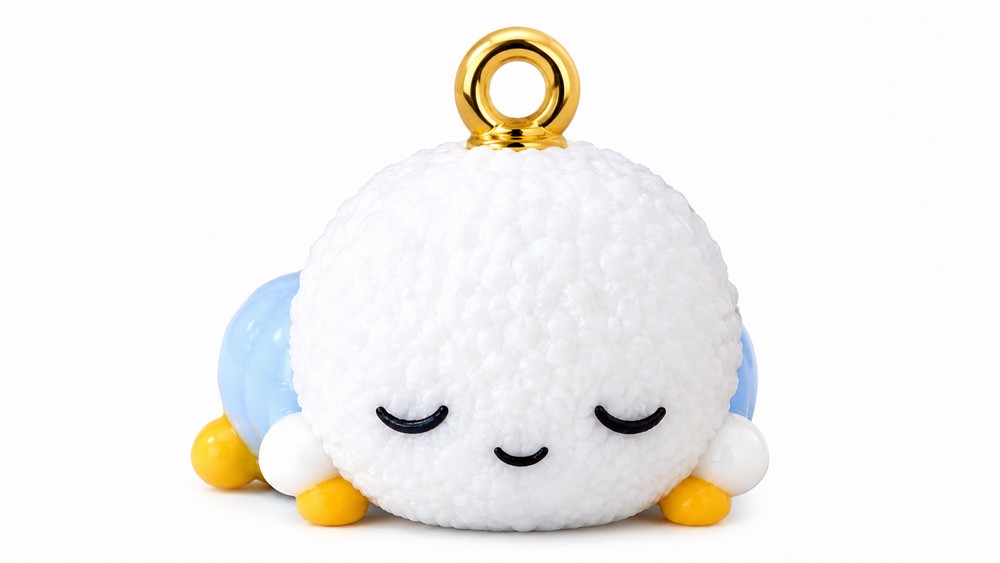
The fun is in the simple details. His rounded shape helps the figure look soft, while the closed eyes suggest a comfortable nap. A recognizable beak and the character's familiar colors keep the design easy to identify. Polymer Clay works well for this project because small sections can be shaped separately and carefully joined before the piece is finished.
Begin with the main body and head, then work on the features that give Donald his personality. Keep the face smooth and check the position of each part before moving on. Small adjustments can change the expression, so there is no need to rush. Follow the clay package directions when it is time to harden the finished figure.
This little sleeping character would sit nicely beside a stack of books or on a bedroom shelf. It can also be a thoughtful gift for someone who loves classic cartoons. Switching the colors and adding a small ribbon can turn the idea into Daisy Duck. With its relaxed look and playful idea, the finished piece has plenty of personality without needing a large display.
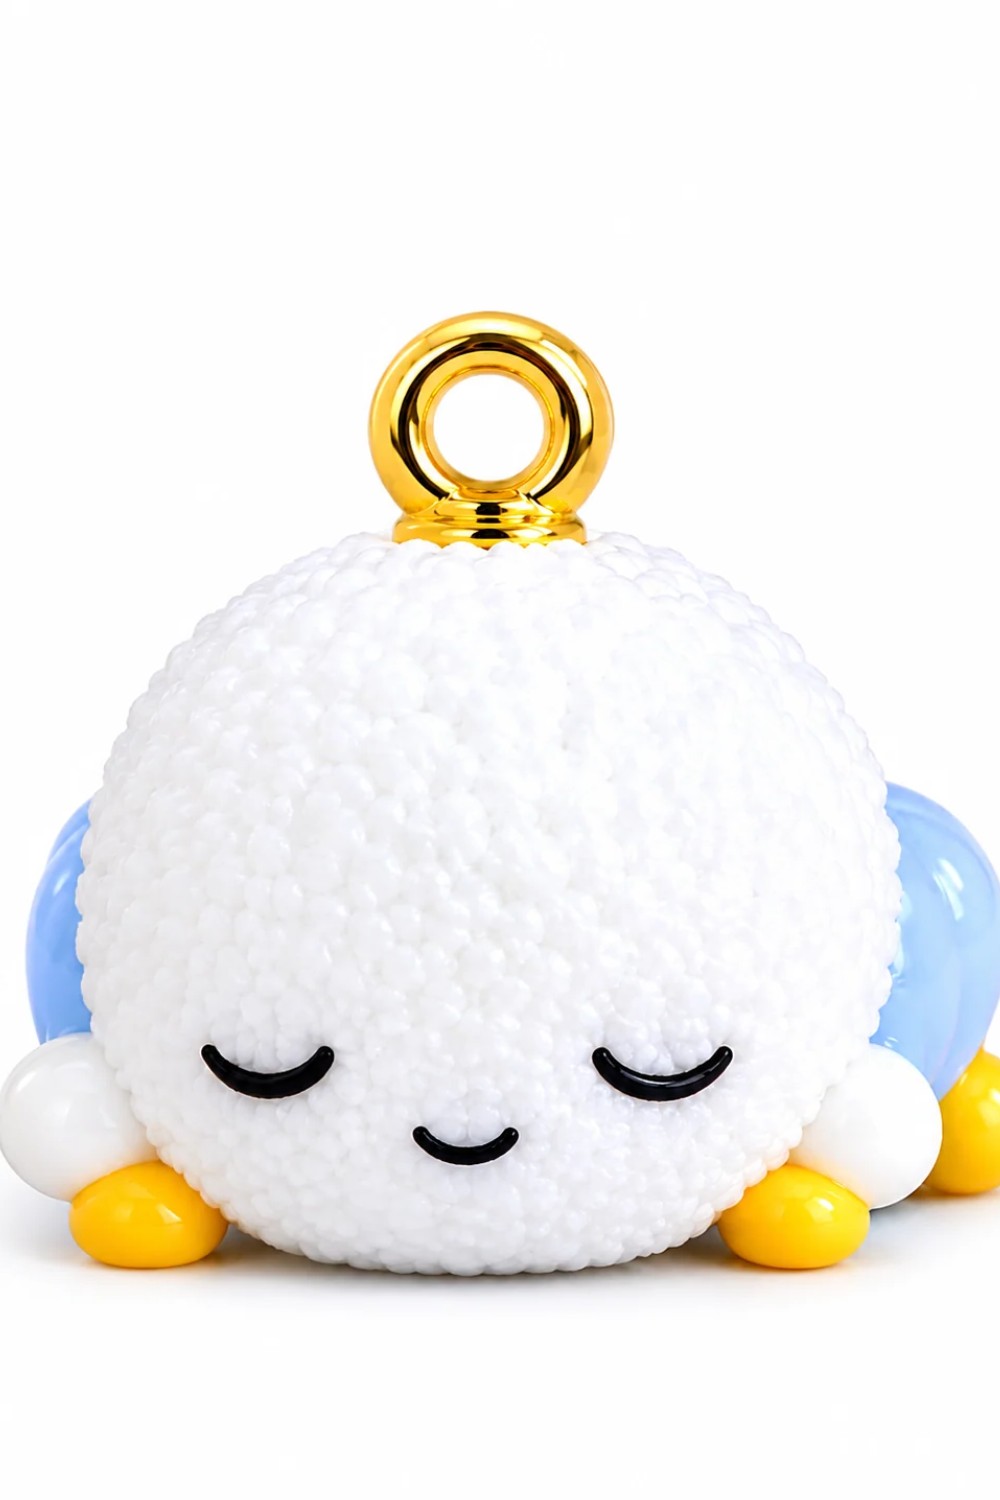
How to Make a Super Cute Sleeping Donald Charm
If you love crafting and have a soft spot for Disney characters, this tutorial is perfect for you! Today, we'll learn how to make an adorable Sleeping Donald charm using polymer clay. This step-by-step guide is ideal for beginners and will help you create your own charming little figurine.
Materials & Tools
Here’s a list of everything you’ll need for this project:
Materials:
- Polymer Clay:
- White
- Light Blue
- Yellow
- Black
- Silver (optional; use black if you don’t have it)
- Eye Pin (for turning the charm into a pendant/keychain)
Tools:
- A Craft Knife or Blade
- A Needle Tool or Toothpick (for texturing)
- A Rolling Pin (optional; for shaping clay)
- Clean Work Surface
- Baking Tray and Oven (for curing the polymer clay)
Step-by-Step Instructions
Step 1: Start with Donald's Head
- Prepare the white clay:
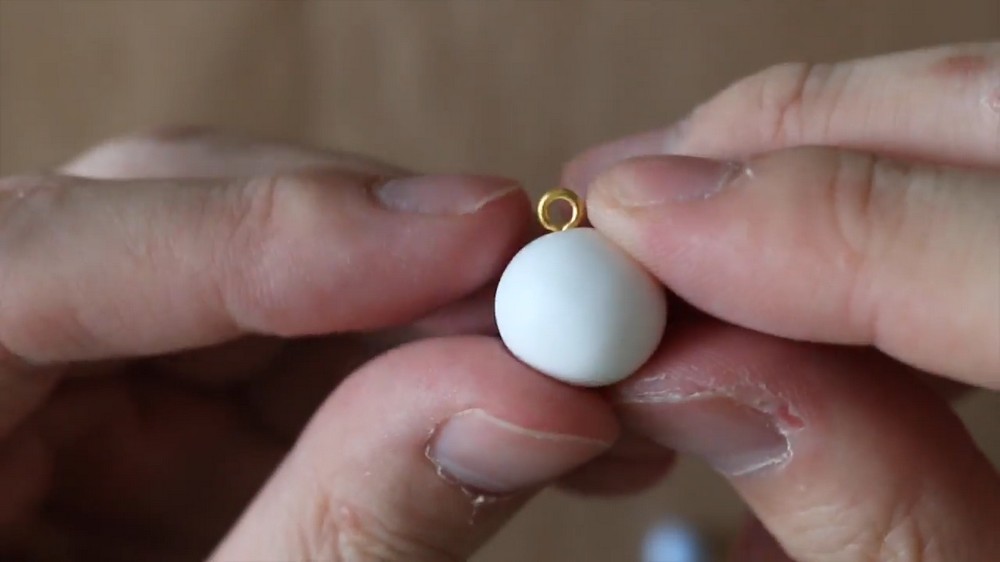
Take a small ball of white clay, roughly the size you want Donald’s head to be. Roll it between your palms to create a smooth, round ball. - Insert the eye pin:
Carefully insert an eye pin into the center of the white ball. This will serve as the anchor point for your charm. Ensure the eye pin is secure but doesn’t poke through the other side.
Step 2: Create Donald’s Body
- Shape the light blue clay:
Take a piece of light blue clay and roll it into a short, fat cylinder. This will be Donald’s body. - Trim the edges:
Use a craft knife to cut off one end of the cylinder to create a clean surface. Attach this end to the bottom of Donald’s head so the body and head are connected. - Check alignment:
Ensure the head and body are perpendicular to each other for a balanced look.
Step 3: Texture Donald's Head
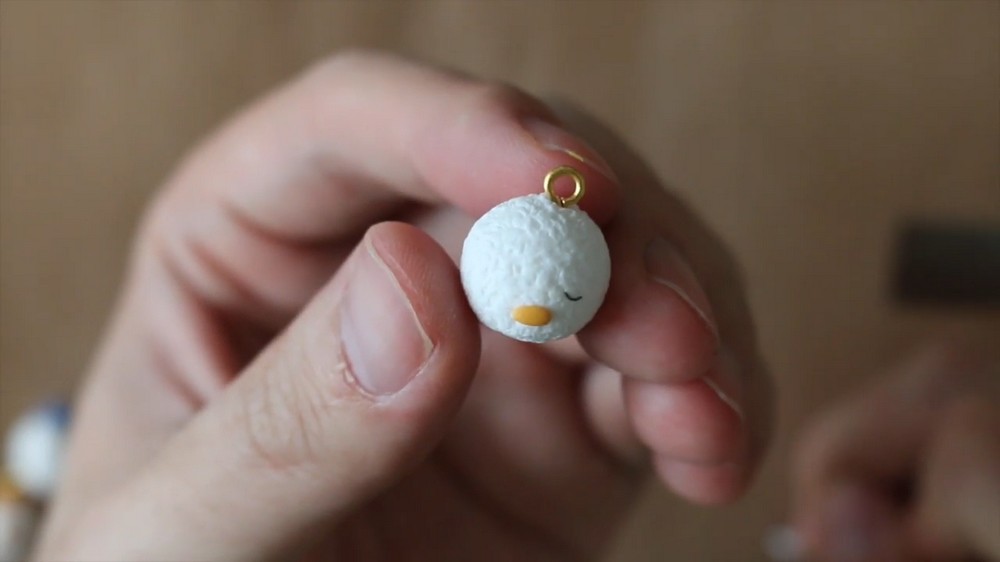
- Add texture to the head:
Using a needle tool or toothpick, create textures on the surface of the head. Make small etchings and circular motions to give it a soft, fluffy appearance — similar to a cake texture. - Smooth it out:
Once texturing is complete, gently pat the surface with your fingers to smooth out any sharp edges or “crumbs.” This will give the head a polished yet fuzzy look.
Step 4: Add Donald’s Arms and Feet
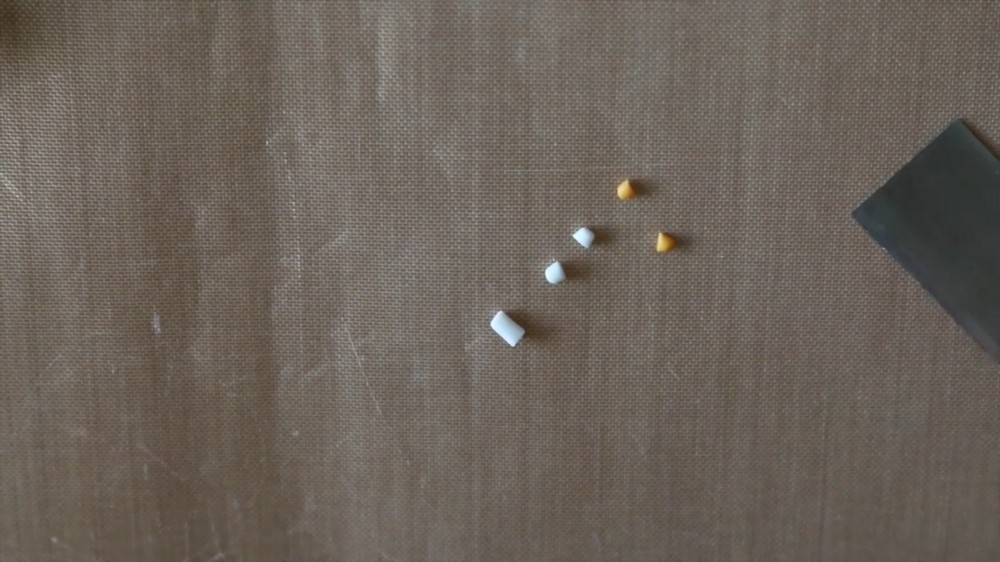
- Roll and cut the clay for arms and feet:
- Arms: Use white clay to create two short, fat cylinders for Donald's arms.
- Feet: Roll yellow clay into two slightly larger cylinders for Donald’s feet.
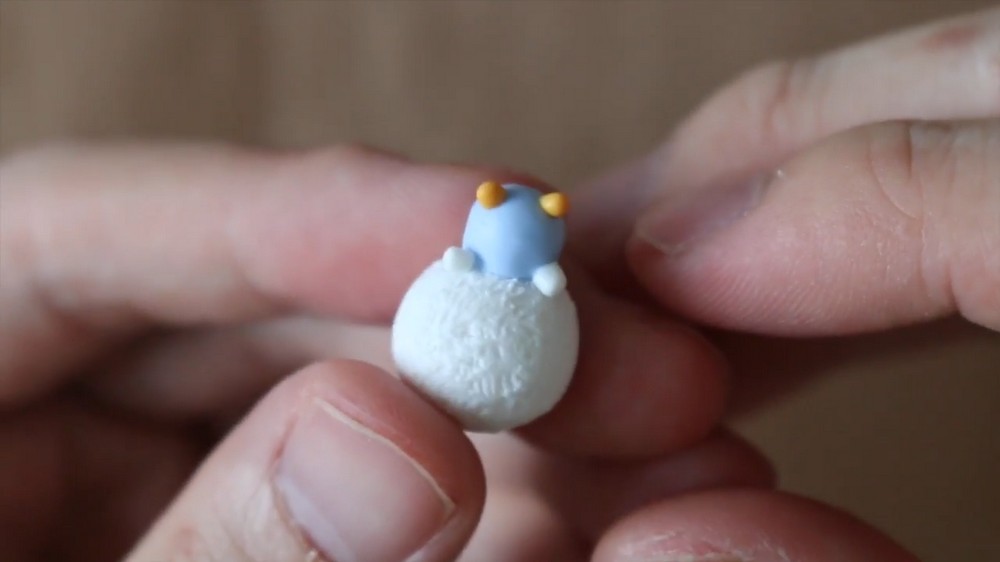
- Attach the arms and feet:
- Attach the arms to the sides of the light blue body, near the top.
- Attach the feet at the bottom of the body, with the yellow pieces pointing outward.
- Positioning:
Arrange the limbs so it looks like Donald is lying down, with his arms tucked close to the body and his feet pointing outward.
Step 5: Add Donald's Tail
- Make the tail:
Roll a small ball of white clay (slightly larger than the arms) for Donald’s tail. - Attach the tail:
Secure the tail to the back of Donald’s body, near the base, where the feet are attached.
Step 6: Create Donald’s Face
- Shape the beak (mouth):
- Roll a small piece of yellow clay into a tiny, smooth cylinder.
- Flatten it slightly and shape it so that it resembles Donald’s rounded beak.
- Attach the beak to the head:
Place the yellow clay on the front of Donald’s head, positioning it where his mouth should be. - Add sleepy eyes:
- Roll out two thin “snakes” of black clay.
- Use these to create two small “U” shapes above the beak to represent Donald’s sleepy eyes.
- Draw happy eyebrows (optional):
- Roll out two thin “snakes” of silver clay.
- Arrange them into an “N” shape above the eyes to give Donald happy, sleepy eyebrows. If you don’t have silver clay, black works just fine!
Step 7: Bake and Cure Your Creation
- Prepare for baking:
Place your finished Sleeping Donald charm on a baking tray. Be sure to follow the manufacturer’s instructions for your polymer clay (usually bake at 110–130°C or 230–275°F). Use parchment paper on the tray to protect your work. - Bake the clay:
Carefully bake the charm for the recommended time (usually 15–30 minutes, depending on the clay’s thickness). - Cool the charm:
Once baking is complete, allow the charm to cool completely before handling or attaching it to a keychain or necklace.
Optional: Make a Sleeping Daisy to Match
If you'd like a companion for your Sleeping Donald, you can make Daisy by making a few small adjustments:
- Use the same steps above to make the body and head.
- Change the light blue clay on Donald’s body to a purple or pink clay for Daisy’s signature dress.
- Add a small pink bow to the top of the head for Daisy’s accessory.
Final Thoughts and Tips
Congratulations! You’ve just created your own Sleeping Donald charm. This adorable piece can be used as a keychain, pendant, or simply as a decoration for your desk or shelf.
Tips for Beginners:
- Always make sure your clay pieces are securely attached before baking. To reinforce connections, you can use a little bit of liquid polymer clay at the joints.
- Be gentle when texturing the head; too much pressure can distort the shape.
- If you're new to working with polymer clay, practice rolling and shaping small pieces before starting the project.