Shape a cute holiday character with DIY Polymer Clay Duck Snowman, a sweet little figure for Christmas tables, shelves, and festive gifts.
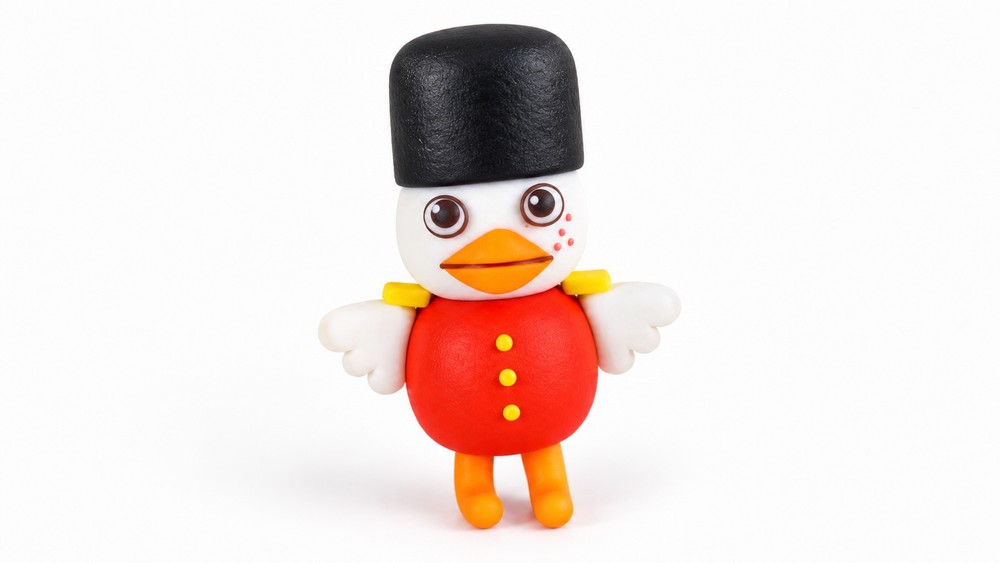
PolymomoTea shares a sweet idea that combines two familiar characters in one adorable little figure. This playful project has a cheerful style that suits holiday decorations and adds a fun touch to simple home displays. DIY Polymer Clay Duck Snowman features a cute duck with a snowman-inspired appearance. Its white rounded body, small orange beak, and tiny black eyes give it a sweet expression. The unusual combination of a duck and a snowman makes this miniature different from ordinary animal figures. Its soft shape and simple colors give it an innocent look that children may especially love.
Festive DIY Polymer Clay Duck Snowman For Home Decor
One lovely detail is the duck's round face, which stands out against its snowy white body. The orange beak provides a noticeable contrast, while the small wings give the figure a familiar bird-like appearance. A colorful scarf or little hat can also suit its cold-weather theme. Its short feet and rounded lower section help complete the character's playful design.
White polymer clay forms the main body, while orange and black pieces are used for the beak, feet, and eyes. Small clay balls can be shaped into rounded sections and carefully joined together. Gentle smoothing keeps the surface neat, while the tiny facial details give the character its expression.
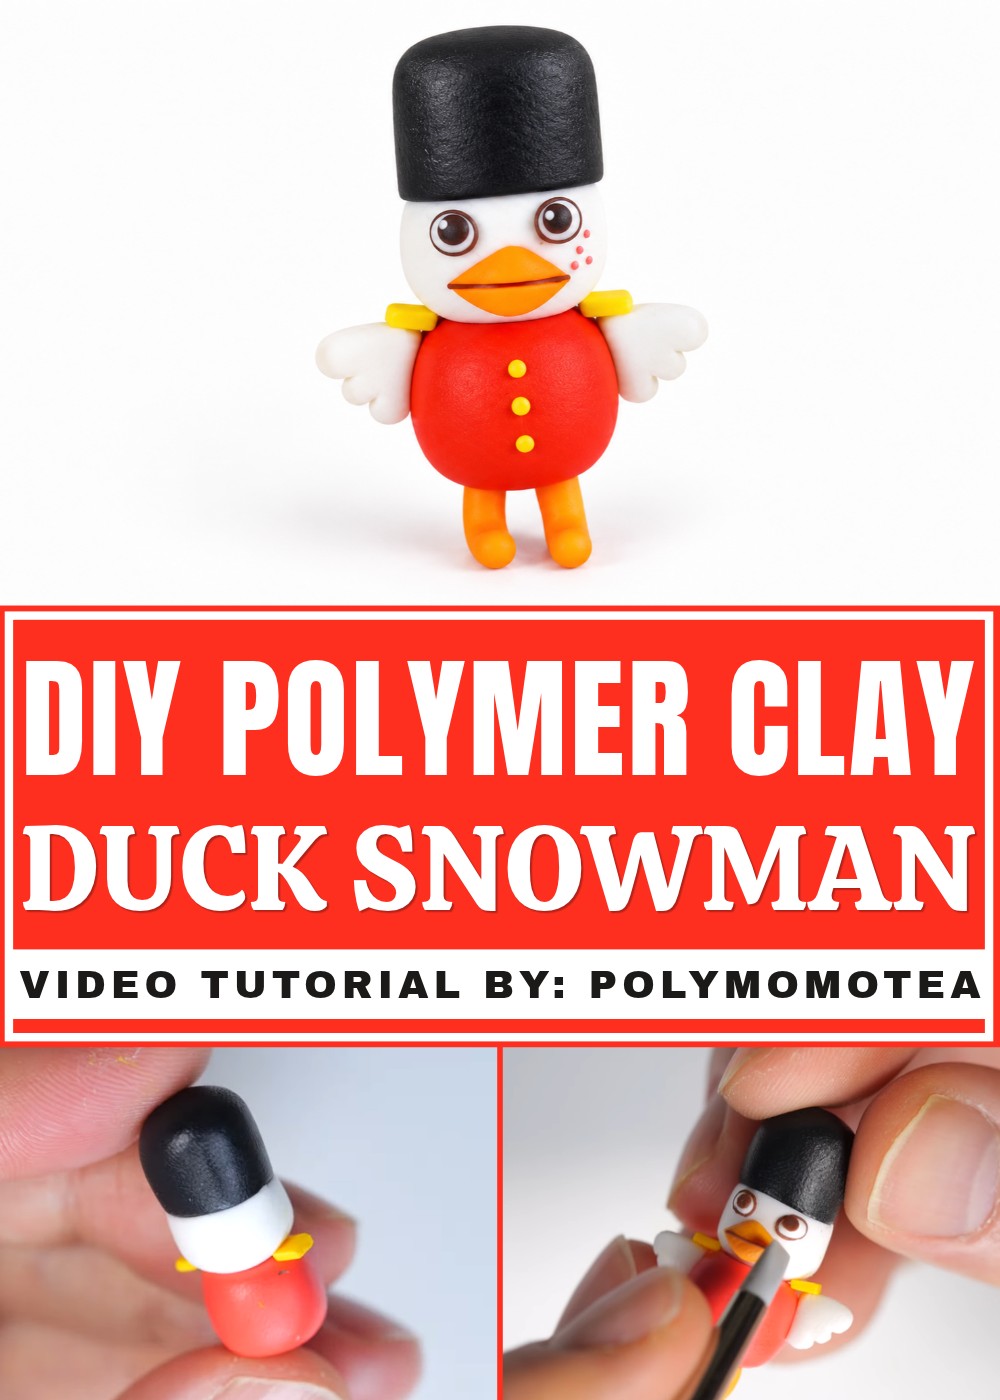
The finished piece has a happy appearance that works well with other holiday items. Its combination of animal features and snowy details gives it a unique personality, making it a lovely little decoration for the home.
Cute Little Duck Figurine with Clay
In this beginner-friendly tutorial, you will create Dorp Young, a small adorable duck character using simple polymer clay techniques. Follow the clear step-by-step instructions exactly as described to make your own little duck figurine. This project is fun and perfect if you enjoy sculpting cute animals!
Materials and Tools Needed
- White polymer clay
- Black polymer clay
- Red polymer clay
- Yellow polymer clay
- Orange polymer clay
- A small blade or cutting tool for clay
- Needle tool or similar sculpting tool (optional)
- Workspace mat or surface
Step-by-Step Instructions
1. Making the Head and Hat
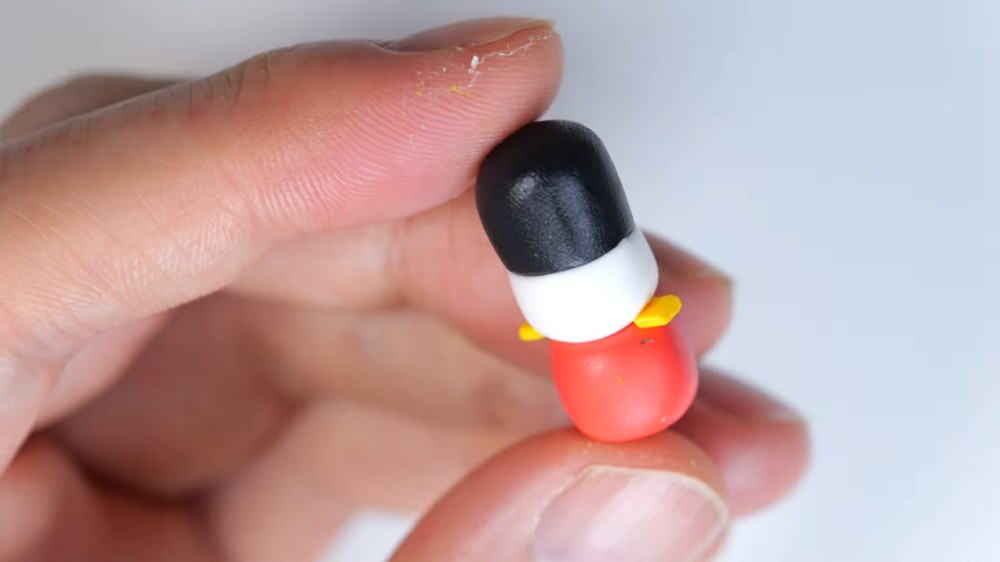
- Take some white clay and roll it into a fat cylinder shape.
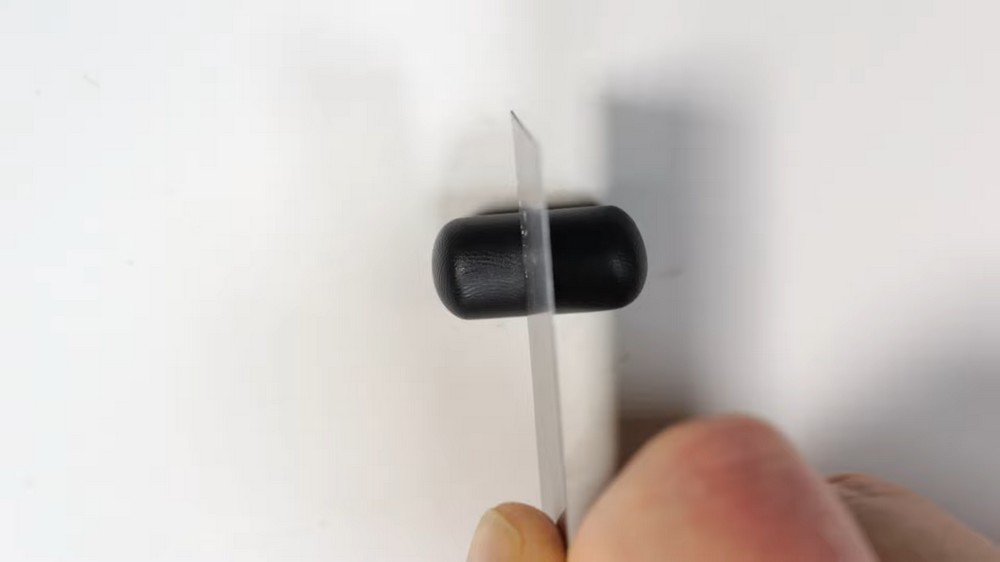
- Use your blade to cut off one end neatly.
- Roll the black clay into another cylinder that is the same width as the white clay cylinder.
- Cut off the end of the black cylinder just like the white one.
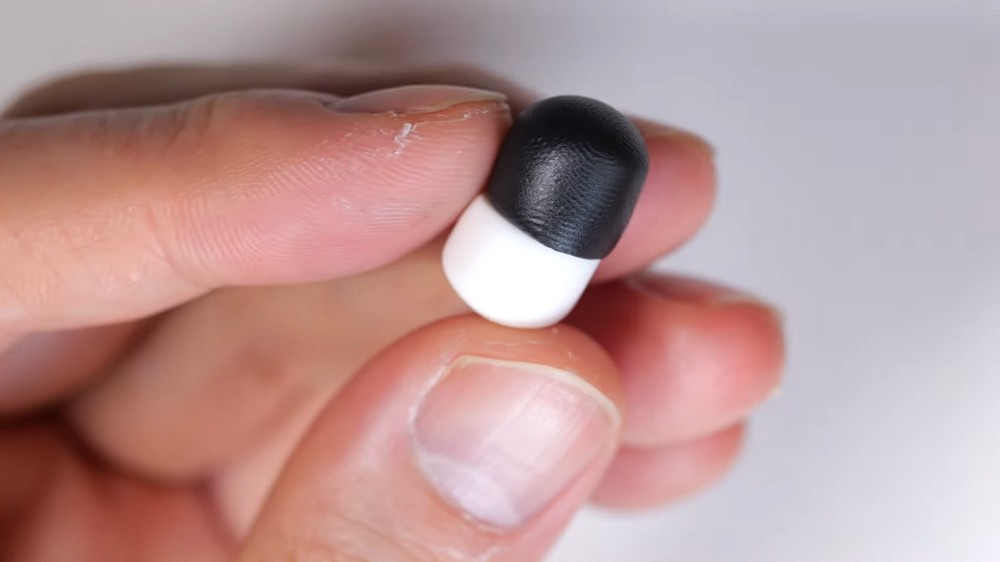
- Attach the black cylinder on top of the white one so the black part forms the hat, and the white forms the head.
2. Forming the Body
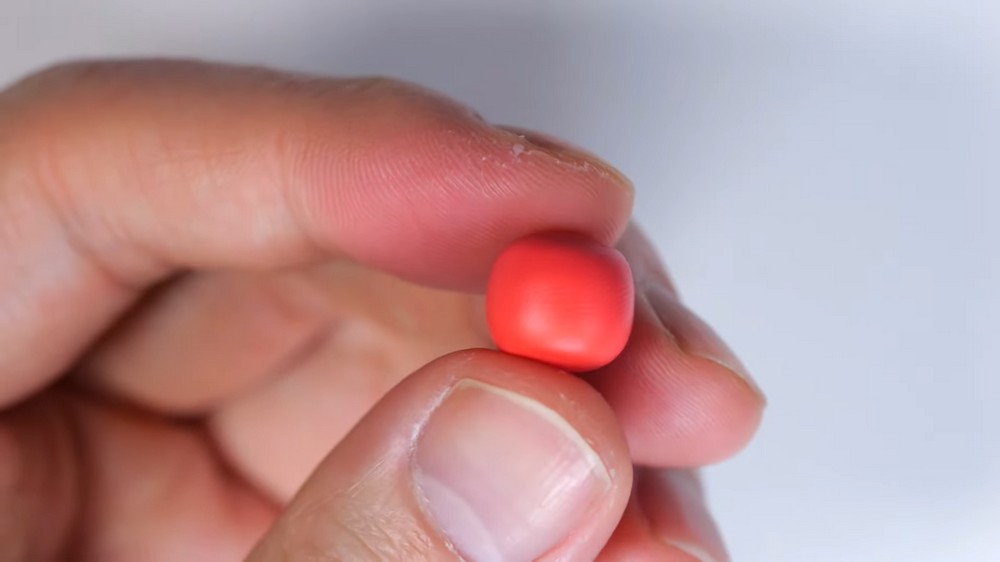
- Roll some red clay into a rounded cylinder shape.
- Attach this red body piece directly underneath the white head piece. This creates the red body of the duck.
3. Adding the Power Shoulders
- Using yellow clay, shape two small squares.
- Place these yellow squares between the red body and white head, on either side as decorative "power shoulders."
4. Creating the Wings
- Take more white clay and pinch it into a triangular shape to look like wings.
- Using the small blade, make two small indentations on the wing piece to add texture.
- Cut off the ends neatly with your blade.
- Attach these wings onto the sides of the red body.
5. Making the Legs
- Roll orange clay into thin cylinder shapes resembling legs.
- Bend the ends slightly to resemble ducks' feet; the shape looks like a small bent straw.
- Cut the ends straight with the blade and attach the legs at the bottom of the red body.
6. Shaping the Beak
- Pinch orange clay into a diamond shape, then gently smooth it out.
- Cut off one end of this diamond shape to clean the edge.
- Attach this beak piece to the front part of the white head.
7. Adding the Eyes
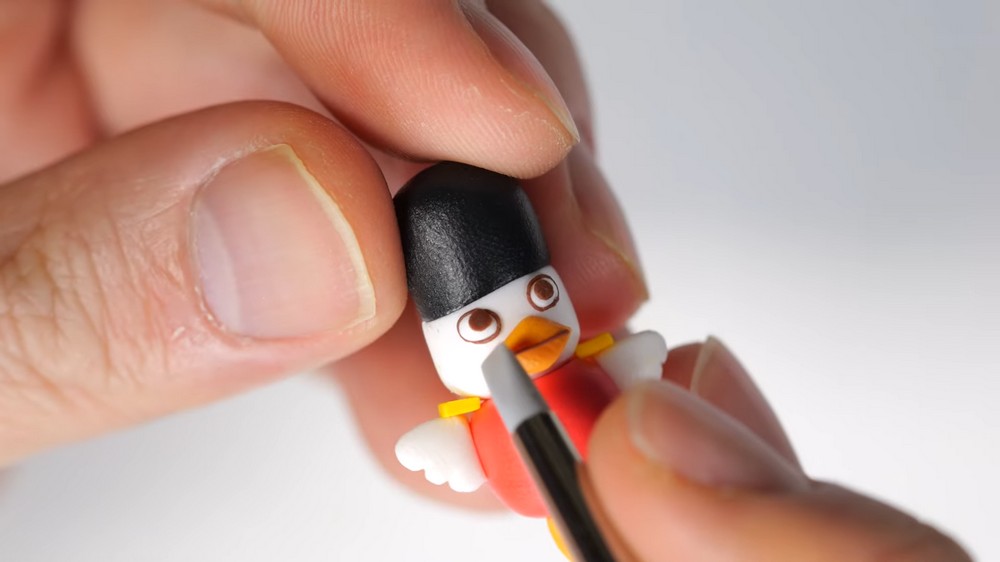
- Roll small amounts of white clay into two small oval shapes for the eyes.
- Roll thin "snake" shapes of brown clay and outline each white oval with these thin brown lines.
- Add two tiny black clay dots inside the white ovals to finish the eyes.
8. Detailing the Beak and Face
- Use the needle tool or a fine blade to draw a thin line on the beak to separate upper and lower parts visually.
- Place four small spots near the beak to look like freckles.
- Add two small yellow dots on the red body to serve as buttons.
Finishing Up
- Once you finish sculpting all parts, carefully check that everything is attached well.
- Bake according to your polymer clay package instructions to harden your little duck. This usually means baking at around 265°F (130°C) for 15–30 minutes. Check your clay brand for exact details.
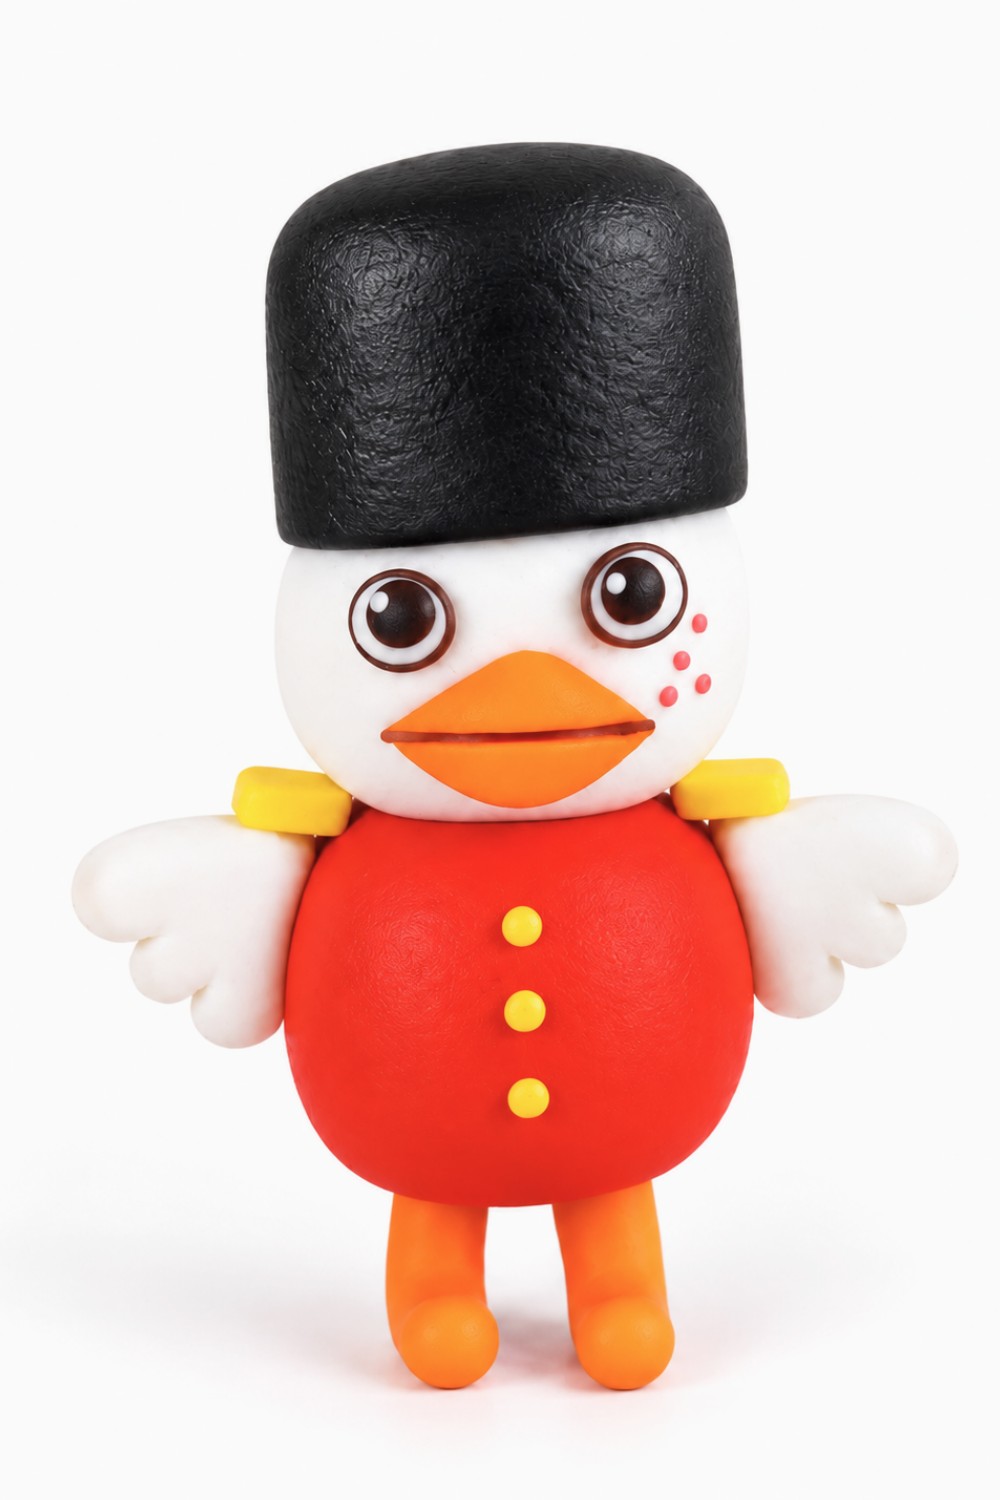
- After baking and cooling, your Dorp Young duck character is ready to display!
Summary
- Roll and shape different colored clay pieces into cylinders for the head, body, and hat.
- Add detailed parts like power shoulders, wings, legs, beak, and eyes carefully.
- Use indentations and cuts to add texture and character.
- Bake the finished piece to harden and preserve your cute duck sculpture.