Place a tiny jungle king on your shelf with DIY Polymer Clay Lion, a charming animal figure for bedroom decorations and little gift boxes.
Wild animals are known for their strong appearance, but their little versions can look surprisingly sweet and friendly. A small clay figure with a funny face and beautiful details can be a lovely choice for anyone who likes animal decorations. DIY Polymer Clay Lion by Drawings In Action is a cute animal project featuring a golden-yellow body, a large fluffy-looking mane, and a round face. Its short legs, tiny ears, and small nose give it a soft cartoon appearance. The warm colors help the figure stand out, while its gentle expression gives this powerful jungle animal a lovable personality.
Mini DIY Polymer Clay Lion For Animal Lovers
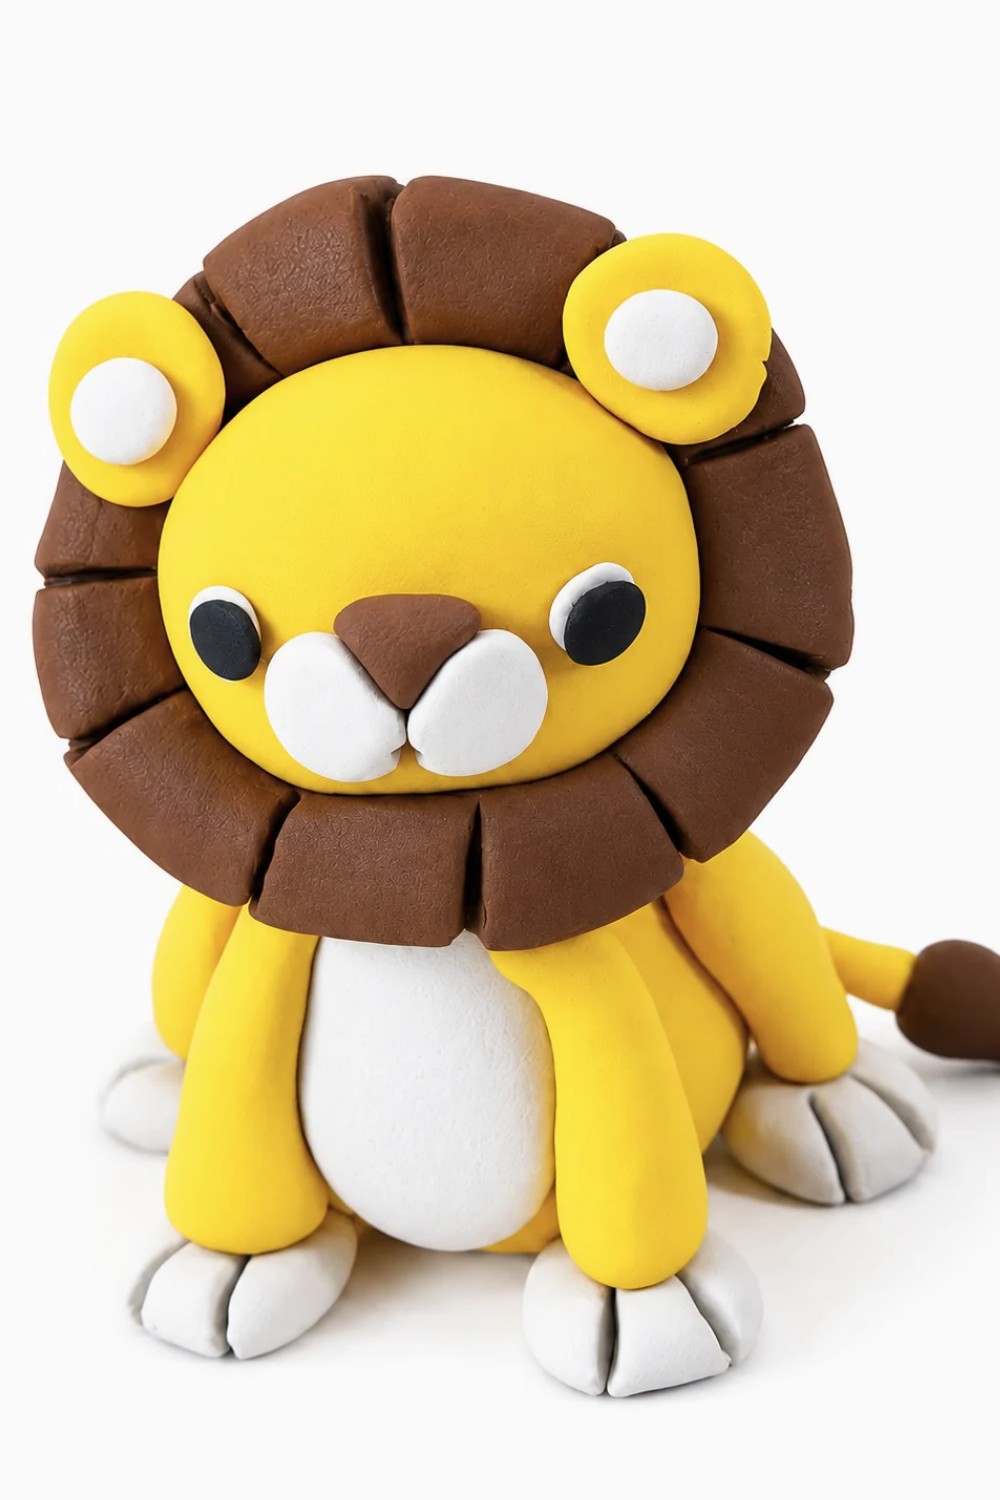
The thick mane is the most interesting feature of this miniature. It surrounds the head like a large circle, with small curved sections that resemble soft hair. Orange or brown clay can give the mane a rich color, while the lighter face remains clearly visible in the center. Two black eyes, a little mouth, and a rounded muzzle complete its friendly look. A thin tail with a darker tip adds another familiar detail.
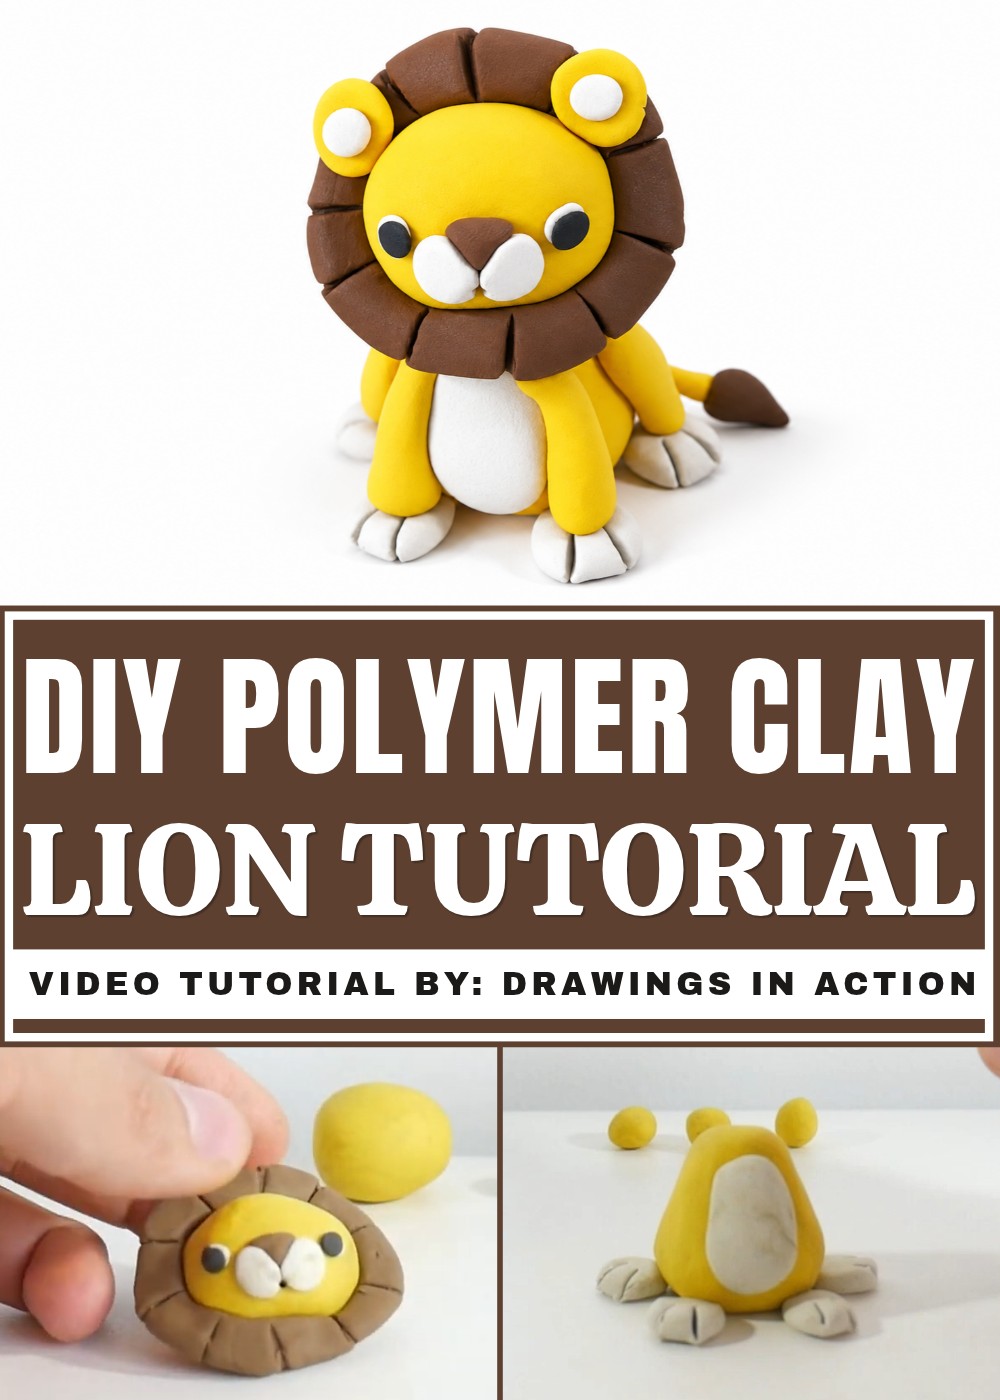
This little lion can decorate a child's bedroom, study table, or bookshelf. It can also be a birthday gift for someone who loves jungle animals.
The finished figure has a cheerful appearance that suits everyday home decoration. Its thick mane, warm colors, and tiny features give it a special look, turning a powerful wild animal into a sweet miniature that is easy to display.
Cute Clay Lion
Welcome to this simple and fun tutorial! Today, you will learn how to make a cute lion using clay in the easiest and fastest way. This step-by-step guide uses basic shapes and techniques, perfect for beginners and all ages.
Materials and Tools Needed
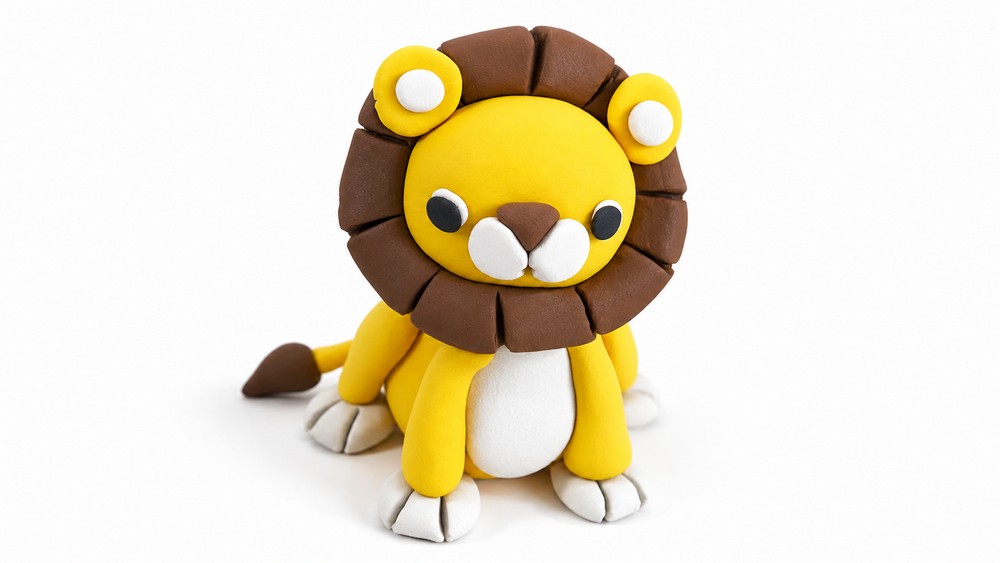
- Yellow polymer clay
- Brown polymer clay
- Black polymer clay
- White polymer clay
- Toothpick or small sculpting tool
- Cutting tool or blade for clay
- Workspace mat or surface
Step-by-Step Instructions
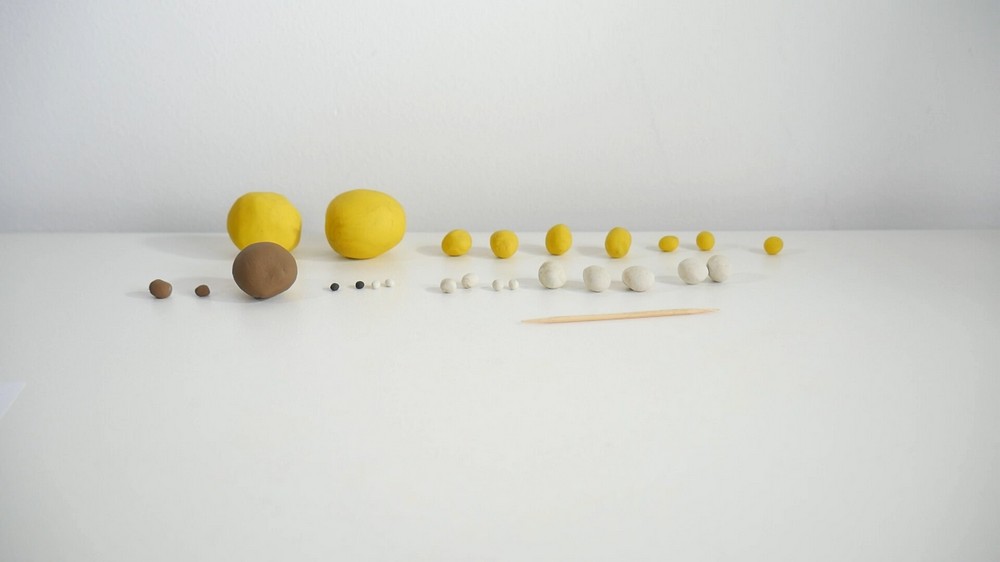
1. Prepare Your Clay
- Divide your yellow, brown, black, and white clay into small balls, ready to use.
- The size of each ball will vary as we proceed, but starting with small evenly sized balls makes handling easier.
2. Form the Lion’s Head and Face
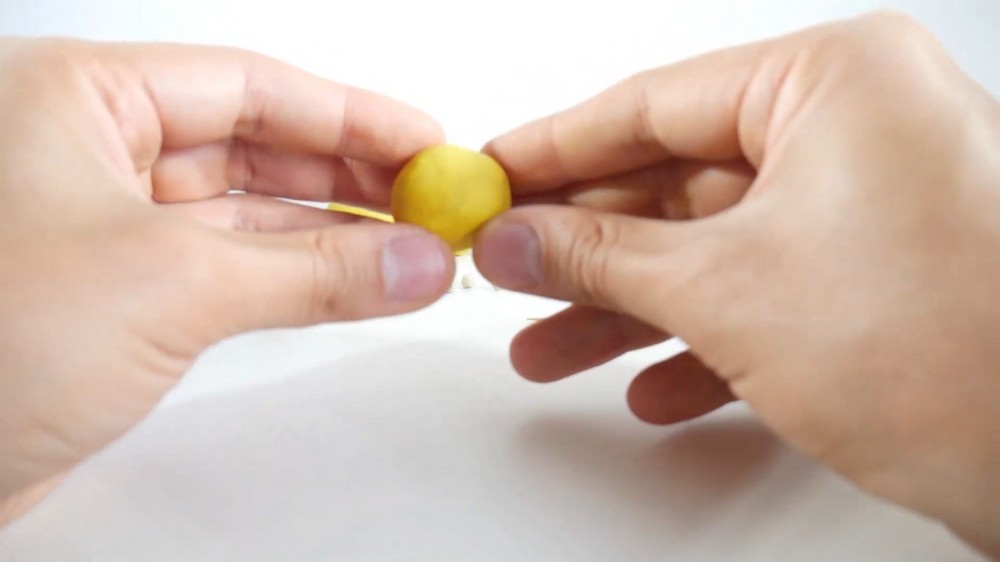
- Take a large yellow clay ball and begin shaping it into a basic rounded form that resembles a lion’s head.
- Smooth the sides to round it nicely, but keep a slightly flat area for the face features to be added later.
3. Shape the Nose
- Take a small brown clay ball, use your thumb and index finger to form it into a triangle shape.
- Place this brown triangle in the middle of the yellow head, representing the lion’s nose.
- Flatten one corner of the triangle slightly and make a straight line with your tool beside the nose to add detail.
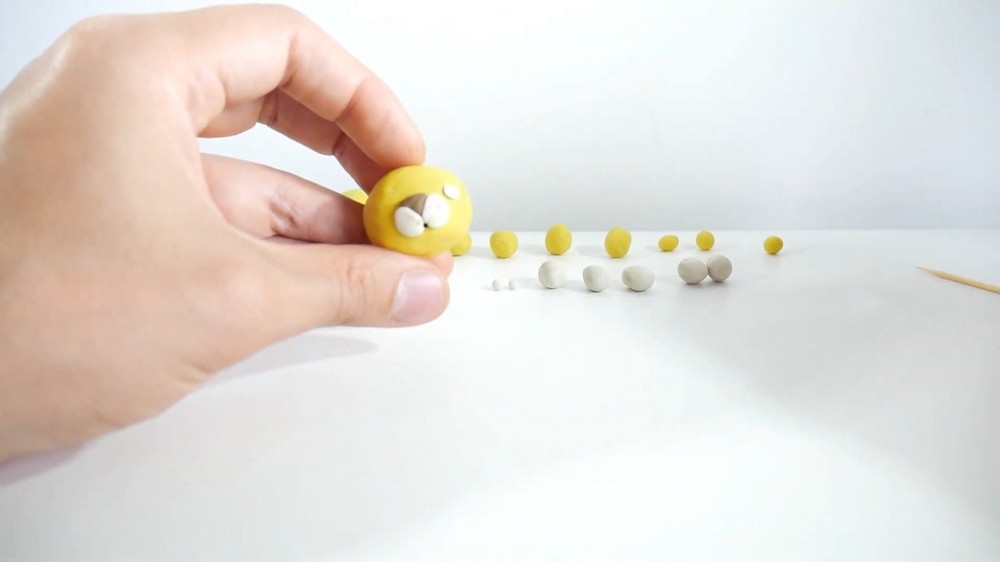
4. Add White Spots Around the Nose
- Take two small white clay balls and place one on each side of the nose. Flatten them slightly. These will highlight the nose area.
5. Create the Mouth
- Use a toothpick to make a small hole beneath the nose to mark the lion’s mouth area.
6. Make the Eyes
- Use two light-colored small clay balls for the eyes.
- Place these on each side of the face, just above the nose.
- Next, make two tiny black balls to serve as pupils and attach them in the center of the light-colored balls.
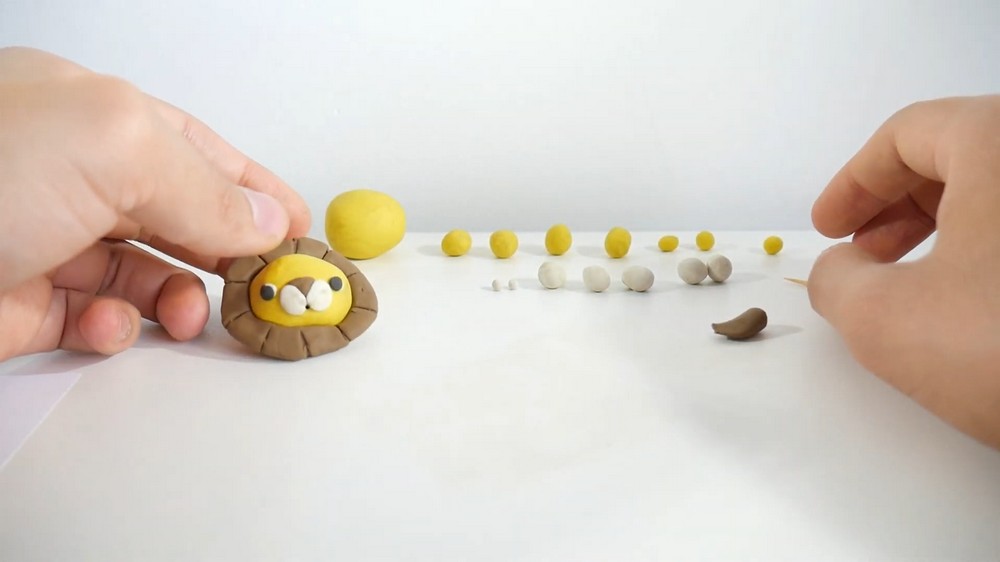
7. Prepare the Lion’s Mane
- Roll brown clay into a snake shape, matching approximately the size of the lion’s head.
- If the clay snake is too long, use your cutting tool to shorten it.
- Connect the ends to form a circle large enough to surround the head as the mane.
- Flatten the connected ends slightly to secure the circle.
- Use the toothpick to create hair-like stripes and texture on the mane for a realistic look.
8. Attach the Mane to the Head
- Carefully put the brown mane circle around the back of the yellow head, pressing gently so it sticks well.
9. Make the Lion’s Ears
- Take two small yellow balls of clay.
- Flatten each into a round, slightly pointed shape to look like ears.
- Attach one ear on each side of the mane near the head.
- Add a small brown clay ball to each ear for inner ear detail.
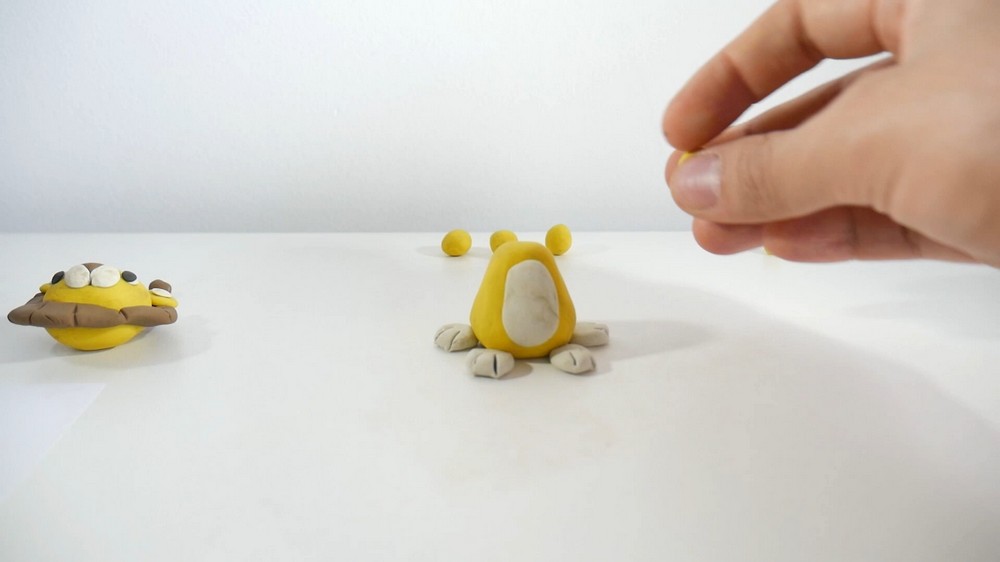
10. Form the Body
- Take a big yellow ball of clay and shape it like a pear – wider at the bottom and smaller near the top to connect with the head.
- Smooth the sides to remove any cracks or bumps.
11. Add the Belly Spot
- Take a white ball of clay and shape it into an oval.
- Place this white oval on the front bottom part of the body to represent the lion’s belly.
12. Create the Paws
- Roll out four small white balls of clay.
- Flatten each ball to create four paw pads.
- Use a toothpick to draw lines that separate the toes on each paw.
- Attach two paws at the front of the body, and two at the back.
13. Make the Legs
- Roll yellow clay into cylindrical shapes for legs.
- Flatten one end of each leg to sit flat on the surface, like paws.
- Attach four legs: two at the front beneath the paws, and two slightly bent legs at the back for a natural standing pose.
14. Attach the Head to the Body
- Take a toothpick and cut it in half.
- Use each half to securely attach the head to the top of the body by inserting and gently pressing the pieces together.
15. Shape and Attach the Tail
- Roll a small piece of yellow clay into a thin strip for the tail.
- Add a small brown drop-shaped piece of clay to the tail’s tip for a tuft of fur.
- Attach the tail to the back of the body.
- Smooth any rough edges where the tail meets the body.
16. Final Details
- Use the toothpick or other small tools to add fine details to the face, such as refining the mouth or adding texture to the nose.
- You can create whiskers by placing very small pieces of black clay near the nose area.
Conclusion
You have now created a charming little lion out of clay! This project uses simple shapes and easy techniques, perfect for anyone starting with clay sculpting. Enjoy your handmade lion as a decoration or gift.
If you found this tutorial helpful, consider practicing more clay characters and sharing your creations to inspire others.
Note:
To preserve your clay lion longer, bake your polymer clay according to the manufacturer’s instructions, usually around 265°F (130°C) for 15–30 minutes.