Decorate your favorite shelf with DIY Polymer Clay Riize Lizco, a small animal figure that suits bedroom displays and sweet little surprises.
Small character figures inspired by popular music groups can be a special way to show love for your favorite artists. Their familiar faces and playful styles give fans something personal to keep at home without needing a large collection.
DIY Polymer Clay Riize Lizco by PolymomoTea is an adorable miniature project based on Lizco, the character associated with Shotaro from the K-pop group RIIZE. This little model captures the character's cute cartoon appearance in a small, decorative form. Its friendly expression and charming details give it a fun personality that fans can easily recognize.
Lovely DIY Polymer Clay Riize Lizco For Miniature Animal Collections
The character's facial features are an important part of its appearance. Carefully placed eyes and small decorative details help give the face its familiar expression. The proportions, body shape, and original colors also play a role in keeping the model close to the character's recognizable design. Its neat appearance gives it the feel of a miniature collectible.
PolymomoTea uses polymer clay and resin in the tutorial. The process involves shaping separate sections, arranging the smaller features, and joining the pieces carefully. Paying attention to the character's proportions helps the final model resemble the original version. Once the clay is hardened according to its instructions, the figure can keep its shape for display.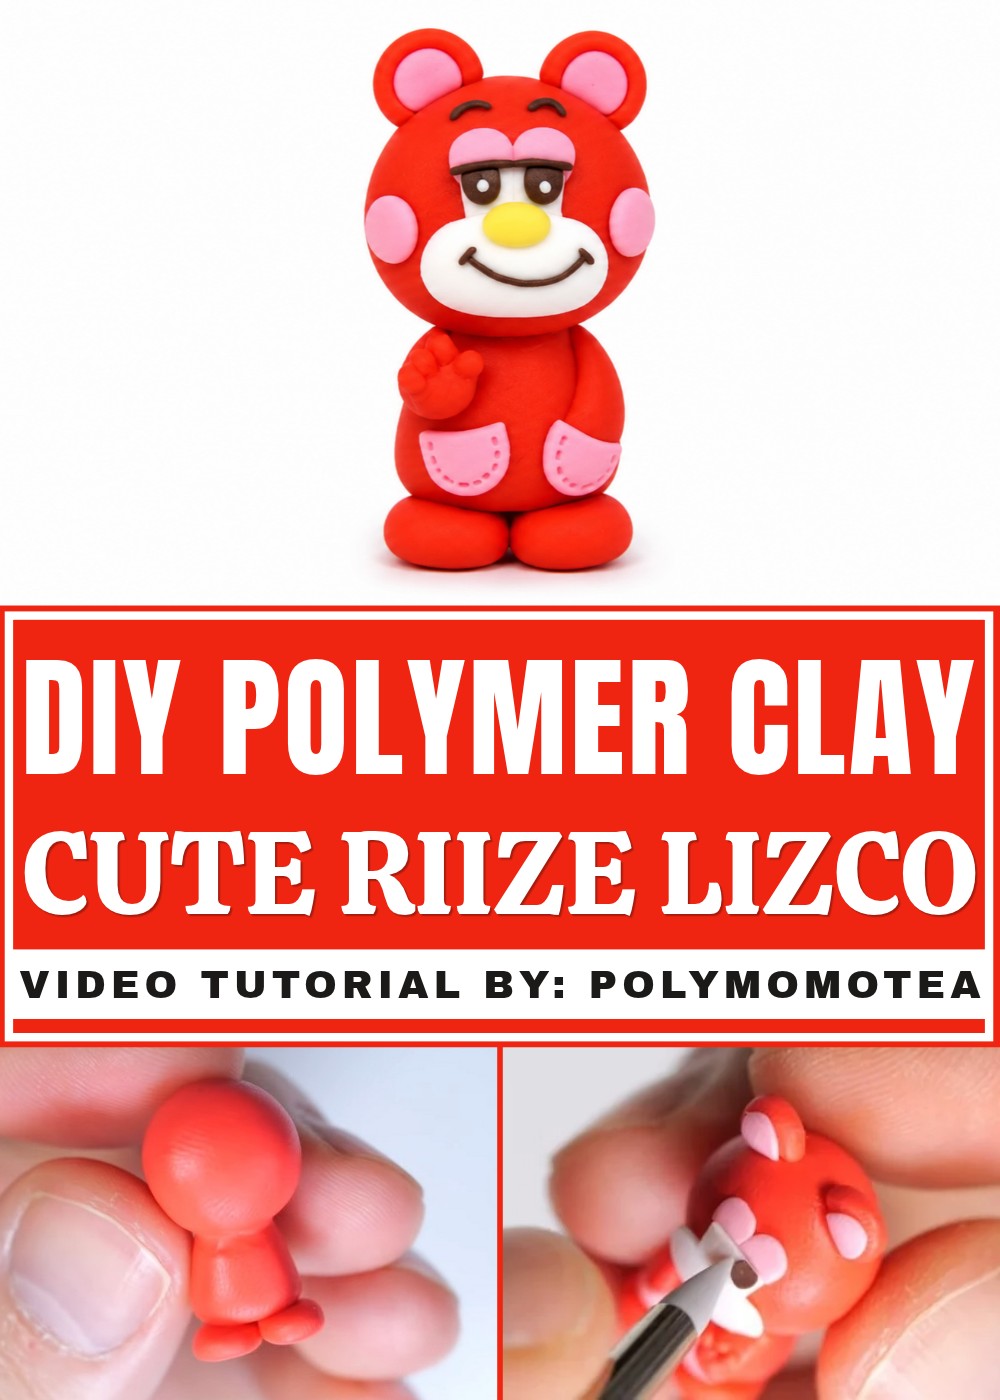
This miniature is suitable for decorating a study table, bedroom shelf, or computer desk. It can also be placed beside RIIZE albums or given as a birthday gift to a friend who loves Shotaro.
The finished Lizco offers a personal way for music fans to celebrate their favorite group. Its recognizable character style and small size give it a lovely place among everyday decorations and K-pop collectibles.
Character Lizo from Rise
In this tutorial, you will learn how to make Lizo (also called Dio), a character from Rise, using simple clay sculpting techniques. This step-by-step guide uses basic shapes and colors to build the full figure, perfect for beginners. Follow carefully to create your own adorable Lizo clay figure!
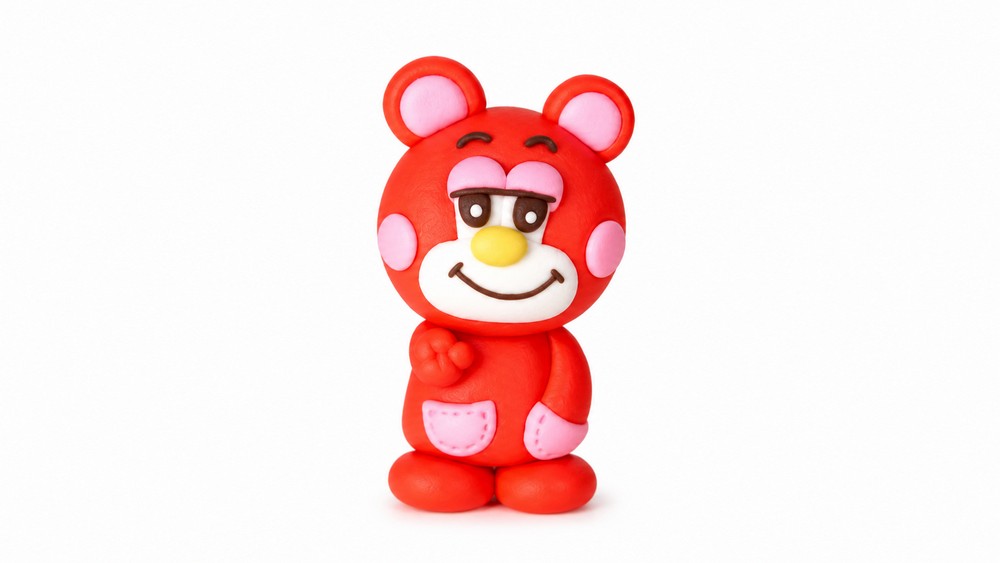
Materials and Tools Needed:
- Red polymer clay
- Pink polymer clay
- White polymer clay
- Brown polymer clay
- Lime green polymer clay
- Needle tool or any clay blending tool
- Blade or sharp cutting tool
- Work surface for rolling and shaping clay
Step-by-Step Clay Crafting Instructions
1. Making the Head
- Start with a ball of red clay.
- Flatten it into a circular shape for the head.
- The clay should be evenly flattened but thick enough to hold its form.
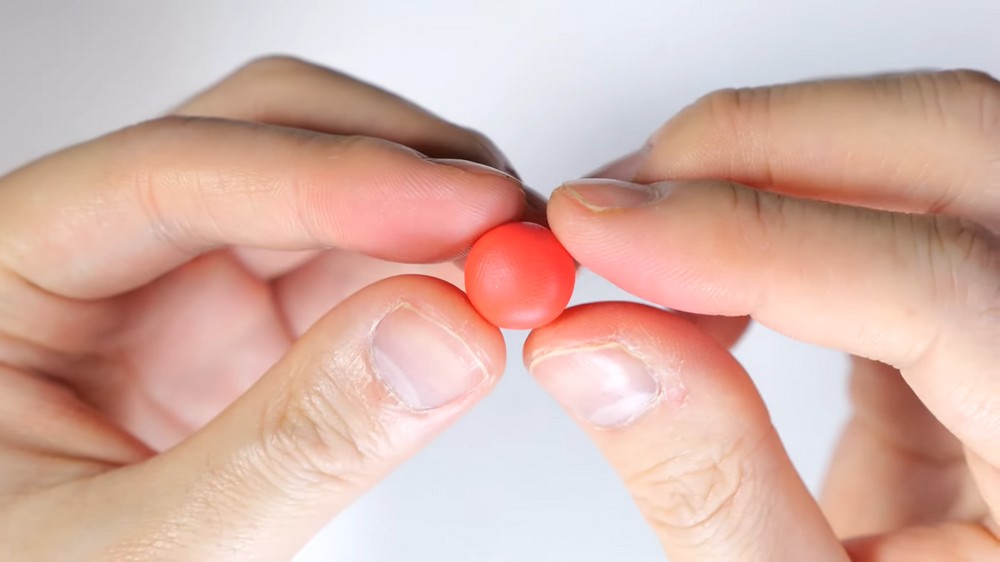
2. Shaping the Body
- Roll out red clay into a cone shape.
- Flatten and trim off the bottom to create a flat base so your figure can stand.
- Cut off the end as needed to size the body correctly.
- Place the body on top of the head.
- Use your needle tool to gently blend where the head and body meet for a seamless look.
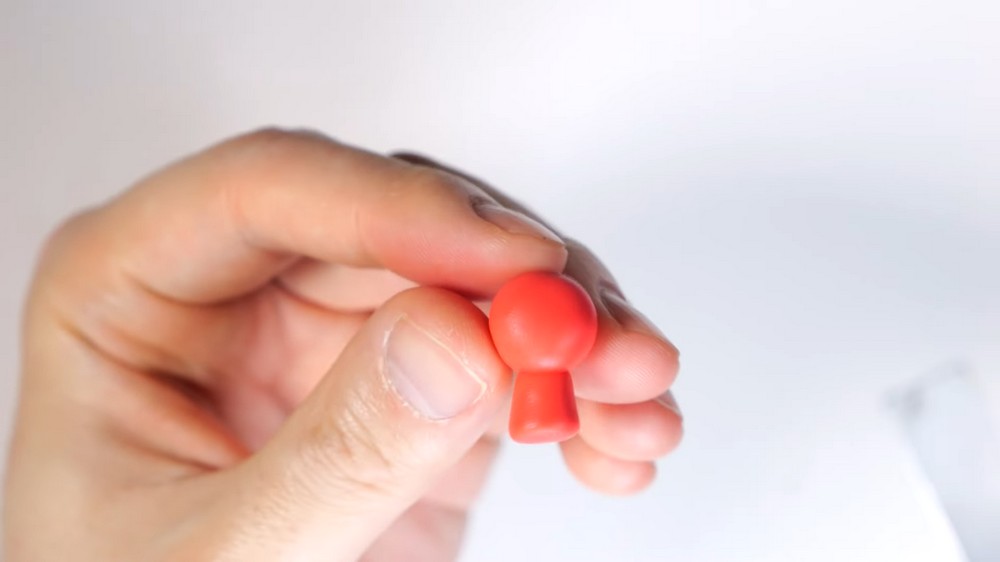
3. Creating the Feet
- Take some red clay and roll it into an oval shape.
- Flatten the oval to form the feet, like little pads.
- Attach each foot to the bottom of the body.
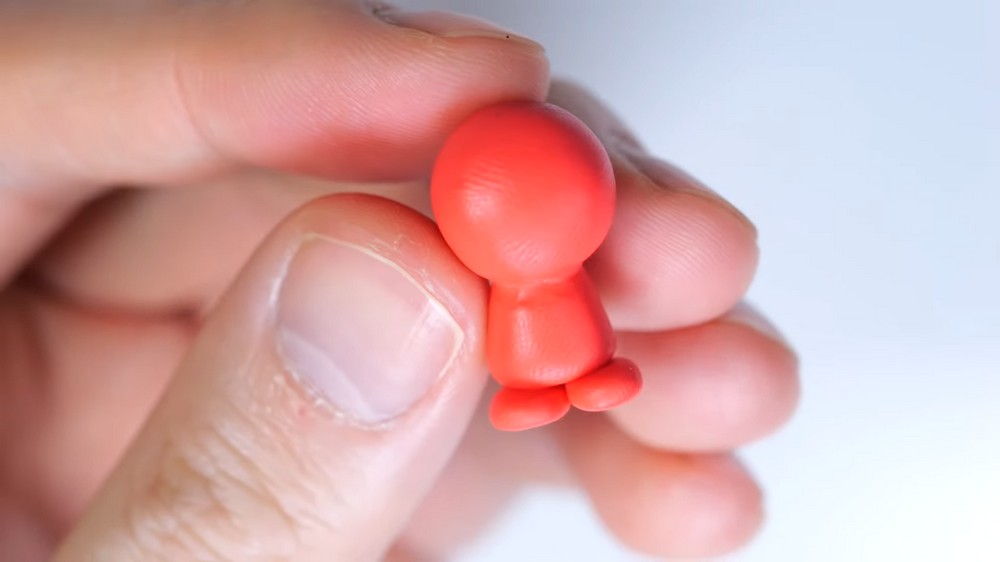
4. Making the Arms
- Roll out red clay into a teardrop shape.
- Flatten the teardrop gently.
- Attach one arm touching the side of the body.
- Attach the other arm bent forward slightly and pointing upward.
5. Adding Fingers
- Roll red clay into an oval shape and cut off one end.
- Make three small fingers and attach them to the left arm.
6. Crafting the Ears
- Flatten red clay into circles for the ears.
- Take smaller pink circles and place them in the center of the red circles to make the ear insides.
- Use a blade to cut off a small portion from one side of each ear circle to create an ear shape.
- Attach both ears close together on top of the head.
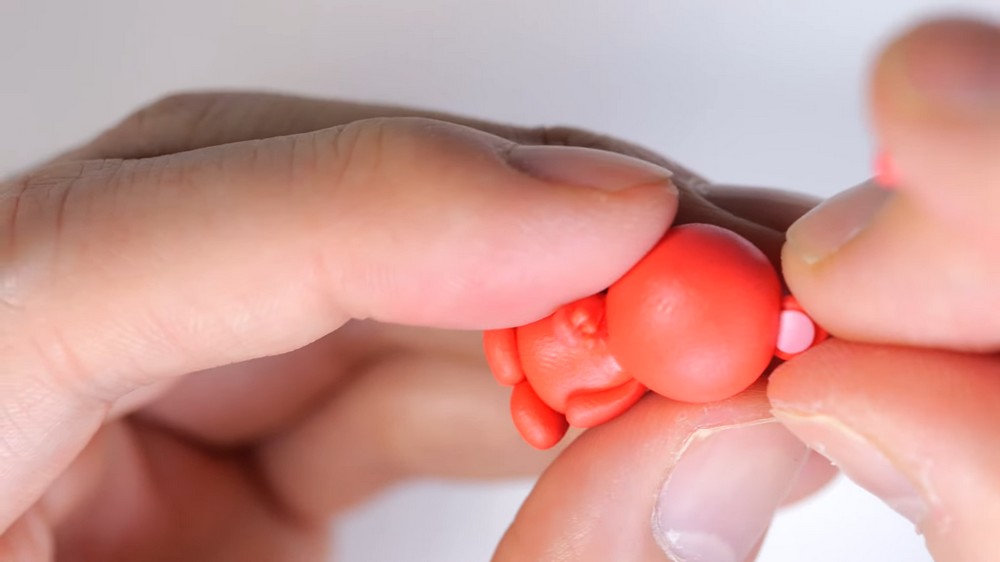
7. Adding Pockets
- Flatten pink clay into an oval shape.
- Cut the oval in half.
- Attach one half underneath the arm sticking out.
- Wrap the other half around the other arm.
- Use the needle tool to add small dots around the edges of the pockets to mimic seams or stitching.
8. Making the Face
- Flatten white clay into an oval shape for the face base.
- Add a small rectangle on top the oval, positioned like an upside-down skull shape.
- Place this white section gently over the front of the head.
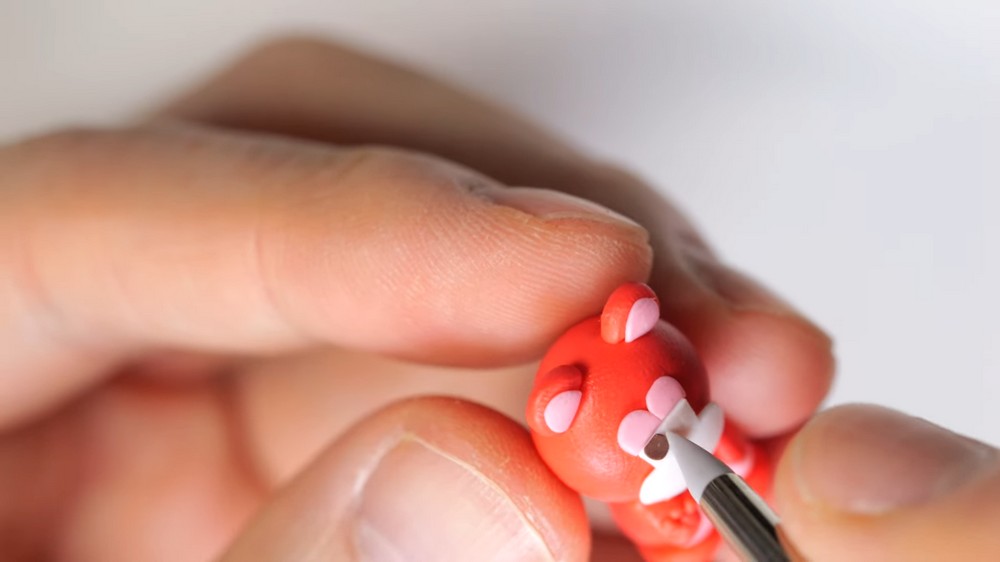
9. Shaping the Eyelids
- Flatten pink clay into half circles.
- Attach two pink half circles on top of the white face section for the eyelids.
- Press the edges gently so they meet flush with the white clay.
10. Adding Eye Details
- Cut brown clay into small half oval shapes.
- Apply these brown half ovals to create the inner eyelids.
- Use thin lines of brown clay to outline the eyelids.
11. Creating the Smile
- Form a thin clay line shaped like a smile and place it across the face.
- Add two tiny snakes of clay at the edges of the mouth to form dimples or cheek lines.
12. Adding Eyebrows
- Roll two small clay pieces into curved shapes for happy eyebrows.
- Place them above the eyes.
- Retouch and adjust the eyebrows to your liking.
13. Final Small Details
- Shape a small oval from lime green clay for the nose and place it in the center of the face.
- Add two small flat circles on the cheeks for blush detail.
- Dot tiny white clay spots on the eyes.
- Attach a small curved piece at the back as Lizo’s tail.
Finishing Touches
- Inspect your character to make sure all parts are securely attached.
- Smooth out any rough clay joins using your needle tool.
- Bake your clay figure according to the instructions on your polymer clay package (usually around 265°F / 130°C for 15-30 minutes).
- Allow it to cool completely before handling.