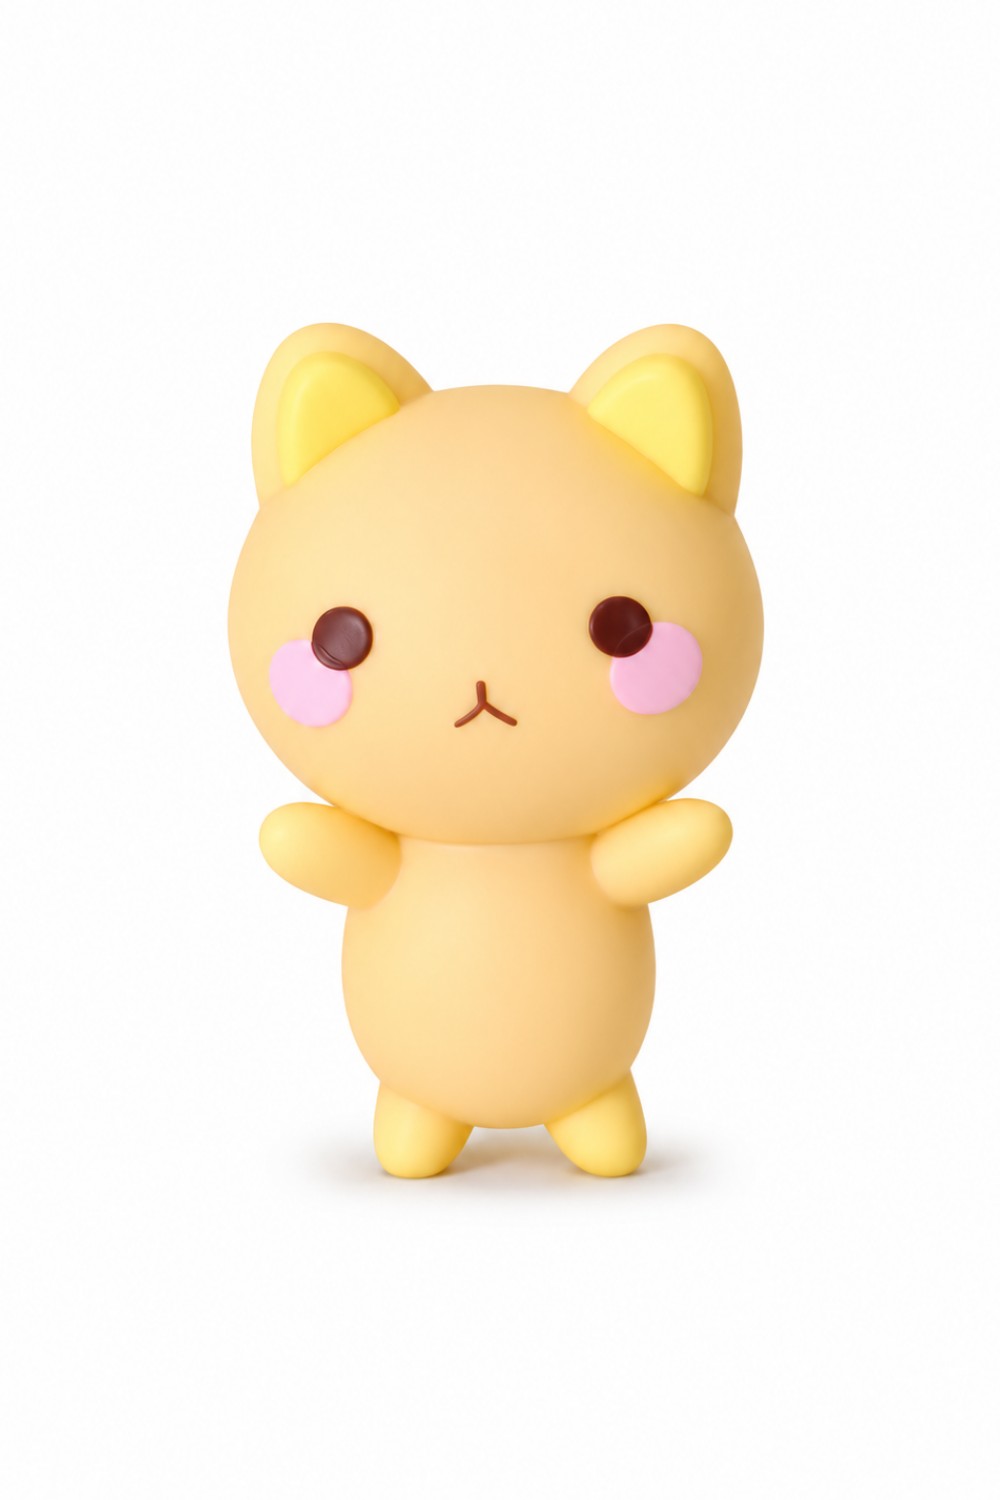
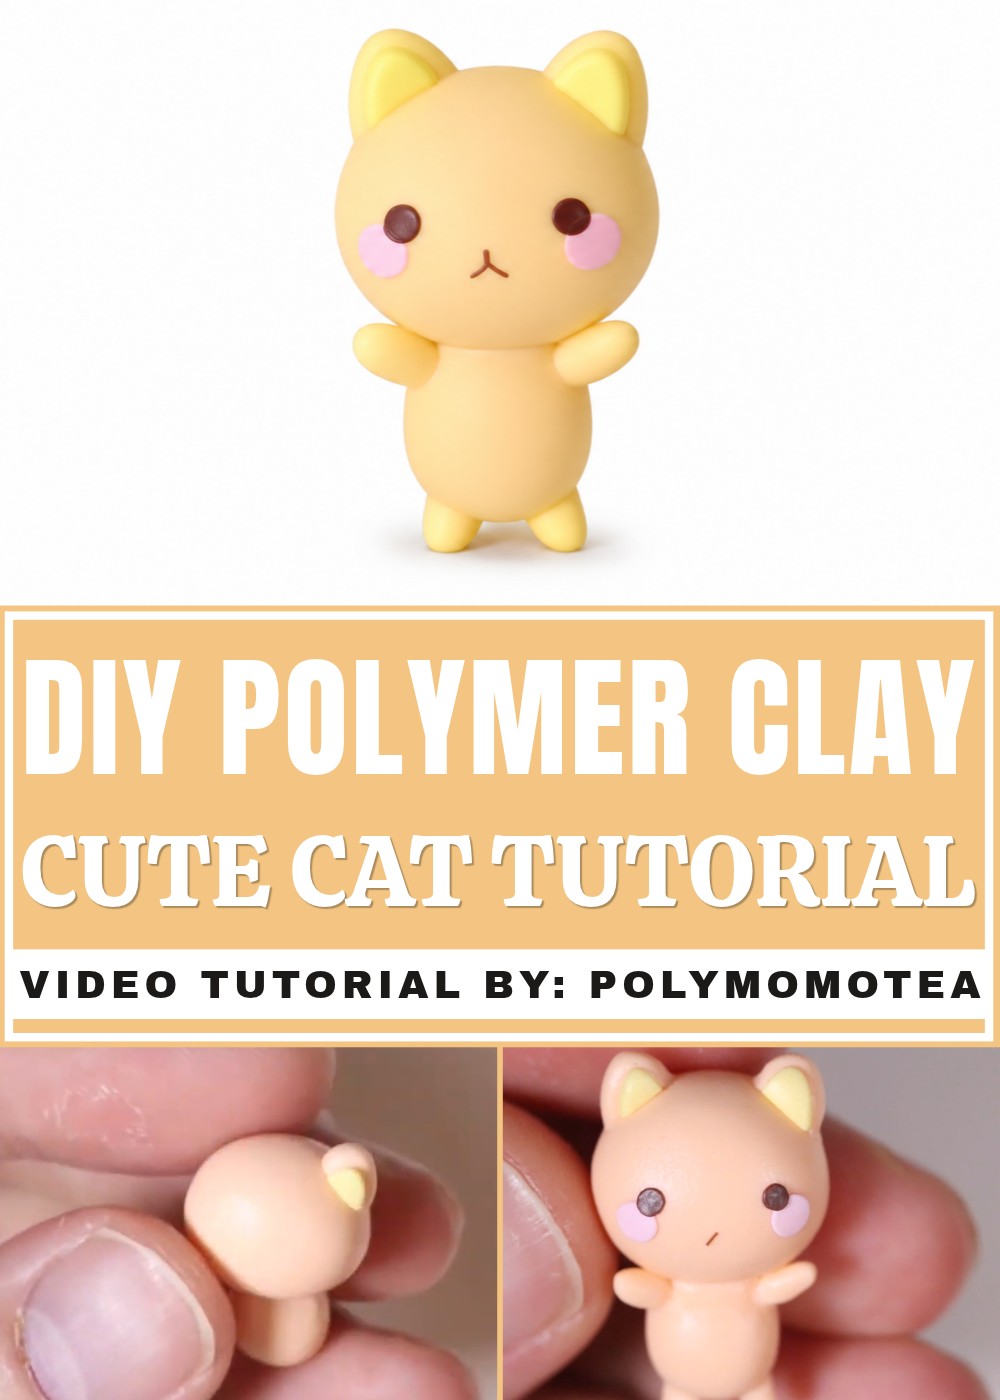
Bring cats to life with this DIY Polymer Clay Chibi Cat Idea, guiding you through easy crafting steps to design mini feline companions.
If you love making cute things with your hands, you will absolutely adore this fun project. We are looking at a charming DIY Polymer Clay Chibi Cat Idea that brings a tiny, chubby kitty to life. All credit for this wonderful tutorial and original design goes to the amazing YouTube channel PolymomoTea. They created this fantastic guide so anyone can easily shape a sweet little animal from simple materials. Working with soft clay is very relaxing, and seeing a tiny face magically appear right in your hands is quite a rewarding experience.
Miniature DIY Polymer Clay Chibi Cat Idea Using Pastel Colors
This adorable activity is so enjoyable to read about and try because it does not require fancy tools or years of practice. You just need a few basic colors of soft clay and your fingers to squish, roll, and shape the tiny pieces. The step-by-step process is incredibly soothing, walking you through how to form a round body, tiny ears, and a sweet, smiling face. It is perfect for a lazy afternoon when you want to clear your mind and create something beautiful. Plus, the chubby and round shapes are very forgiving for beginners, meaning your creation will look lovely even if it is your very first try.
Once you finish baking and cooling your new little friend, there are so many wonderful ways to enjoy it. You can place the cute figurine on your study desk to bring a happy smile to your face while you work, or attach a small ring to turn it into a personal keychain. These miniature figures also make deeply thoughtful, handmade gifts for friends and family who love animals. Reading through the steps gives you creative energy and shows just how easy it is to turn a simple block of clay into a tiny treasure.
Sleepy DIY Polymer Clay Chibi Cat Idea
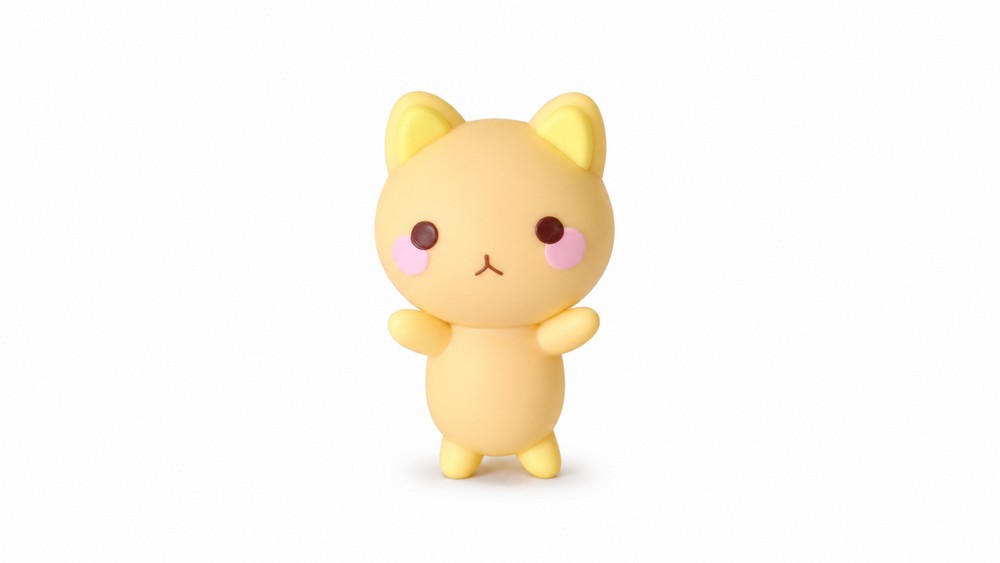
This tutorial provides simple instructions for shaping a chibi-style cat using polymer clay. It’s suitable for beginners and focuses on basic techniques for forming small animal figures. The finished piece is a tiny, charming cat that can be easily customized in different colors and designs. Whether as a gift, decoration, or personal keepsake, this project offers a step-by-step guide that minimizes confusion and ensures that every detail is clearly explained. With the proper materials and tools outlined below, you’ll follow along to assemble each part systematically—from the head and body to the ears, arms, legs, tail, and delicate facial features. There’s nothing complicated or intimidating here, making it an accessible project for anyone interested in working with polymer clay. Ready your workspace, and let’s piece together this adorable animal figure one section at a time.
Materials and Tools
Here is a list of materials and tools you’ll need for this project:
Materials:
- Polymer clay in different colors (for the body, head, ears, cheeks, and details).
- Wire (for stability during assembly).
Tools:
- Needle tool (for blending parts together and adding details).
- Cutting tool (e.g., small knife or clay cutter).
Step-by-Step Instructions
Creating the Cat Head
Shape the clay
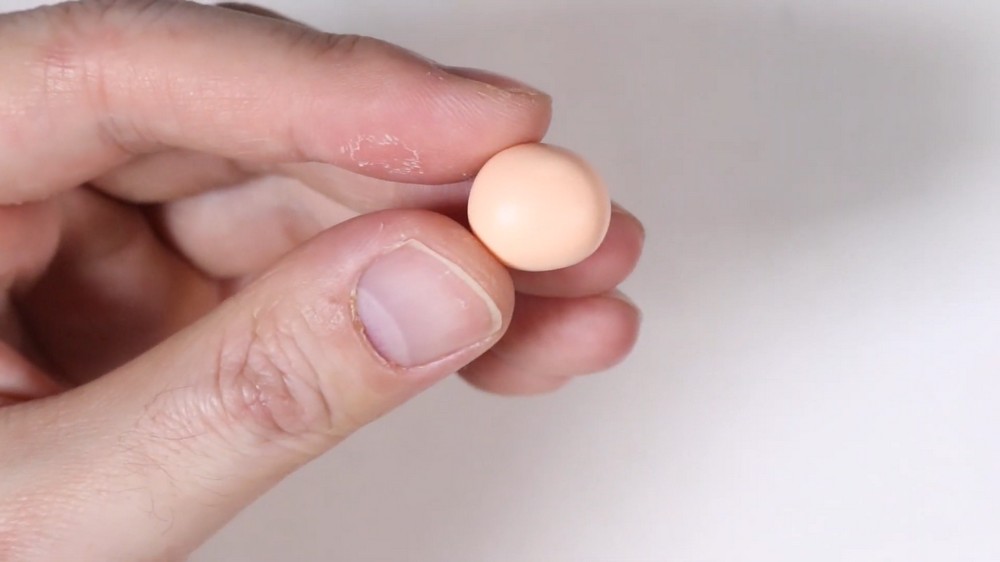
- Take a ball of clay in the color of your choice for the head.
- Flatten the ball into an oval shape to create the foundational head structure.
Making the Body
Shape the clay
- Use another ball of clay in the same color as the head.
- Roll the ball into a teardrop shape.
Trim the body
- Cut off the thicker end of the teardrop shape to create a flat surface that will attach to the head.
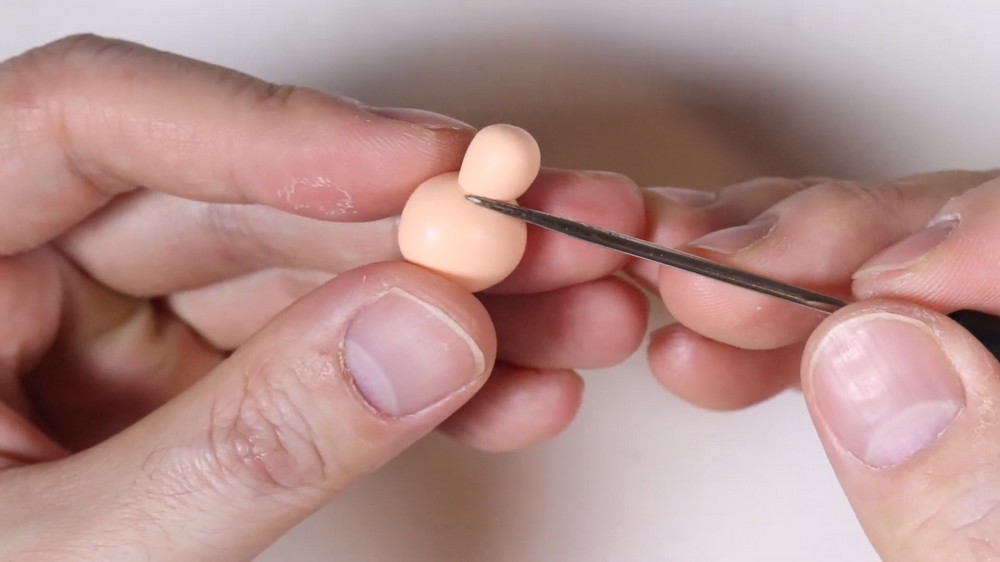
Attach the head to the body
- Place the flat surface of the body under the head.
- Use a needle tool to blend the clay between the two pieces. This blending ensures the parts stay attached and offers stability.
Forming the Cat Ears
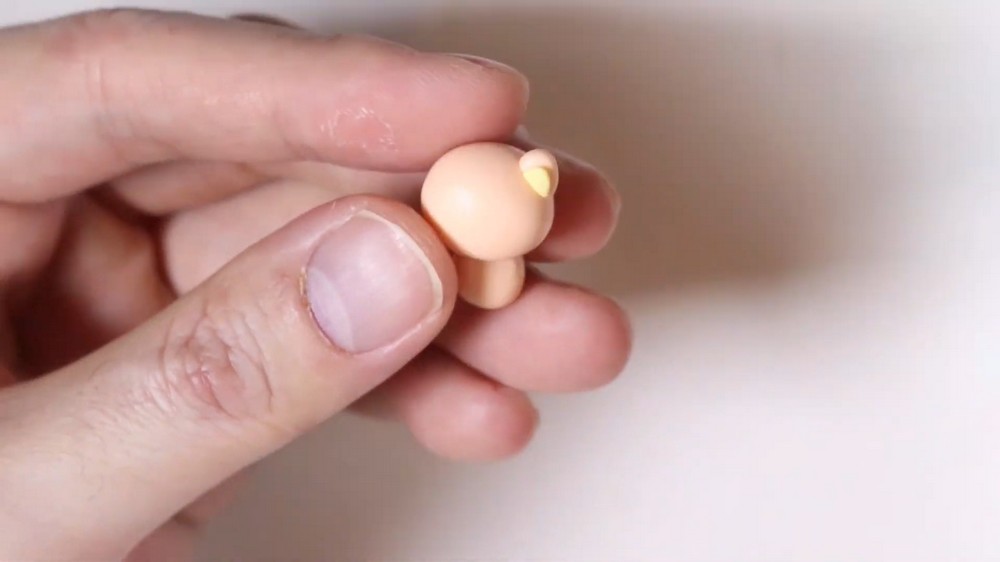
Shape the ears
- Take two small pieces of clay and roll them out into a flat carrot shape. These will form the outer ears.
Inner ear details
- Roll out two smaller, flattened pieces of clay in a different color for the inner ear sections (e.g., pink or white).
- Shape these smaller pieces into planned oval shapes and place one on each ear's center.
Trim the ears
- Cut each ear at a slant to refine its shape.
Attach the ears
- Place the finished ears on top of the head, ensuring they sit evenly on both sides.
Crafting the Cat’s Arms and Legs
Roll out the clay
- Roll the clay into a skinny carrot shape for the arms and legs.
Cut and divide the pieces
- Cut four pieces from the rolled clay segment:
- Two pieces for the arms.
- Two pieces for the legs.
Adding the Tail
Shape the tail
- Roll the clay into a cylinder shape for the tail.
- Trim one end to smoothen the tail section.
Insert wire for stability
- Cut a small piece of wire for added support during the tail attachment.
- Insert the wire into the body where the tail will be connected.
Attach the tail
- Place the tail onto the wire and position it firmly on the body.
Decorating the Cat’s Face
Cheeks
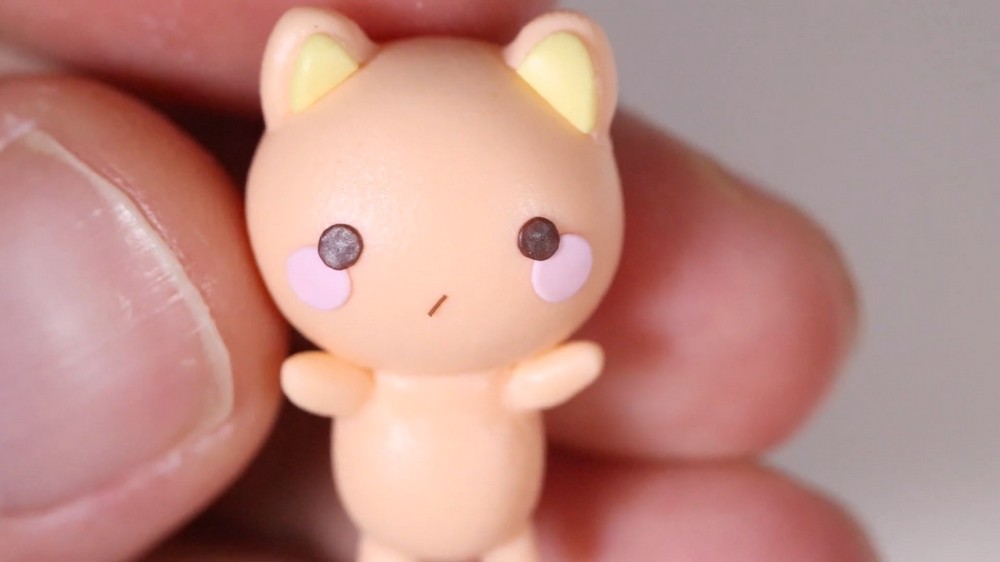
- Roll two small flat circles of clay in the cheek color (e.g., pink) and place them on the head. These will form the cheeks.
Eyes
- Use two dot-shaped pieces of clay and position them as eyes.
Add the nose and mouth
- Use three small lines of clay to create the nose and mouth. Arrange them carefully to capture the cat's expression.
The Finished Product
Once all the components—head, body, ears, arms, legs, tail, and face decorations—are securely attached and blended, your cat figure is complete! The final result is a tiny, chibi-style cat that is both adorable and easy to personalize with different color combinations or designs.
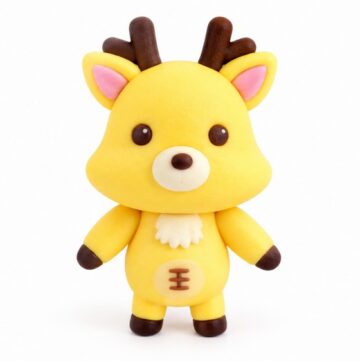
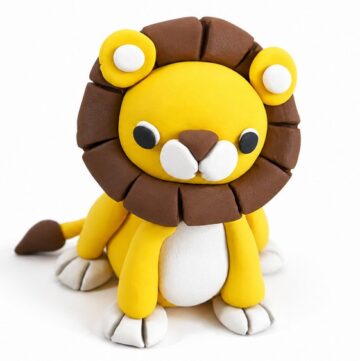
You can make several cats in various colors to experiment with unique styles or build a small collection.
Conclusion
This adorable polymer clay cat is now complete. Every step in shaping, assembling, and decorating has brought the design to life, resulting in a tiny figure that radiates charm. The project demonstrates fundamental techniques, from blending clay to adding small details like cheeks and facial expressions. With a compact structure and clean design, it’s easy to personalize and modify for different variations. A pop of color or a distinctive pose can transform each figure into something unique, giving you endless aesthetic possibilities. Finished in a way that encourages creativity, you’ll see how simple clay sculpting can lead to something impressive. Display your cat on a shelf, desk, or gift it to someone as a thoughtful handmade present. Continue experimenting with shapes and colors to try other animal designs and further expand your skills.