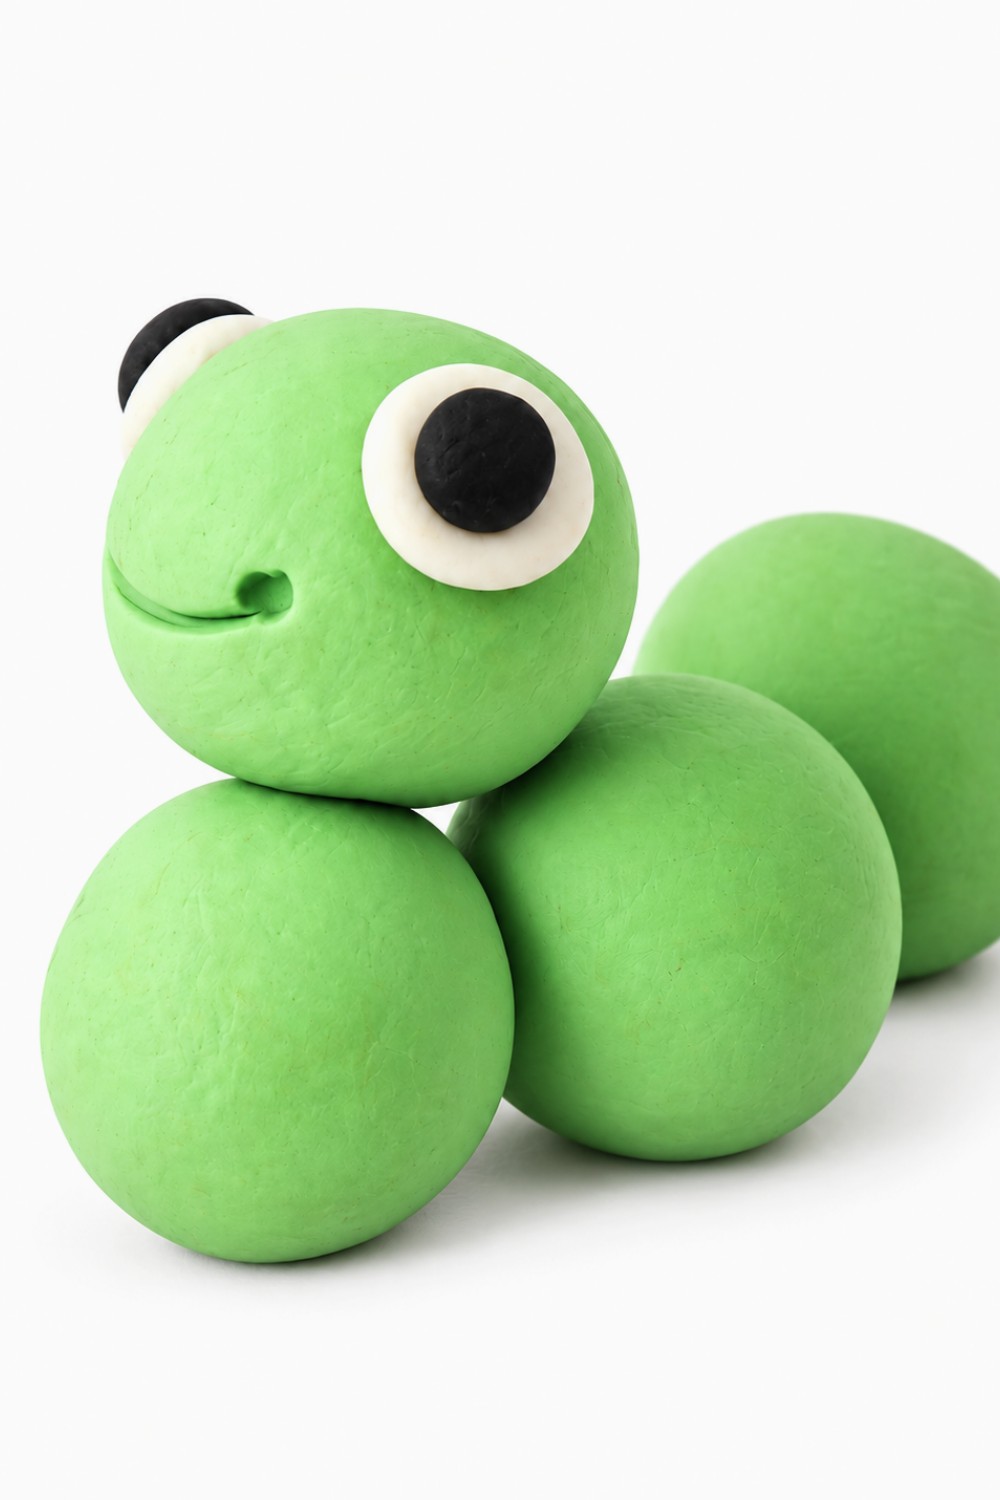
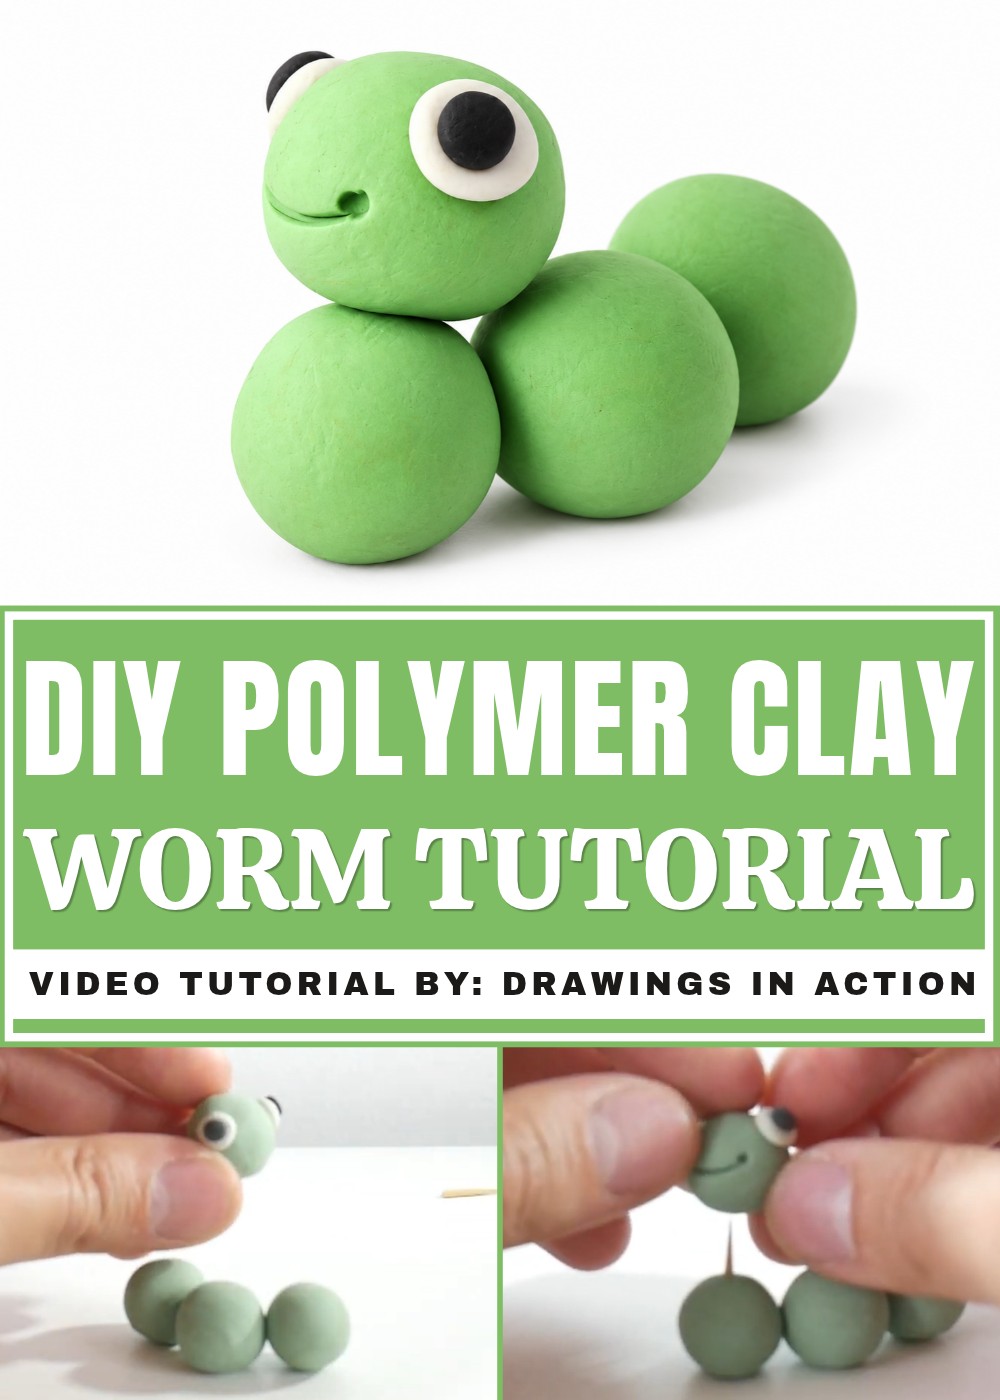
Follow this DIY Polymer Clay Worm Tutorial, a fun & easy guide to making cute animal with simple steps for beginners and all skill levels.
Have you ever wanted to make a cute little desk buddy out of everyday art supplies? If so, you will absolutely love learning how to create a tiny, colorful friend. This fun and simple DIY Polymer Clay Worm Tutorial is a wonderful way to jump into crafting. We want to give full credit to the original YouTube channel, Drawings In Action, for sharing this amazing design and guiding us through the entire process. The creator designed this adorable project to be extremely easy and exciting for anyone to try at home.
Quirky DIY Polymer Clay Worm Tutorial To Share With Friends
You might wonder why shaping this silly little creature is so much fun. Working with this soft material is incredibly relaxing and lets you use your imagination freely. By following it, you can easily bend and roll the pieces into a happy character with a bright smile. You only need a few basic colors to bring the whole thing to life. It is truly satisfying to warm the pieces in your hands, shaping a long body, and adding tiny eyes. Children and adults alike will enjoy spending a quiet afternoon turning plain blocks of color into cheerful art.
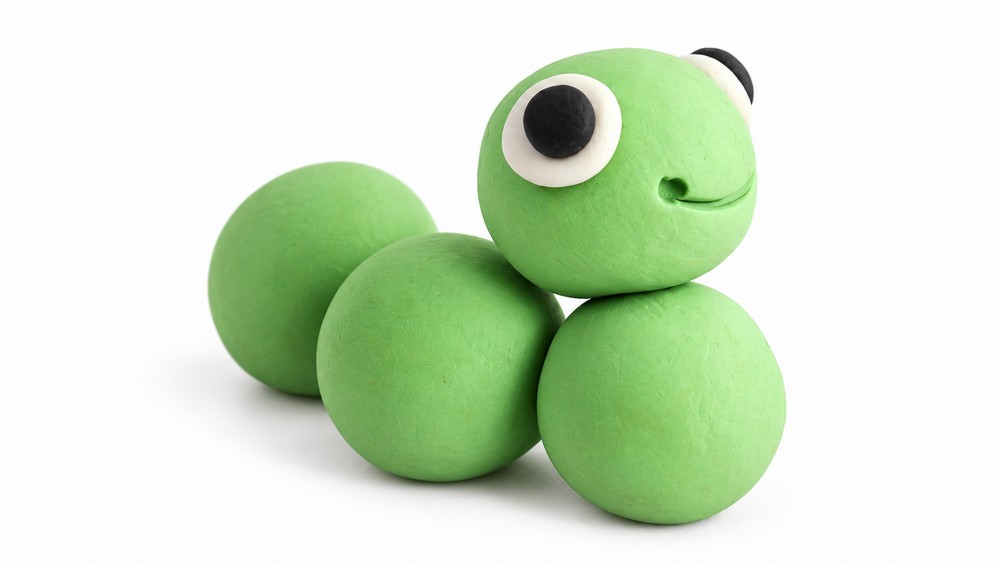
Once your handmade buddy is finished, you can place it anywhere in your room to brighten your day. It looks fantastic resting on a bedroom bookshelf, sitting near a computer keyboard, or peeking out of an indoor plant pot. Making one is also a wonderful gift idea for a friend who loves handmade items. Because the steps are so clear and simple, you can easily create a whole family of these colorful creatures in just one morning. Grab your supplies, pick out your favorite bright shades, and have a great time creating a happy companion today.
DIY Polymer Clay Worm Tutorial
Looking for an easy, hands-on project to try your skills with clay? This tutorial walks you through making a charming clay worm with minimal materials. This project involves shaping clay into simple forms, assembling them into a cheerful worm, and adding small details like eyes and a sweet smile. Whether you’d like a decoration or a thoughtful handmade gift, this project is approachable even for beginners. By following these straightforward instructions, you’ll end up with a delightful worm that’s simple and satisfying to put together. All you need is polymer clay in three colors, a few basic tools, and a little patience to make your worm stand out with its cute, lovable expression. Let’s get started with this fun and engaging activity.
Materials and Tools
Gather the following materials and tools before you start:
- Polymer clay in three colors:
- Light green (for the body and head)
- White (for the eyes)
- Black (for the pupils)
- Toothpick (1 piece - for attaching the body and head)
- Pencil or a pointed tool (for drawing details like the smile)
Instructions
Prepare Your Clay
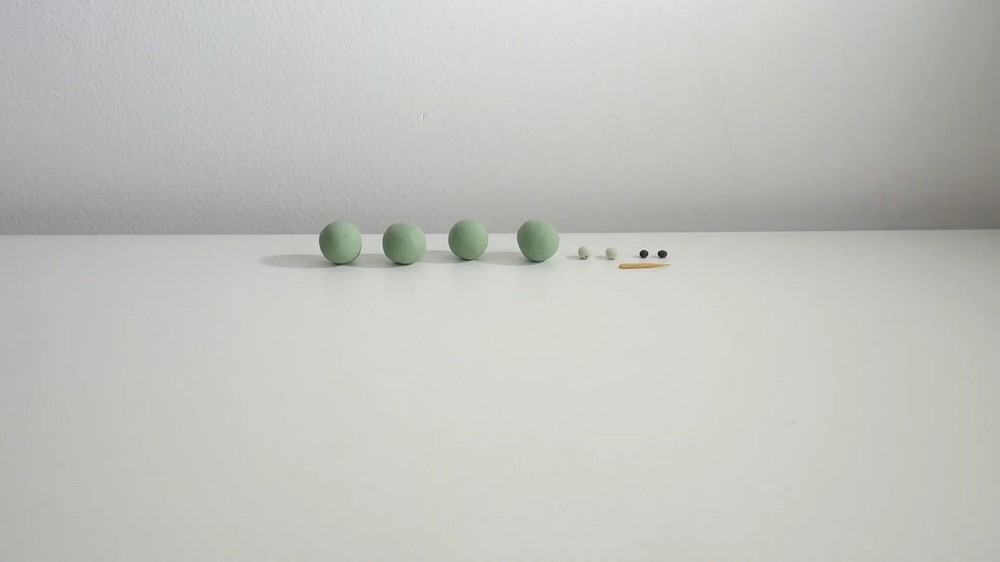
- Take your polymer clay in the three required colors: light green, white, and black.
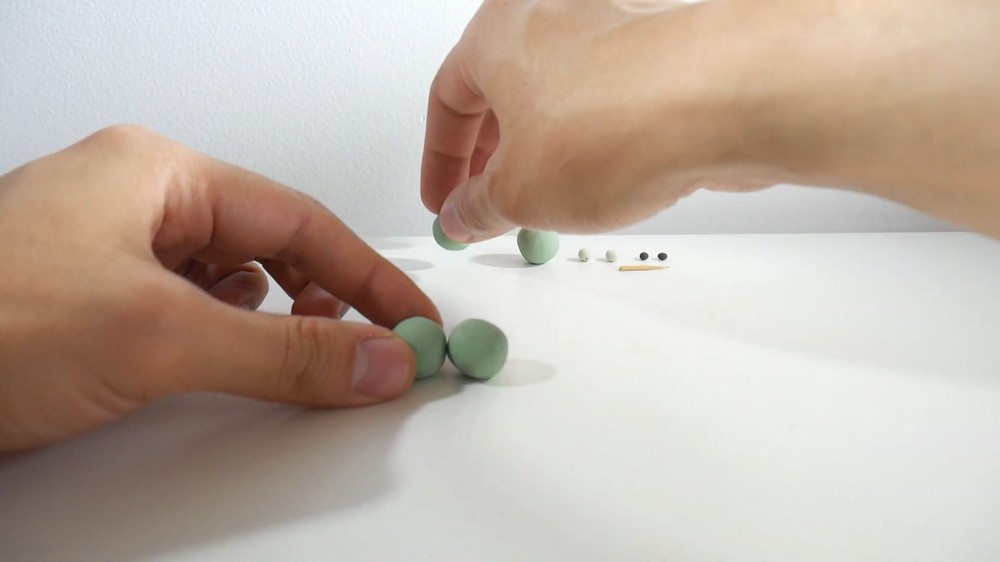
- Break the clay into small balls:
- Light green: Shape three evenly-sized balls. These will make up the worm’s body and head.
- White: Create two small balls for the base of the eyes. Flatten these balls slightly to make discs.
- Black: Make two smaller balls for the pupils of the eyes.
Form the Worm's Body and Head
- Create the body: Arrange the three light green balls in a straight line on your work surface.
-
- Place them one after the other so they gently touch but remain separate and round.
- Designate the head: Choose one of the green balls (typically the last in the row) to be the worm’s head.
Add the Worm’s Eyes
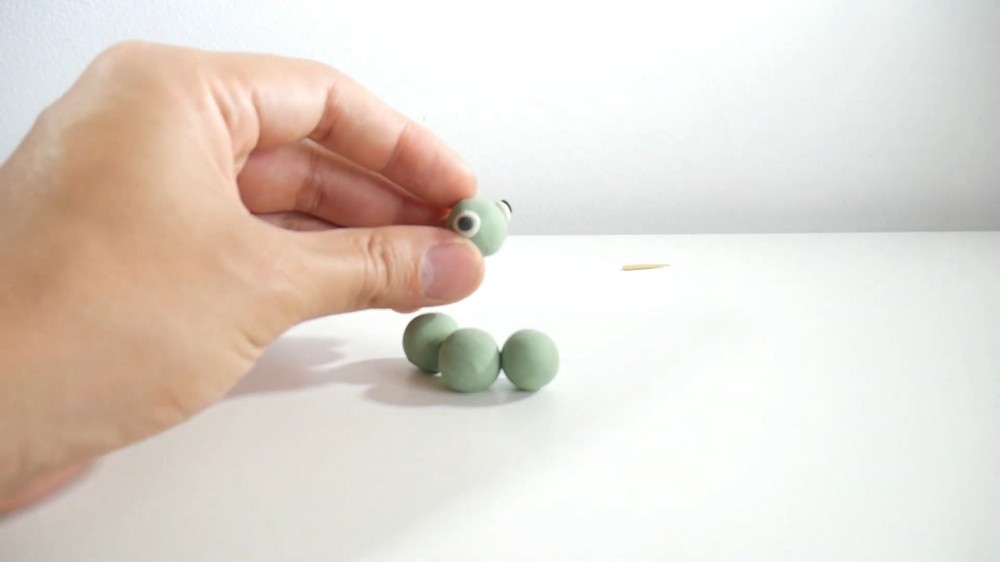
- Attach the white eye bases:
- Place one flattened white disc on each side of the green ball that is the head. Make sure they are symmetrical and even.
- Add the black pupils:
- Place the smaller black balls on the center of each white disc. Gently press them into place, ensuring they stay in position.
Create the Smile
- Draw the mouth:
- Use a pencil or small pointed tool to draw a curved line on the face of your worm. This will create a cheerful smile.
- Press gently as you draw to avoid distorting the clay. Keep the smile small and subtle for the cutest effect.
- Double-check the face to make sure the eyes and smile look balanced and adorable.
Assemble the Worm
- Prepare the toothpick: Break a toothpick into two equal pieces.
- Insert one piece of the toothpick into the first green ball of the worm’s body (the first ball in the line). Push it in gently so that a small tip sticks out.
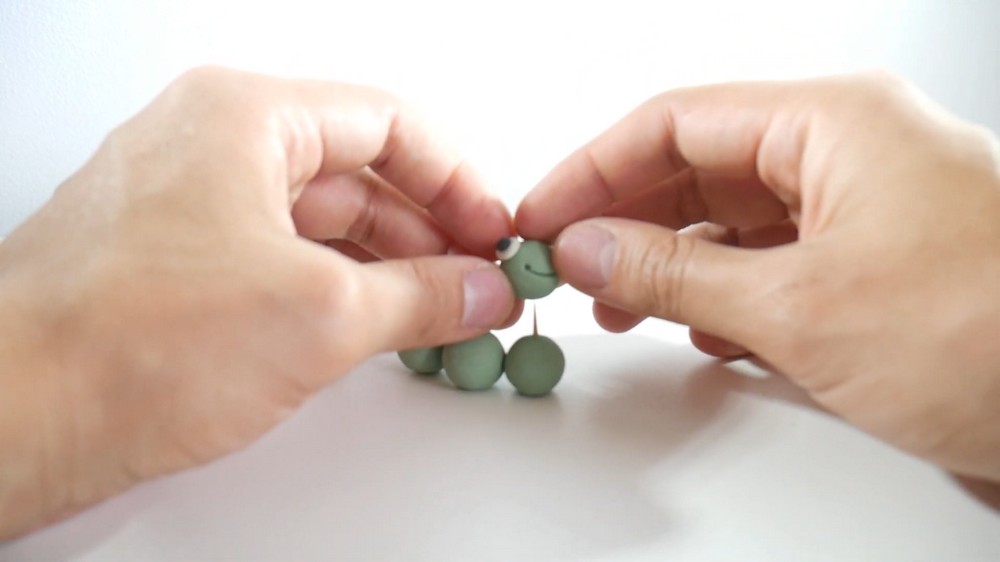
- Attach the head: Carefully press the green head ball onto the exposed end of the toothpick. This will give the worm stability and connect the head with the body.
Make Final Adjustments
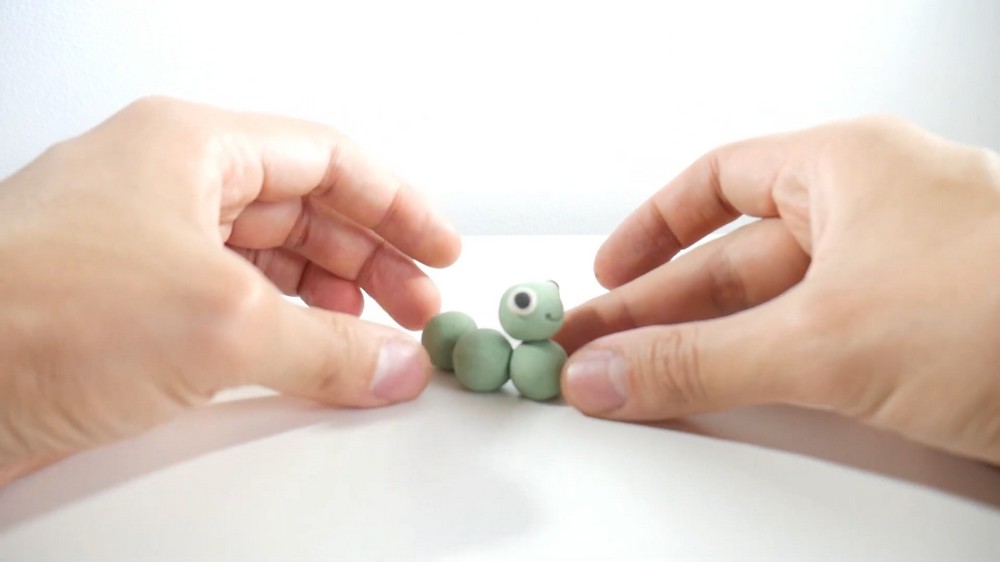
- Smooth the clay: Use your fingers to gently remove any fingerprints or uneven areas on the worm’s surface. This will make it look polished and clean.
- Check the smile and eyes: If needed, adjust the eyes or refine the smile with your pencil or tool to enhance the worm’s expression.
- Make sure all parts are securely attached to avoid any pieces falling off.
Finishing Up
You’ve successfully completed a neat and simple clay project! Your charming worm, with its cheerful smile and delightful eyes, is ready to brighten up your space or be given as a thoughtful gift. This project is beginner-friendly and a wonderful way to relax and get creative with just a few materials. Whether kept as a decorative piece or used as part of a collection, your handmade worm is sure to bring joy. Try experimenting with different colors or sizes to give your worm its own unique personality. Keep practicing and trying new ideas—you might surprise yourself with what you’re capable of.
Why I Love This Project?
I absolutely love this project because it is wonderfully relaxing and perfectly simple for anyone to try. You do not need advanced artistic skills or fancy tools to make something adorable. Rolling the soft, colorful material between my hands feels just like playing, and it quickly melts my daily stress away. Watching the little creature slowly gain a tiny smile and bright, happy eyes always brings me joy. It is a delightfully quick craft that instantly gives me a cheerful desk buddy to brighten up my room and make me smile every single day. I highly recommend doing it.