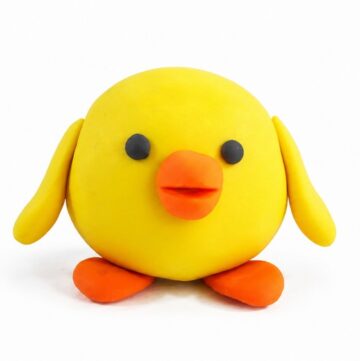
Learn how to make this DIY polymer Meongryongie model with easy steps, perfect for beginners and a creative addition to your crafting projects.
Charming DIY Polymer Meongryongie Model For Keychains
One of the nicest things about this project is how simple pieces of colored polymer clay come together to form a recognizable figure. You can start by shaping the head and body, then carefully work on the little ears, eyes, nose, and paws. Each part needs gentle pressing and smoothing to keep the figure neat. The soft clay also gives you time to adjust the shape before baking.
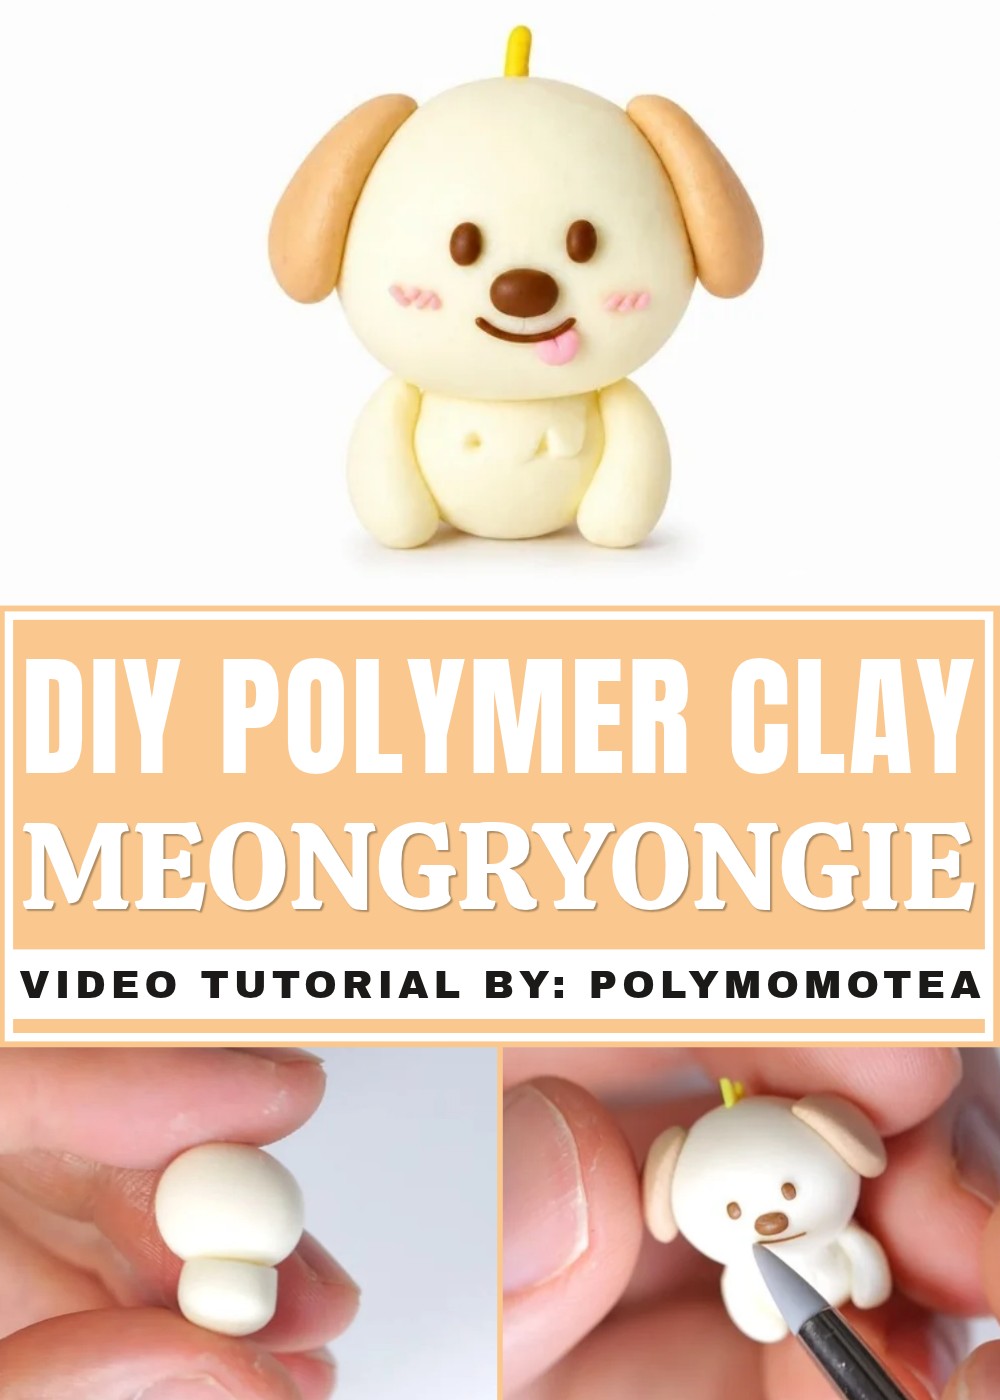
Meongryongie's cute facial features are an important part of its appearance. Paying attention to the position of the eyes and the shape of the ears helps the finished model resemble the original character. Small details can give the figure a sweet personality without requiring complicated tools or techniques.
After completing the clay work, bake the figure according to the clay manufacturer's instructions and allow it to cool. The finished DIY Polymer Clay Meongryongie Model can sit on a study table, bedroom shelf, or small display stand. It is also a thoughtful birthday present for someone who likes puppy characters and cute handmade items. This simple clay project offers a pleasant way to spend your free time while working on a little character that can stay in your collection for years.
DIY Polymer Clay Puppy Dog Model
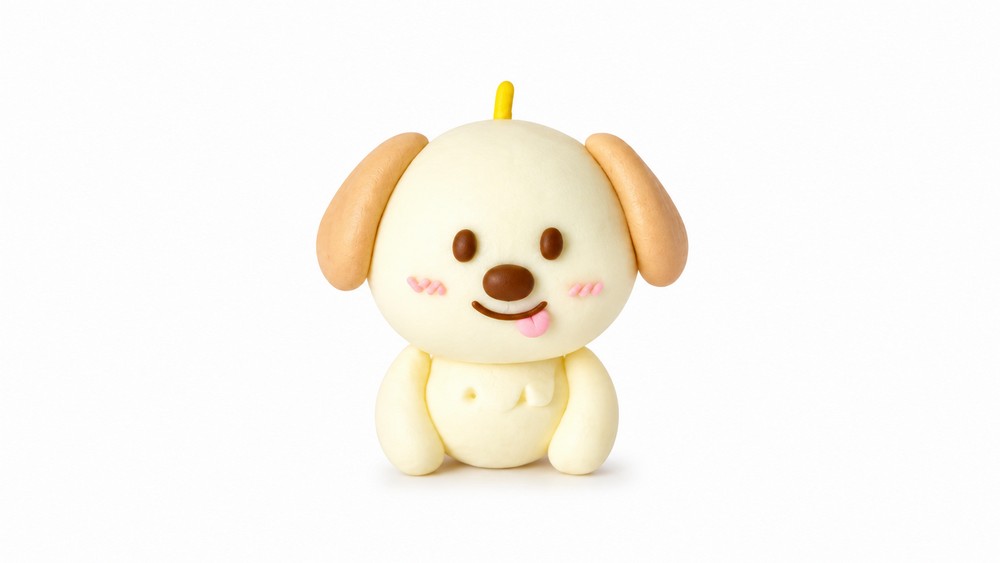
This tutorial will show you how to design Mongi, a lovable clay character inspired by Rise. With a dinosaur-like tail, expressive face, and soft texture, Mongi is an eye-catching figure with both playful and unique features. Making Mongi involves shaping basic clay forms like ovals, cones, and teardrops, followed by assembling them to bring out its character traits. You’ll work with beige, brown, green, pink, and black clay to assemble the body, head, legs, facial details, and decorative elements, such as spikes for the tail and head. This project is well-suited for those looking to practice working with clay, as it uses straightforward techniques and simple tools. Whether you’re new to working with clay or looking for an easy yet detailed project, this guide offers a clear and structured way to complete Mongi while paying attention to fine details like facial expressions and texturing.
Materials and Tools
Materials
- Light beige clay: For the head, body, legs, chest fur, and back legs.
- Brown clay: For the ears.
- Green clay: For the tail and triangle spikes resembling scales.
- Pink clay: For the tongue and blush details.
- Black clay: For the eyes, nose, and additional face details.
Tools
- Clay blade or cutter: For cutting and shaping specific pieces (e.g., chest fur, tail).
- Your hands: For rolling, flattening, and shaping the clay.
- No other tools are needed for this simple project.
Shaping and Assembling Mongi
Head and Body
- Shape the Head:
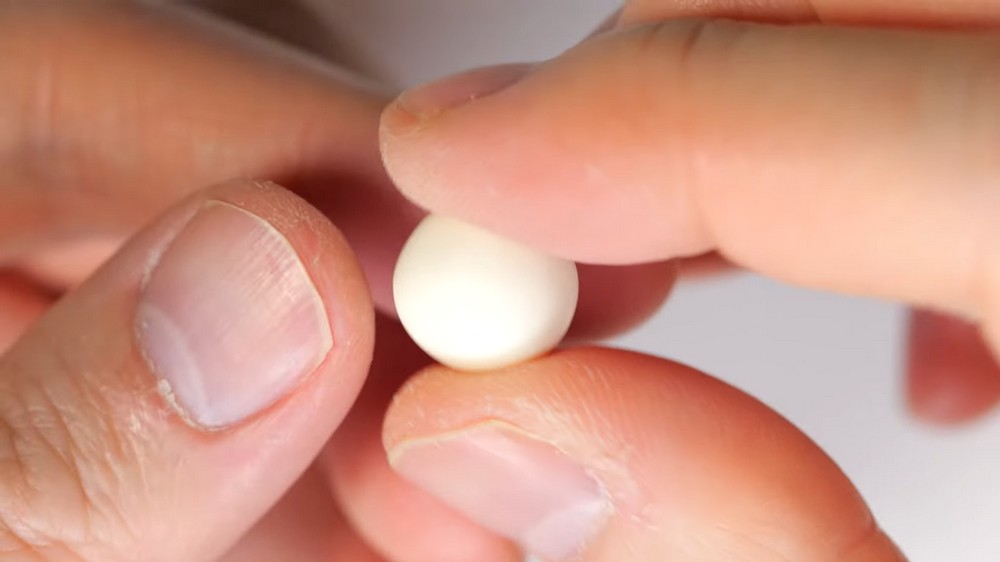
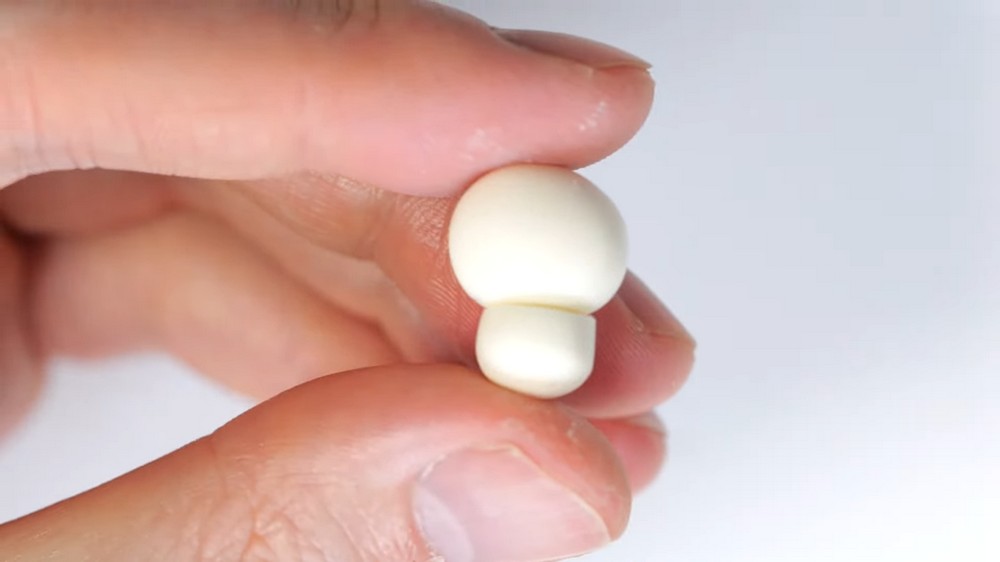
- Take a large piece of light beige clay and roll it into an oval form for Mongi’s head.
- Smooth the edges with your fingers to ensure an even shape.
- Form the Body:
- Use another piece of light beige clay and roll it into a slightly thicker cylinder shape.
- Cut off one end using the clay blade and attach the cut edge to the bottom of the head.
- Press gently to secure the connection between the head and body.
Front Legs
- Shape the Front Legs:
- Take two smaller pieces of beige clay and roll each into a long carrot shape.
- Position the legs on the front side of the body, angling them slightly outward for a natural stance.
Chest Fur Detail
- Create the Chest Fur:
- Flatten a small piece of beige clay into a thin, smooth sheet.
- Cut out a small rectangle from the flattened sheet using the clay blade.
- Use the blade to make dramatic indents along the edges of the rectangle to simulate fur texture.
- Attach the Chest Fur:
- Place the fur detail on the upper chest area, just below the head, and gently smooth it onto the body.
Back Legs
- Shape the Back Legs:
- Take two additional pieces of beige clay and roll each into carrot shapes, similar to the front legs.
- Cut off one end of each carrot shape at a slight slant using the blade.
- Attach the Back Legs:
- Position the slanted end of the legs against the back side of the body, arranging them to provide balance and create a natural pose.
Ears
- Form the Ears:
- Use brown clay to create two flattened teardrop shapes for Mongi’s ears.
- Flatten one end slightly with your fingers while keeping the other end pointed.
- Use brown clay to create two flattened teardrop shapes for Mongi’s ears.
- Attach the Ears:
- Position one ear on each side of Mongi’s head, near the top.
- Ensure that both ears are symmetrical and firmly pressed onto the head.
Tail
- Shape the Tail:
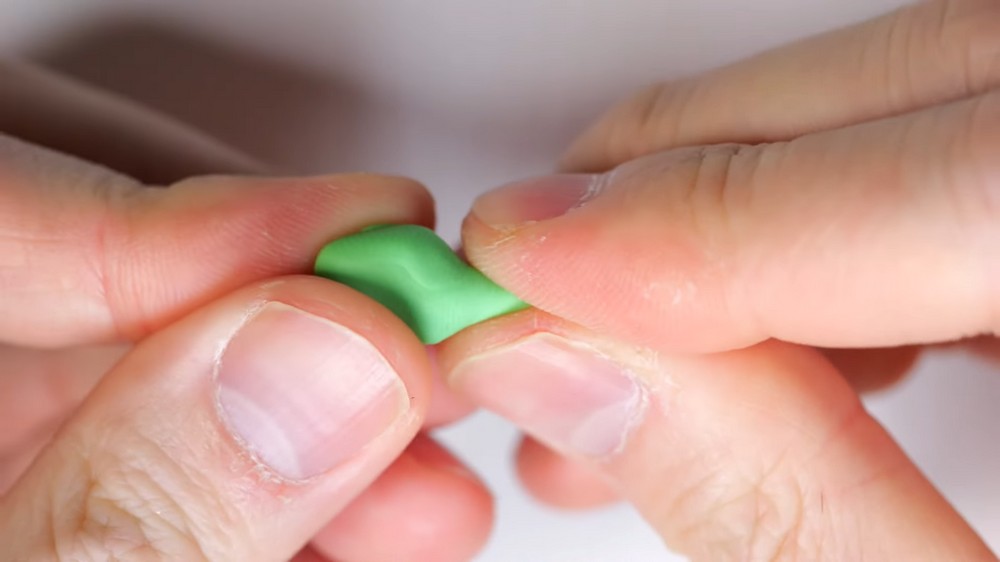
- Roll a piece of green clay into a cone shape with a wide base and a narrow tip.
-
- Cut off the narrow end using the blade to create an even edge.
- Attach the Tail:
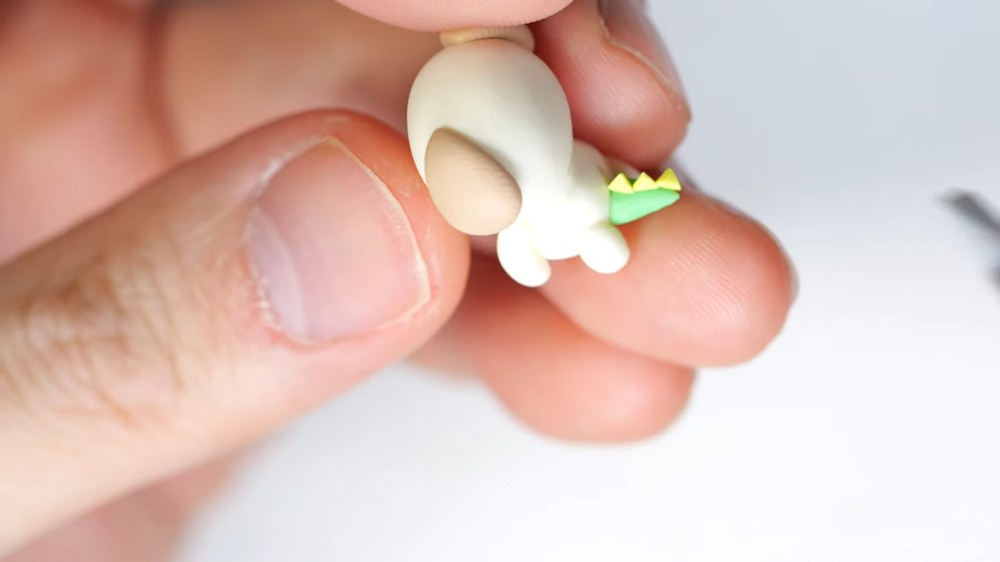
- Place the tail on the back side of the body, securing the wide base at the lower end of the body.
- Adjust and smooth the connection to ensure the tail stays in place.
- Add Tail Spikes:
- Roll out three small triangles of green clay and attach them evenly along the tail.
- Position the triangles to mimic dinosaur-inspired spikes.
Additional Spikes
- Add Spikes on the Head:
- Roll and cut three slightly larger triangles of green clay.
- Attach these spikes on the back side of the head, evenly spacing them out to complement the tail spikes.
Face Details
- Create the Eyes:
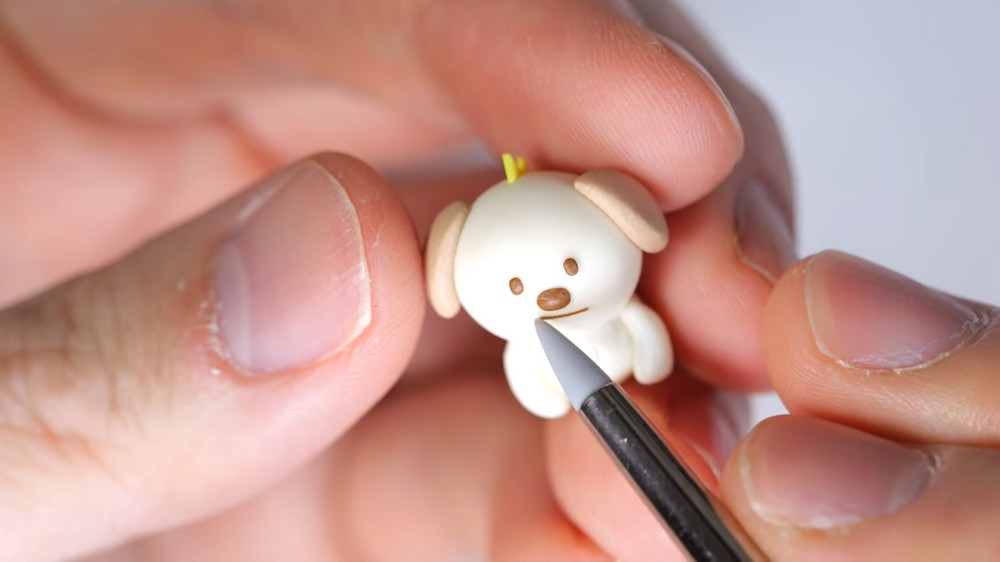
- Roll two small ovals of black clay and attach them symmetrically on Mongi’s head for the eyes.
- Add the Nose:
- Roll a tiny oval of black clay and attach it to the center of Mongi’s face, just below the eyes.
- Make the Smile:
- Use the clay blade or your fingers to lightly carve a line smile under the nose.
- Add the Tongue:
- Roll a half-circle of pink clay and position it within the curve of the smile for a playful detail.
- Include Blush Marks:
- Roll three tiny lines of pink clay and position them on each side of Mongi’s cheeks.
- These marks add a charming blush effect to the character’s face.
Final Adjustments
Inspect Your Mongi
- Check Mongi’s structure from all sides:
- Ensure the head and body are firmly connected.
- Verify the placement of the legs, tail, and ears for symmetry.
- Confirm the spikes are securely attached and evenly spaced.
- Adjust the facial details if needed for balance and expression.
Smooth the Surface
- Use your fingers to gently smooth out any rough edges, fingerprints, or uneven areas on the clay.
- Pay special attention to where pieces connect (e.g., ears, legs, tail) for a seamless look.
Conclusion
Mongi is now ready for display, showcasing a quirky personality and life-like features that make it stand out. From shaping the body and legs to adding spikes and intricate facial details, this tutorial highlighted simple yet effective techniques to help build your clay figure step by step. The variety of materials and basic methods involved makes this accessible for anyone interested in learning to work with clay while following a character design. Mongi can serve as a charming decoration, a fun keepsake, or a thoughtful gift for someone familiar with Rise. Attention to detail in elements like the tongue, blush marks, and tail spikes ensures that every part of Mongi stays true to its original character and adds personality to the finished piece. Working on projects like this can be a fun way to get hands-on with artistic skills and bring characters to life.v