Display your favorite character with DIY Polymer Clay Songyongdoli, a playful miniature figure for fans who love tiny characters, colorful displays, and gifts.
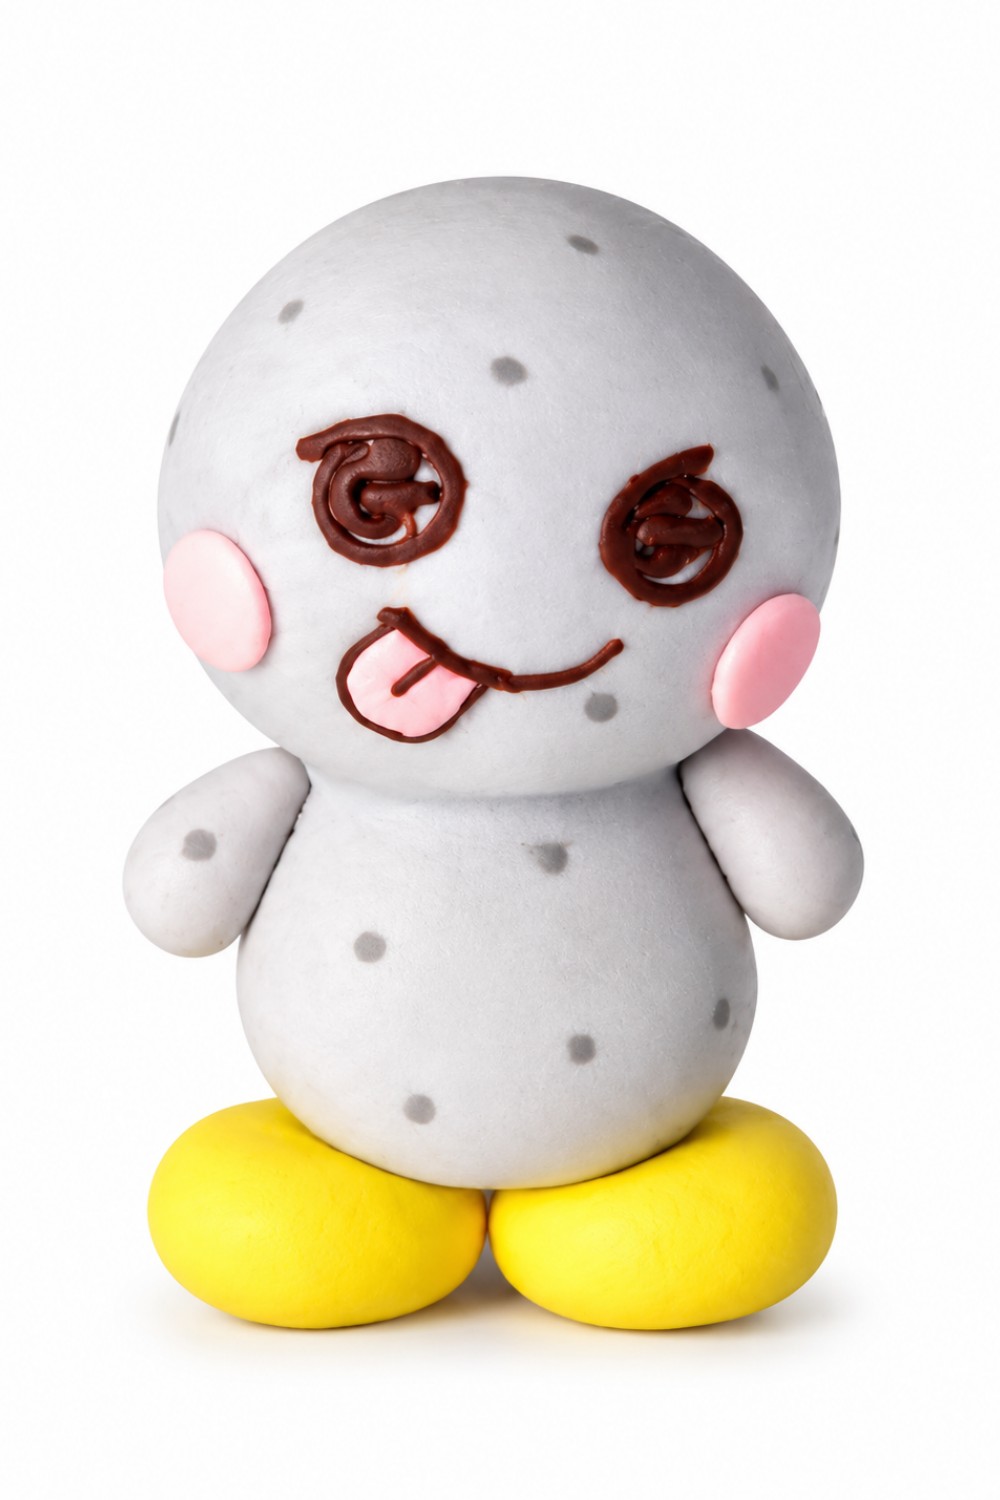
PolymomoTea shares an interesting clay tutorial inspired by Songyongdoli, a character associated with Eunseok from the K-pop group RIIZE. The DIY Polymer Clay Songyongdoli is a small collectible figure based on the character's original cartoon appearance. It is an appealing choice for people who follow Korean music and like collecting items related to their favorite artists. Instead of buying a regular decoration, you can prepare something personal using colorful polymer clay.
Simple DIY Polymer Clay Songyongdoli For Collectible Figures
The design focuses on the character's familiar shape, facial expression, and recognizable colors. Small details play an important role in capturing its original appearance. Working on these features requires patience, especially when handling tiny clay pieces. Keeping the surface smooth and the different sections properly shaped helps achieve a clean result.
To begin this clay craft, soften the required colors between your fingers until they are easy to work with. Shape the main body sections first, then prepare the smaller features separately. Use gentle pressure when joining the pieces to avoid changing their form. Simple modeling tools can help with areas that are difficult to shape by hand.
After assembling the figure, follow the clay manufacturer's baking instructions to harden it properly. Allow the finished piece to cool completely before handling or displaying it. Any additional finishing materials should be used according to their product directions.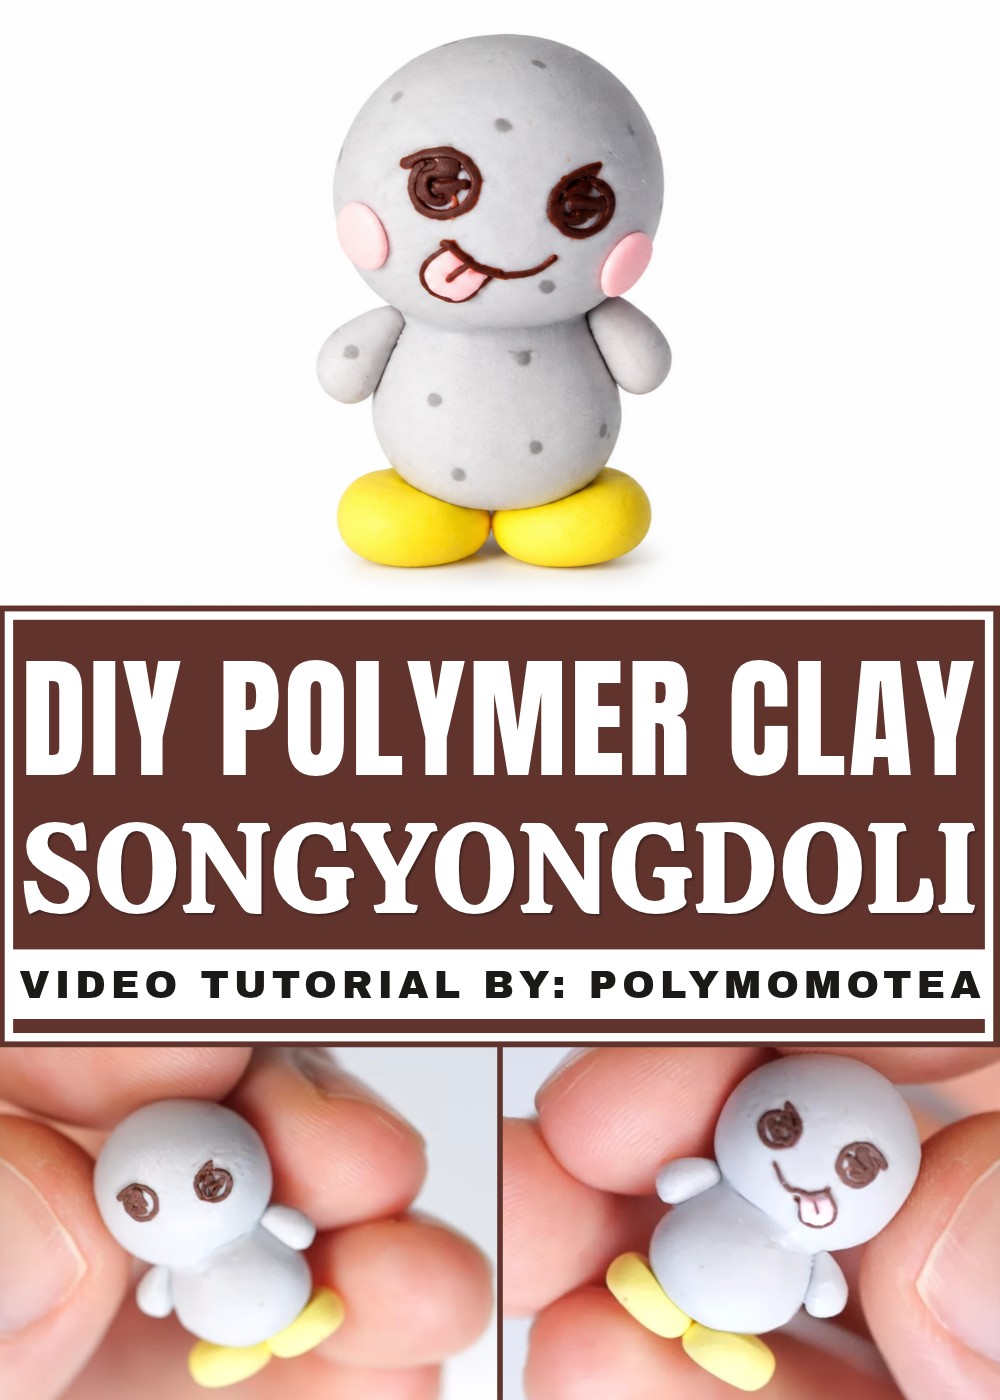
You can place Songyongdoli beside your K-pop albums, display it on a bedroom table, or keep it with other music-related collectibles. It is also a thoughtful handmade gift for a friend who follows RIIZE.
This activity gives you time to practice shaping, joining, and finishing polymer clay pieces. It also offers a personal way to show your appreciation for a favorite artist through a small display item.
How to Make a Simple Clay Character: Songi
In this tutorial, you'll learn how to create a cute clay character named Songi. This project is perfect for beginners and uses basic clay shaping techniques. Follow the steps carefully to make your own little clay figure.I love this clay character project because it’s simple, creative, and perfect for beginners. Making Songi allowed me to practice shaping and blending clay easily while creating something adorable.
The step-by-step process, from forming the head and body to adding expressive eyes and a cute smile, makes the whole experience enjoyable and satisfying. I especially like how small details like the tongue and blush bring the character to life. This project inspires me to try more clay figures and experiment with different colors and shapes. Overall, it’s a fun, rewarding craft that anyone can enjoy and be proud of!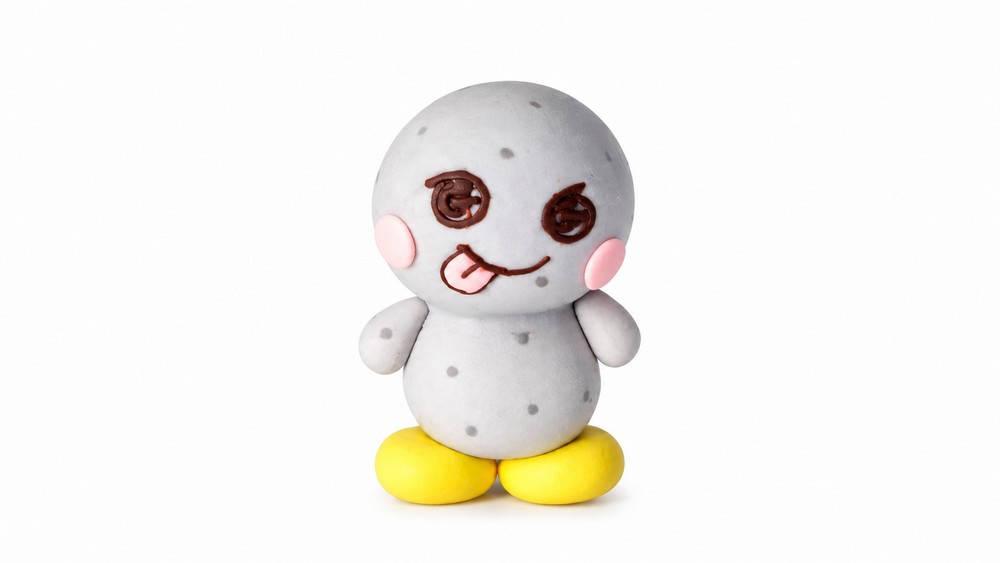
Materials and Tools Needed:
- Gray polymer clay
- Yellow polymer clay
- Brown polymer clay
- Needle tool or any blending tool
- Rolling surface and blade (for flattening and cutting clay)
- Any suitable work surface
Project Overview
In this project, you will create a simple and cute clay character named Songi using polymer clay. The process involves shaping basic forms like circles and teardrops to build the head, body, arms, and feet. You will also learn how to add facial details, such as eyes with brown outlines, a smiling mouth with a tongue, and small blush spots. This beginner-friendly tutorial focuses on blending clay parts smoothly and using simple shapes to bring the character to life. By following these clear steps, you’ll develop foundational clay sculpting skills and create an adorable figurine perfect for decoration or gifts.
Step-by-Step Instructions:
1. Making the Head
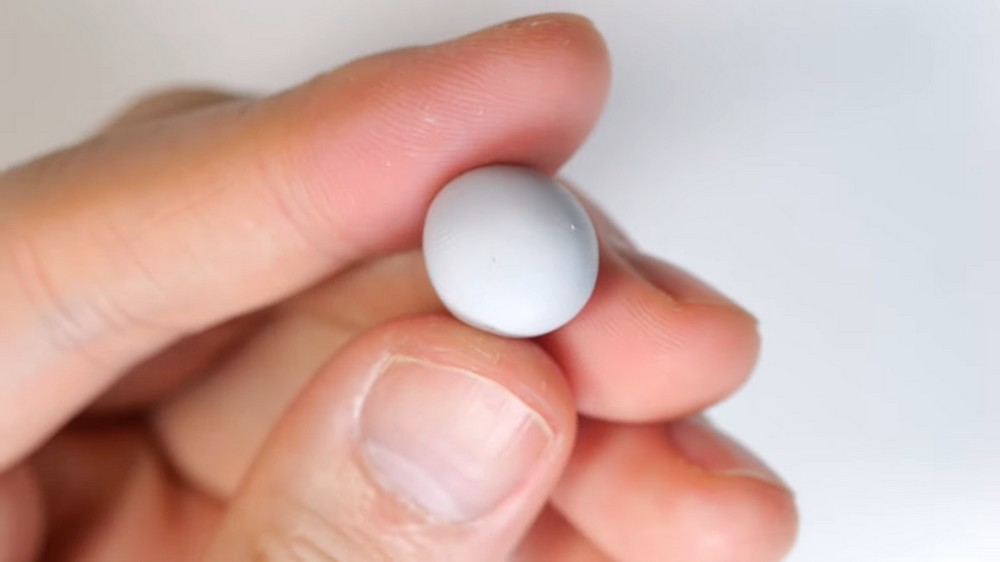
- Take some gray clay.
- Flatten it into a slightly flattened circle shape. This will be the head of the character.
- Make sure it’s moderately thick but not too thin to keep it sturdy.
2. Forming the Body
- Using the same gray clay, roll out a cylinder shape.
- Cut off the end to get the desired body length.
- Flatten the bottom of this cylinder slightly so it can stand.
- Place the flattened bottom of the body onto the base of the head circle.
- Use your needle tool to gently blend where the body meets the head, smoothing out any seams so they look connected.
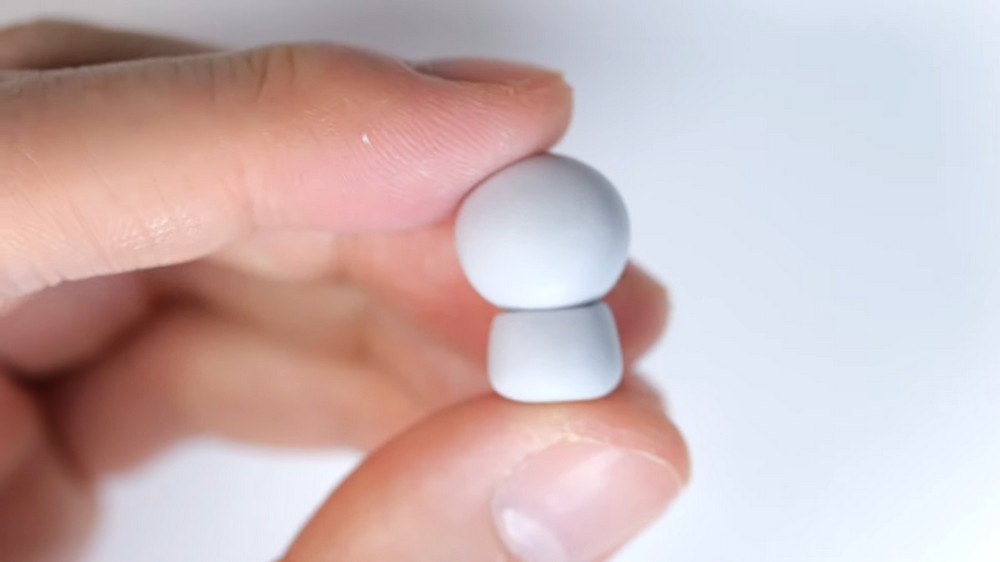
3. Creating Arms
- Take more gray clay.
- Shape the clay into chunky teardrop shapes. These will be the arms.
- Attach one teardrop shape on each side of the body. Press lightly to stick them on securely.
4. Making the Feet
- Take yellow clay.
- Flatten it into thin, round shapes, similar to fluffy pancakes.
- These flattened circles will be the feet.
- Attach one yellow circle to the bottom of each side of the body to create feet.
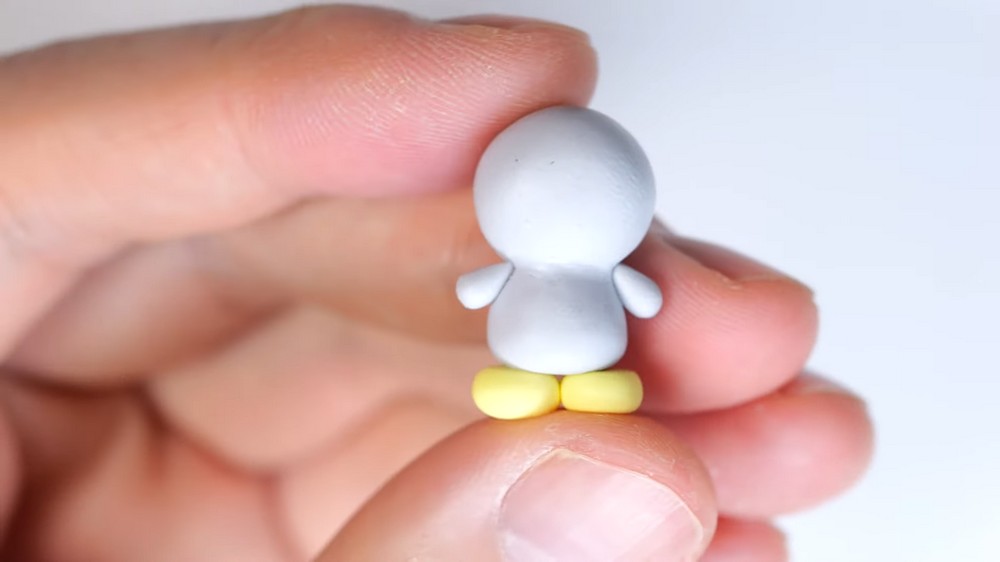
5. Crafting the Eyes
- Roll out thin snakes (long thin rolls) of brown clay.
- Using these brown snakes, create a circle outline for each eye.
- Make one side of the circle a bit longer to resemble eyeliner.
- For the first eye, place it higher on the head.
- For the second eye, place it slightly lower than the first.
- Fill in the inside of each eye outline with randomly placed small snakes of brown clay to give a scribbled look.
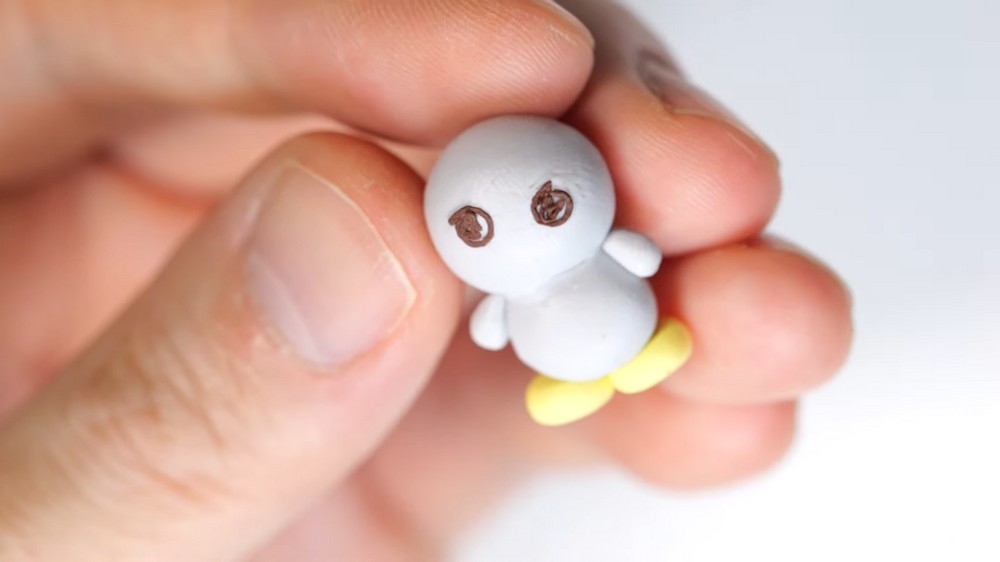
6. Adding Facial Features
- Use thin clay to form a small half-oval smile.
- Add a half-oval shaped tongue inside the smile.
- Outline the tongue with a thin line of brown clay.
- Add a small line across the tongue for detail.
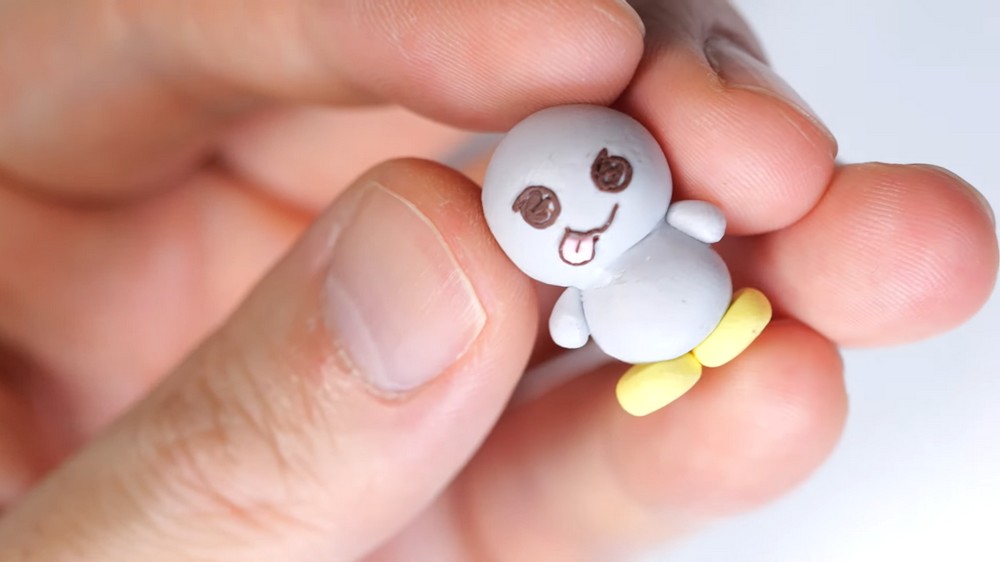
7. Final Details: Blush and Stone Design
- Make two small circles using clay and add these as blush on the cheeks.
- Use tiny dots of darker gray clay to create a stone-like design on the character's body.
Finishing Touches:
- Check all the parts are well blended and smooth any rough edges.
- Bake the clay following the manufacturer's instructions (usually around 265°F / 130°C for 15-30 minutes depending on size). Make sure to use polymer clay that’s safe to bake.
- Let it cool completely before handling.