Brighten your holidays with a DIY Polymer Clay Snowman & Tree that’s fun to make and perfect for festive decor or thoughtful handmade gifts.
The winter season feels extra special when you fill it with creative, hands-on activities. One fun idea that perfectly matches the cozy holiday spirit is crafting tiny snowmen and trees. These little decorations are cheerful, adorable, and bring a festive vibe to any space. Whether you’re sprucing up your home or looking for a thoughtful handmade gift, this project is a wonderful way to add some holiday magic to your surroundings.
DIY Polymer Clay Snowman & Tree Craft for Christmas Projects
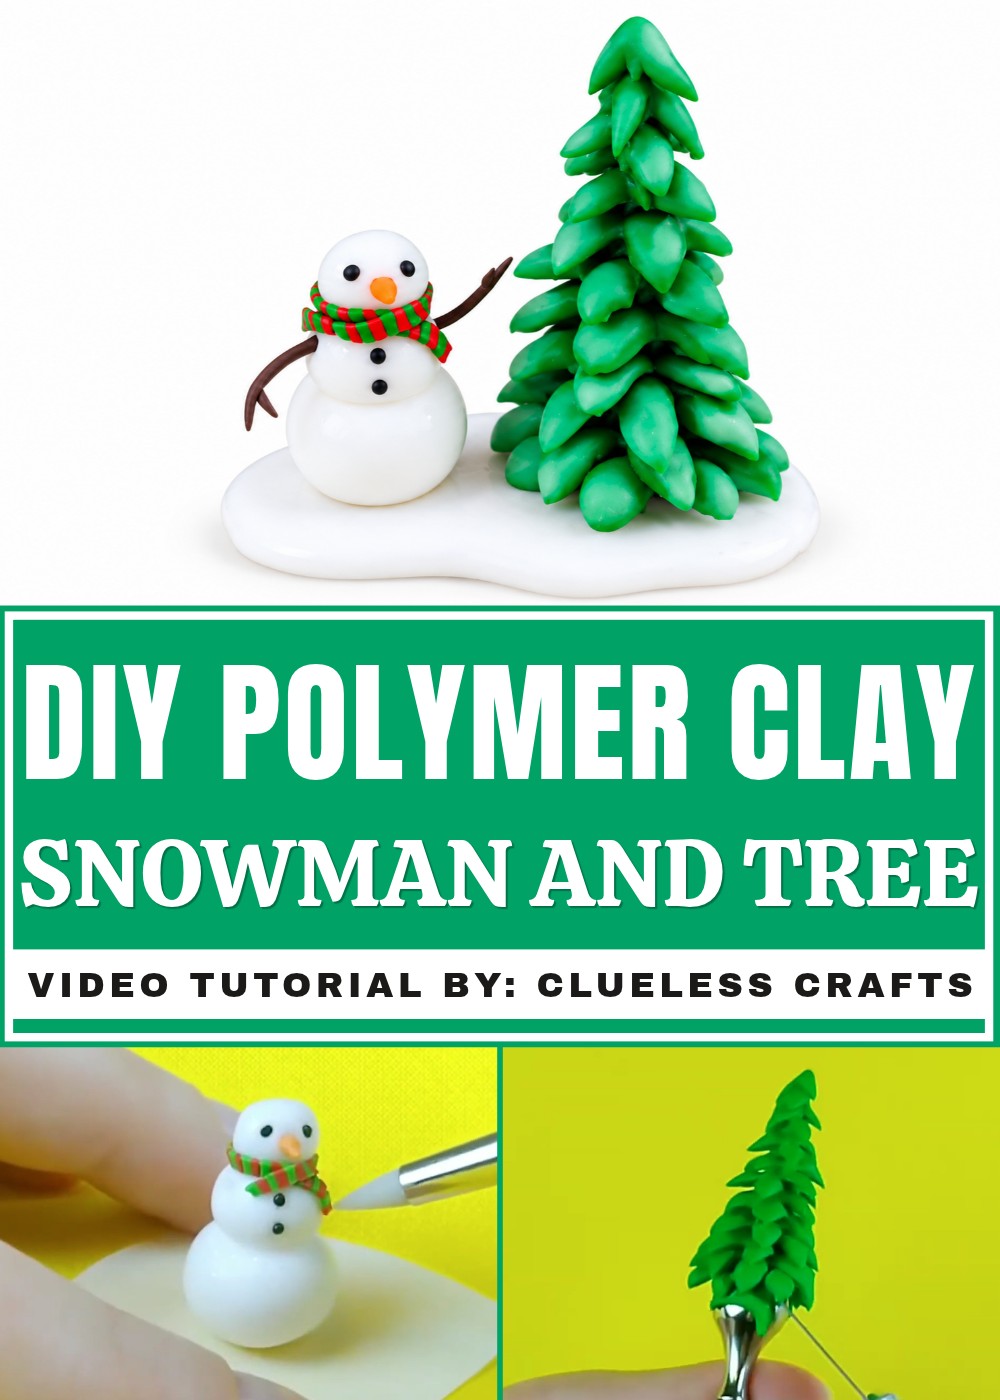
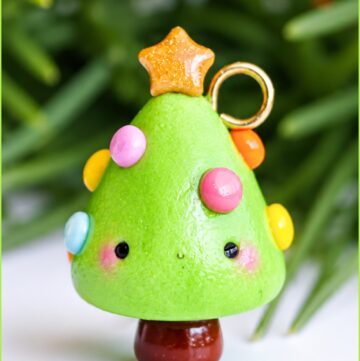
A snowman with a carrot nose and a tree with cute details like star toppers and "snowy" textures are classic symbols of the season. Their playful design captures the joy and wonder of winter, making them perfect to display on shelves, tables, or even as part of a Christmas centerpiece. They add a warm, handmade charm to your holiday decor and make the season feel even cozier and more personal.
The best part about these snowy characters and trees is how much fun they are to customize. You can play with different colors and styles to match your holiday theme or create unique pieces that stand out. Whether you keep them for yourself or share them with loved ones, these tiny creations are sure to spread smiles and a little winter magic wherever they go.
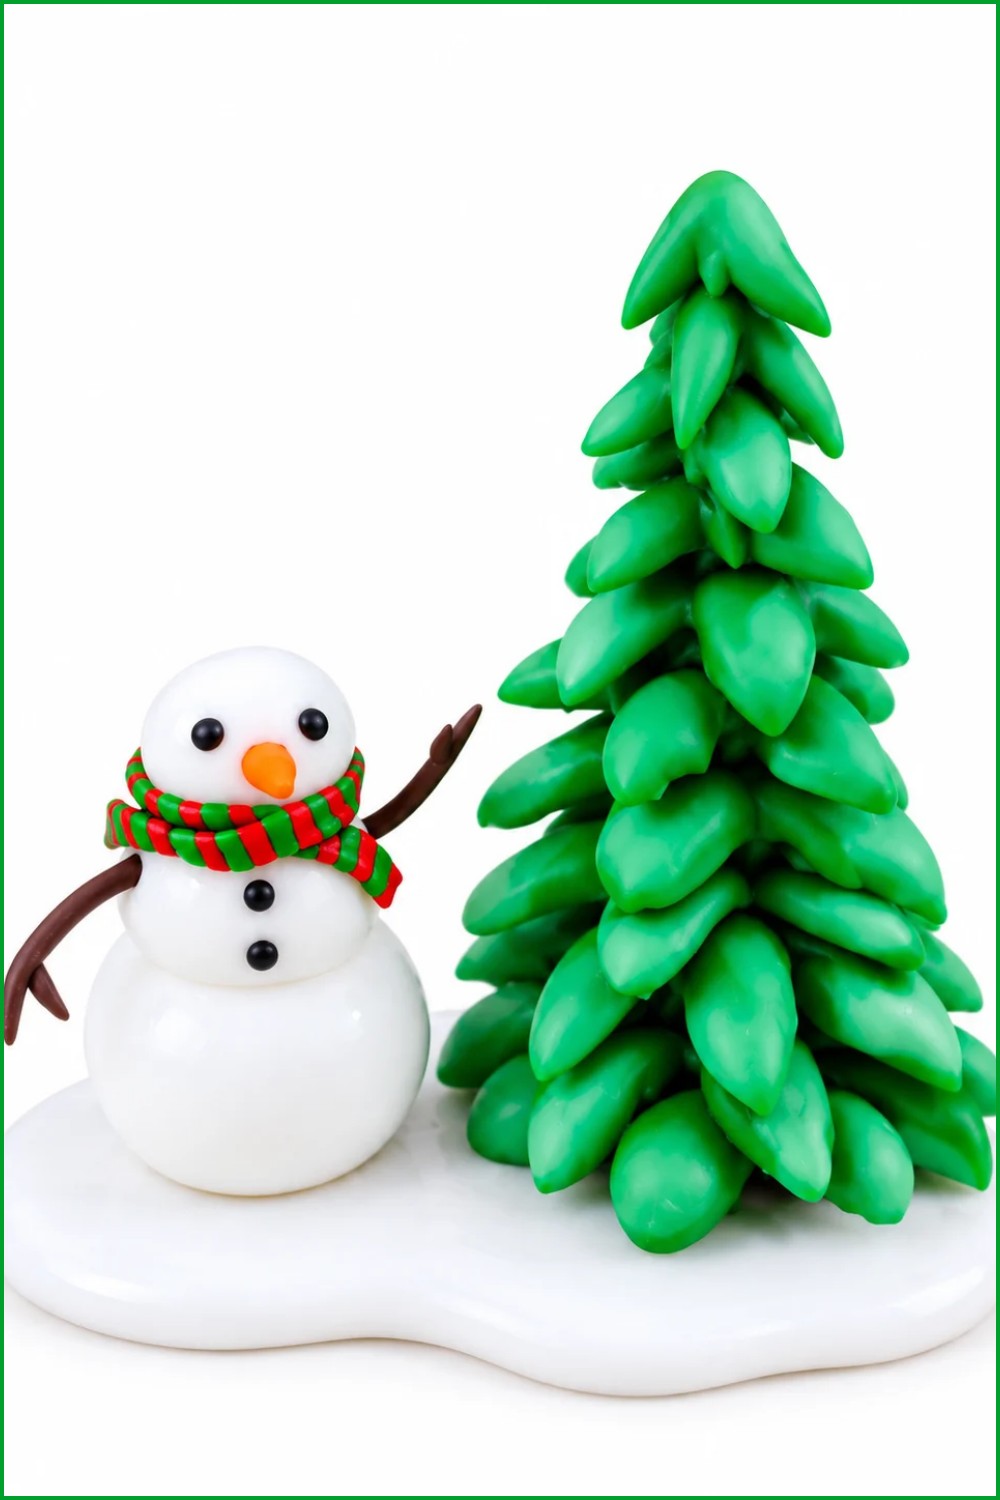
Miniature Snowman with Snow‑Covered Pine Tree
Make a tiny glittery snowman plus a snow‑covered pine tree diorama from polymer clay. This guide follows the full spoken procedure in the transcription and reproduces each part of the process step‑by‑step without skipping any detail.
Supplies and Equipment
- White polymer clay (the creator used white glittery clay to mimic sparkling snow)
- Black polymer clay (for eyes and buttons/lumps of coal)
- Brown polymer clay (for stick arms and tree stump)
- Orange polymer clay (for carrot nose)
- Red and green polymer clay (for scarf pattern)
- Green polymer clay (for pine tree)
- Liquid Sculpey (or another liquid clay/adhesive)
- Small sculpting tools (ball‑pointed tool, silicone tool, toothpick)
- Small pair of scissors (clean cutting tool — e.g., manicure scissors)
- Work surface, blade/cutter
- Oven and baking tray
- Optional: small roller, mixing tool, spatula, gloss/varnish
Measurements and Specifications
- Use small sizes throughout — three stacked snowballs for the snowman, each one smaller than the last.
- Scarf pattern slices: cut ~2 mm sections to make the red/green repeating pattern.
- No precise numeric dimensions were given for the snowman or tree; keep everything miniature and proportional so the snowman can stand beside the tree.
Getting Everything Ready
- Lay out all clay colors and tools.
- Choose a glittery white clay if you want the sparkly snow effect (the creator notes it may not show well on camera but is visible in person).
- Prepare a clean, flat work surface and have sculpting tools and scissors ready.
Making Instructions
Constructing the Snowman Body
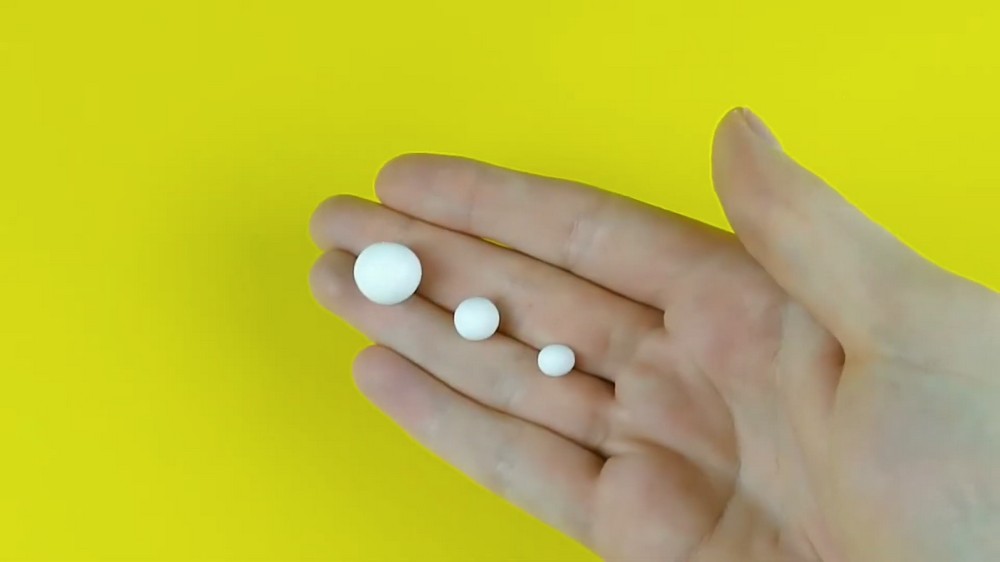
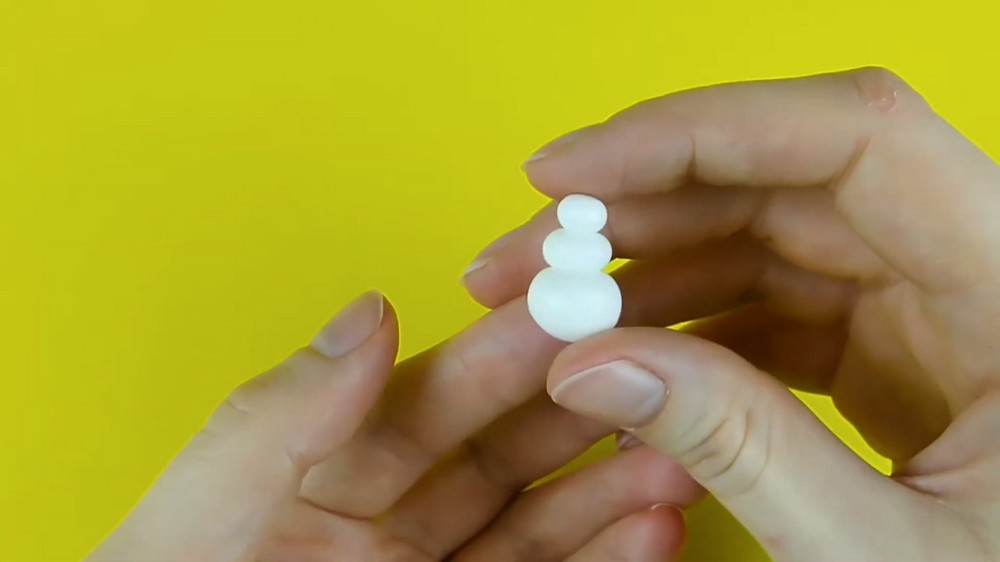
- Take three small balls of white clay, each one smaller than the last.
- Stack and squish the clay pieces together to form the classic three‑tiered snowman shape. The creator uses glittery white clay to represent sparkling snow.
Lumps of Coal (Eyes and Buttons)
- Roll out tiny pieces of black clay — very small — to form the lumps of coal for the snowman’s eyes and buttons.
- Place them where desired. Use delicate tools or fingers to set them in place.
Making the Stick Arms and Hands
- Take a small ball of brown clay and roll it into a thin log for a stick arm.
- Cut the ends off on either side to create short pointy tapered tips.
- Re‑roll the ends of the main log as necessary until the ends resemble a little unimpressed emoji shape (the creator notes it “coincidentally looks like an unimpressed emoji”).
- Cut off the tapered tips — these become twig hands.
- Connect the tapered tips to the end of your stick arms so you have small twig hands attached to your twig arms.
- Repeat for the other arm. If a hand needs adjusting after placing, fix it (the creator had to fix the first hand and then gave the second arm a little wave).
Carrot Nose
- Take a tiny ball of orange clay.
- Roll out one end into a cone shape to form a carrot.
- Cut to desired length for the nose.
- Optionally add texture with a pointed silicone tool or a toothpick, or leave the nose smooth.
Scarf (Red & Green Pattern)
- Roll out two logs of clay: one red and one green.
- Push them together side by side and cut off the rough ends so the edges are neat.
- To create the scarf’s woven pattern: cut off ~2 mm sections at a time from the joined logs using your blade.
- Stack those 2 mm slices side by side along the blade to create a repeating red/green pattern.
- Continue slicing and stacking until you run out of clay or reach the desired length.
- Gently press down with a silicone tool on the assembled scarf to both join the pieces together and separate the strip from the blade.
- Trim a sliver off each side of the scarf strip to straighten the edges.
- Set the scarf aside for assembly.
Preparing for Assembly (Indents and Placement)
- Before attaching details, press indents where you want the eyes, nose, buttons, and arms to go on the snowman. This helps:
- Know exact placement
- Avoid squishing small details into indistinct blobs
- Allow pieces to sit flush on the face and body
- Use a sculpting tool to place delicate items — the creator emphasizes this is too delicate for “clumsy fingers.”
Draping and Wrapping the Scarf
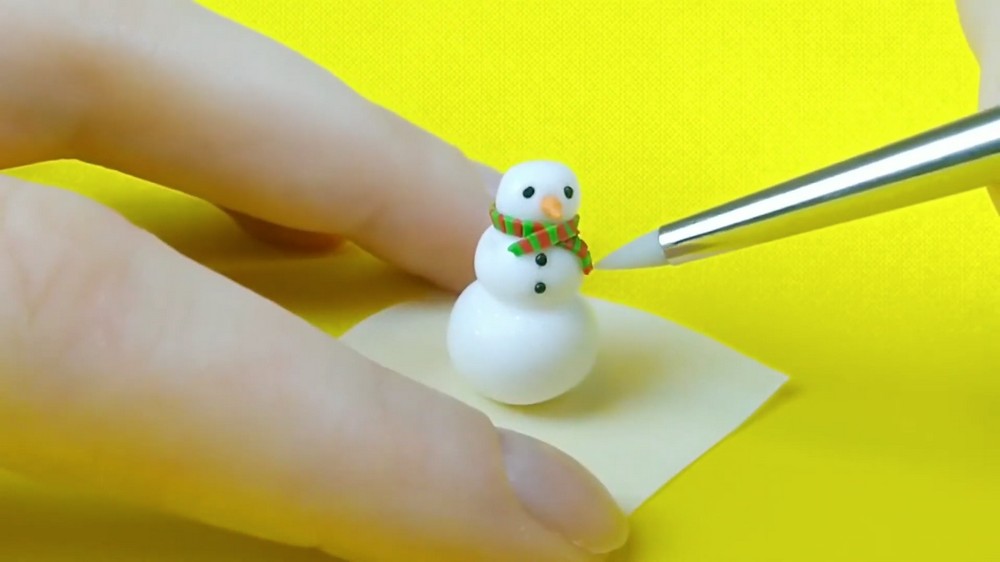
- Carefully drape the scarf behind the snowman, then wrap it around the neck, pressing down as you go to secure it in place.
- If the scarf seems too short, quickly make another small section and add it to the end of the scarf, patting it into place.
Attaching Eyes, Nose, Buttons, Arms
- Place the black coal pieces into the eye indents and button indents you prepared earlier.
- Insert and secure the carrot nose into its nose indent.
- Carefully attach the twig arms to the indented arm positions. If any hand/arm needs a minor fix, adjust it before baking.
- Pose one arm in a little wave if desired — the creator cheekily asks “are you waving back?” and warns not to leave the arms hanging (make sure they are secured).
Pre‑Bake (Stabilization)
- The creator bakes at this point: they do a 10‑minute pre‑bake to preserve the snowman’s shape before adding the tree and extra snow details. (Follow your clay brand’s instructions for temperatures/time if you use a different brand.)
Making the Pine Tree
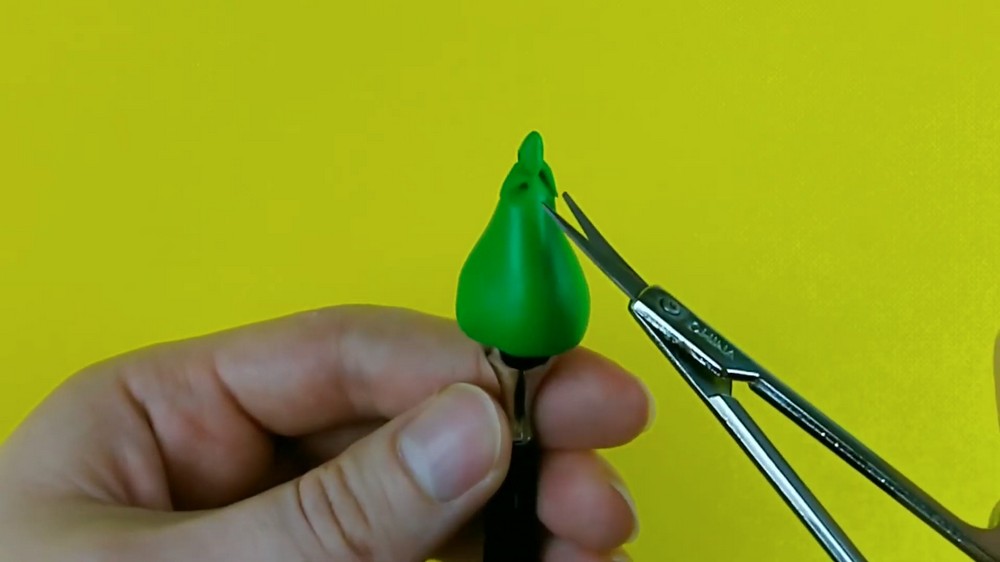
- Roll a ball of green clay into a cone for the tree shape.
- Press the cone against the table to flatten the bottom so it can stand.
- Use a larger ball‑pointed tool to press into the bottom of the cone and pull the edges down slightly to help hold shape.
- Using a small pair of scissors (e.g., nail scissors), make small cuts into the tree starting from the top:
- Angle the scissors slightly upwards.
- Make short cuts, then make the next cut slightly downward next to the previous one.
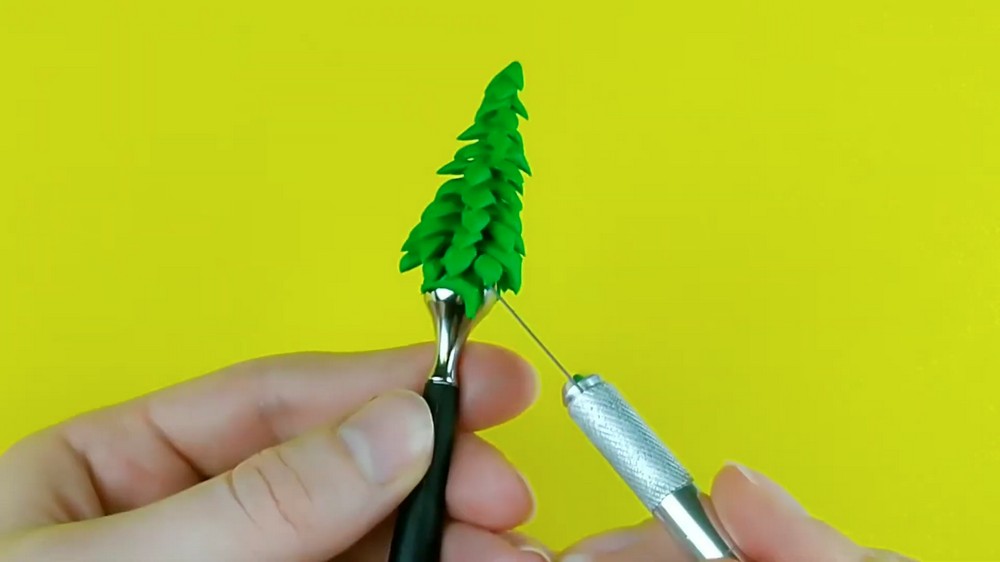
- Continue in a downward spiral pattern around the cone.
- Wipe off any extra clay that sticks to the scissors between cuts so each cut remains nice and clean.
- As you work down the tree, make the cuts slightly bigger the lower you go (or adjust to your preference).
- When you reach the desired height or run out of clay, cut off any extra clay at the bottom and separate the tree from the base carefully — try not to let it fall and squish the detailed branches.
Pre‑bake Tree (and Rationale)
- The creator pre‑bakes the tree to preserve the carved shape before adding the snow. They do a 10‑minute pre‑bake (same pre‑bake used for the snowman earlier).
- Pre‑baking stabilizes delicate branches so they don’t distort when you apply wet or liquid materials.
Mixing Snow for Coverage
- To make a drapable snow mixture, mix white clay with some Liquid Sculpey. (The creator attempted this and added too much liquid Sculpey, noting they should have used a 1:1 ratio — instead they ended up with very runny snow.)
- If mixing, aim for a balanced consistency so it’s thick enough to hold shape but tacky enough to adhere to branches.
Creating the Snow Base
- Make an irregular snow base by squishing and pulling a ball of glittery white clay into an irregular shape to form an area of snow for the tree and snowman to sit on.
- Prepare the tree stump: squish a small ball of brown clay and attach it to the bottom of the tree as a short stump.
Gluing and Snow Application
- Apply Liquid Sculpey to glue the tree stump to the snow base and to attach other elements.
- Use a toothpick to drape the snow mixture onto every branch of the tree:
- Initially apply messy globs of the snow mixture onto branches.
- Take your time to spread the snow out afterward, trying to cover as much of the tree as possible while still letting green edges peek through for a natural snowy look.
- Continue until the tree has snow on its branches to your liking.
Final Bake
- After snow application, bake the tree for another 15 minutes at 230 degrees (the creator’s stated final bake).
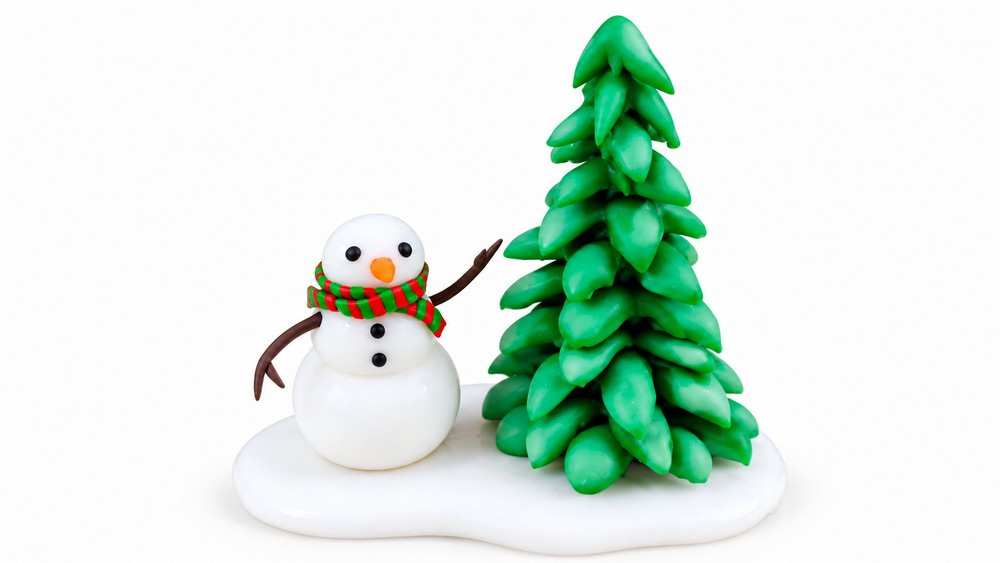
- Once baked and cooled, place the snowman on the prepared snow base next to the tree.
Assembly
- After all pieces are baked and cooled, arrange the snowman on the snow base beside the snow‑covered pine tree.
- Make any small post‑bake adjustments (some adhesives or small top‑ups can be applied with liquid clay before a quick re‑bake if necessary).
Final Touches
- Inspect the scene for any loose bits and secure them with additional liquid Sculpey and a short re‑bake if needed.
- Clean up any stray clay strings or fingerprints with a small tool; sanding is optional after baking if desired.
- Optionally add gloss to carrot or buttons if you want shine (not mentioned in the transcript, optional).
Tips for Better Results
- Use glittery white clay for more realistic sparkling snow — it may not show fully on camera but looks nice in person.
- Press indents before placing small items (eyes, nose, buttons, arms) to avoid squishing details.
- Use a sculpting tool for delicate placements rather than fingers.
- Keep your scissors clean between cuts when texturing the tree so the cuts remain crisp.
- When mixing Liquid Sculpey with clay for drippy snow, aim for roughly a 1:1 ratio (the creator overdid the liquid and ended up with runny snow).
- Pre‑bake delicate elements if you plan to add wet or tacky materials afterwards to preserve shape.
Troubleshooting
- If small details squish during placement, remake them and use indents to seat them cleanly.
- If the snow mixture is too runny, add more clay to thicken it, or apply in smaller globs and build up gradually.
- If delicate branches deform when attaching snow, pre‑bake the tree longer or more firmly support it while applying snow.
- If pieces shift during baking, reattach with liquid clay and do a short re‑bake once cooled enough to handle.
Creative Variations
- Change scarf colors/patterns (plaid, single color, multi‑stripe).
- Add tiny accessories: a mini hat, tiny twig broom, or miniature sign.
- Make a family of snowmen in varying sizes for a diorama.
- Use different tree shapes (fir, rounded pine) or multiple trees for a winter scene.
Making of Project — Behind the Scenes
- The creator introduces themselves (“hi everyone Clara here”) and explains the project: a miniature snowman with a snow‑covered pine tree.
- They emphasize small scale (three balls, each smaller than the last) and the sparkle effect of glittery white clay.
- They walk through body construction, tiny coal features, twig arms and hands, carrot nose, patterned scarf creation (2 mm slices), careful placement using indents and sculpting tools, pre‑bakes to stabilize forms, carving the tree with scissors in a spiral cut pattern, mixing white clay with liquid Sculpey for snow (and caution about ratio), applying snow with a toothpick, and final bake times stated in the transcription.