Create a professional-looking DIY Electrical Room with polymer clay using simple techniques to elevate your crafting skills effortlessly.
Making something unique with your own hands is always exciting, especially when it’s a tiny creation like an electrical room crafted from polymer clay. This DIY project combines creativity with a pinch of imagination, giving you the chance to design something truly one-of-a-kind. It’s simple yet inspiring, and perfect for anyone who enjoys crafting miniature pieces or just wants to try something new at their own pace.
DIY Electrical Room With Polymer Clay for Miniature Houses
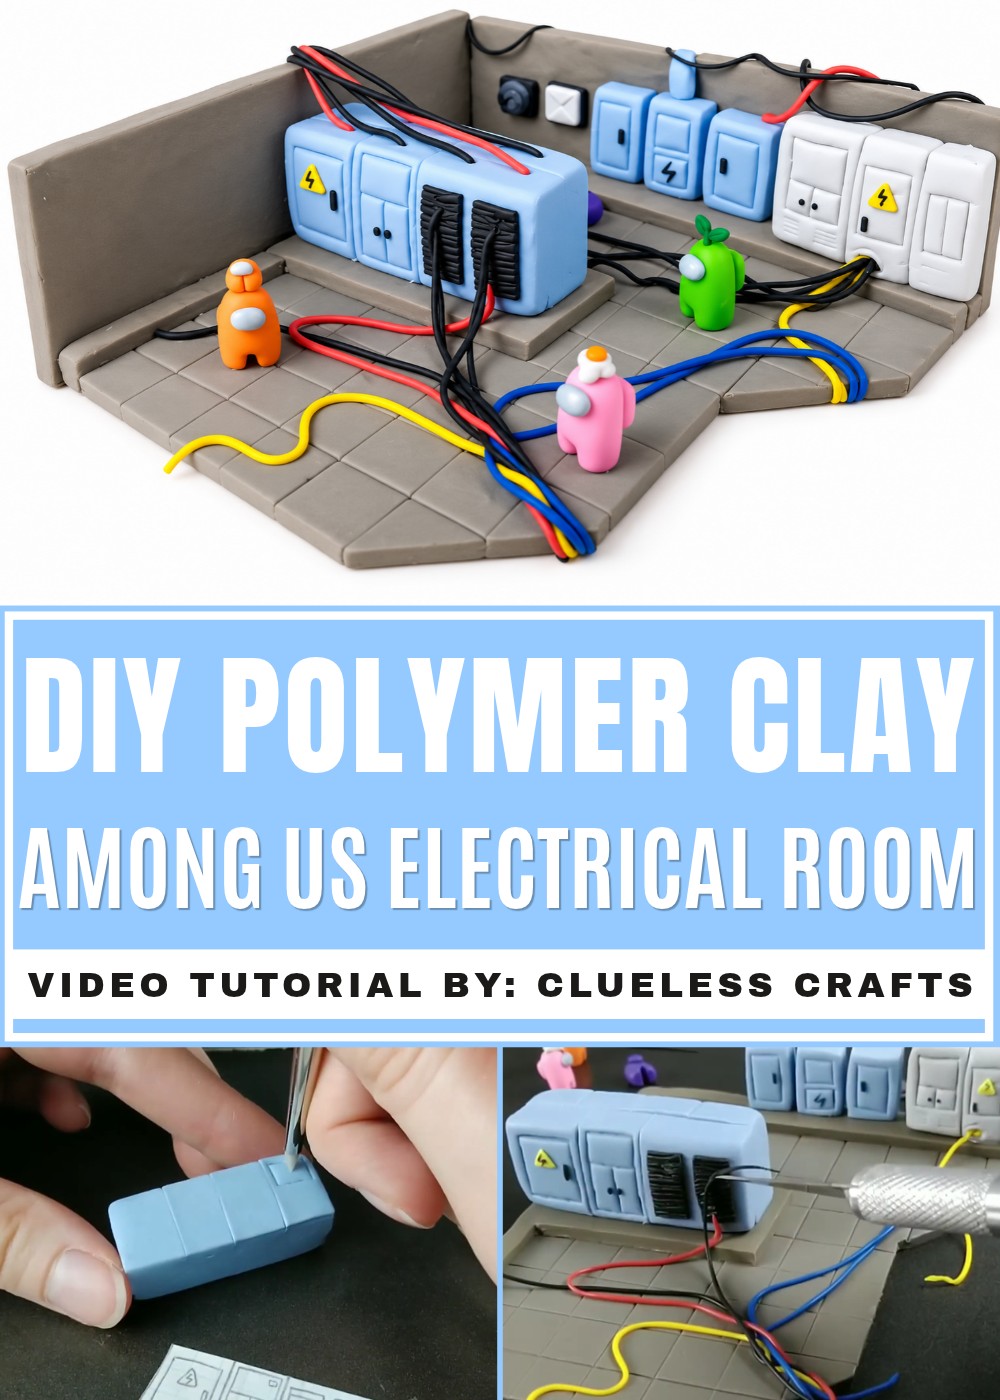
What makes this project stand out is the level of detail you can add. You’ll be shaping things like tiny wires, switches, and control panels—all from polymer clay! It’s like creating a tiny world with all the fun details of an electrical room. Pronounced charm lies in how easily you can personalize it, whether you go for a realistic look or add playful touches with bright colors or quirky shapes. Polymer clay is not only easy to work with but also lets you bake your creations to make them permanent, which means your design will last for years.
This project is a fantastic way to unwind and let your imagination run free. Whether you’re an experienced crafter or just curious to try your hand at polymer clay, it’s easy to get started. You don’t need fancy tools or complicated steps—just a handful of clay, some basic sculpting techniques, and your creative spark. When finished, this little electrical room can be a decoration, a thoughtful gift, or simply a proud addition to your collection of DIY creations.
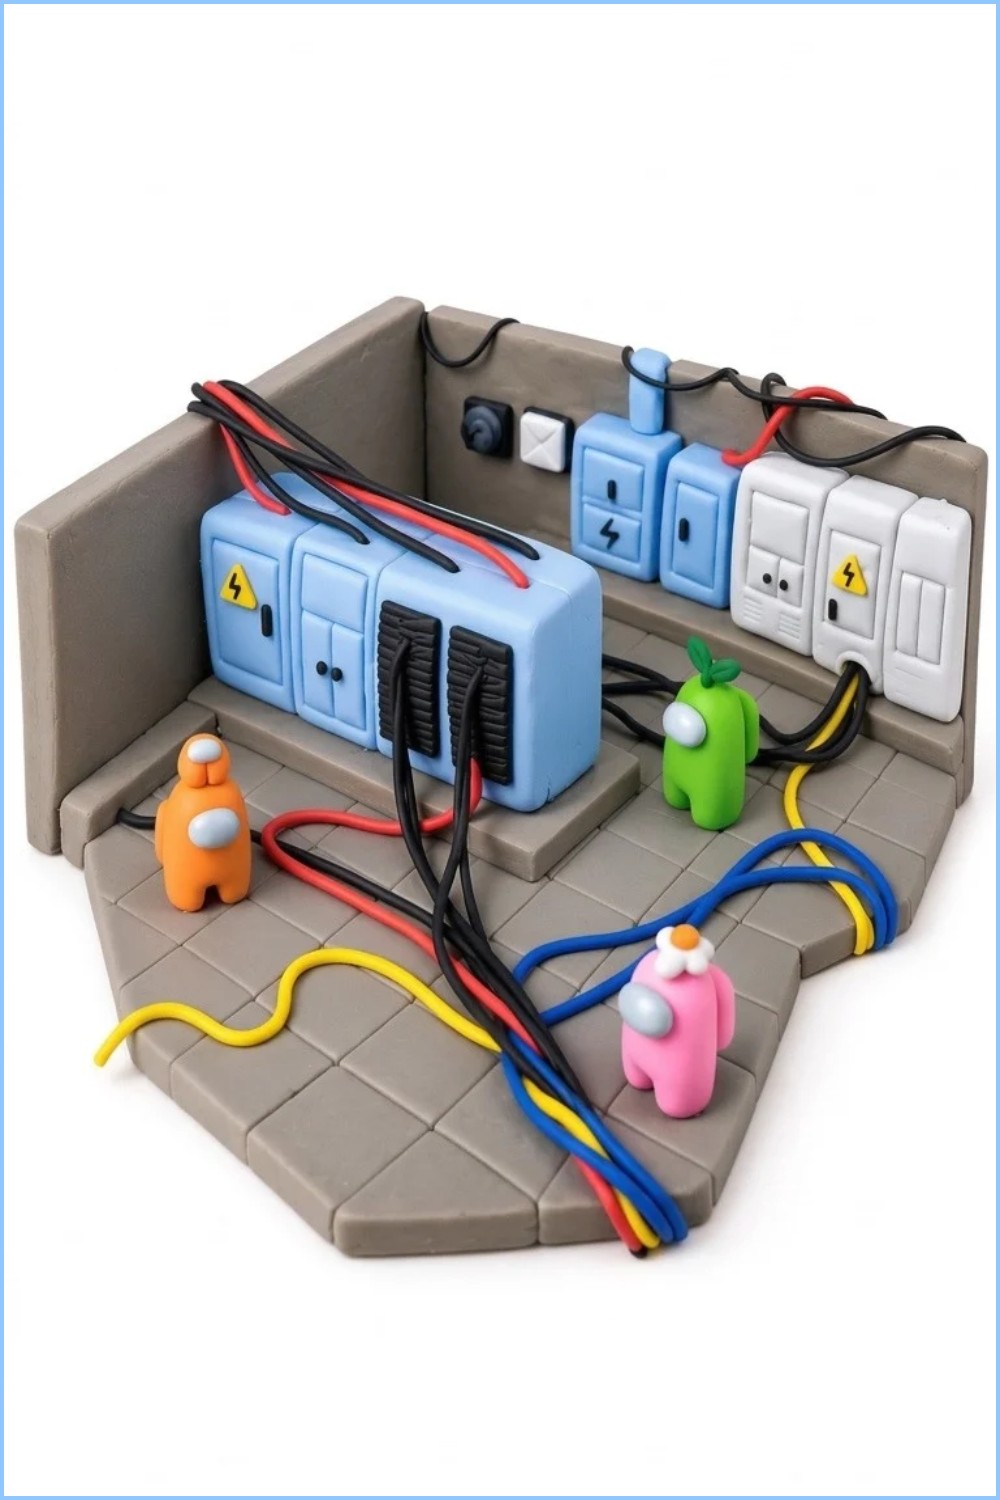
DIY Polymer Clay Among Us Electrical Room
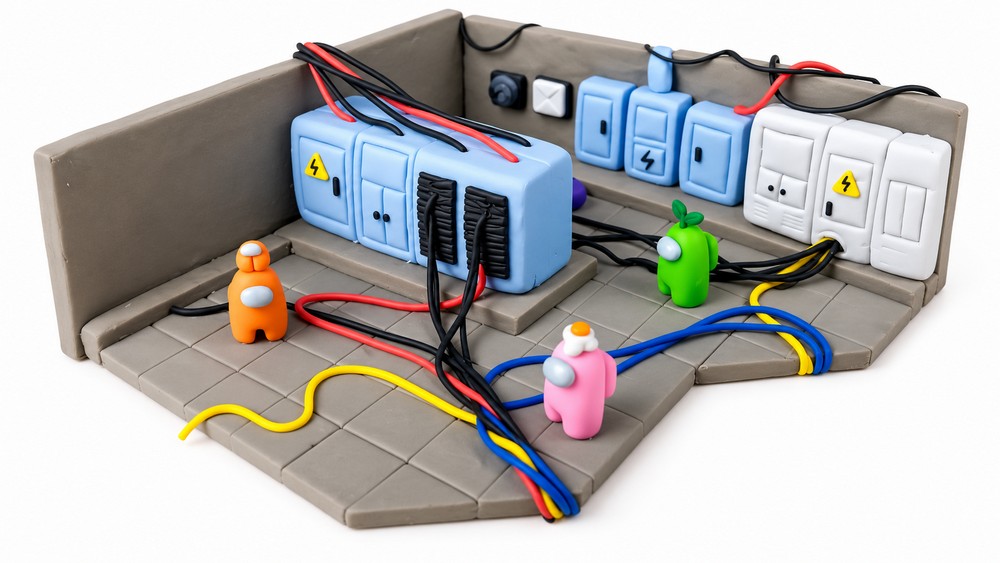
This project makes a miniature “Electrical” room from the Skeld map in Among Us using polymer clay. The finished piece includes a textured tiled floor, a raised platform with electrical boxes and a pipe, scattered colorful wires, wall task panels, a vent, several small crewmates (one with a fried-egg hat) and a dead body.
Materials and tools mentioned in the video
- Sketch/template paper (hand-drawn templates)
- Grayish clay
- White clay (to mix with gray)
- Small amounts of additional colored clay (for wires, crewmates, hat, lightning bolt, dead body)
- Baking pan (use as a work surface and for cutting)
- Blade (craft knife)
- Flat silicone sculpting tool
- Liquid Sculpey (liquid polymer clay)
- Super glue
- Oven
- Optional: pen (mentioned but not used for the lightning bolt)
Make templates and cut the floor
Step 1 — Draw and prepare templates
- Sketch the room layout, the floor pattern, the raised platform shape, and two wall shapes on paper to use as cutting templates.
Step 2 — Mix clay color for the floor
- Mix the grayish clay with white clay until you reach the light gray color you want for the floor.
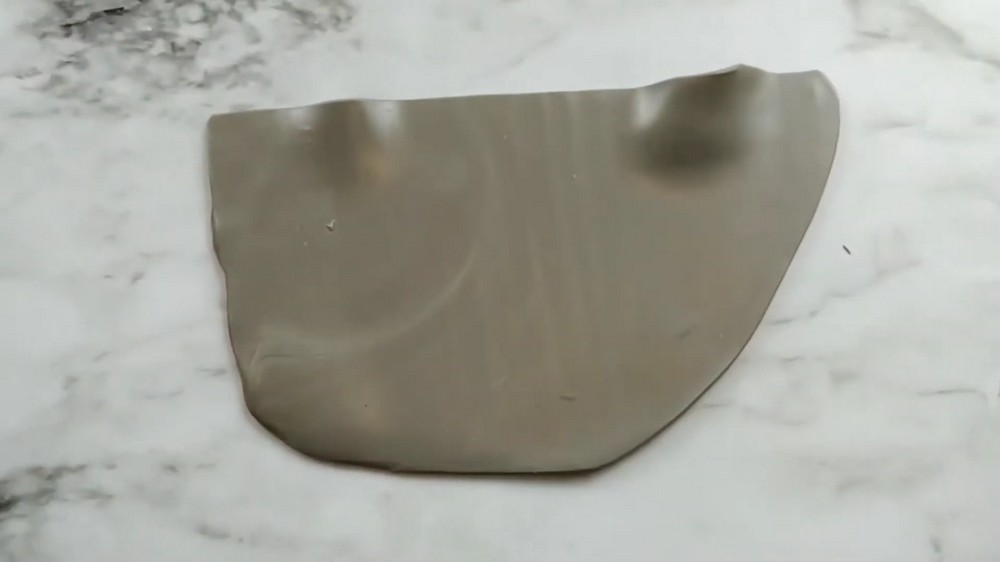
Step 3 — Flatten and cut the floor
- Flatten the mixed clay to the thickness you want for the floor.
- Place your paper floor template over the flattened clay.
- Important: Cut the clay on a baking pan rather than directly on a table to avoid sticking and damaging the piece.
- Use a blade to cut the floor shape following the template.
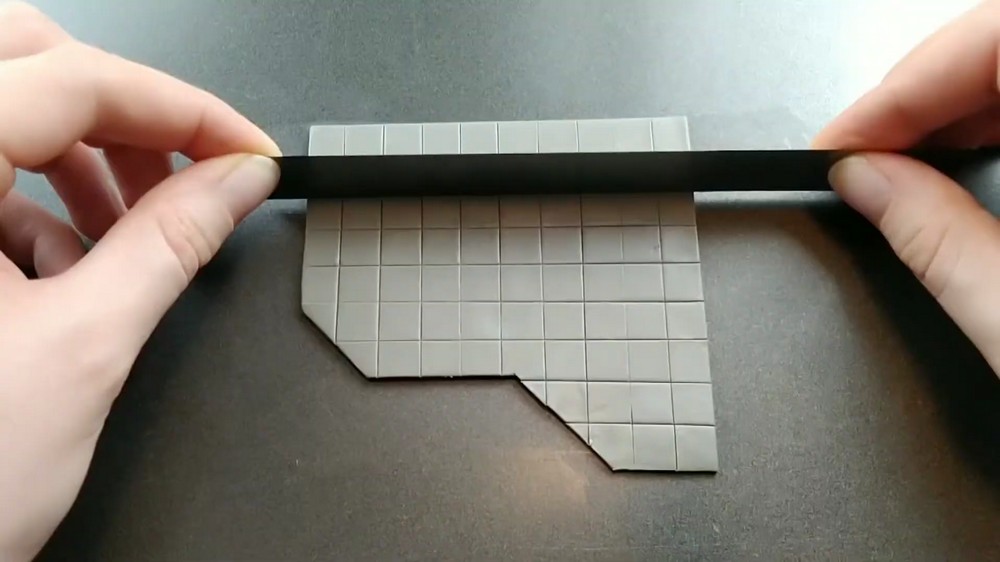
Step 4 — Add tile texture
- Use the tip or edge of the blade to etch tile lines or other floor texture across the cut floor piece, following your sketch.
Make the raised platform and walls
Step 1 — Cut the second-level platform pieces
- Use the raised-platform template to cut the second-level pieces that will hold the electrical boxes.
- Place these pieces along the border of the main floor plan according to your sketch.
Step 2 — Cut wall pieces
- Use the wall templates to cut two wall pieces from clay.
- Tip: Cut them slightly longer than the paper template so they won’t end up too short in the final assembly.
Make the electrical boxes and details
Step 1 — Form basic box shapes
- Shape small amounts of clay into rough square blocks for each electrical box.
- Use the blade to tidy edges and make them straighter; perfection is not required.
Step 2 — Practice on less-visible sides
- Start with the backs of the boxes to practice shaping and smoothing since those sides are less visible.
Step 3 — Add surface details
- Use the flat silicone sculpting tool to add panel lines, indents, and other box details by following your sketch.
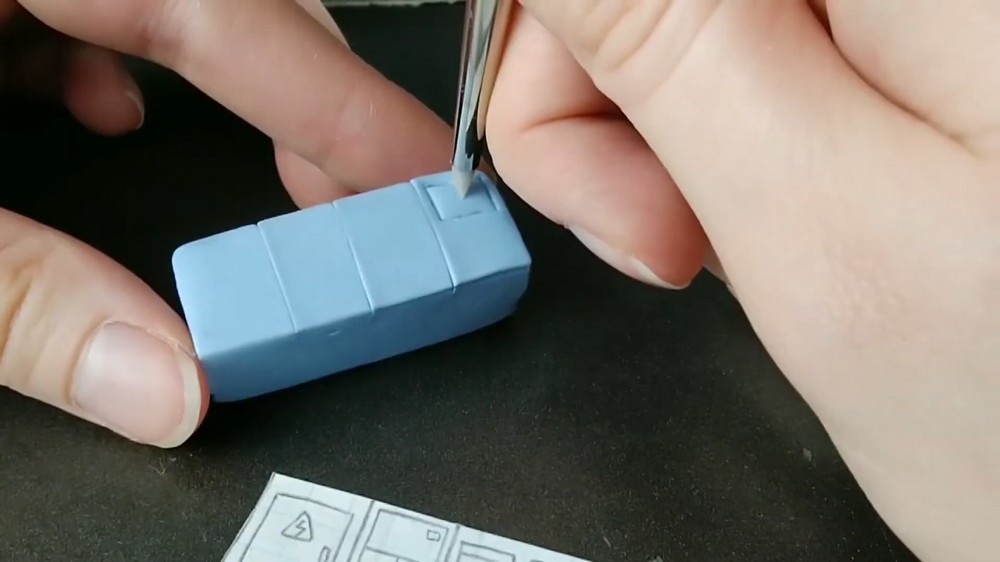
Step 4 — Make the lightning bolt and pipe
- Form the lightning-bolt symbol from tiny pieces of clay and press it onto a box face (the creator opted for clay pieces instead of using a pen).
- Roll a thin tube of clay and attach it to the top of one box to form a pipe.
Make tasks, vent, characters, and wires
Step 1 — Create wall task panels and floor vent
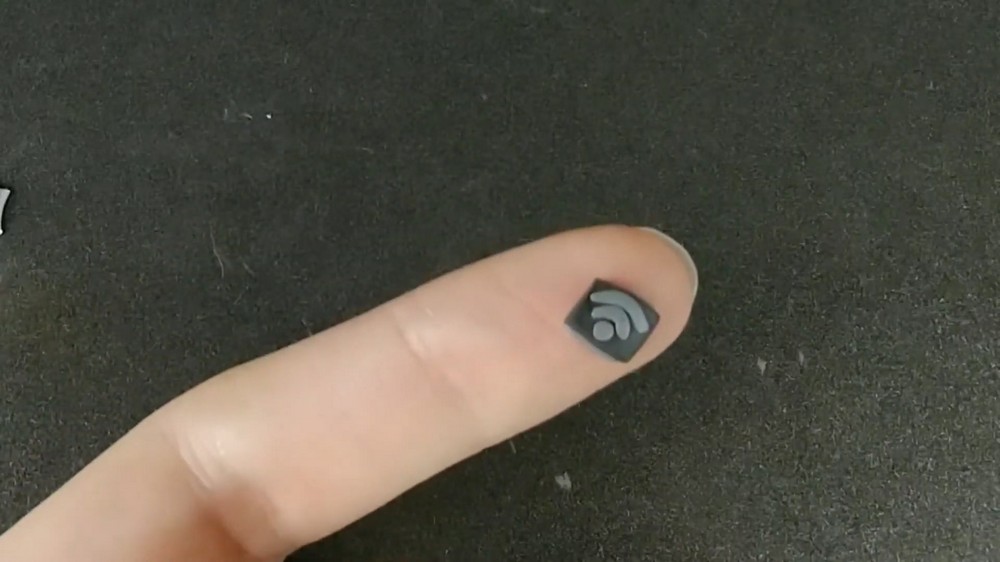
- Shape small flat panels for the on-wall tasks and add detail with the sculpting tool.
- Create the floor vent shape and any vent detail according to your sketch.
Step 2 — Make crewmates and a dead body
- Roll and shape small simple crewmate figures from colored clay.
- Add a small fried-egg or cheese hat by flattening a bit of clay and placing it on a crewmate’s head.
- Make one small dead-body piece as an extra scene element.
Step 3 — Roll colored wires
- Roll thin long snakes of different colored clay to make scattered wires that will drape around boxes and walls.
Initial assembly and first bake
Step 1 — Position large items with Liquid Sculpey
- Apply small amounts of Liquid Sculpey where the big electrical boxes and platform pieces will sit.
- Place the electrical boxes, raised-platform pieces, and fixed floor elements onto those spots.
Step 2 — Arrange wires and other elements before baking
- Lay many of the rolled wires across and around the boxes and along the floor, following your reference sketch.
- Position the vent and any floor tasks where they belong.
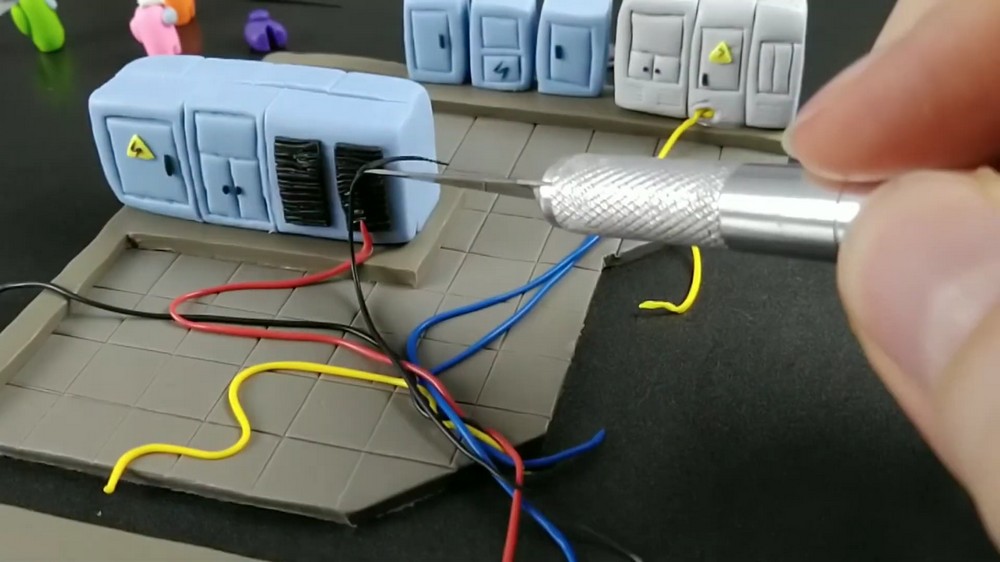
Step 3 — First bake
- Place the assembled layout into the oven and bake for 20 minutes (as specified in the video).
- Remove and let everything cool completely before handling.
Attach walls, add remaining wires, and final bake
Step 1 — Attach walls using Liquid Sculpey and super glue
- Apply Liquid Sculpey to the base edges of each wall piece.
- Use a small amount of super glue to hold each wall in place while positioning.
- Important detail from the video: the super glue keeps walls stable until baking; during baking the super glue softens while the Liquid Sculpey hardens, producing a secure bond afterward.
Step 2 — Add the remaining wires
- Place the rest of the rolled wires onto the electrical boxes and drape them along the back wall and floor as needed.
Step 3 — Final bake
- Put the assembled piece back into the oven for the final bake (the video says “back into the oven for the final time” but does not give a second bake time).
- Remove and allow to cool completely.
Finishing touches and final assembly
Step 1 — Attach small details
- Use super glue to glue the task panels to the walls if they are not already permanently bonded from baking.
Step 2 — Place crewmates and dead body
- Arrange the crewmate figures and the dead body on the floor where desired.
Final notes and tips
- Cut clay on a baking pan instead of a table to prevent sticking and damage.
- Use the flat silicone sculpting tool for crisp panel lines and to follow your sketch.
- The combination of Liquid Sculpey and a small amount of super glue helps hold vertical pieces in place before baking; apply glue sparingly.
- Practice details on less-visible sides first (backs of boxes) to get comfortable with your tools.