Set a cute pink friend on your desk with a DIY Polymer Clay Pig, featuring a round body and tiny tail for a playful touch to your handmade projects.
Drawings In Action shares a cheerful animal idea inspired by one of the most familiar animals found on farms. A pig's funny nose, small ears, and round body give it a lovable appearance that looks especially nice in a clay model.
DIY Polymer Clay Pig is an adorable little animal figure with a soft pink body, short legs, and a cute face. Its chubby shape gives it a friendly look, while the small details help show the animal's playful personality. The simple style is suitable for people who like small animal decorations and colorful handmade items.
Easy DIY Polymer Clay Pig For Animal Lovers
The pig's nose is one of its most noticeable features. Its round snout has two tiny nostrils that give the face a funny expression. Two pointed ears sit above the head, while its black eyes provide a lovely contrast against the pink body. A little curly tail at the back is another interesting feature that helps complete the animal's familiar look.
Pink polymer clay is used for the main body, with slightly darker pink pieces for the nose and ears. The body can be formed into an oval shape, followed by smaller sections for the head and feet. Tiny holes are pressed into the snout to represent the nostrils. A thin strip of clay is gently curled to form the tail.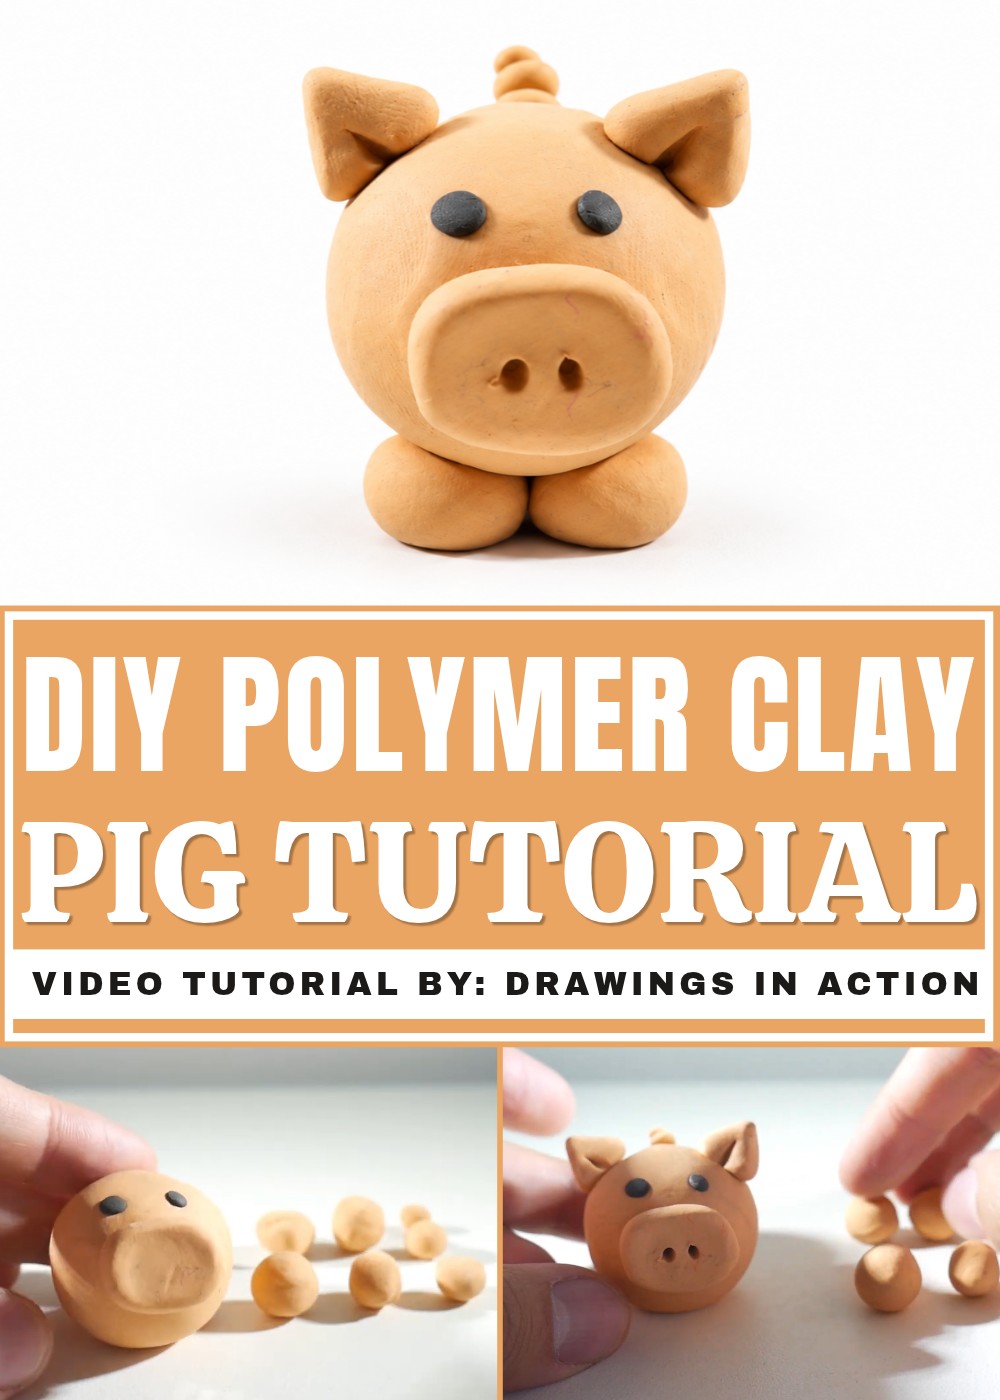
This cute pig can be placed on a child's study table, a living room shelf, or a bedroom cabinet. It also works as a sweet birthday present for children who like farm animals. Its small size makes it easy to display without taking up much space.
The finished pig has a cheerful character that can put a smile on someone's face. Its round belly, funny nose, and curly tail give it a memorable appearance, turning ordinary clay into a lovely little animal decoration for everyday use.
How to Make a Cute Plasticine Pig – Beginner-Friendly Tutorial
In this tutorial, you will learn how to create a cute and easy plasticine pig using just a few simple steps and materials. This project is perfect for beginners and fun for all ages. Follow the steps carefully and soon you’ll have your own adorable plasticine pig!

Materials and Tools Needed
- Flesh-colored plasticine (for the pig’s body, nose, ears, tail, and legs)
- Black plasticine (for the eyes)
- Pointy tool (for making nostril holes; you can use a toothpick or something similar)
Quick Overview
This plasticine pig project is an easy and enjoyable craft suitable for beginners. You begin by shaping flesh-colored plasticine into different parts: a large head, an oval nose, triangular ears, a thin strip tail, and four legs formed by pressing small balls together. Black plasticine creates the pig’s eyes, placed above the nose. Using a pointy tool, you add two nostril holes on the nose. After assembling all parts—attaching ears, tail, eyes, nose, and body to legs—you get a charming little pig. This project requires minimal materials and is perfect for quick creative fun.
Why I Love This Plasticine Pig Project
I love this plasticine pig project because it is simple and fun, perfect for beginners of all ages. The steps are easy to follow, making the process relaxing and enjoyable. I like how just a few colors and shapes come together to create a cute, charming pig. It allows me to use my creativity and practice my hand skills without needing many materials or tools. Making the nose, ears, and tail adds character, and seeing the pig take shape step-by-step is very rewarding. Overall, this project brings joy and a sense of accomplishment every time I complete it.
Step-by-Step Instructions
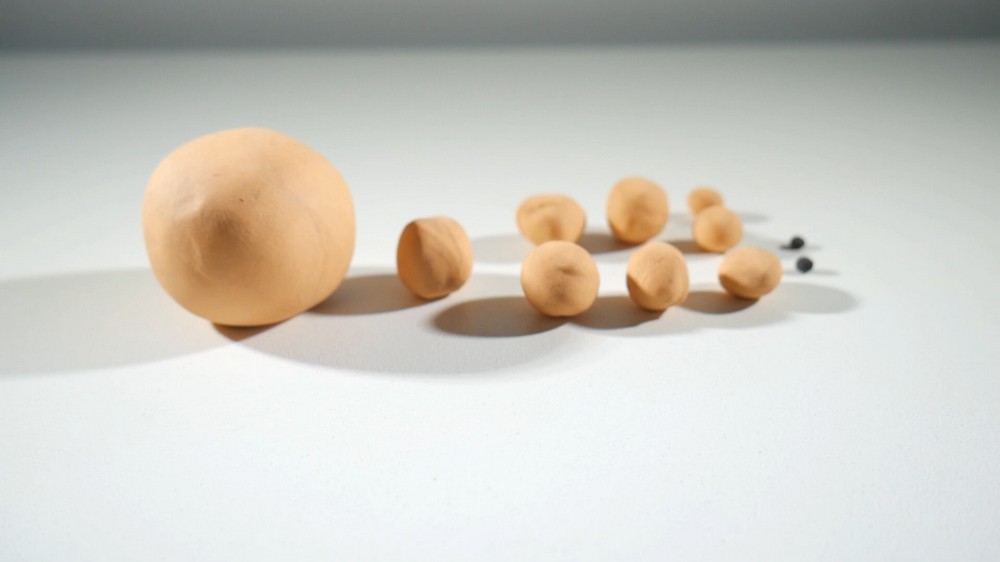
1. Prepare Your Plasticine Balls
- Divide the flesh-colored and black plasticine into small balls.
- You can pause and check the size and quantity of each ball needed to match the proportions shown.
2. Make the Pig’s Nose
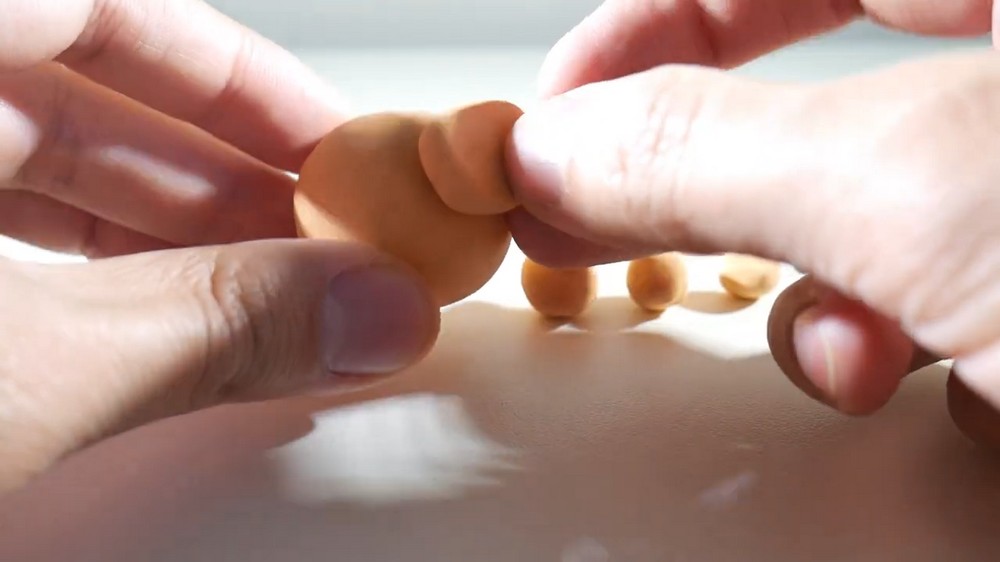
- Take one flesh-colored ball and shape it into a flattened oval. This will be the pig’s nose.
- Gently attach this oval onto a larger flesh-colored ball, which will serve as the pig’s head.
3. Add the Eyes
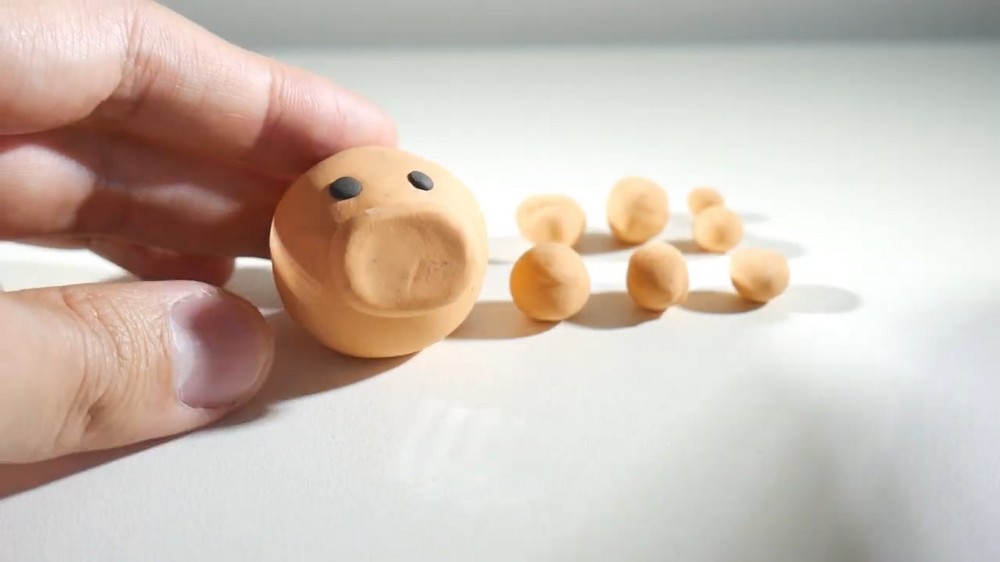
- Take two small black balls.
- Place them just above the nose on the pig’s head. These will be the eyes.
4. Create the Nostrils
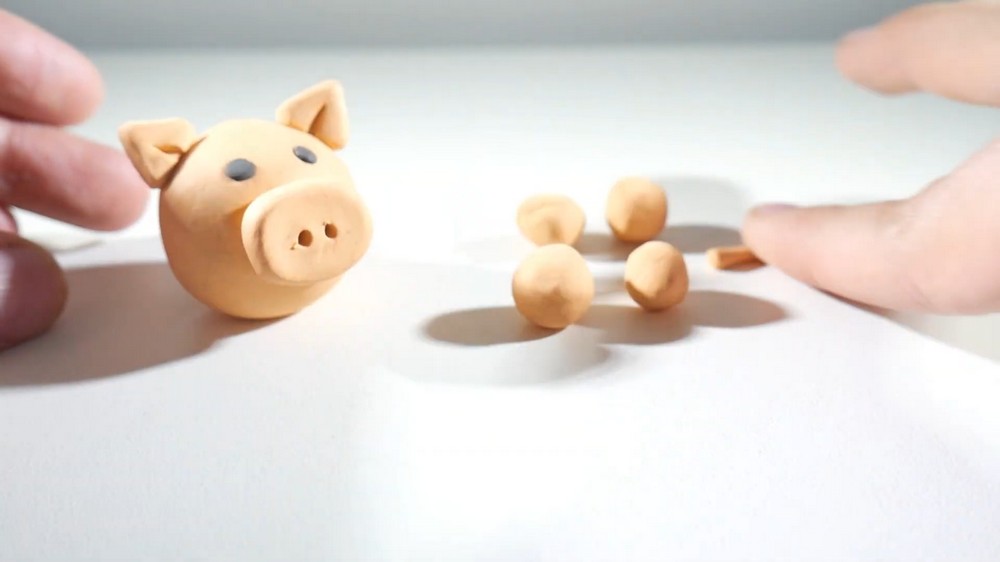
- Using your pointy tool, gently make two small holes in the nose oval. These will be the pig’s nostrils.
5. Form the Ears
- Take two flesh-colored balls and shape each one into a triangle.
- Draw a line down the middle of each triangle to detail the pig’s ears.
6. Attach the Ears
- Press the two ears onto the top of the pig’s head, positioning them symmetrically.
7. Make the Tail
- Take another flesh-colored ball and roll it into a thin strip.
- Carefully roll this strip up, leaving a small tip visible. This creates the pig’s curly tail.
8. Create the Legs
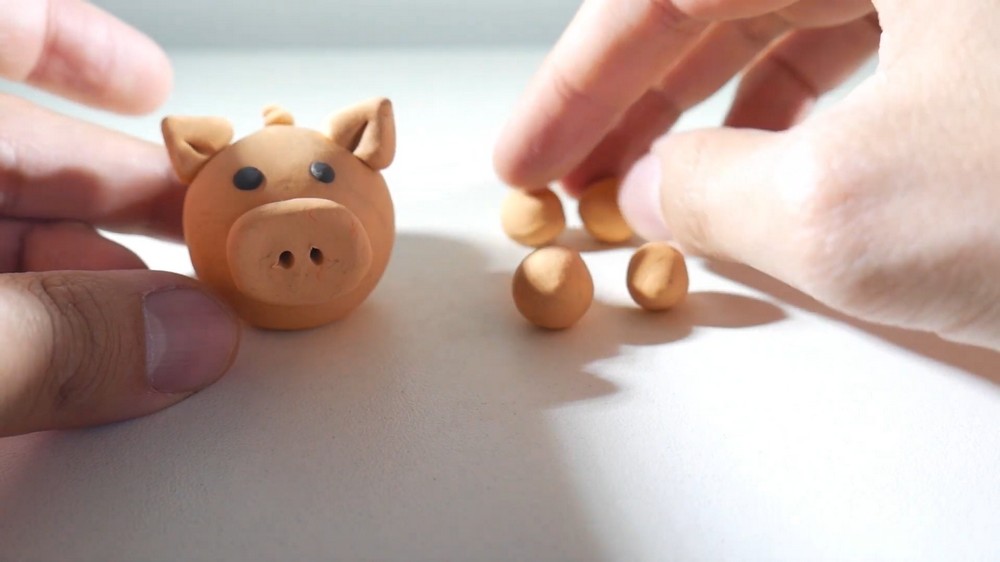
- Take the four remaining flesh-colored balls and press them together in pairs to form the pig’s legs. This means two legs will be joined together on each side.
9. Assemble the Pig
- Attach the pig’s body (large flesh-colored ball) onto the legs so that it stands firmly.
- Make sure it is balanced and adjust as necessary.
Final Result
You now have a cute and simple plasticine pig made step-by-step with just two colors and easy shaping techniques. This pig is great for decorating your room or as a gift!