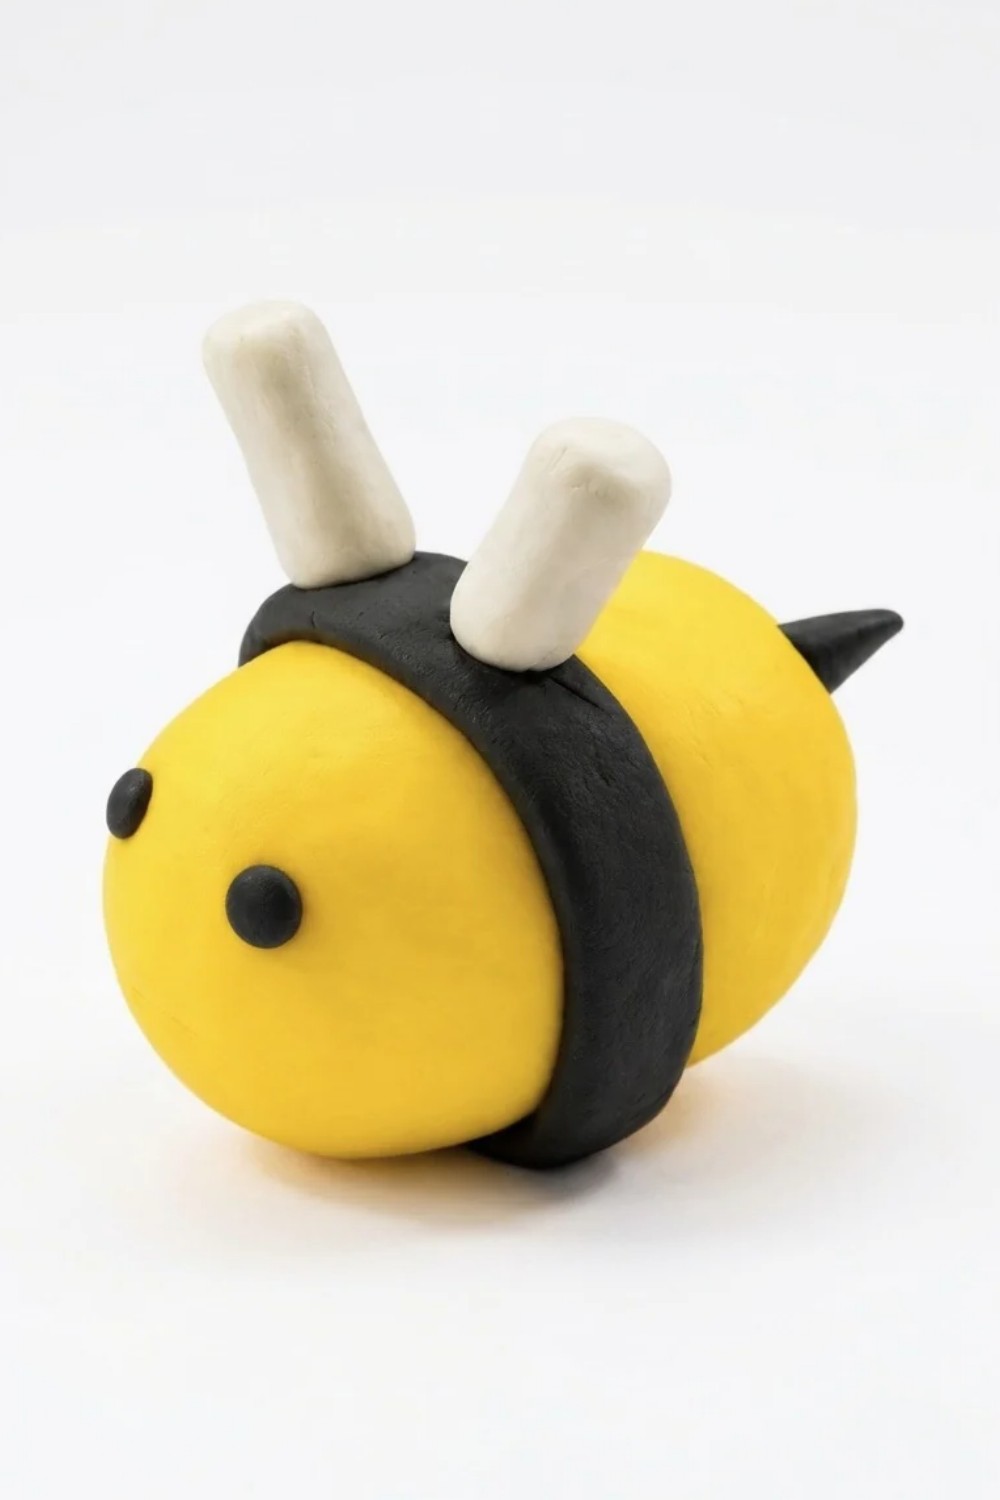
Enjoy crafting a cute project with this DIY Polymer Clay Bee Idea, a simple guide that’s great for making lovely handmade designs.
Making small, cute things by hand is a fun and relaxing way to spend your free time. If you love sweet little bugs, you will absolutely adore this DIY Polymer Clay Bee Idea. This wonderful tutorial and design come directly from the creative YouTube channel Drawings In Action, and they deserve full credit for sharing such a lovely project with the world. You will learn how to mold soft, colorful clay into a smiling, tiny flying friend. It is a fantastic activity that brings joy to crafters and art lovers of all ages.
Adorable DIY Polymer Clay Bee Idea To Make At Home
Creating it is surprisingly simple and brings a huge sense of happiness to anyone who tries it. You just need a few basic colors like yellow, black, and white to shape the round body, tiny dark stripes, and delicate little wings. Working with your hands to roll and press the soft pieces together is very calming and keeps your mind busy in a good way. Once you bake it in the oven, it hardens into a solid, adorable charm. You can easily turn it into a special keychain, a cute magnet for your kitchen fridge, or a lovely handmade gift for a friend.
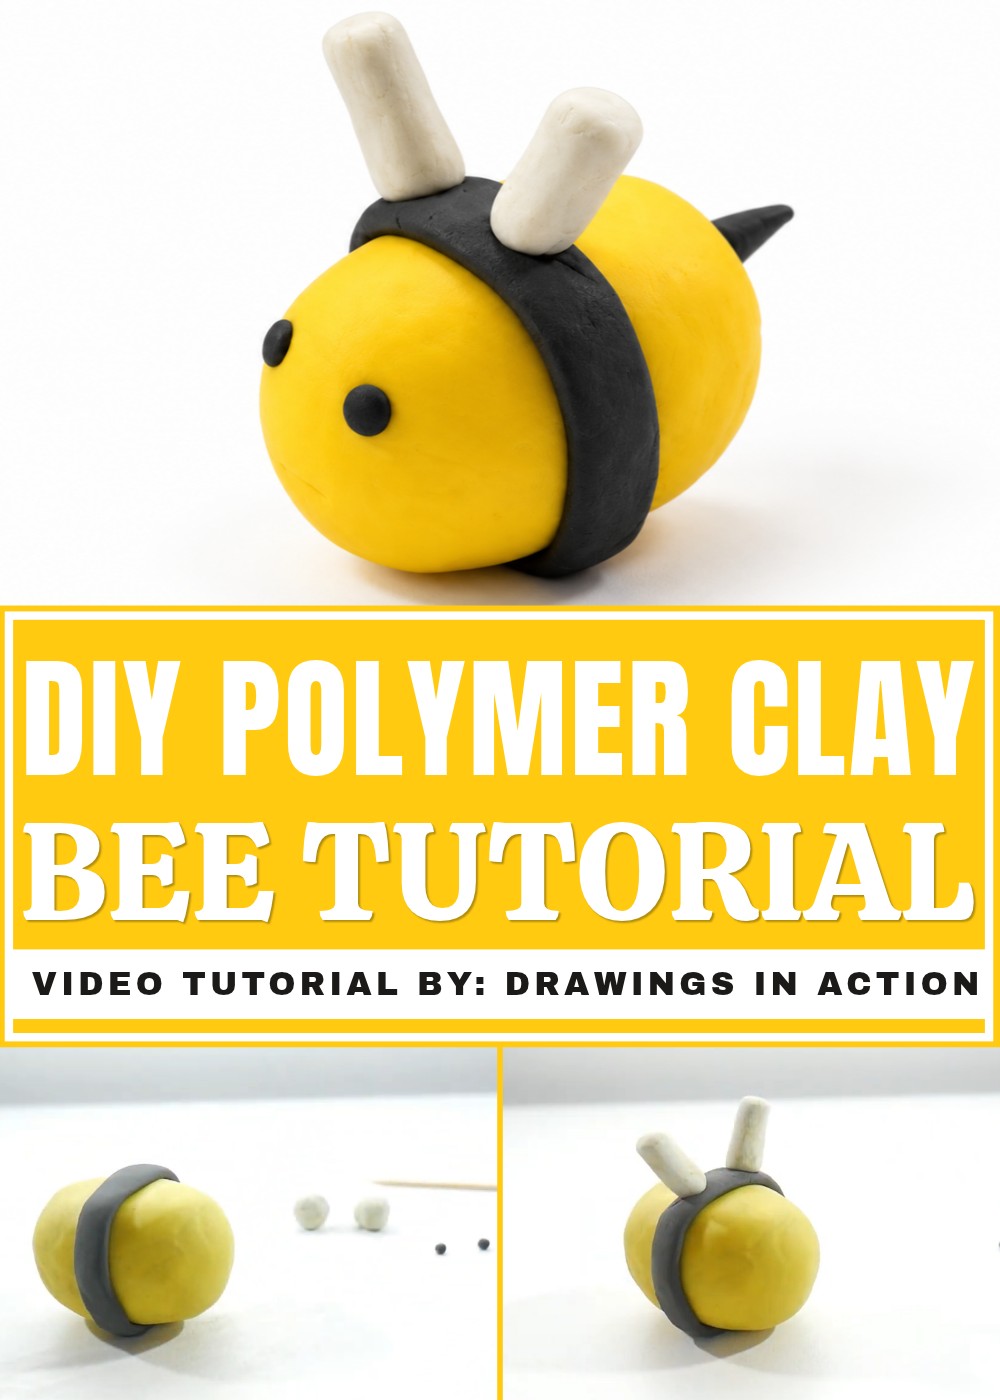
Reading about this enjoyable activity is exciting because it shows you exactly how to turn plain blocks of clay into a beautiful item full of personality. You do not need any special skills or expensive tools to get started, just your fingers and a bit of imagination. The clear steps guide you beautifully, ensuring you have a great time from start to finish. It is a wonderful way to relax, share a warm smile with your family, and add a cheerful little touch of nature to your everyday life.
Simple DIY Polymer Clay Bee Idea
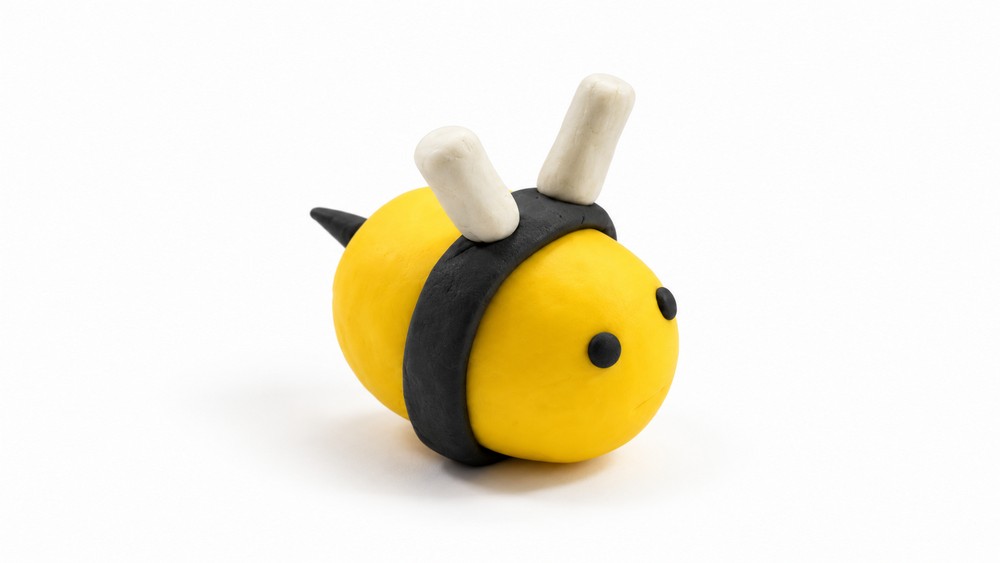
This tutorial will guide you through the process of modeling a plasticine bee, an adorable and straightforward project that’s perfect for beginners. Using yellow, black, and white plasticine, along with a toothpick and a simple tool, you'll create a bee complete with stripes, wings, eyes, a smile, and a stinger. The instructions will show you how to shape the bee's body, add realistic details, and assemble everything into a lively and colorful creation. The bee is not only fun to make but offers great practice for hand-shaping techniques like rolling, flattening, and cutting plasticine. Use this guide to carefully follow each step and ensure an adorable result.
Materials and Tools
Materials
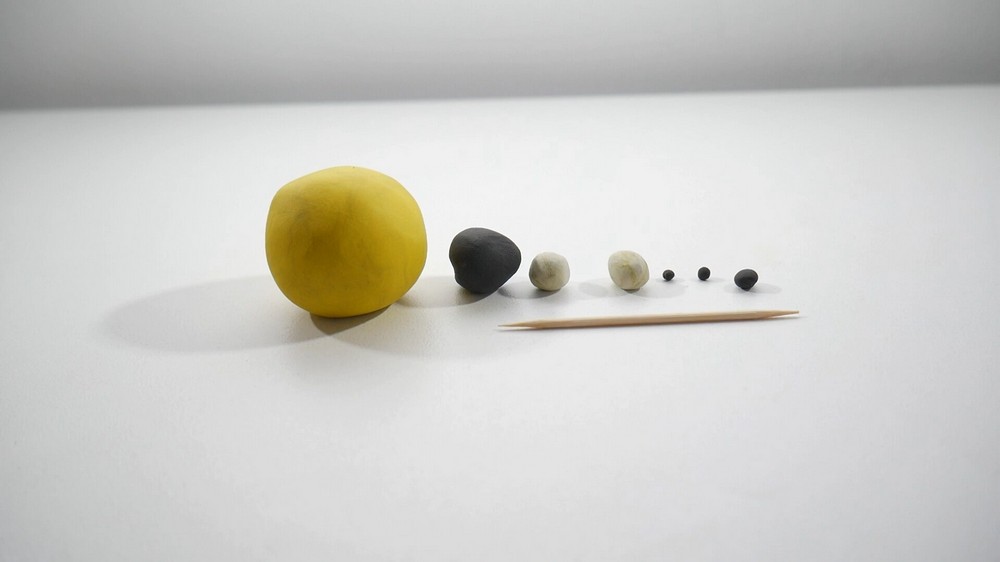
- Yellow plasticine: Used for forming the main body of the bee.
- Black plasticine: Used for the stripe, the eyes, and the stinger.
- White plasticine: Used for forming the wings.
Tools
- Toothpick: Used to hold the wings in place.
- Any simple tool (e.g., pencil tip or toothpick): Used to draw the bee’s smile.
Step-By-Step Instructions
Preparing Plasticine Balls
Divide the Plasticine
- Roll and divide the plasticine into differently sized balls as follows:
- Yellow plasticine: Make one large ball for the body.
- Black plasticine: Prepare one medium ball for the stripe, two small balls for the eyes, and one additional small ball for the stinger.
- White plasticine: Roll two small balls for the wings.
- Refer to the video and adjust the proportions as necessary, aiming for balanced shapes to form the bee.
Shaping the Bee’s Body
Form an Oval Shape
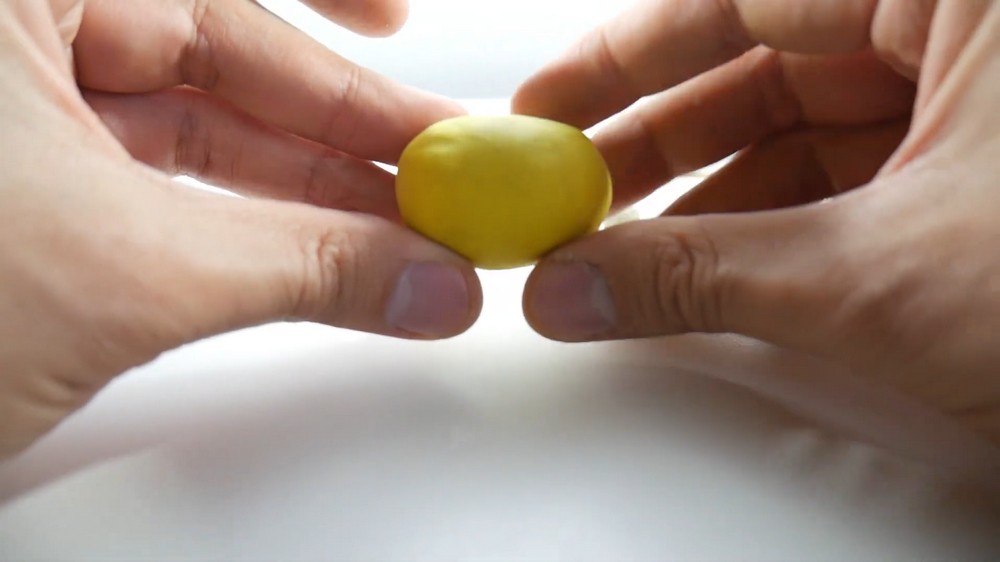
- Take the large yellow ball and knead it on a flat surface to soften it.
- Shape the ball into an oval by gently pressing and rolling it against the table.
- Round the edges slightly to ensure the bee has a smooth and even appearance.
Adding the Black Stripe
Roll the Stripe
- Take the medium black ball and knead it until it is soft and pliable.
- Roll the ball on a flat surface, stretching it into a long, thin strip.
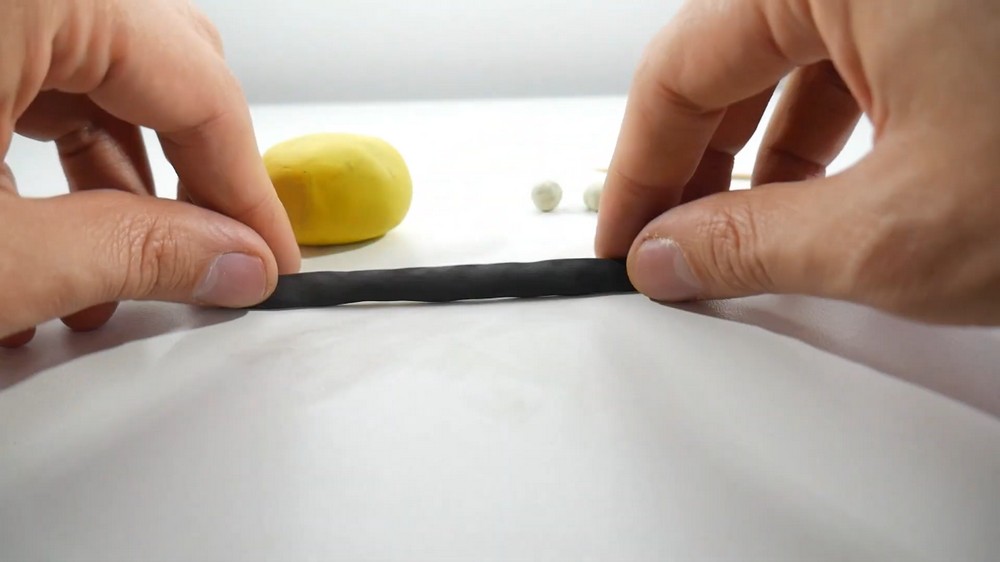
- Flatten the strip gently with your fingers or the table until it is wide enough to wrap around the bee’s body.
Attach the Stripe
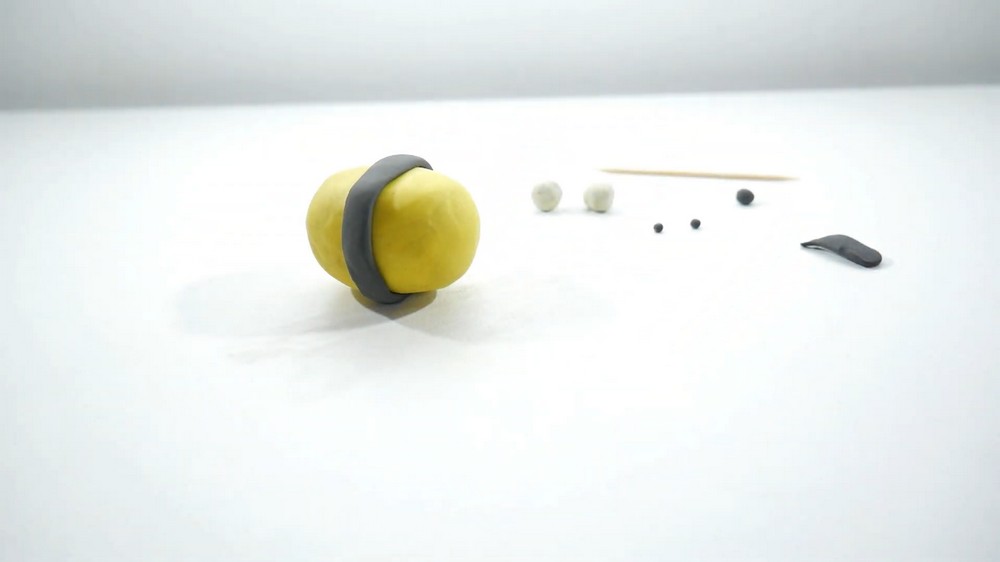
- Position the flattened black strip onto the middle of the yellow body of the bee.
- Wrap it around the oval-shaped body so that both ends meet neatly.
- Remove any extra material by pinching or trimming it where the ends overlap.
- Smooth the edges for an even look.
Preparing the Wings
Shape the Wings
- Take the two white plasticine balls and roll each one into a long, thin cylinder shape.
- Ensure both cylinders are equal in length and thickness to maintain symmetry.
Cut the Toothpick
- Take a toothpick and carefully cut it in half using scissors or your fingers.
- These toothpick halves will be used to hold the white cylinders (wings) securely in place on the bee’s body.
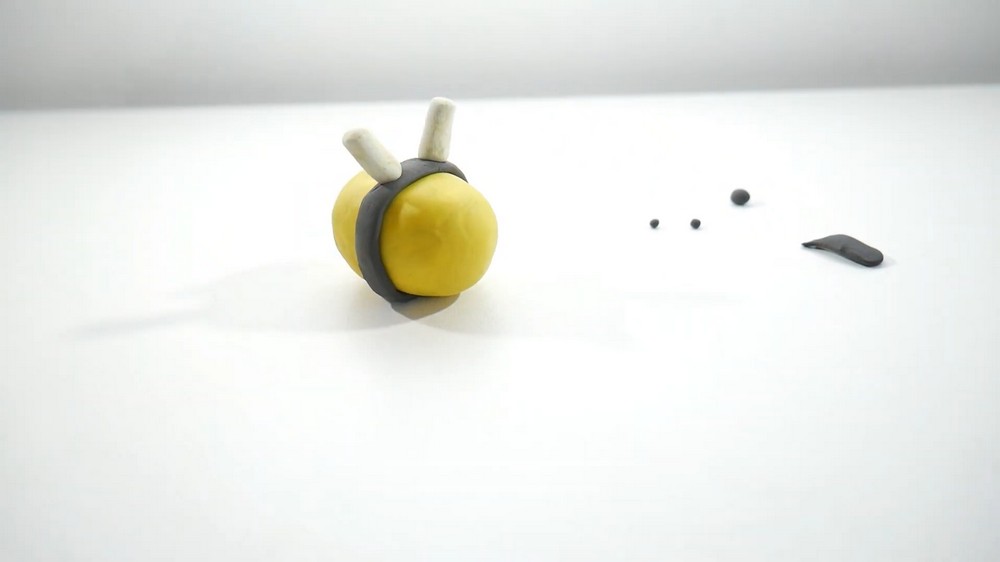
Insert the Wings
- Position the toothpick halves near the top back section of the bee’s body, slightly behind the stripe.
- Carefully press the white cylinders onto the toothpicks so they sit upright and look like wings.
- Adjust the wings to make sure they are symmetrical and secured firmly.
Adding the Face
Attach the Eyes
- Take the two small black balls and press them onto the front of the yellow body to form the bee’s eyes.
- Ensure the eyes are evenly spaced and aligned for a balanced appearance.
Draw the Smile
- Using a pencil tip, toothpick, or similar tool, gently carve a small smile just below the eyes.
- Drag the tool lightly to create a curved line without applying too much pressure, which could distort the shape of the body.
Adding the Stinger
Shape the Stinger
- Take the remaining black ball and roll it into a cone shape.
- Taper one end of the cone to a point while keeping the base rounded.
Attach the Stinger
- Position the stinger at the back of the bee’s body, opposite the face.
- Press lightly to secure it to the yellow body while maintaining its pointed shape.
Final Adjustments
Inspect and Adjust the Bee
- Rotate and check the bee from all sides to ensure every detail is correctly positioned.
- Confirm that the wings stay upright and symmetrical.
- Adjust the eyes, smile, and stinger if necessary for better proportions.
Smooth and Refine
- Use your fingers to smooth out any rough or uneven areas, especially where pieces are attached.
- Double-check that the stripe, wings, and other features are securely fixed to the body.
Conclusion
You’ve now completed an adorable plasticine bee! With its bright yellow body, black stripe, white wings, cheerful eyes, smiling face, and pointy stinger, this bee is a delightful handmade creation. The combination of easy techniques like rolling, flattening, and shaping demonstrates just how versatile plasticine can be for simple projects.
This bee is ideal for showing off as a display piece or using for themed decor. Whether you followed these detailed instructions for a beginner-level craft or used it to practice basic modeling skills, this project is both fun and rewarding. By keeping the shapes and proportions well-balanced, the bee maintains a clean, charming look that’s hard to resist. Store your plasticine bee safely or start experimenting with variations to make even more designs.