Bring your creativity to life by making a charming DIY Polymer Clay Mouse with this simple guide, designed for beginners and crafters.
Creating tiny, adorable animals by hand is such a joyful and rewarding way to spend your free time. If you are looking for a fun new project to try, you will love making a DIY Polymer Clay Mouse. This fantastic idea comes directly from the amazing YouTube channel Drawings In Action, and we must give full credit to the creator for sharing this wonderful tutorial and beautiful design with everyone. Their easy guide shows you exactly how to take a simple block of clay and turn it into a sweet little creature that will make you smile.
Fun DIY Polymer Clay Mouse To Share With Animal Lovers
Working on it is a deeply relaxing activity that lets your imagination run wild. You start by warming up the soft material in your hands until it is smooth and ready to shape. Then, you gently roll out a small ball for the body, pinch out tiny round ears, and add a long, curly tail. You do not need any fancy tools or special skills to build it. Anyone can easily enjoy the process of molding the soft pieces together, adding little eyes, and giving the tiny animal its own unique and lovely personality.
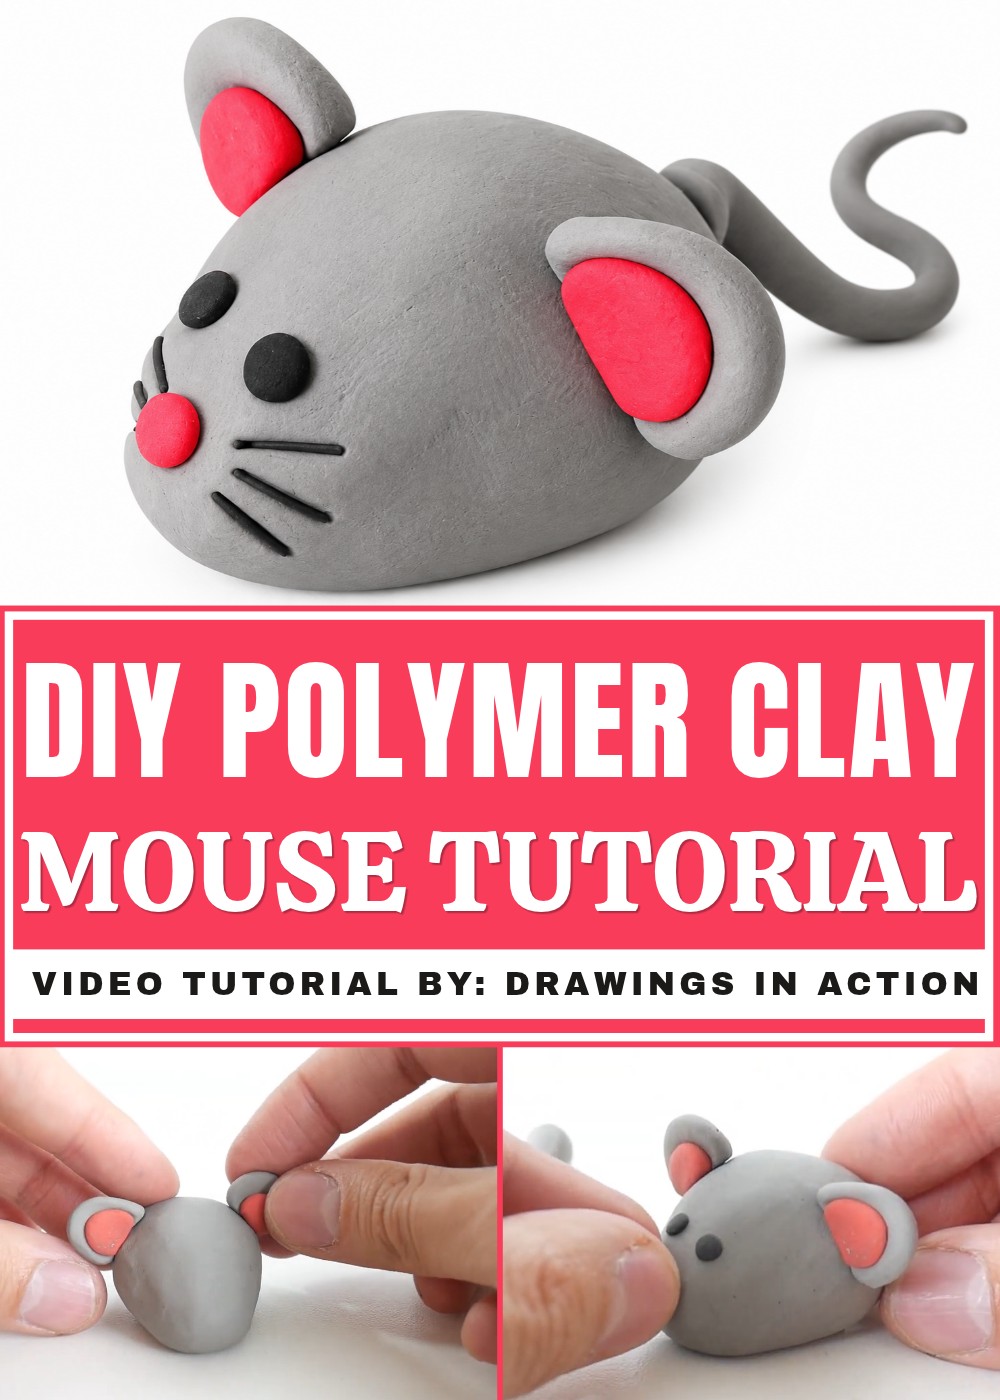
Once you complete your finished little friend, it becomes a solid and cute decoration, ready to sit nicely on your shelf or work desk. It adds a cheerful touch to your room and can even be given as a heartfelt, handmade gift to a family member or friend. Crafting something from start to finish gives a great feeling of happiness and pride. This simple project is a perfect way to clear your mind, get creative, and make a charming little art piece that you can treasure for a very long time.
Miniature DIY Polymer Clay Mouse
This tutorial will teach you how to sculpt a plasticine mouse, a simple and adorable project suitable for beginners of all ages. The process uses only three plasticine colors—gray, black, and red—and relies entirely on hand modeling and a basic tool like a pencil to add finishing details. You’ll start by shaping the mouse’s body, then add ears, eyes, a nose, and whiskers, finishing with a thin tail to complete the look. The step-by-step instructions are easy to follow, ensuring your finished project is both cute and well-proportioned. Let’s dive in to build your charming plasticine mouse!
Materials and Tools
Materials
- Gray plasticine: Used for the main body, ears, and tail of the mouse.
- Black plasticine: Used for the small eyes.
- Red plasticine: Used for decorating the ears and creating the nose.
Tools
- A pencil (or similar tool): Used for adding whisker details to the face.
Step-By-Step Instructions
Preparing Plasticine Balls
Roll and Divide Plasticine
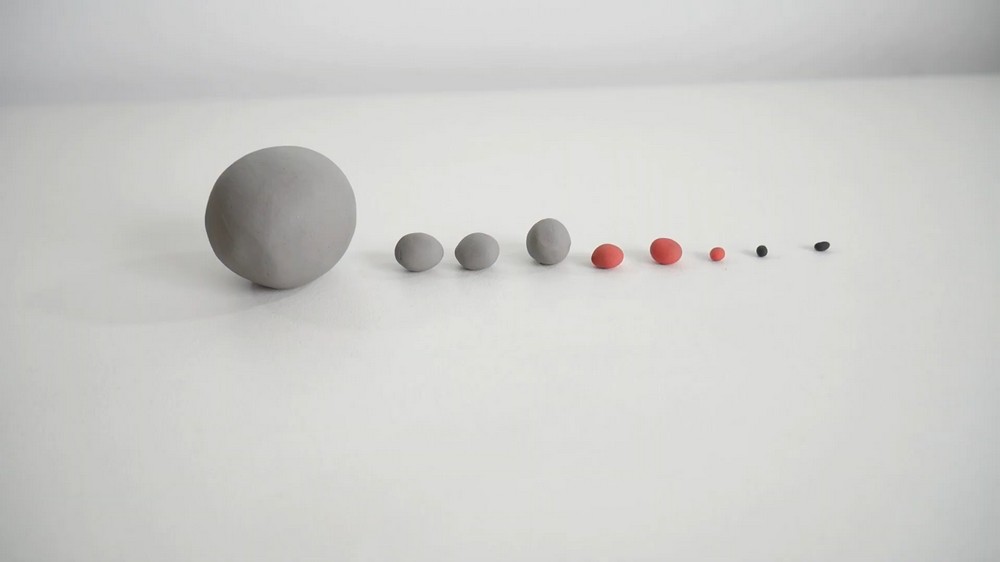
- Take each color of plasticine—gray, black, and red—and roll it into small balls.
- Ensure the following:
- Gray plasticine: Roll one large ball for the body, two medium balls for the ears, and one small ball for the tail.
- Black plasticine: Roll two tiny balls for the eyes.
- Red plasticine: Roll one ball for the nose and an additional ball for decorating the ears.
- The video suggests pausing to check the size and quantity of balls. Follow this setup carefully before moving on.
Shaping the Mouse’s Body
Form an Egg Shape for the Body
- Take the largest gray ball and gently knead it with your hands until it’s soft.
- Shape the ball into an egg-like form by squeezing and stretching it slightly.
- The bottom of the egg should be wider, tapering slightly at the top.
Flatten the Bottom of the Body
- Place the shaped body on a table and lightly press it down.
- Flatten the bottom just enough so the mouse sits flat and stable on the surface.
- Avoid over-flattening to retain the rounded body shape.
Ensure Symmetry
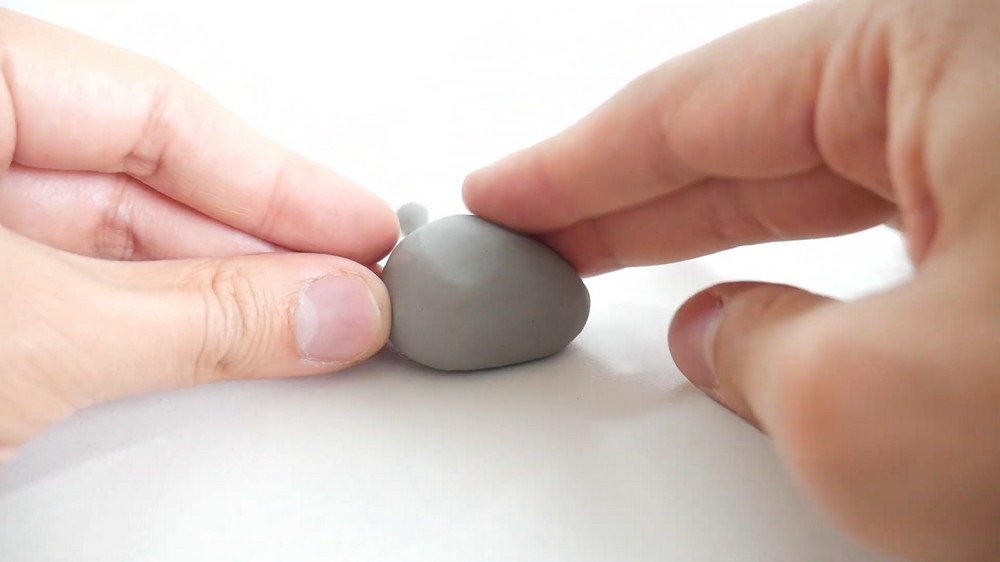
- Adjust the body so it looks a similar shape on both sides.
- Rotate and check the mouse’s body from different angles to confirm it is evenly shaped.
Making the Ears
Flatten Two Gray Balls
- Take the two medium gray balls and press them gently with your fingers.
- Flatten each ball into a circular disc while keeping the edges smooth.
Prepare One Side for Attachment
- Smoothen one side of each flattened disc with your fingers.
- This ensures the ears can easily stick to the head without gaps.
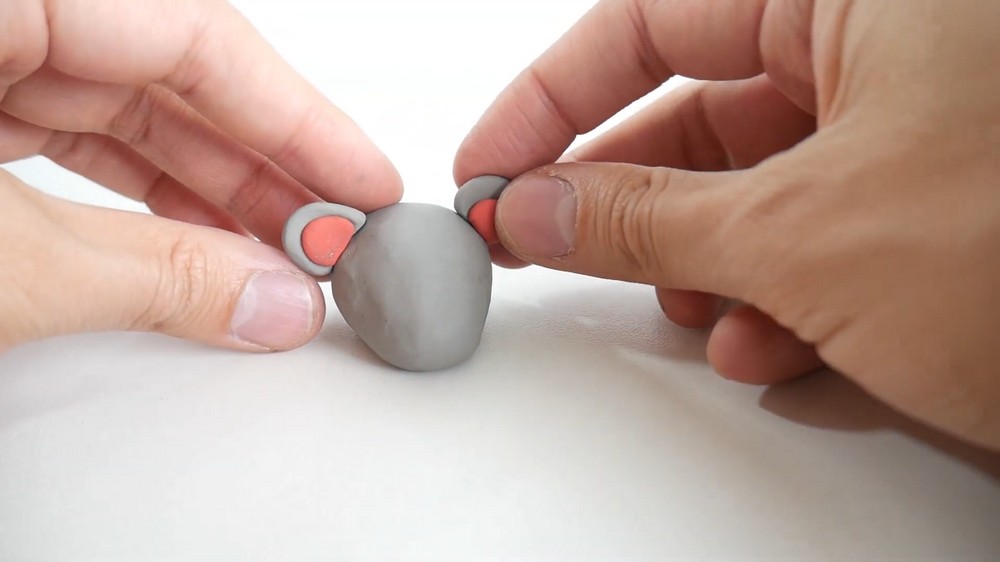
Attach Ears to the Body
- Position the ears on the top sides of the mouse’s head.
- Place them slightly behind the tapered top of the egg-shaped body.
- Press the smoothened side of each ear gently onto the head to secure them.
Decorating the Ears
Add Red Plasticine to the Ears
- Take a small red ball and divide it in half.
- Flatten each half slightly between your fingers to create tiny discs.
Attach to the Ears
- Place one flattened red disc onto each ear.
- Center the red discs in the middle of the gray ears for decoration.
- Press lightly to ensure the red plasticine sticks securely to the gray base.
Making the Face
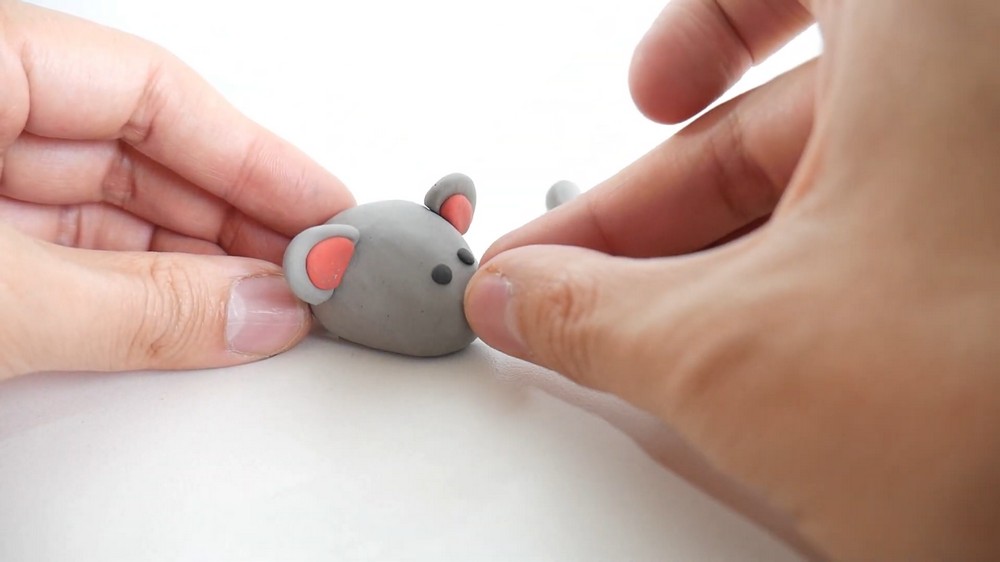
Add the Eyes
- Take the two small black balls.
- Place each ball on the front of the mouse’s head to form the eyes.
- Position the balls symmetrically and ensure they are evenly spaced.
- Press gently to secure the eyes to the gray head without flattening them.
Add the Nose
- Take a tiny red ball and attach it to the pointy end of the mouse’s head.
- Press just enough to fix the nose securely without distorting its rounded shape.'
Create the Whiskers
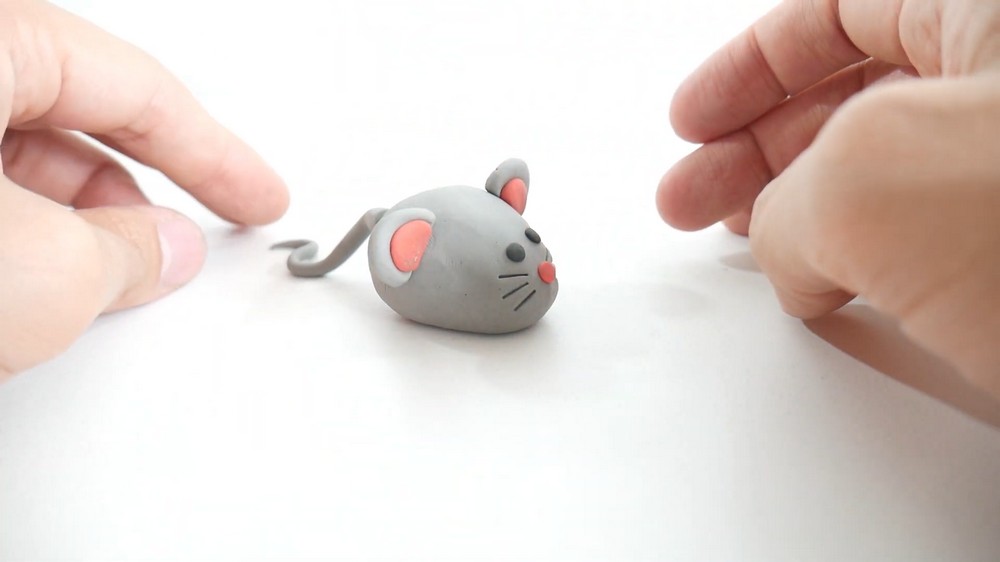
- Use a pencil or similar tool to carve three thin lines on each side of the nose.
- Press lightly while dragging the tool across the plasticine to avoid deforming the face.
- Ensure the lines are evenly spaced and extend outward.
Making the Tail
Roll the Gray Ball into a String
- Take the small gray plasticine ball reserved for the tail.
- Place it on a table and roll it back and forth using your fingertips.
- Roll until the plasticine stretches into a thin string.
- This should be long enough to resemble a realistic tail.
Attach the Tail
- Position the tail at the back of the mouse’s body, near the flattened bottom.
- Press one end of the tail lightly against the body to secure it.
Add a Twist for Realism
- Gently twist the tail using your fingers to create a natural, curved look.
Final Adjustments
Inspect and Adjust
- Check the mouse’s proportions:
- Ensure the body, ears, tail, and facial features are balanced.
- Make minor adjustments, smoothing uneven spots or repositioning parts if needed.
Review All Details
- Ensure the ears and their red decorations are firmly attached.
- Confirm the whiskers are evenly carved on both sides of the face.
- Recheck that the tail looks cleanly twisted and secure.
Conclusion
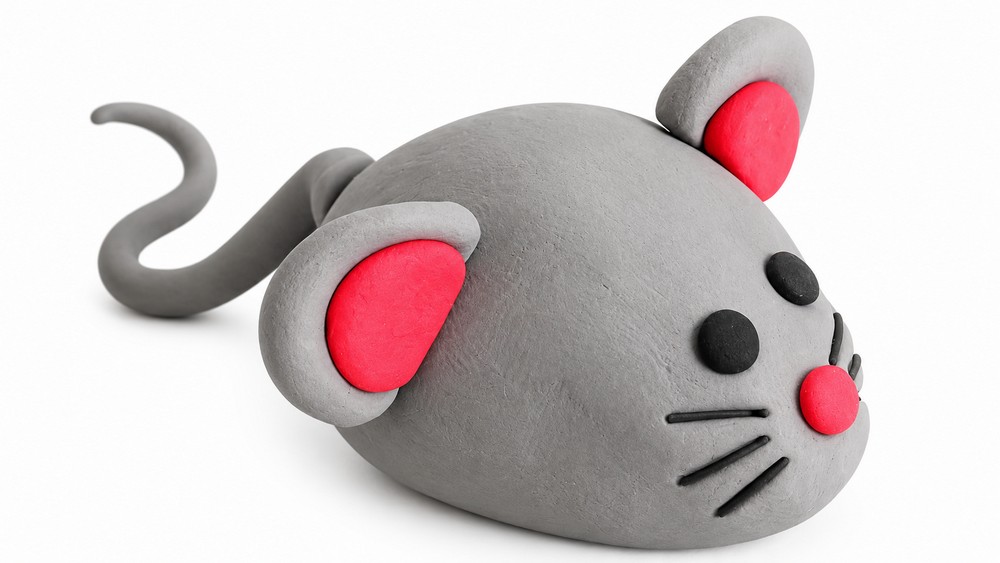
Your plasticine mouse is now complete! By following the steps above, you have sculpted a charming figure with expressive eyes, colorful ear decorations, and a realistic tail. Every detail—from the whiskers to the flattened base—balances the form and adds character. Whether you display it, share it as a gift, or simply admire your work, this project is a perfect example of how easy and rewarding modeling with plasticine can be. Keep practicing and experimenting with different shapes and features to expand your skills and creativity.