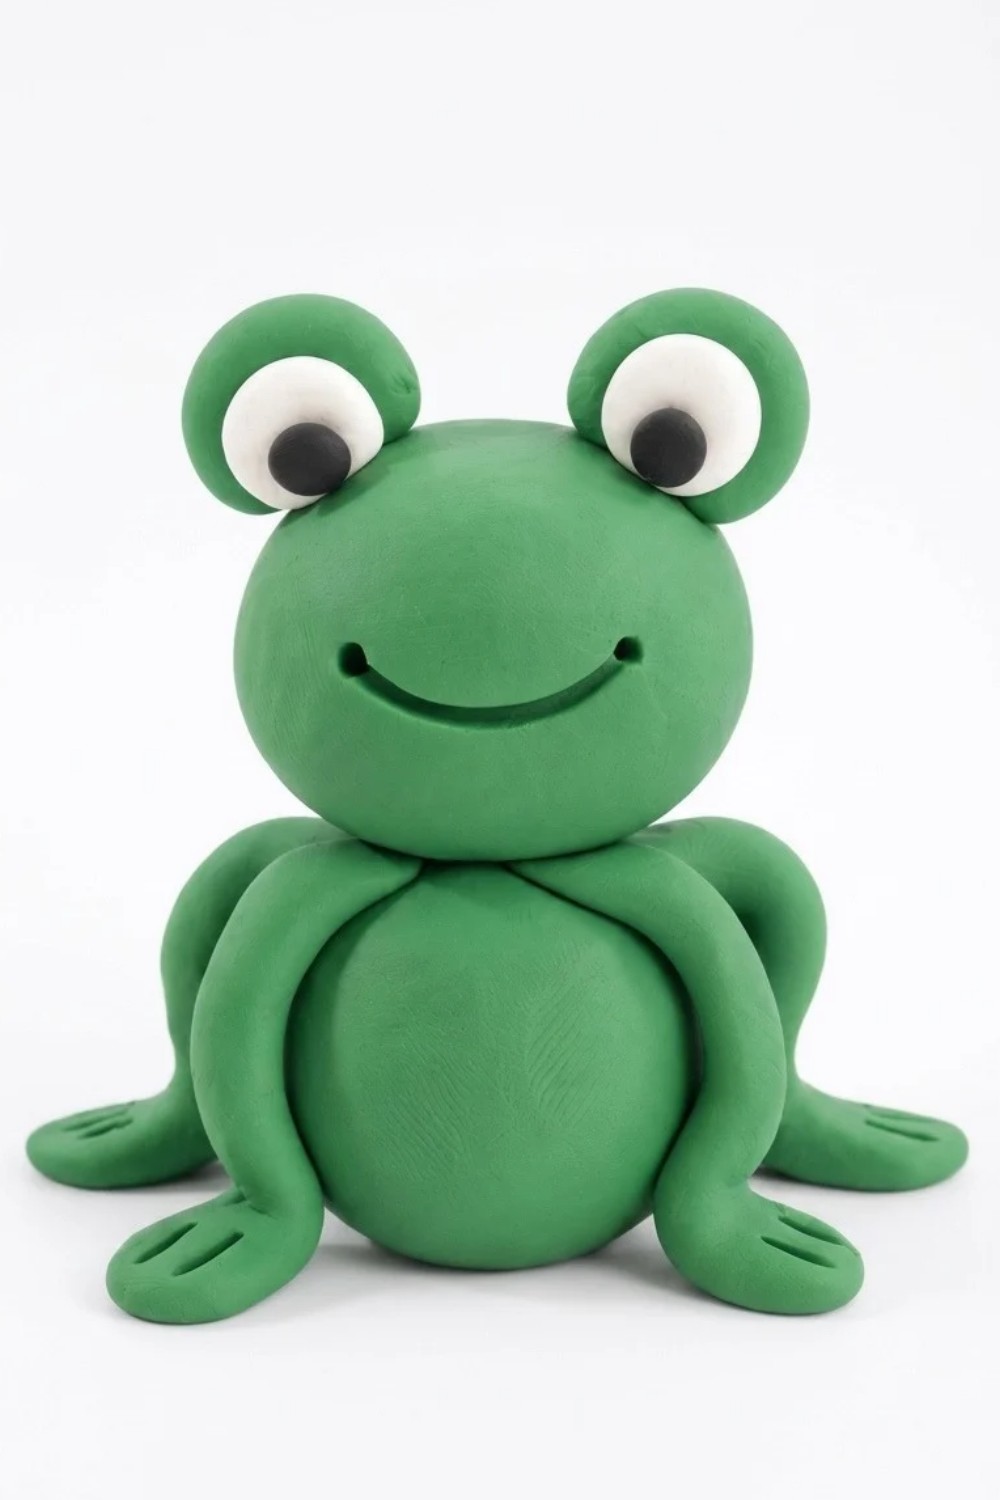
Learn how to sculpt an adorable DIY Polymer Clay Frog with this beginner-friendly tutorial, ideal for DIY enthusiasts of any skill level.
Creating tiny figures by hand is a wonderful way to spend your free time. If you want a fun new activity, you will love learning how to make a charming DIY Polymer Clay Frog. We want to give full credit to the amazing YouTube channel Drawings In Action for this fantastic tutorial and the original design. Their helpful video shows you exactly how to build your little green friend from scratch, making the whole process simple and clear. You will be amazed at how a block of soft material turns into a smiling creature with just a few rolls.
Craft A DIY Polymer Clay Frog Using Green Clay
Reading about this project is highly enjoyable because it does not require many tools or tricky steps. You only need some soft, colorful clay and your own hands. As you follow along, you easily see how to roll tiny balls for the eyes, shape a round body, and attach cute little feet. It is deeply relaxing to squish and mold the pieces together until your new friend is fully formed. Once you finish building it, you simply bake it in the oven until it becomes hard and solid. The easy steps offer a peaceful break from a busy day.
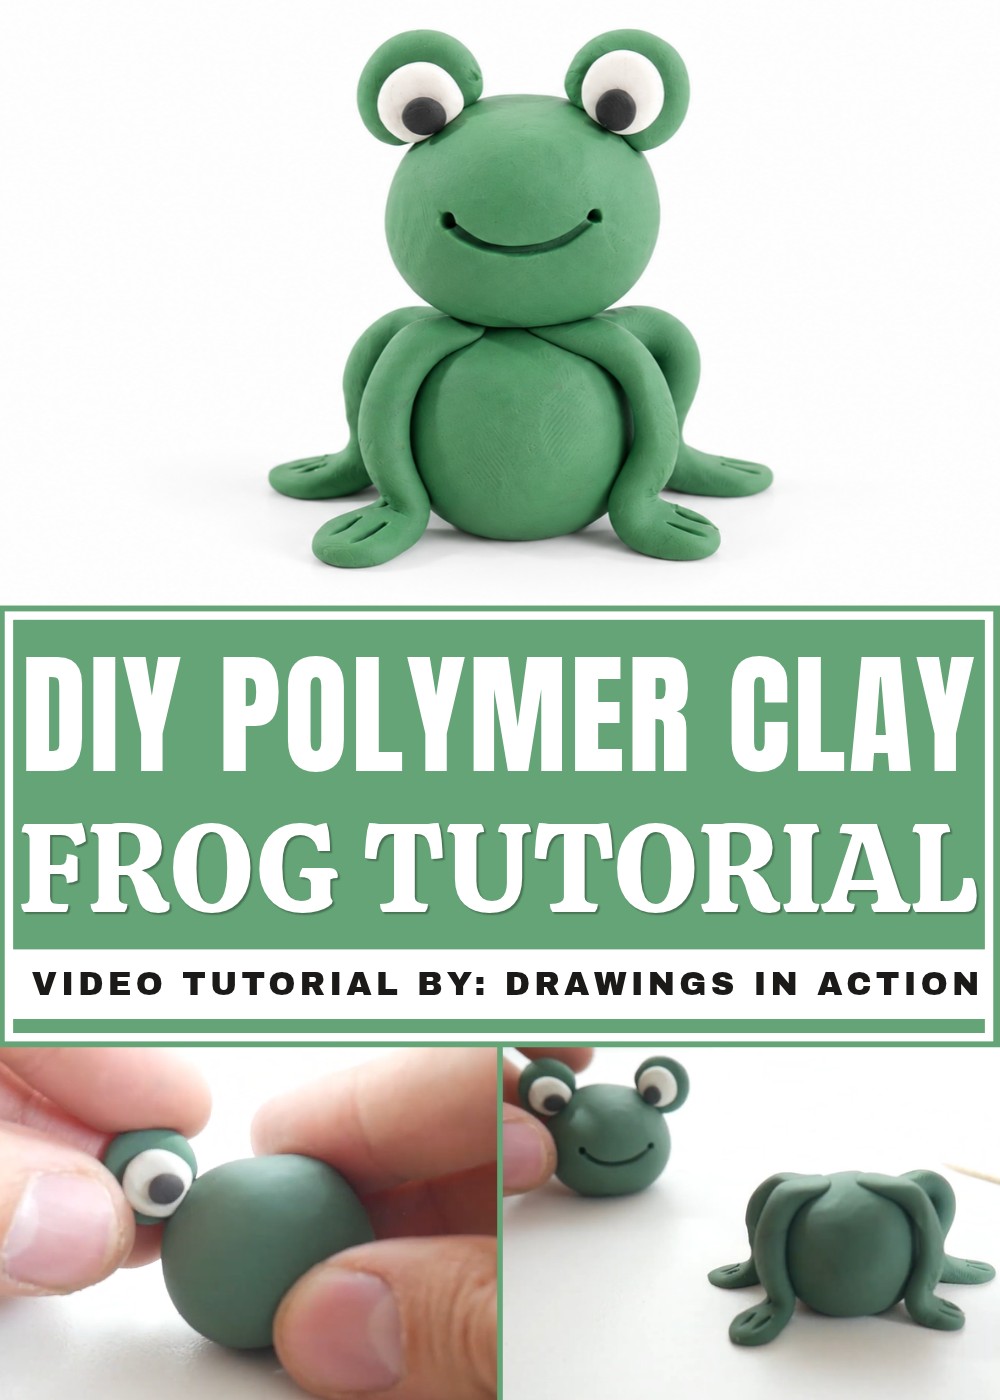
When you finally finish, you will have a delightful handmade figure to keep or share. It looks absolutely adorable sitting on a desk, a bookshelf, or next to your favorite indoor plants. You can even give it to a friend or family member as a sweet, personal gift to make them smile. This easy guide proves that you do not need special skills to create amazing art at home. Anyone can enjoy reading through these steps and then start bringing their very own joyful little character to life today.
Step-by-Step Tutorial: How To Make DIY Polymer Clay Frog
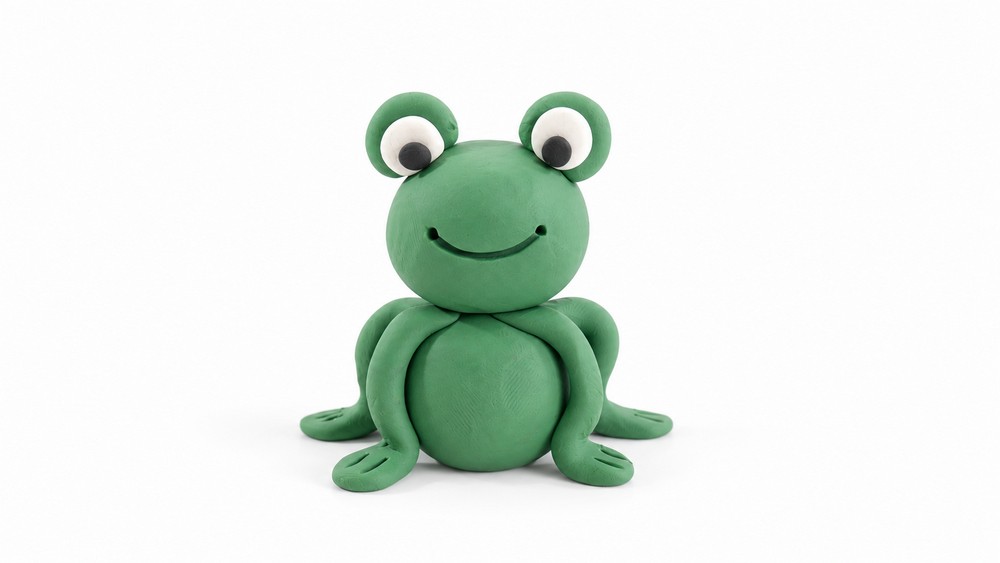
In this beginner-friendly tutorial, you’ll learn how to make a delightful clay frog using simple techniques. The frog will feature bright eyes, a cheerful smile, and detailed legs formed from basic shapes like ovals and cylinders. By following clear step-by-step instructions, you can create a charming clay frog quickly and easily. Whether you’re crafting for fun or making a unique decoration, this project is perfect for all skill levels. Let’s get started!
Materials and Tools
Materials
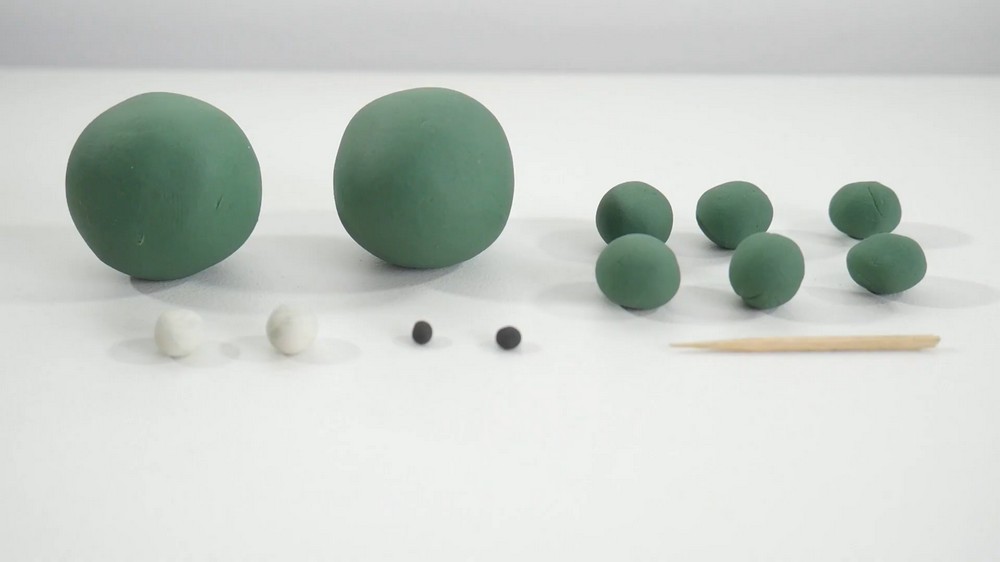
- Green modeling clay: For the body, head, eyes, and legs.
- White modeling clay: For the whites of the eyes.
- Black modeling clay: For the pupils.
Tools
- Toothpick: To securely attach the frog’s head to the body for stability.
- Pencil or pointed tool: To draw the frog’s smile and add detail to the toes.
- Flat workspace: A clean, smooth surface for shaping the clay.
Shaping the Frog’s Body
Form the Body
- Take one of the two large green clay balls and roll it into a smooth sphere. Ensure there are no cracks or fingerprints.
- Flatten the sphere slightly against the table with your palm or fingers to create a rounded oval shape.
- Set the oval aside, as it will serve as the frog’s body.
Shaping the Frog’s Head
Form the Head
- Take the second large green clay ball, roll it into a sphere, and smooth out any imperfections.
- Flatten the ball slightly using your palm or fingers to form another rounded oval shape, similar to the body but slightly smaller. This will serve as the frog’s head.
Creating the Frog’s Eyes
Shape the Base of the Eyes
- Take two small green clay balls, one for each eye.
- Flatten each ball between your thumb and index finger until it creates a flat circle.
Add the Whites of the Eyes
- Take two smaller white clay balls (smaller than the green circles).
- Flatten each white ball using the same technique to create flat white circles.
- Place each white circle on top of the corresponding green circle and press gently to secure them.
Pupils
Attachment
- Take two tiny black clay balls, about the size of a pea.
- Flatten each ball to form small black discs.
- Attach one black disc to the center of each white circle to create the pupils of the frog’s eyes.
Eyes to the Head Attachment
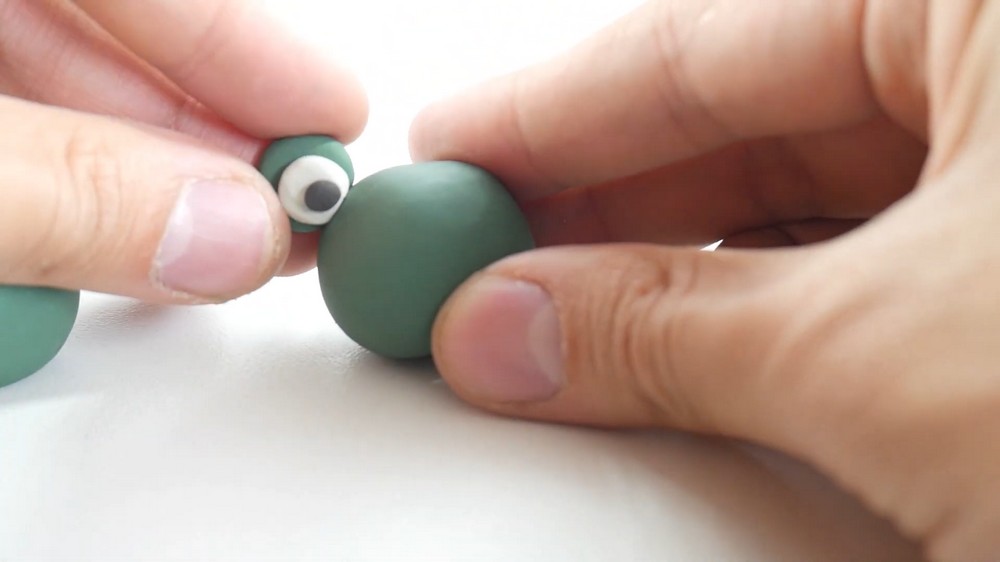
- Position the completed green, white, and black eye units on top of the frog’s head.
- Adjust the placement to ensure symmetry between the eyes before pressing them gently into place.
Creating the Smile
Draw the Mouth
- Use a pencil or pointed tool to draw a gentle curved line on the frog’s head for the smile.
- Position the smile slightly below the eyes, ensuring it is centered and even on both sides.
Shaping the Legs
Form the Leg Cylinders
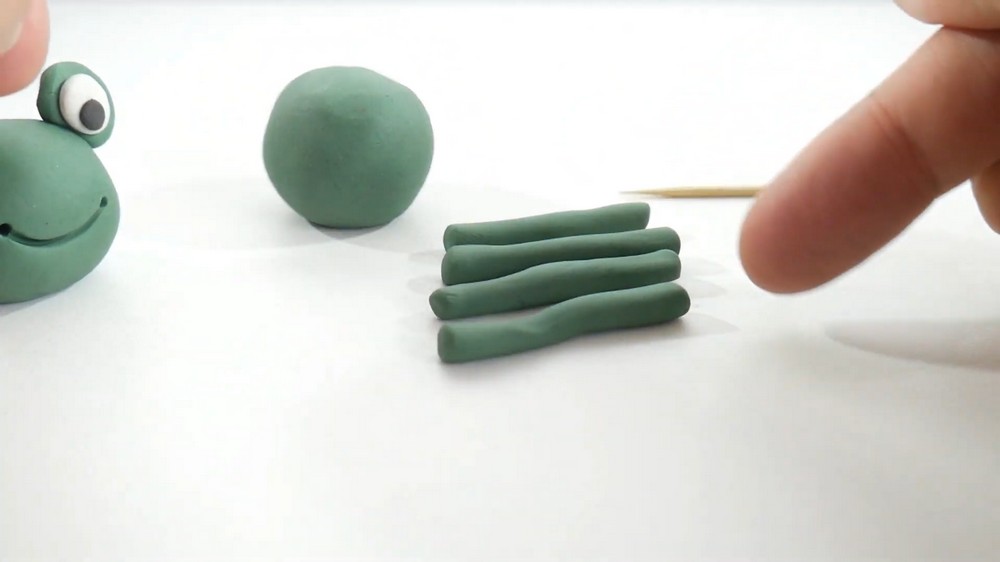
- Take four small green clay balls, rolling each into a smooth sphere.
- Roll each ball into a short cylinder by rolling it between your palms for consistent shape.
- These cylinders will serve as the frog’s legs, so make sure they are all roughly the same size and length.
Front Legs Attachment
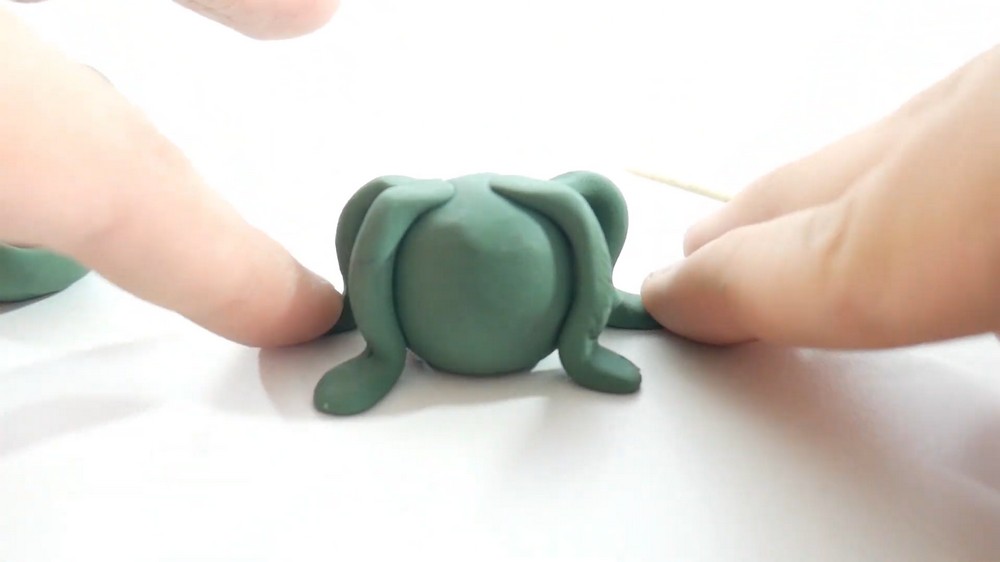
- Position one green cylinder at each side of the frog’s body, near the top.
- Press gently to attach the cylinders so that they curve downward slightly to mimic the front legs of a frog.
- Repeat this process with the second front leg, ensuring symmetry between both sides.
Back Legs Attachment
- Position the remaining two green cylinders at the sides of the frog’s body near the base.
- This time, make the curves more pronounced to give the back legs a bent appearance.
- Ensure both back legs are symmetrical, adjusting the shape if necessary.
Adding Detail to the Toes
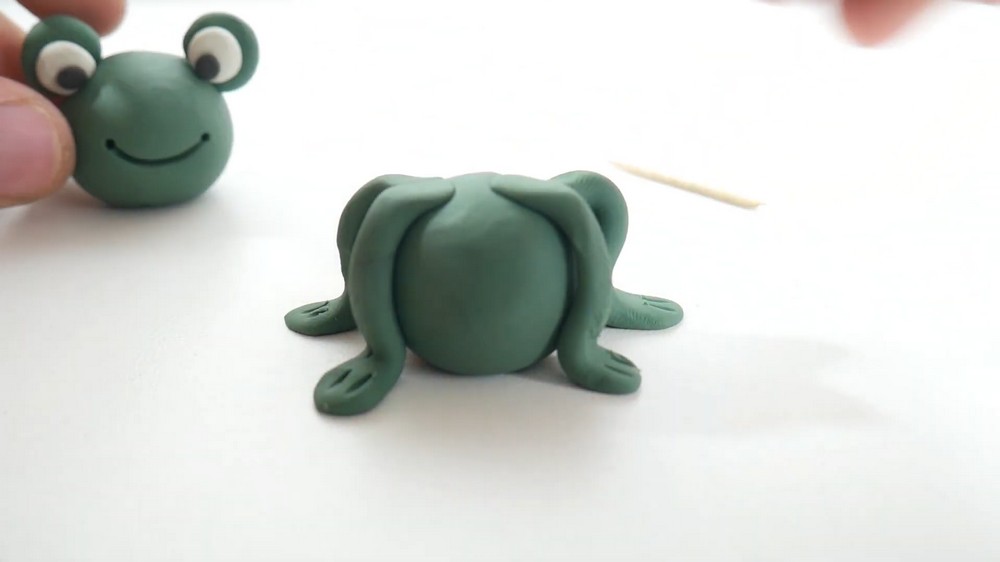
Define the Toes
- Use a pointed tool or pencil to lightly carve three vertical lines into each leg cylinder’s base where the feet are implied.
- These lines will act as the toes of the frog, adding a realistic touch to its legs.
Assembling the Frog
Attach the Head to the Body
- Insert a toothpick into the top of the frog’s body, leaving half of the toothpick exposed.
- Align the frog’s head with the body and gently press it onto the exposed toothpick.
- Ensure the head is securely mounted and positioned correctly relative to the body.
Final Adjustments
Touch Up the Frog’s Features
- Smooth out any fingerprints, cracks, or uneven parts on the clay using your fingers.
- Check that the eyes, legs, and smile are properly aligned, making adjustments if needed.
Project Reflection
Your clay frog is now complete! Its cheerful expression, detailed legs, and bright eyes make it a fun and engaging project for beginners or anyone looking for a quick and creative crafting session. Using simple shapes like ovals, cylinders, and circles, the frog’s design is clean and easy to replicate.
This frog is perfect for displaying at home, gifting to a friend, or adding to a collection of handmade crafts. The finished piece is playful yet simple, showcasing your creative skills and attention to detail. What makes this project enjoyable is how versatile it is—once you master these techniques, you can experiment with colors, expressions, or even add elements like a little lily pad or rocks for a themed display. Congratulations on your artistic effort, and don’t forget to show off your cute clay frog proudly.