Bring your creativity to life by making a delightful DIY Polymer Clay Penguin with this easy-to-follow tutorial that’s perfect for all skill levels.
Making small, cute items by hand is a fun way to spend your free time and show off your creative side. If you want a lovely activity to try today, you will really enjoy making a DIY Polymer Clay Penguin. This wonderful idea comes from the YouTube channel Drawings In Action, and we give full credit to the creator for the beautiful tutorial and design. It is a great guide that shows you step-by-step how to shape a cute little bird out of colorful modeling dough. Anyone can enjoy this sweet project, whether you are a complete beginner or a long-time crafter.
Easy DIY Polymer Clay Penguin For Beginners To Make
Creating this tiny winter animal is very exciting because it is so relaxing to do. You only need a few basic colors of soft dough, like black, white, and orange, to bring it to life. Rolling the pieces into smooth balls and putting them together gently feels just like playing. The best part is seeing the little character take shape right in your own hands. You get to add tiny eyes, a little beak, and small flippers to give it a bright and happy personality. It is a wonderful way to rest your mind and build something really special.
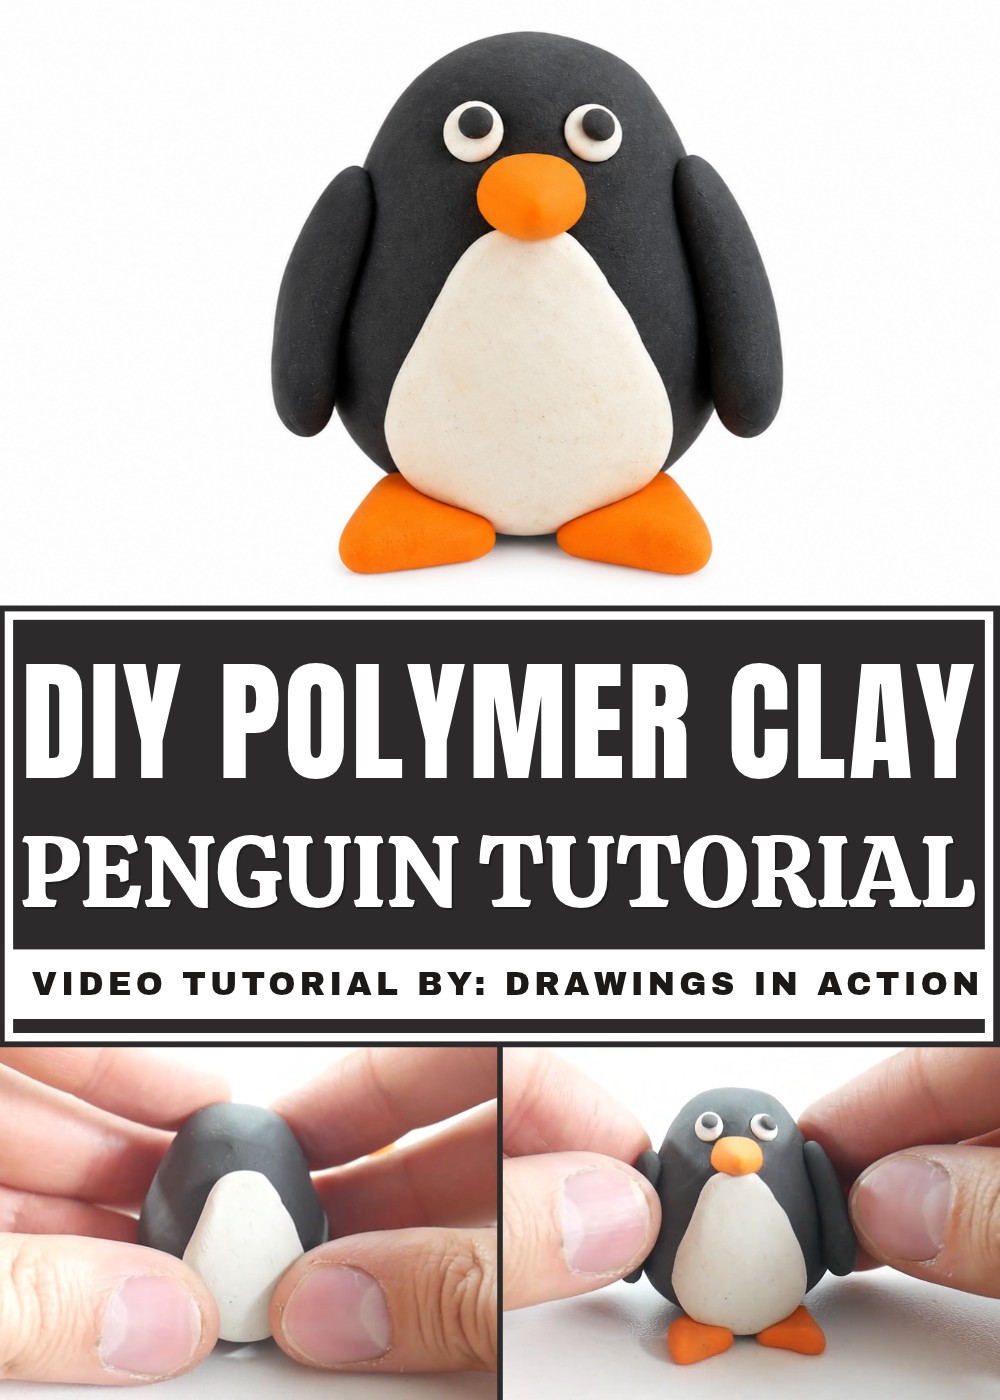
Once you finish baking your new friend, you will have a beautiful homemade toy or a lovely gift for someone special. This engaging activity brings a lot of joy to both kids and adults who want to try something new. You can easily turn it into a cute keychain or a small decoration for your bedroom desk. It teaches you helpful shaping skills while letting your imagination run free. Trying out this simple guide is sure to bring you happiness and might even help you discover a brand-new hobby to enjoy on the weekends.
Step-by-Step Tutorial: How to Make a Cute Plasticine Penguin
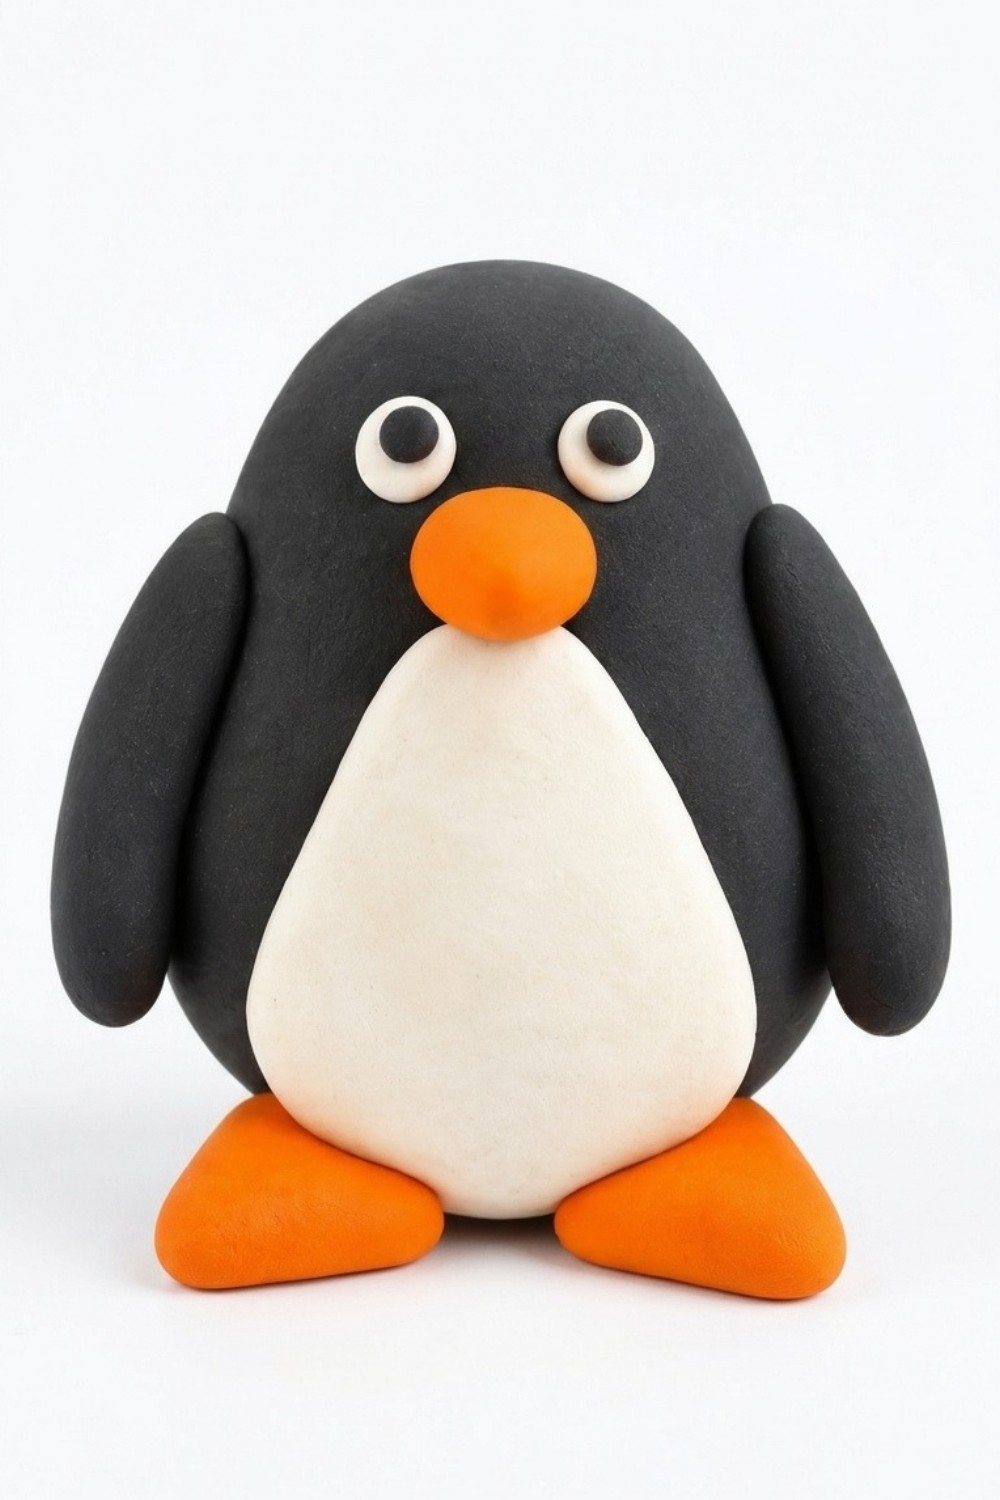
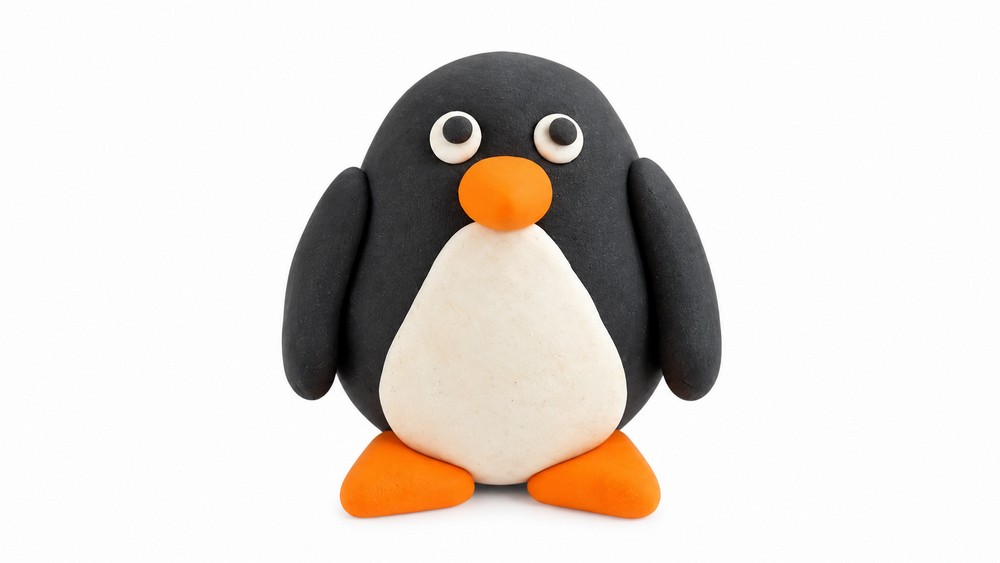
In this detailed tutorial, you’ll learn how to make a simple and adorable plasticine penguin. Using just three colors—black, white, and orange—this charming penguin is created from basic shapes like spheres, cones, and triangles. Follow these clear and easy instructions to assemble the penguin step by step, from shaping its body to adding its final touches, like the eyes, wings, and feet. This project is not only fun but also a great activity for all ages. Let’s get started.
Materials and Tools
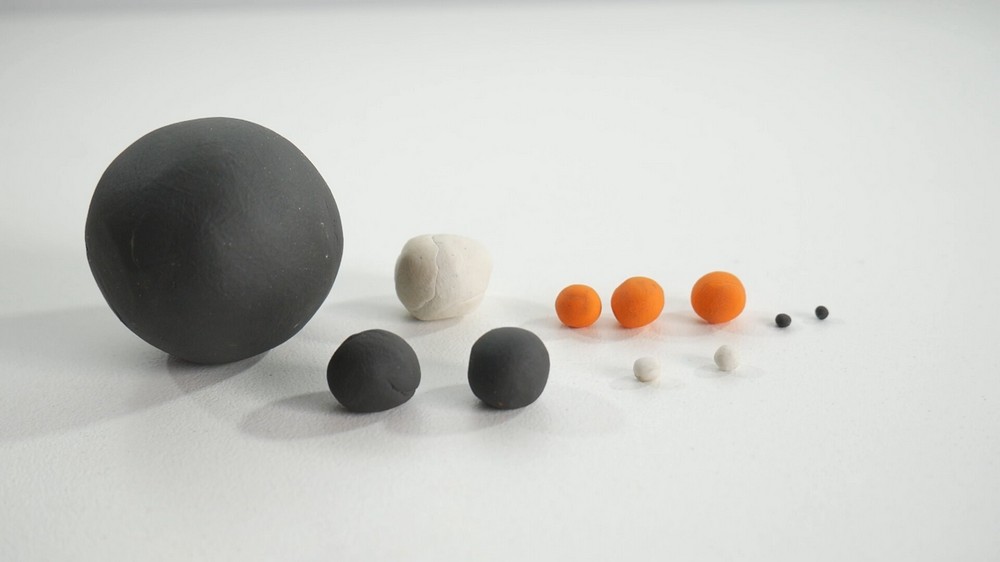
Materials
- Black plasticine: For the body and wings.
- White plasticine: For the belly and eyes.
- Orange plasticine: For the beak and feet.
Tools
- Clean fingers: Your hands will do all the shaping, so ensure they are clean and dry to keep the plasticine neat.
- Smooth surface: A clean worktable or flat surface to roll and shape the plasticine.
Constructing the Penguin’s Body
Form the Body
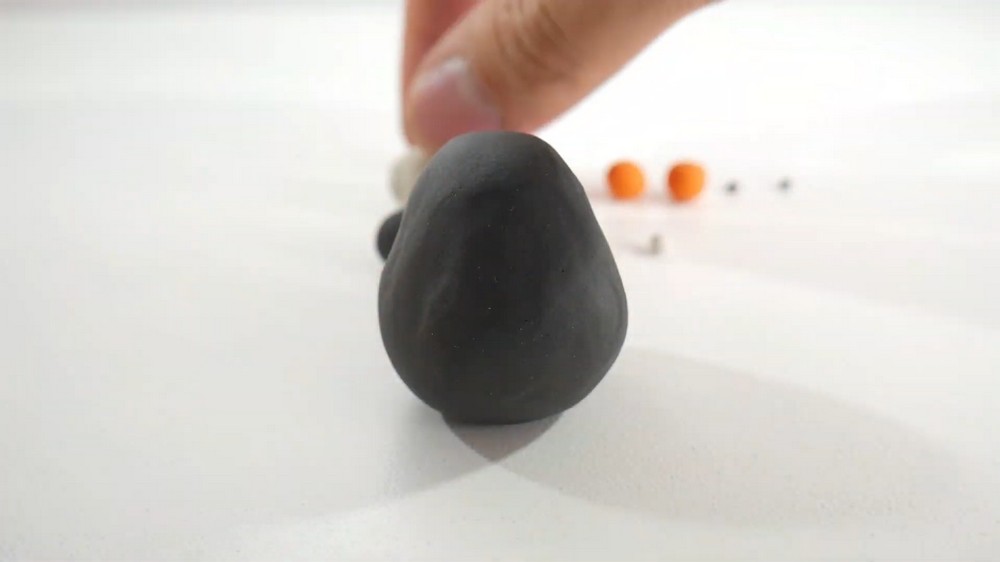
- Take the largest black plasticine ball that you’ve prepared.
- Roll the ball in your palms until it’s smooth and has no cracks or imperfections.
- Shape it into an oval or egg-shaped form, which will serve as the penguin’s main body. Make one end slightly wider than the other to give the body a natural penguin shape.
- Place the egg-shaped body on your work surface with the wider end at the bottom; this will be the base of your penguin.
The Belly
Shape the Belly
- Take a medium-sized white plasticine ball.
- Roll it into a smooth sphere, just like you did with the black ball.
- Flatten the ball gently with your fingers until it forms a flat, rounded oval shape.
- Ensure the size of the white shape is proportionate to the penguin’s body—it should fit snugly on the front without covering the entire surface.
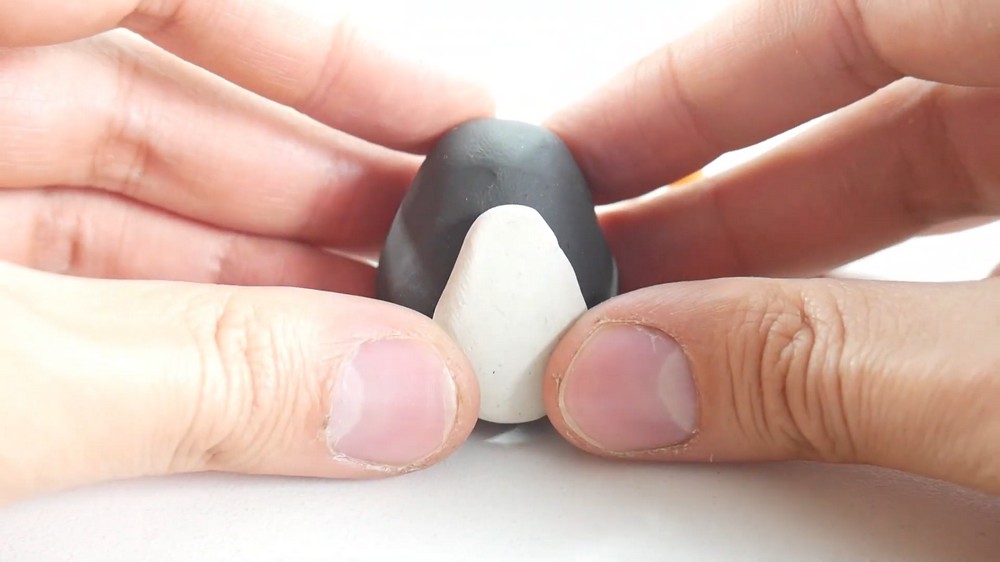
Attach the Belly to the Body
- Position the white oval on the front of the black egg-shaped body, with its widest part aligned toward the base.
- Gently press the white belly onto the black body, smoothing the edges to blend it seamlessly. This will give the penguin a soft, rounded look.
Face
Make the Beak
- Take a small orange plasticine ball, about the size of a pea.
- Roll it into a smooth ball, then shape it into a cone by pinching one end into a point while keeping the other end rounded.
- Place the orange cone beak on the upper front of the white belly, near the top of the body. Press gently so it stays securely in place.
Add the Eyes
- Take two small white plasticine balls, each smaller than the orange beak.
- Roll the balls into small, smooth spheres, then flatten them slightly with your fingers. These will serve as the whites of the eyes.
- Attach them just above the orange beak, ensuring the eyes are symmetrical and evenly spaced.
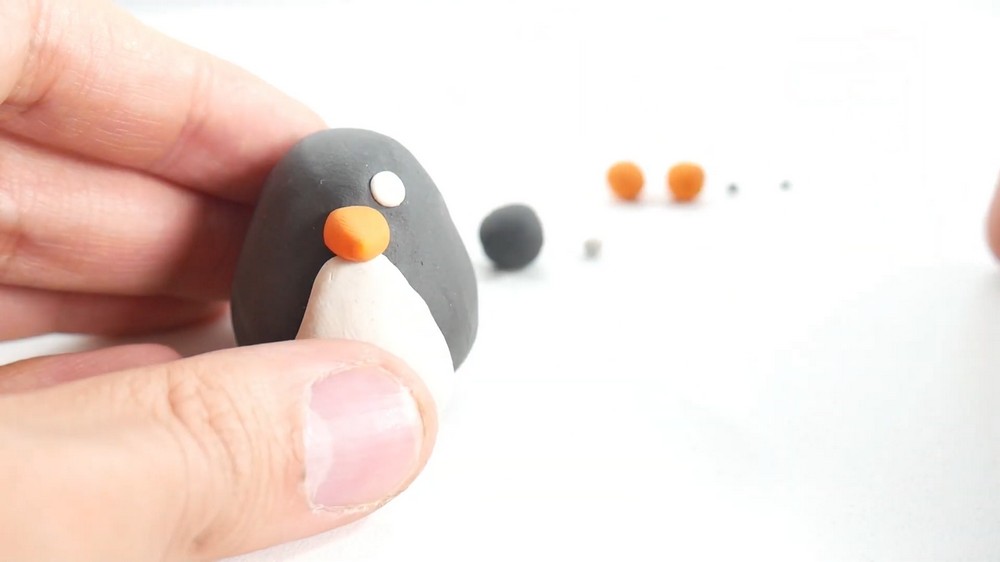
- Next, take two smaller black plasticine balls and press them onto the white sections of the eyes to form the pupils.
Creating the Wings
Shape the Wings
- Take two small black plasticine balls, roughly the same size.
- Roll each ball into a smooth sphere.
- Flatten each ball slightly and shape it into a pear-like form by gently pinching one end into a rounded point. These will become the penguin’s wings.
Wings Attachment
- Position one pear-shaped wing on each side of the penguin’s body.
- Ensure the rounded parts of the wings are facing downward, and gently press them onto the sides of the black body.
Making and Attaching the Feet
Shape the Feet
- Take two small orange plasticine balls, making sure they are equal in size.
- Roll them into spheres and flatten slightly.
- Pinch each flattened ball into a triangle shape using your fingers. The pointed ends of the triangles will serve as the tips of the penguin’s toes.
Feet Attachment
- Place one orange triangle at the bottom front of the penguin’s body, ensuring the wide end of the triangle faces toward the body and the pointed end faces outward.
- Attach the second triangle in the same way on the other side of the body, ensuring symmetry between the feet.
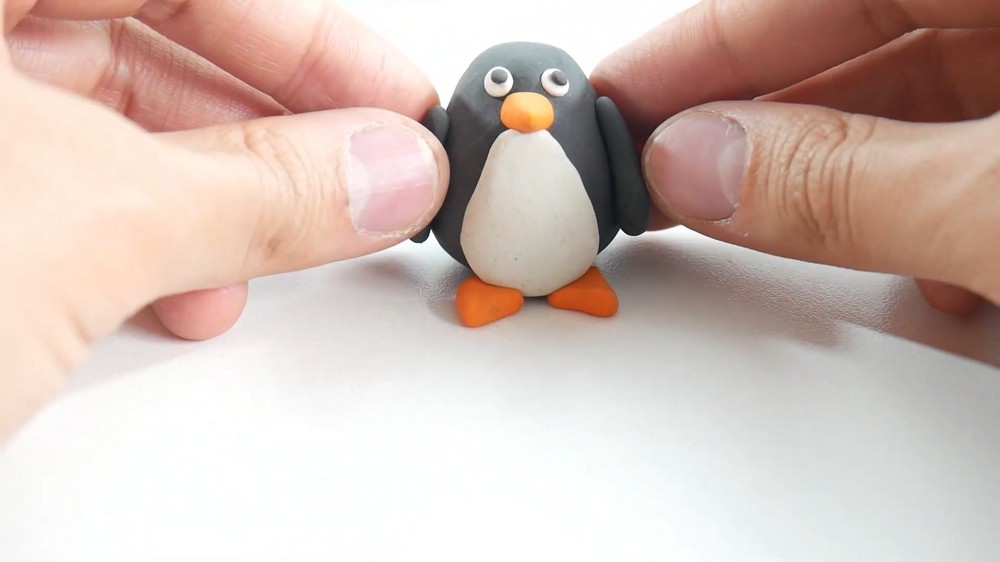
Final Adjustments and Finishing Touches
Check the Penguin’s Proportions
- Take a moment to review the penguin’s overall appearance. Ensure the wings and feet are aligned symmetrically and securely attached.
- Make adjustments as needed to refine the shape of each part, such as smoothing the edges or reshaping anything that seems uneven.
Smooth the Surface
- Gently smooth any fingerprints, cracks, or uneven areas on the plasticine with your fingers. This will give your penguin a polished and clean look.
Final Thoughts
Your adorable plasticine penguin is now complete! This simple yet charming creation combines playful features like a plump body, stubby wings, a cute beak, and little feet. This project is an excellent option for beginners looking to have a little creative fun, using easily available materials and a few straightforward techniques. The end result is a delightful penguin that’s perfect for decorating a shelf, gifting to a friend, or enjoying as part of a collection. You’ve just molded a little character full of charm and personality using black, white, and orange plasticine.
What makes this project so rewarding is the ease of assembly, making it ideal for all ages. Every element of the penguin, from its egg-shaped body to its perked-up wings, showcases your artistic skills in a fun, approachable way. Try experimenting with different color variations, or use the same techniques to create other animals—the possibilities are endless.