Try a DIY Polymer Clay Giraffe for a cute long-necked animal with tiny horns and a cheerful face, ideal for desks, toy scenes, and small gifts.
Wild animals have many interesting features, but a giraffe's long neck and unusual spots give it a special appearance. Its tall body and gentle face also look lovely when shown in a smaller form. DIY Polymer Clay Giraffe is a fun animal project shared by Drawings In Action. This little figure has a yellow body, brown patches, a long neck, and four slender legs. Its tiny ears, short horns, and friendly eyes give it a cheerful look. The simple cartoon style makes the giraffe especially appealing to children.
Realistic DIY Polymer Clay Giraffe For Jungle Decorations
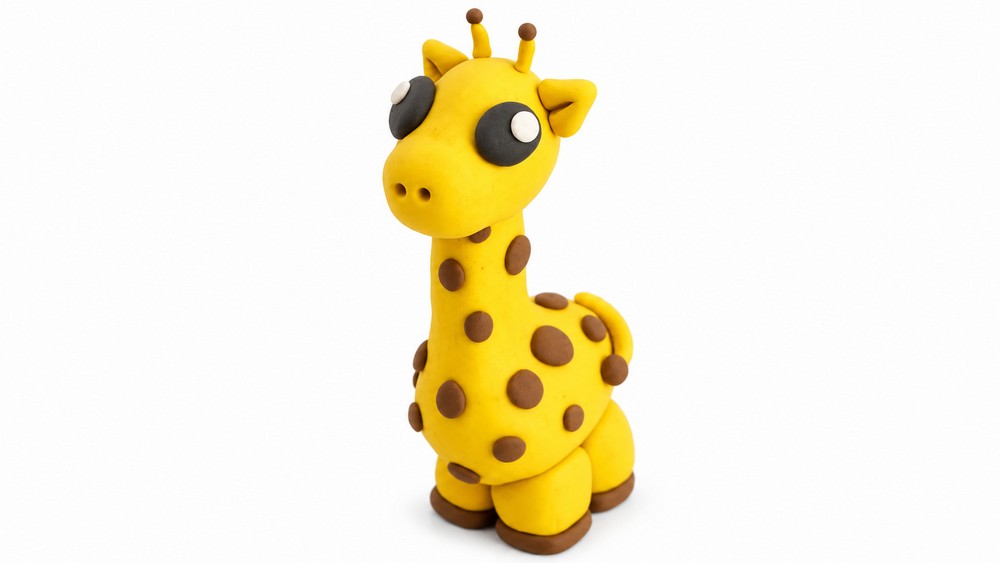
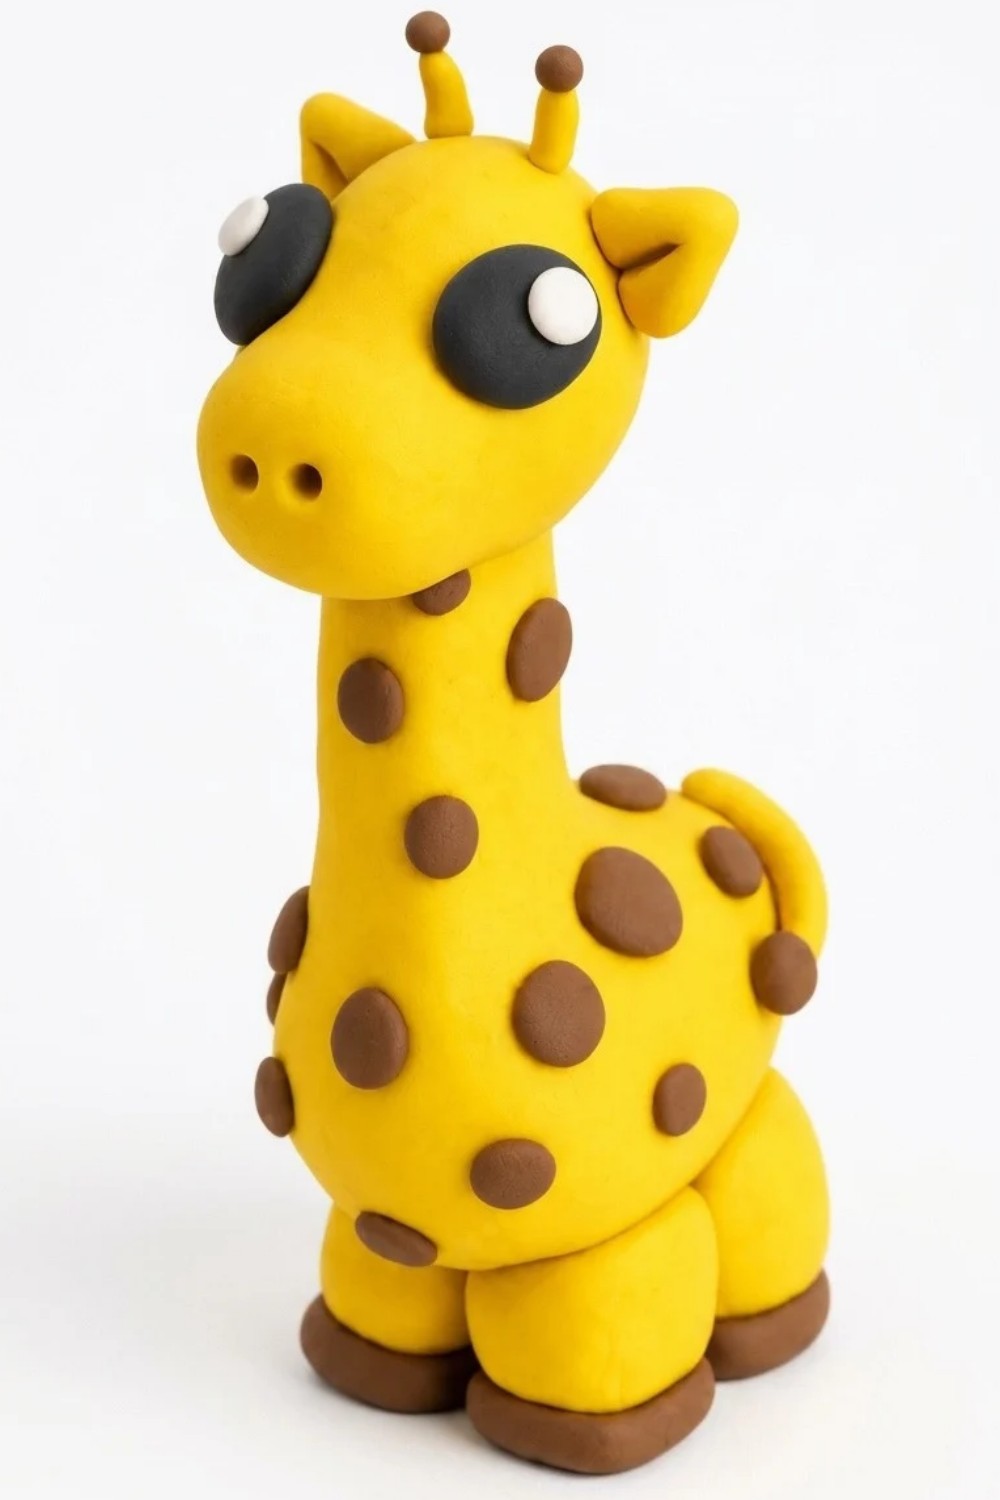
The brown spots are one of the most attractive parts of this animal. They appear across its body and neck, giving the yellow surface a lovely contrast. A small tail, rounded nose, and little hooves complete its familiar appearance. The tall neck helps the giraffe stand out even among other miniature animal figures.
Yellow polymer clay can be shaped into the main body, while brown pieces form the spots and hooves. The neck is carefully connected to the body, and the head sits at the top. Small details are then placed around the face to give the animal its friendly expression.
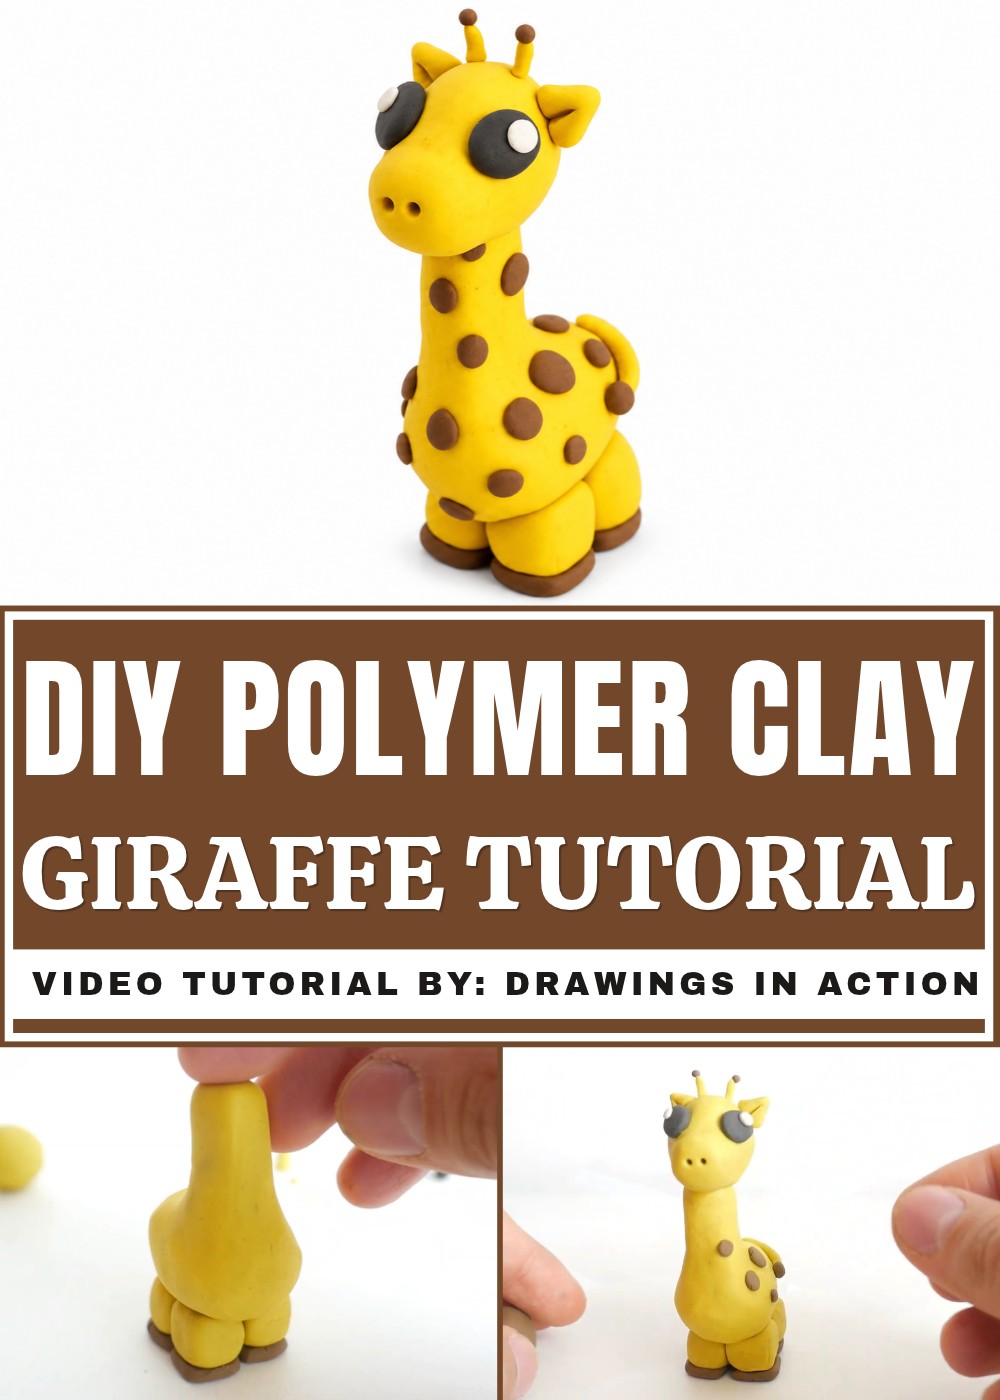
The finished giraffe has a happy and gentle appearance. Its lovely markings and tall shape turn a simple animal idea into a cute little keepsake for the home.
Easy Plasticine Giraffe Tutorial: Step-by-Step Guide
Today you will learn how to make a simple and cute giraffe out of plasticine. This beginner-friendly project uses basic shapes and easy techniques.
Materials and Tools Needed
- Yellow plasticine
- Brown plasticine
- Black plasticine
- White plasticine
- A stick or toothpick (to help join parts and add details)
Step-by-Step Instructions
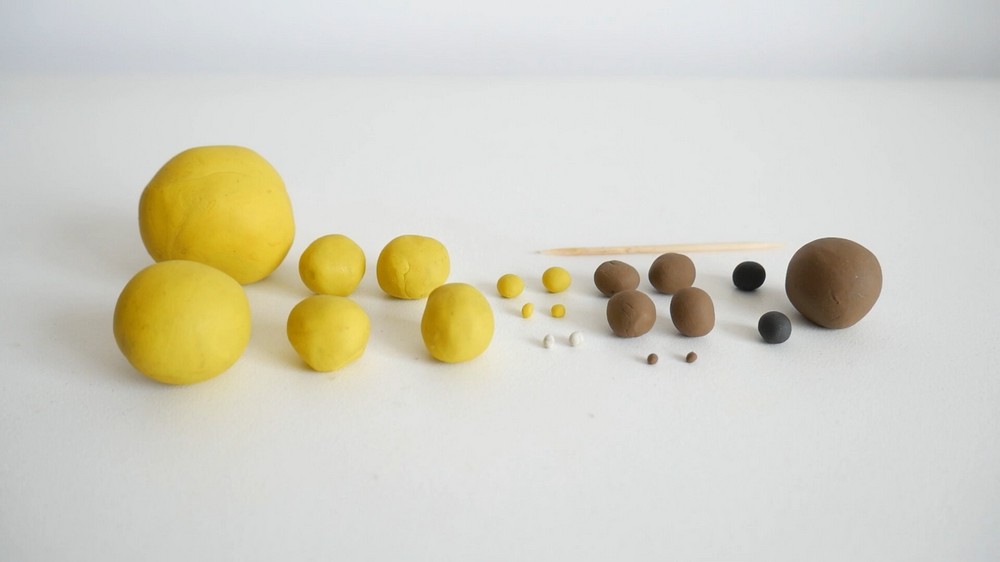
1. Prepare Your Plasticine Balls
- Divide your plasticine into several balls of different sizes and colors: yellow, brown, black, and white.
- You can pause here to check the exact size and quantity of each ball.
2. Make the Body and Neck
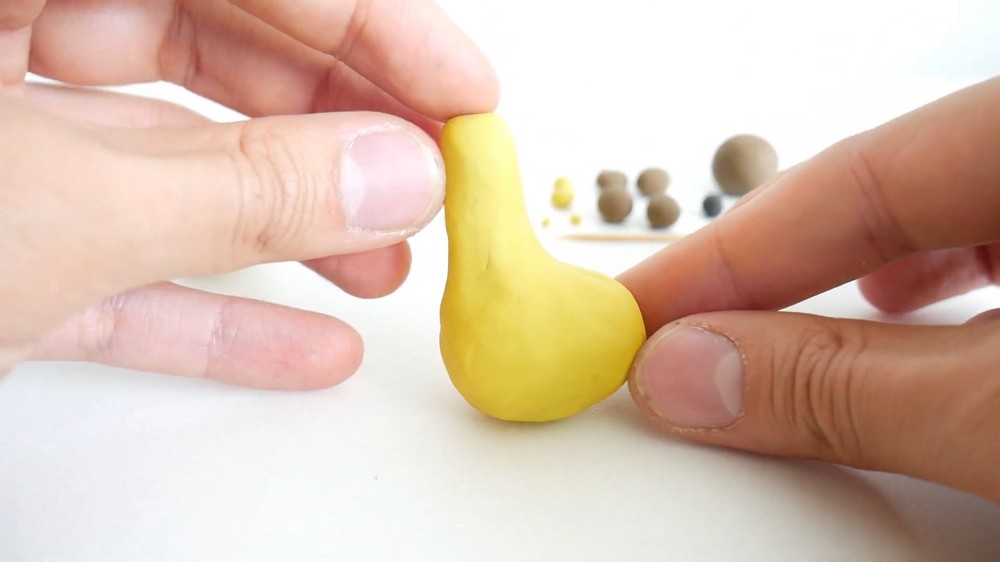
- Take the largest yellow plasticine ball.
- Shape it into an oval for the body.
- Knead one end of the oval gently to stretch it, forming the giraffe’s neck.
- Use your fingers to smooth the shapes so the neck blends naturally with the body.
3. Make the Legs
- Take a yellow plasticine ball and flatten it on all sides to form a cube shape.
- Make four identical legs this way.
- Take brown plasticine and make four small flattened squares for the hooves which will be placed under each leg.
4. Assemble the Body and Legs
- Place the four legs on your work surface: two in the front and two behind.
- Attach each brown hoof square underneath each leg gently.
- Place the giraffe’s body on top of the legs so it rests evenly.
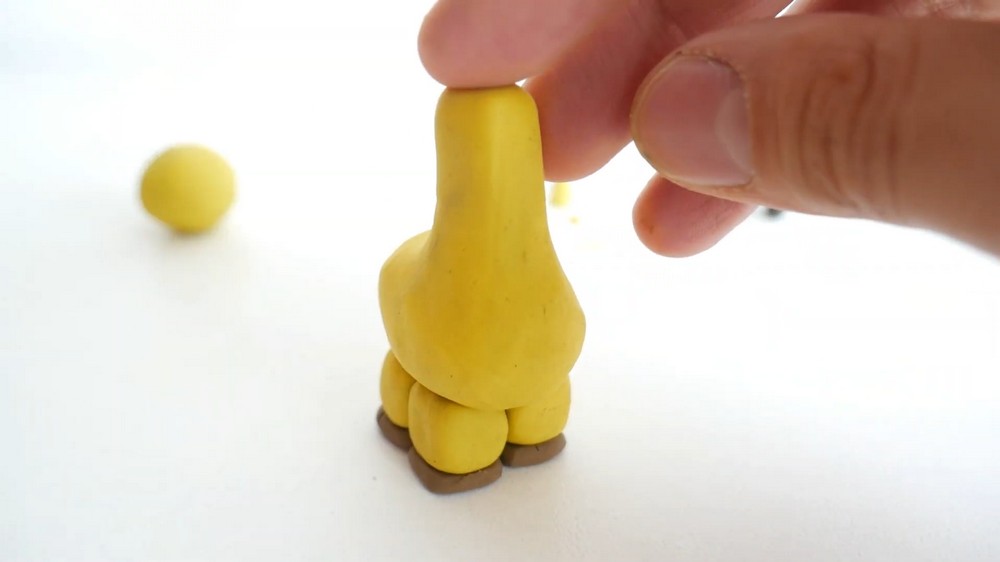
5. Make the Head
- Take a yellow plasticine ball and form a pear shape for the head.
- Flatten the front part lightly with your fingers.
6. Support the Head with a Stick
- Insert a stick or toothpick into the neck area of the body.
- Attach the head onto the stick so it stays stable and connects well with the neck.
7. Make the Eyes
- Take two small black plasticine balls and shape them into small ovals.
- Place them on each side of the head as eyes, slightly above the nose area.
- For shine, take two tiny white balls and place a dot on each black eye.
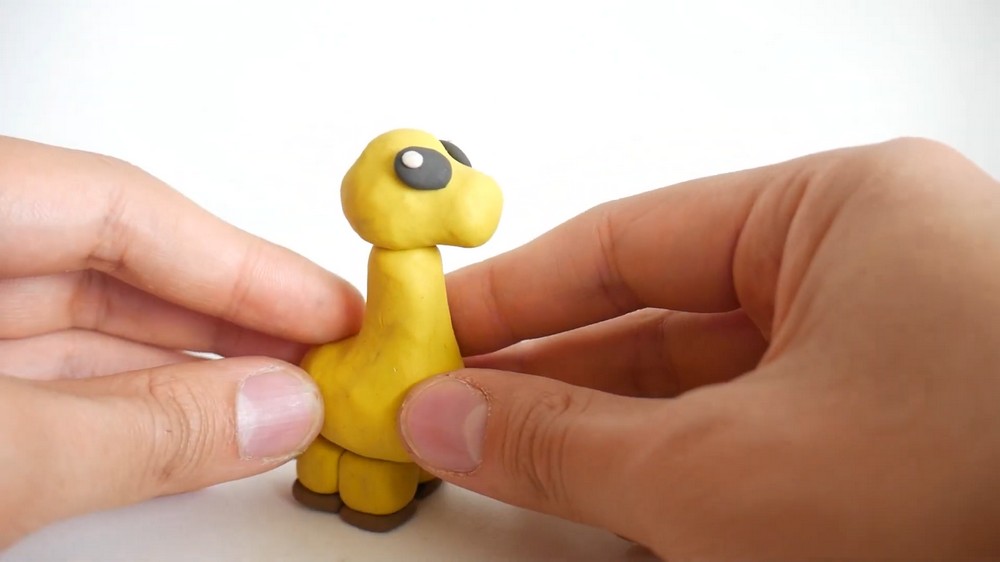
8. Create the Ears
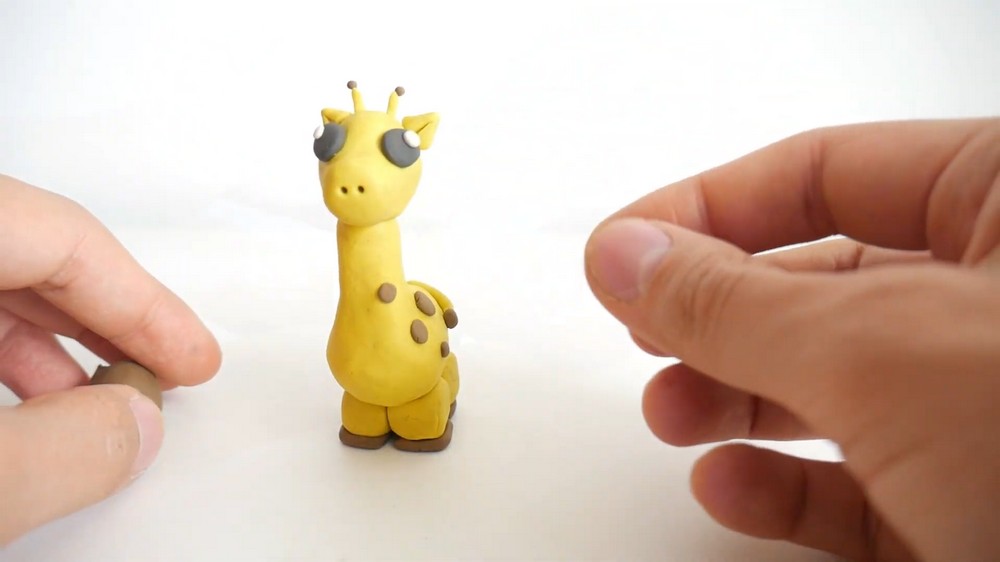
- Form two yellow plasticine triangles for ears.
- Use a stick or toothpick to draw a line down the middle of each ear for detail.
- Attach the ears on the top sides of the head, slightly angled.
9. Make the Horns (Ossicones)
- Take two small yellow balls and roll each into a small strip.
- Attach these to the top of the head as giraffe horns (called ossicones).
- Place two small brown balls at the tips of each ossicone.
10. Add Nose Details
- Using a stick, toothpick, or pencil, make two small holes near the front of the head where the nostrils should be.
11. Make the Tail
- Roll a small strip of yellow plasticine for the tail and attach it to the back of the body.
- Add a small brown ball at the end of the tail to represent the hair tuft.
12. Add the Giraffe’s Spots
- From a large brown ball of plasticine, pinch off small pieces and roll them into flat balls or spots.
- Stick these spots all over the giraffe’s body and neck in a natural pattern.
Finishing Touches
- Check all parts to make sure they are well attached and secure.
- Smooth any rough edges or fingerprints.
- Adjust the shapes as needed to keep your giraffe looking balanced and cute.
Final Result
You now have a sweet and easy plasticine giraffe! It has a long neck, spotted body, detailed face, and a tail with a hair tuft. This project helps you practice shaping, joining, and texturing clay in a simple way.
Enjoy your charming handmade giraffe and try making more animals with these basic techniques!
Thank you for crafting along!