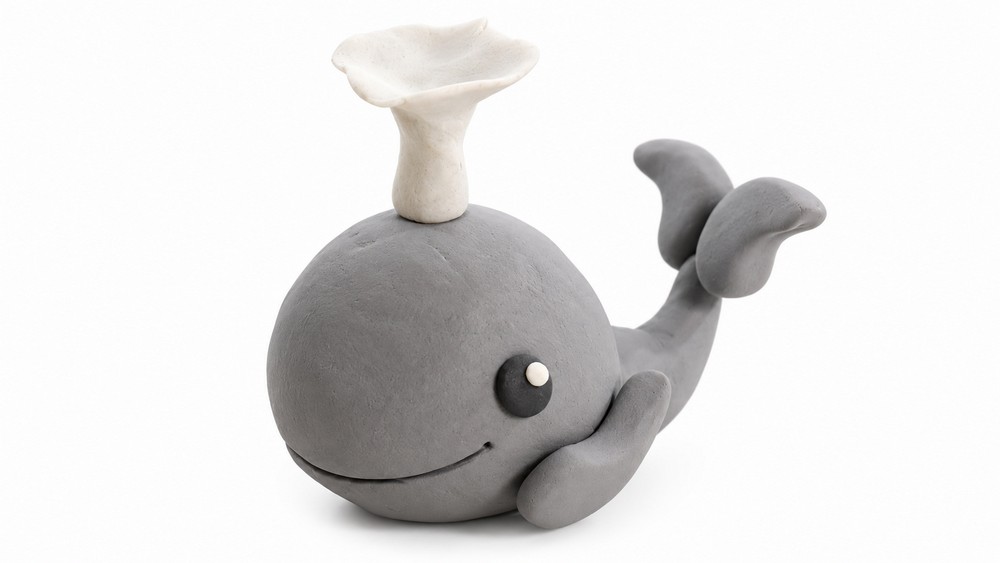
Place DIY Polymer Clay Whale on your bookshelf for a playful underwater touch, featuring a smooth body and tiny fins that sea lovers will adore.
Drawings In Action shares a lovely sea animal idea that turns a huge ocean creature into a tiny clay model. Whales are known for their enormous size and peaceful movements, but this miniature version gives them a sweet and friendly appearance. DIY Polymer Clay Whale features a rounded body, a wide tail, small side fins, and a cheerful little face. Its smooth shape gives it a soft appearance, while the curved back makes it easy to recognize. The tiny black eyes and smiling mouth add a handmade expression that suits this adorable sea animal.
Simple DIY Polymer Clay Whale For Small Birthday Gifts
One interesting detail is the whale's broad tail, which extends behind its body. The small flippers sit on either side, giving the figure a balanced look. Blue clay works well for the upper body, while a white belly provides a pleasant contrast. A tiny water spout on top can give the whale an extra ocean-inspired detail.
The model uses polymer clay to form its main sections. A larger piece is shaped into the body, while smaller amounts form the tail and fins. Gentle pressing helps join these parts together. Simple facial details complete the whale without making it too complicated.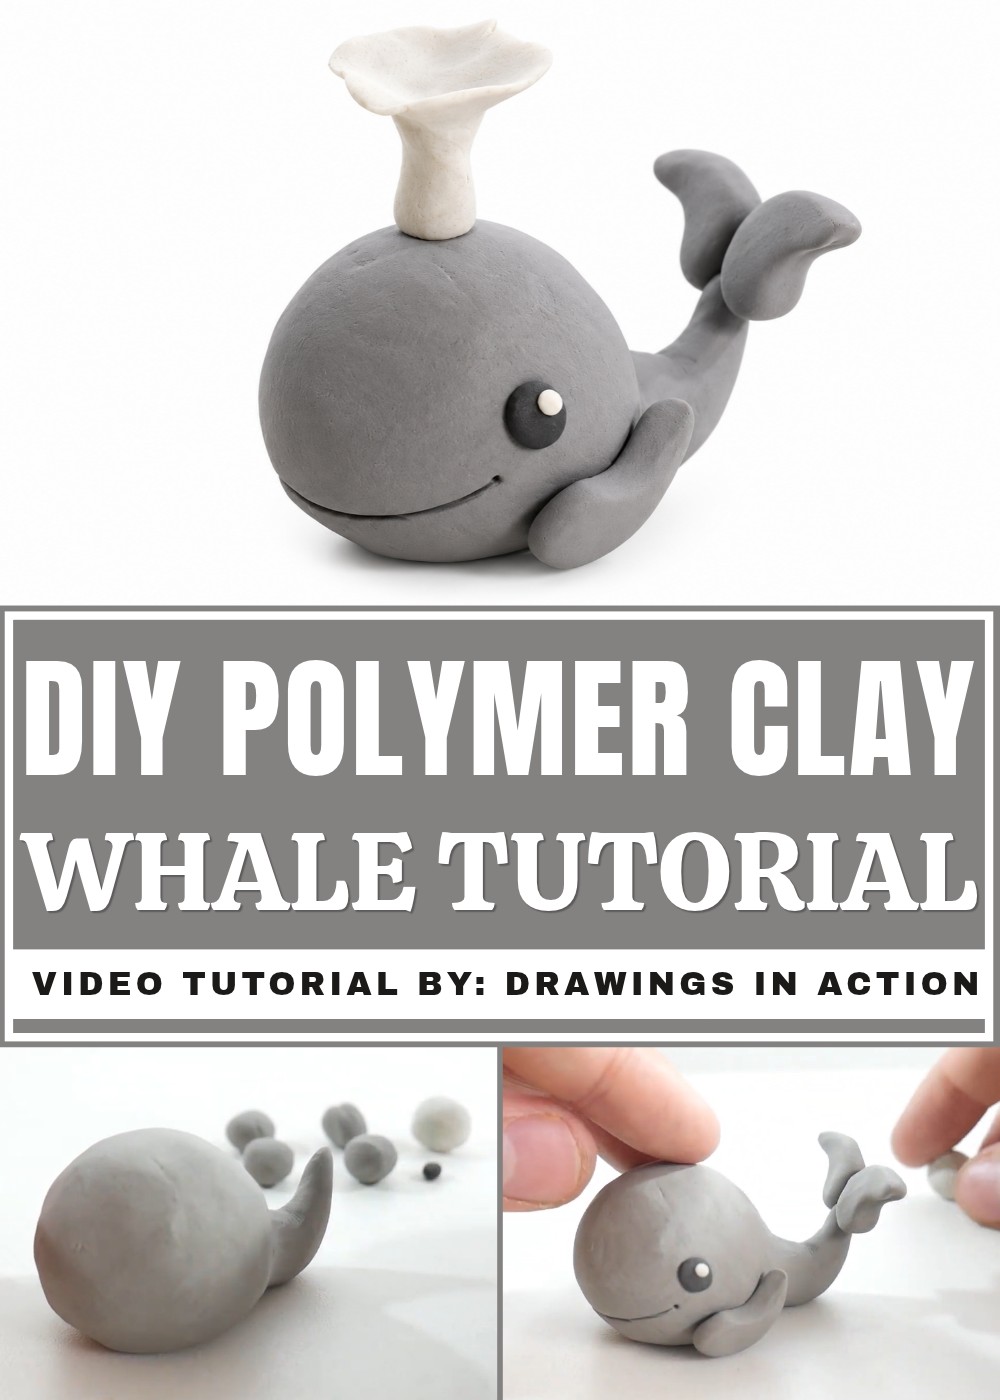
This little whale can sit on a study desk, bedroom table, or bookshelf. It is also a nice birthday gift for children who love ocean animals. You can place it with other small sea figures for a lovely display.
The finished whale offers a simple way to celebrate marine life. Its rounded shape, gentle expression, and ocean colors give it a charming personality that looks lovely in any small space.
How to Make a Simple Plasticine Whale: A Beginner-Friendly Tutorial
In this tutorial, you will learn how to make a cute whale out of plasticine quickly and easily. This step-by-step guide is perfect for beginners, using simple shaping and texturing techniques to create a lovely model.
Materials and Tools
- Grey plasticine (in large and medium-sized amounts)
- Black plasticine (small amount)
- White plasticine (small amount)
- Toothpick or any pointed tool (for details)
- Cutter or craft knife (small and safe for detailing)
Step-by-Step Instructions
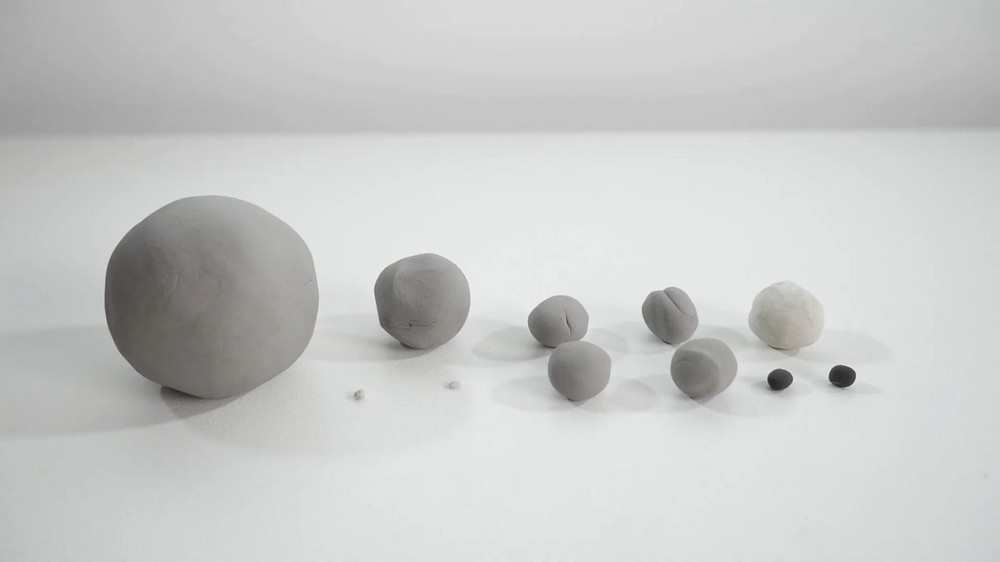
1. Prepare Your Plasticine Balls
- Divide your grey, black, and white plasticine into ball-shaped pieces of the following sizes:
- One largest grey ball for the body
- One medium-sized grey ball for the tail
- Four smaller grey balls for the fins
- Two small black balls for the eyes
- One tiny white ball for the eyes’ sparkle
- You can pause here to check the sizes exactly if you like.
2. Shape the Whale’s Tail
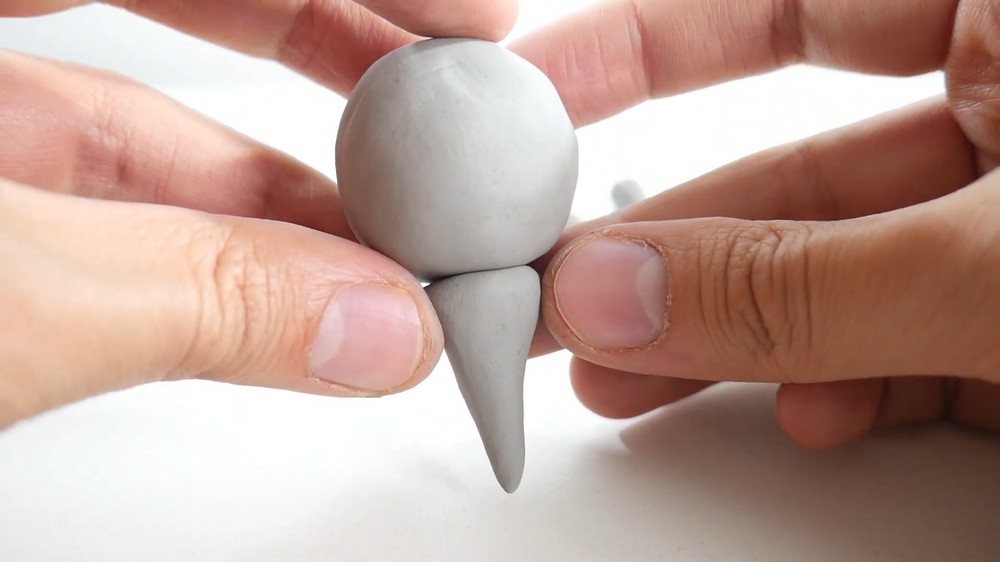
- Take the medium-sized grey ball.
- Shape it into a cone by gently rolling and molding it with your fingers.
- The tail should taper to a point but keep the base wide enough to attach to the body.
- Use the video image as a visual reference to get the shape right.
3. Form the Whale’s Body and Attach the Tail
- Take the largest grey ball and shape it into an oval for the whale’s body.
- Join the pointed end (base) of the tail cone to one side of the body oval.
- Slowly knead the join where the tail meets the body, blending them together carefully.
- Make sure the tail and body look like one smooth figure without visible seams.
4. Flatten the Bottom of the Whale
- Press the whole figure lightly against your work surface so that the bottom becomes flat.
- This gives stability to your whale so it can sit correctly.
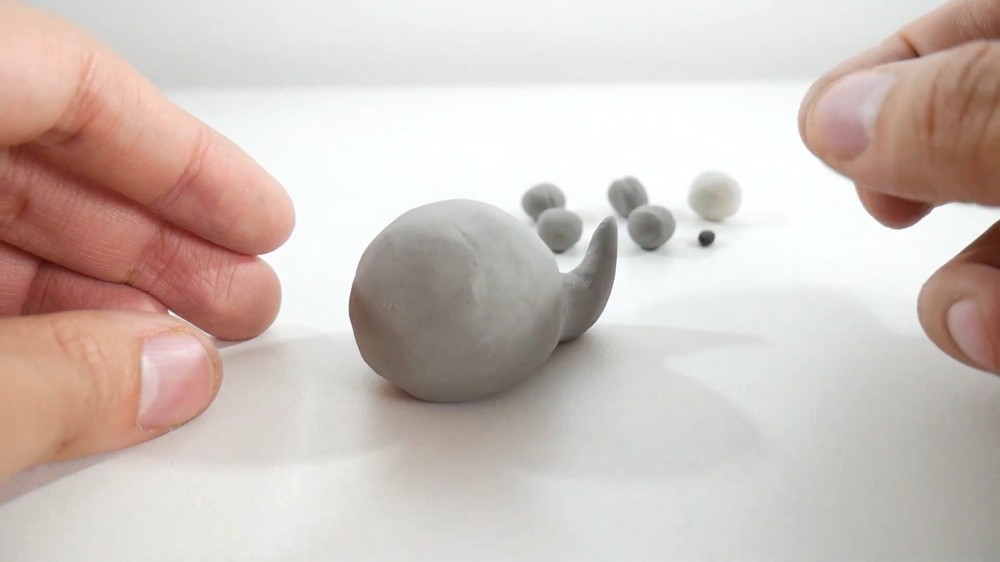
5. Lift the Tip of the Tail
- Gently lift and curve the tip of the tail upwards to give it a natural and lively look.
6. Create and Attach the Eyes
- Take the two small black balls and flatten or shape them into small ovals.
- Place one on each side of the whale’s head, near the front (the smooth, rounded part opposite the tail).
- Add a tiny dot of white plasticine on each black eye to create a sparkle, giving the eyes life and expression.
7. Add a Mouth Line
- Use a cutter or craft knife to make a horizontal line across the front side of the whale’s head.
- This line will be the mouth, so make it gentle and slightly curved if you like.
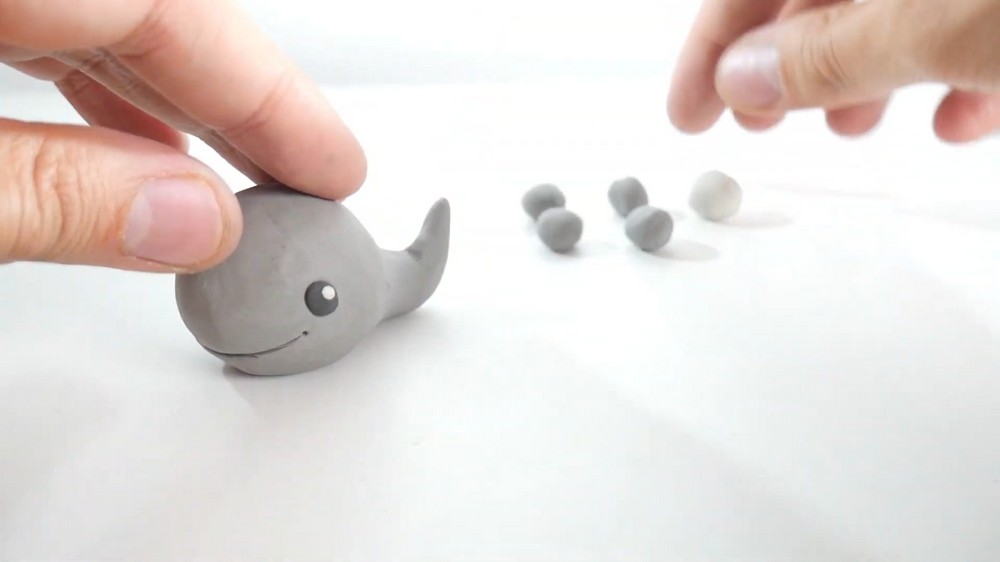
8. Add Expression with Nostrils
- Using a toothpick or any pointed tool, make two small holes at each corner of the mouth line.
- These represent nostrils and add a subtle expression to the whale’s face.
9. Make the Fins
- Take a grey plasticine ball and flatten it gently between your thumb and index finger.
- Pinch one end to shape the piece like a comma shape.
- Make four identical fins using this method.
10. Attach the Tail Fins
- Take two of the shaped fin pieces.
- Join their pointed ends together, forming the tail fins.
- Place this double fin structure on the back (tail) of your whale, securing it carefully.
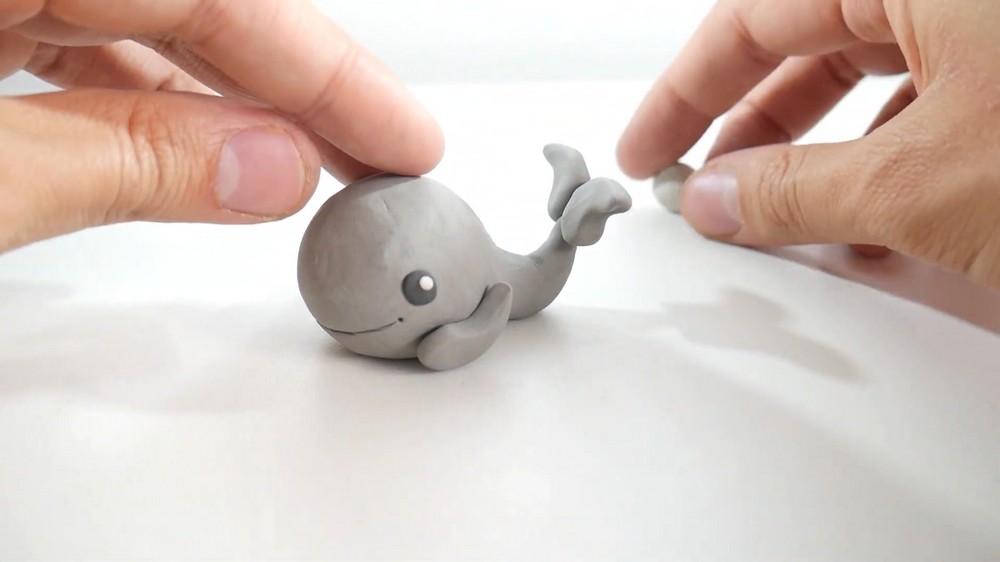
11. Attach the Side Fins
- Take the other two fins and place them on the sides of the body, closer to the front area but behind the eyes.
- Press gently so they stay attached and add balance to the whale design.
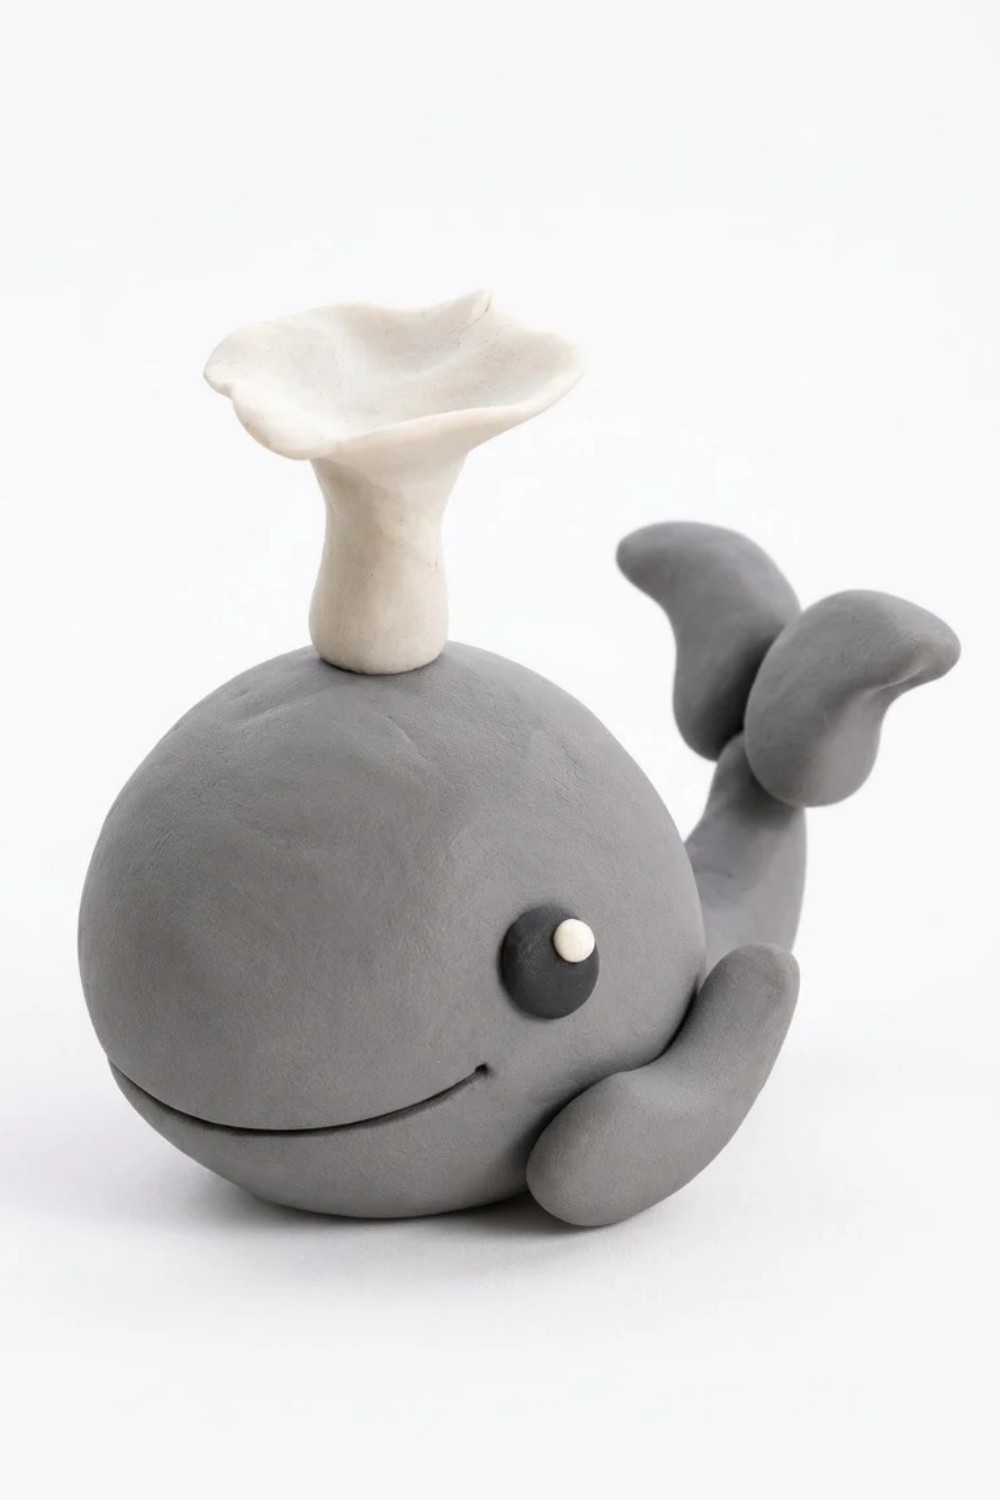
12. Make the Whale’s Water Spout
- Roll some white plasticine into a small cylinder shape.
- At the top, shape the cylinder to look like a water spout, widening and flaring it slightly.
- Place this spout on top of the whale’s body, near the head, to simulate water coming out of the blowhole.
13. Final Checks and Adjustments
- Check that all parts — tail, fins, eyes, mouth, nostrils, and water spout — are well attached and secure.
- Smooth out any rough areas or fingerprints gently using your fingers or a tool.
- Adjust the shape slightly if anything feels uneven or off balance.
Tips for Best Results
- Use gentle pressure when blending parts to avoid deforming your shapes.
- Keep your hands clean to prevent unwanted marks on the plasticine.
- Take your time forming the tail fins and side fins to maintain a neat and consistent look.
- Adding the eye sparkle with white plasticine really brings character to your whale, so don’t skip this step!
Summary and Final Thoughts
By following these steps, you’ve created a charming plasticine whale using simple techniques. The key parts include shaping the tail cone, blending it into the body, flattening the bottom, adding detailed eyes and mouth, making fins in the comma shape, and finishing with a water spout. This project is not only fun and easy but helps develop basic modeling skills like shaping, joining, smoothing, and detailing plasticine.