Style a cozy corner with DIY Polymer Clay Sheep, a small clay animal with a rounded face and soft-looking curls for cute home decoration.
Have you ever wanted to turn a little piece of clay into a cute farm animal with your own hands? The DIY Polymer Clay Sheep is a fun art project that lets you shape a lovely animal using simple clay pieces. Its woolly body, short legs, and gentle face give it a sweet appearance that looks like a tiny sheep from a farm. Drawings In Action shares this wonderful clay tutorial, offering an interesting idea for people who love making small animal figures.
Realistic DIY Polymer Clay Sheep For Miniature Farm Decor
The sheep has a rounded body covered with tiny clay balls that look like thick wool. Its smooth face stands out from the rest of its body, while the little ears and short legs complete its natural look. White clay gives the wool a clean appearance, and soft beige or pink clay can add color to the face. Small black eyes and a little nose give the animal a friendly expression.
This DIY project involves shaping different pieces of polymer clay and joining them together. You can roll small clay balls for the wool, form the legs with your fingers, and gently attach the head to the body. A clay tool helps add small details. Once finished, bake the sheep according to the clay package instructions.
You can place this sheep on a children's bedroom cabinet, use it in a farm display for school, or add it to a collection of miniature animals. It is also a thoughtful present for someone who likes cute decorations.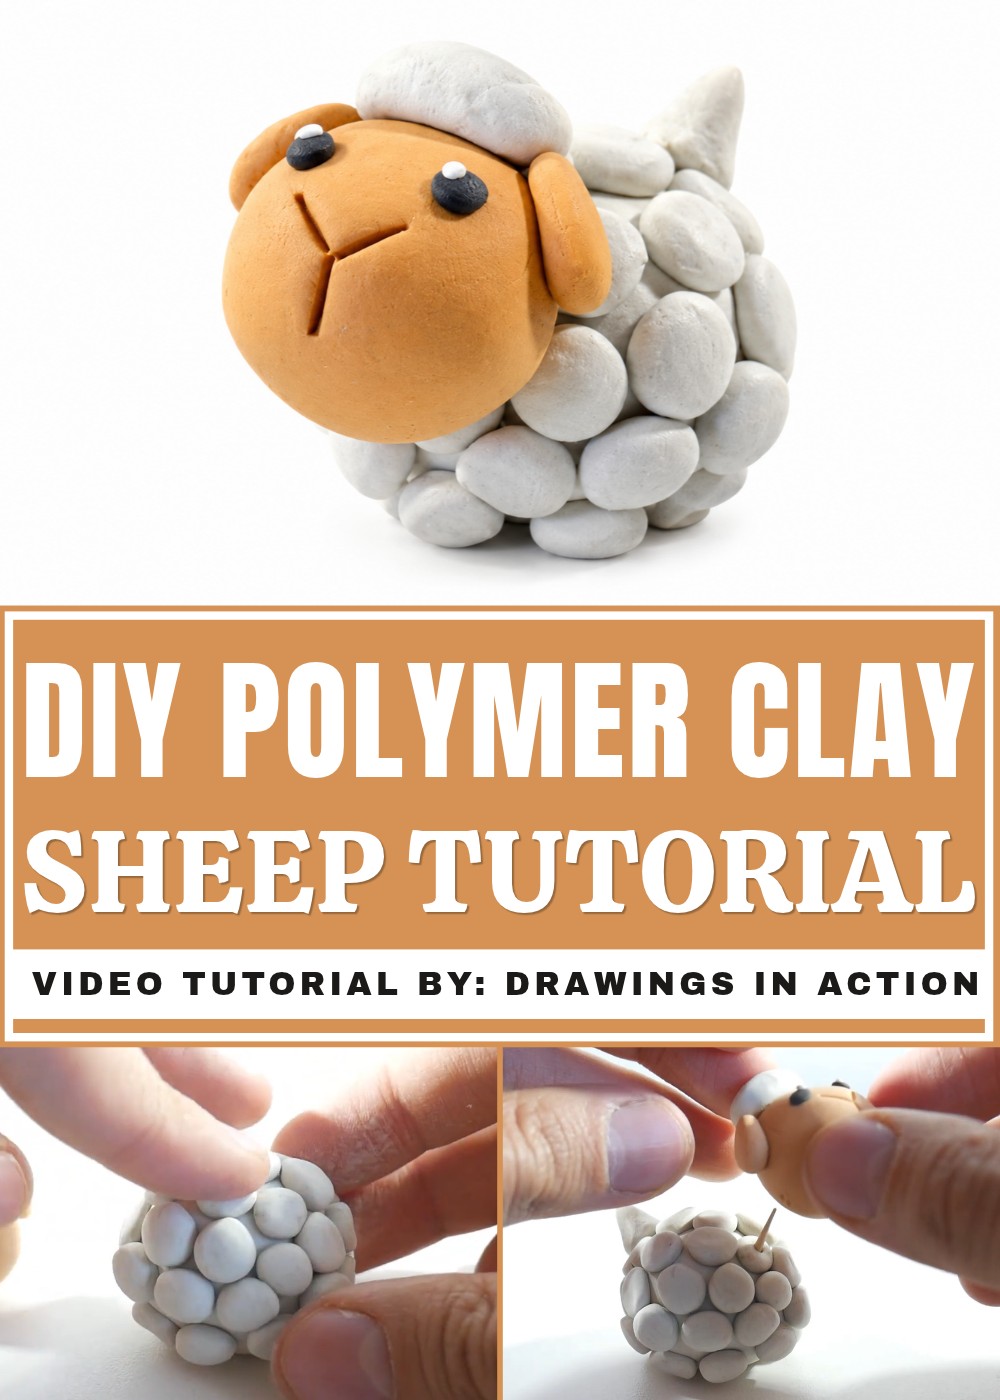
This little sheep is a nice way to spend your free time trying something creative. Its simple shape and beautiful wool details give the finished figure a lovely appearance.
DIY Beginner-Friendly Plasticine Sheep Tutorial
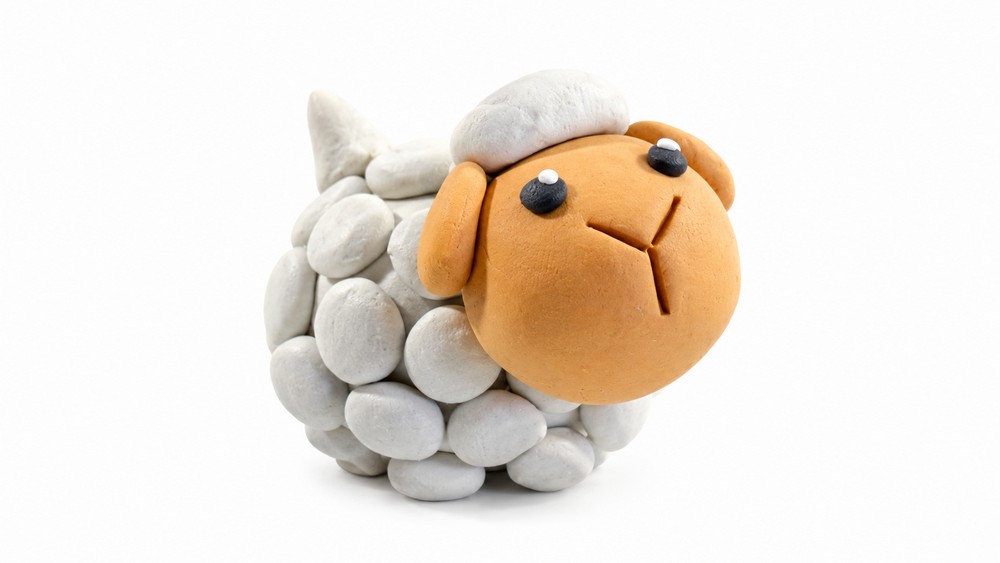
This fun and easy plasticine sheep project! Whether you are new to clay modeling or just looking for a simple craft, this tutorial is perfect for you. We will use only three colors of plasticine and a few basic tools to create a cute, fluffy sheep step by step. You will learn how to shape the head, add wool texture, and attach small details like ears and eyes. Let’s get started and enjoy making this adorable sheep together!
Materials Needed
- Plasticine in colors: peach (or flesh color), white, black
- Toothpick
- A flat tool for drawing lines (e.g., back of a knife)
- A clean workspace or table
Preparation
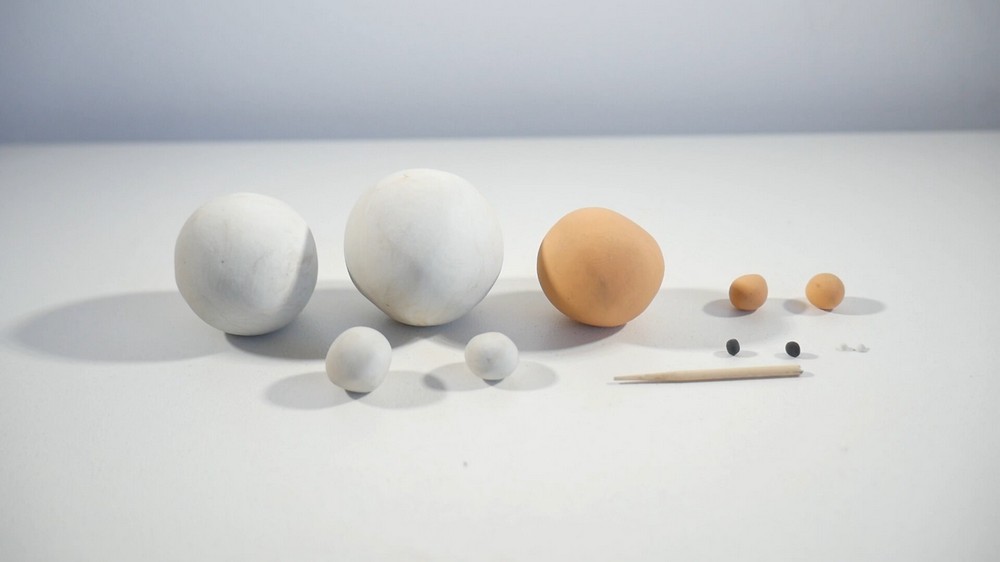
To prepare for this project, start by gathering your plasticine in three colors: peach (or flesh), white, and black. Find a flat tool like the back of a knife and a toothpick for attaching pieces. Divide the plasticine into small balls of different sizes as needed. Make sure your workspace is clean and ready for crafting. Knead the clay gently to soften it before shaping each part of the sheep. Now you’re ready to begin!
Why You'll love this project
I love this plasticine sheep project because it is simple and relaxing. The steps are easy to follow, making it perfect for beginners like me. I enjoy shaping the soft clay into the sheep’s head, fluffy wool, and tiny details like ears and eyes. Using just three colors makes the process clear and fun. Creating the woolly texture with small balls of clay adds a nice touch and makes the sheep look very cute. Attaching the parts with a toothpick is satisfying. This project lets me be creative and patient while making a sweet, adorable sheep figure that I’m proud of.
Step-by-Step Instructions
1. Prepare the Clay Balls
- Divide the plasticine into small balls.
- Have different sizes ready based on the parts you will create (refer to descriptions below).
2. Make the Head and Face
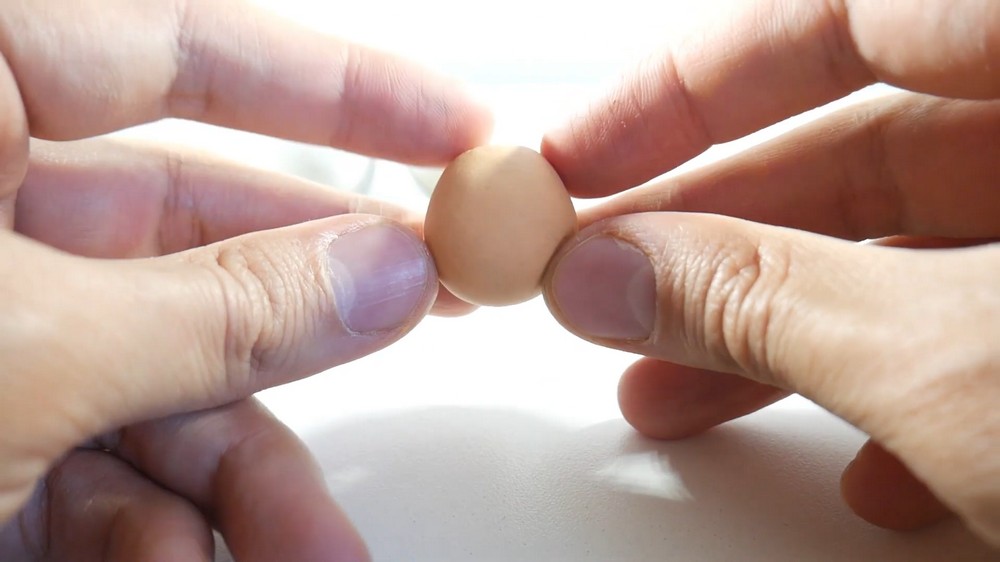
- Take the largest peach-colored ball and knead it gently.
- Shape it like a flattened egg, with one end narrower.
- This will form the base of the head.
3. Add Fluffy Hair
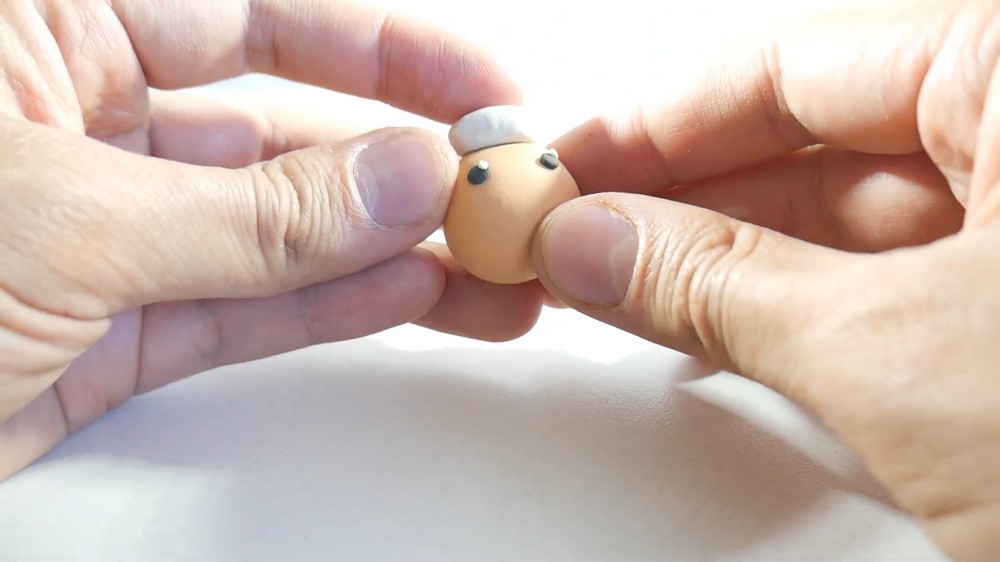
- Take a small white ball and shape it into an oval.
- Press the white oval onto the narrower end at the top of the head to create fluffy hair.
4. Create the Eyes
- Flatten two small black balls to make the eyes.
- Place these on the face below the fluffy hair.
- Add a tiny dot of white plasticine on each black eye to give a twinkling effect.
5. Form the Ears
- Take two small peach balls and shape each into a flat oval.
- Attach the ears on both sides of the head, just below the fluffy hair.
6. Draw the Nose
- Use a flat tool like the back of a knife.
- Draw three small lines in the middle of the face to represent the nose.
7. Make the Body
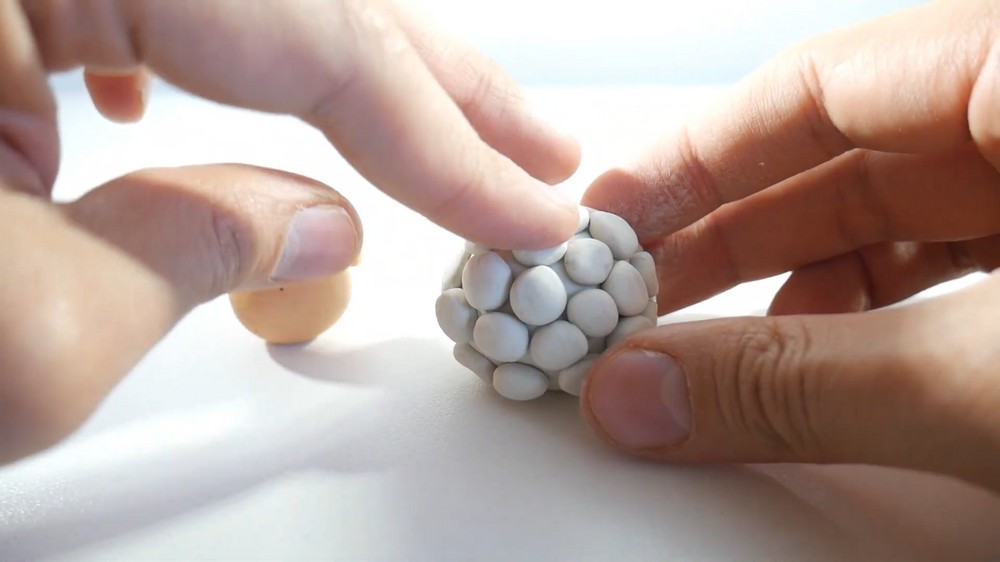
- Take the largest white ball of plasticine and flatten it slightly.
- This will be the body base.
- Roll small bits of white plasticine into tiny balls for wool texture.
- Stick these small balls all over the body to create a fluffy, woolly look.
8. Add the Tail
- Take a small white ball and shape it into a cone.
- Attach the cone-shaped tail onto the back of the body.
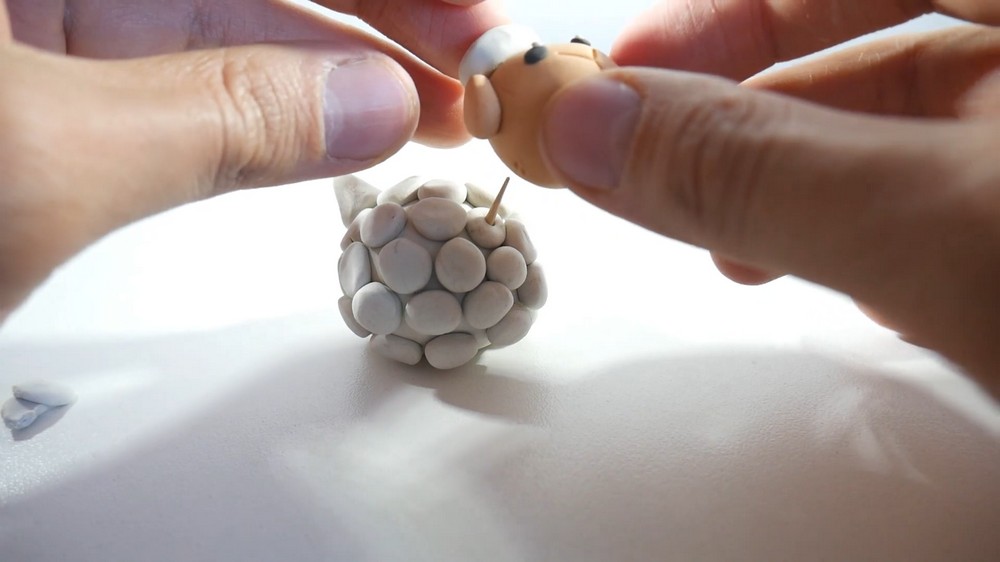
9. Join Head and Body
- Use a toothpick to securely attach the head to the body.
- Press gently to fix the pieces together.
Finishing Details
- Check all parts are firmly attached.
- Smooth any rough areas with your fingers for a neat finish.
- The white balls on the body should look soft and fluffy to give a cozy wool effect.
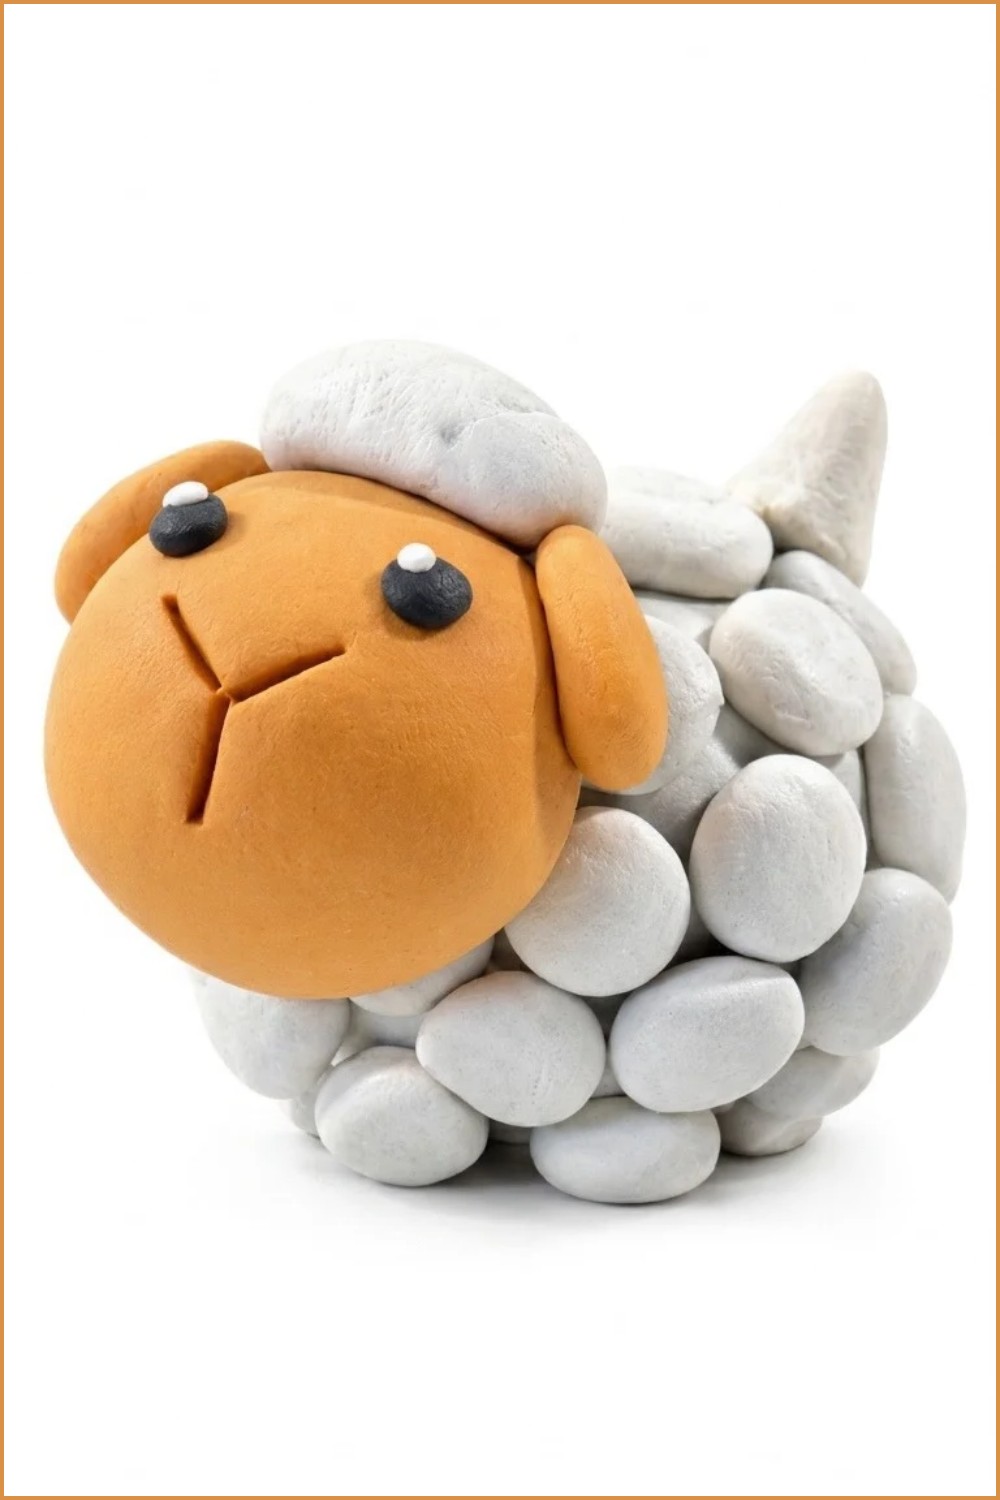
Final Result
This plasticine sheep project is a wonderful way to explore creativity and practice basic clay modeling skills. It encourages patience and attention to small details, such as shaping the face, adding wool texture, and making twinkling eyes. Using simple materials and clear steps makes the process enjoyable and stress-free, especially for beginners. The satisfaction of assembling the parts and seeing the cute, fluffy sheep come to life is truly rewarding. Keep practicing, and you can create more fun figures with clay. Most importantly, have fun and enjoy every moment of your crafting journey!