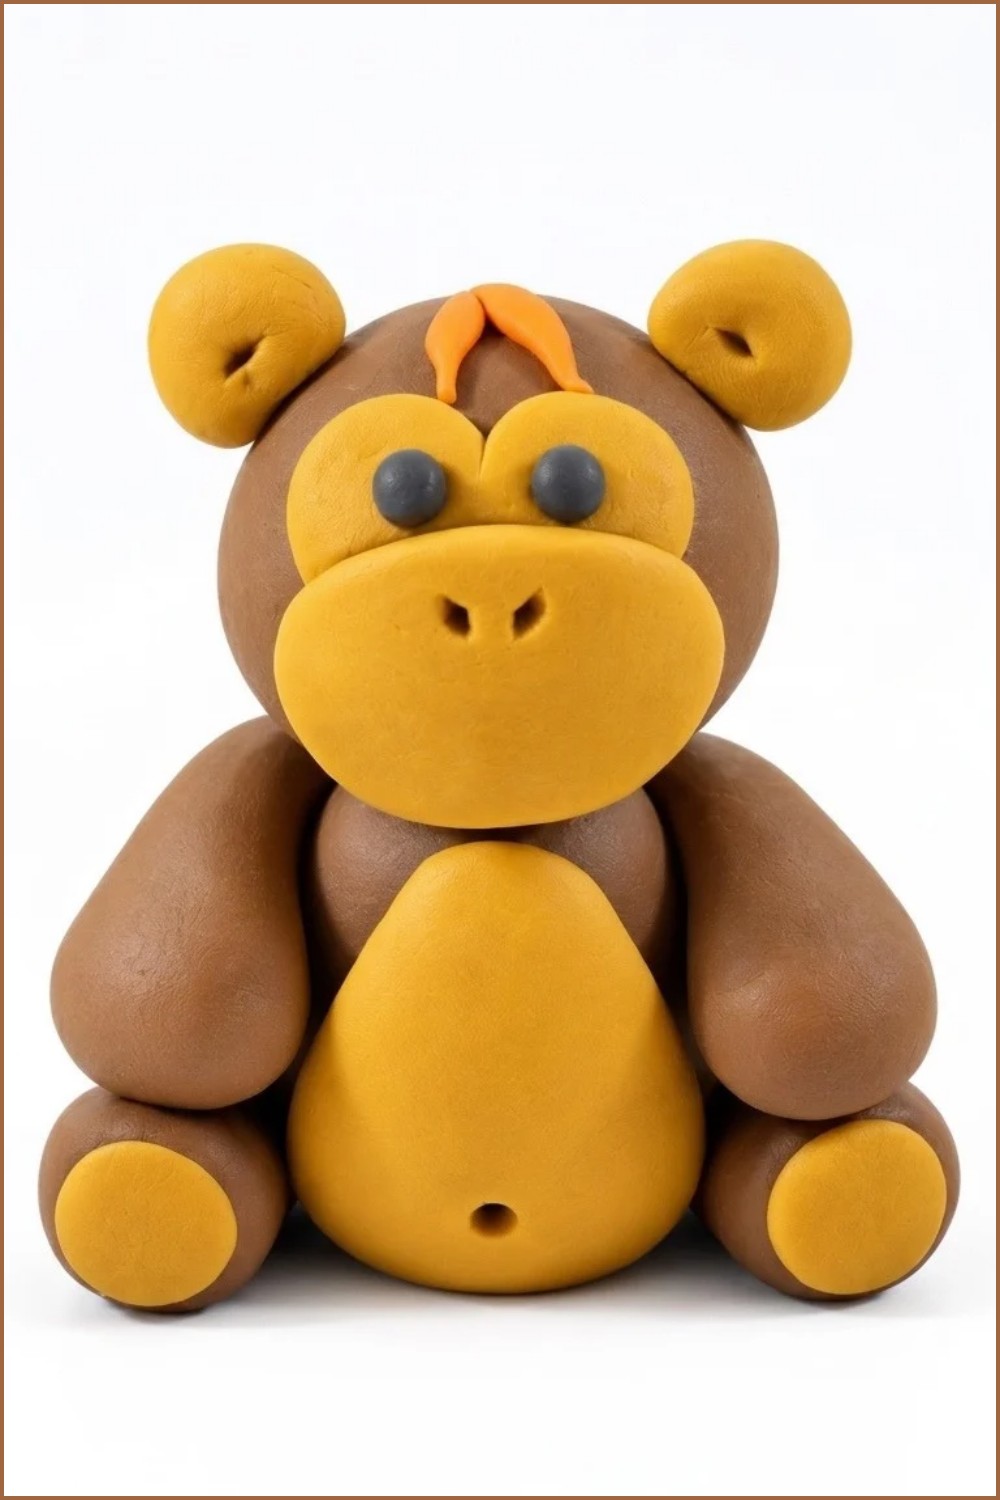
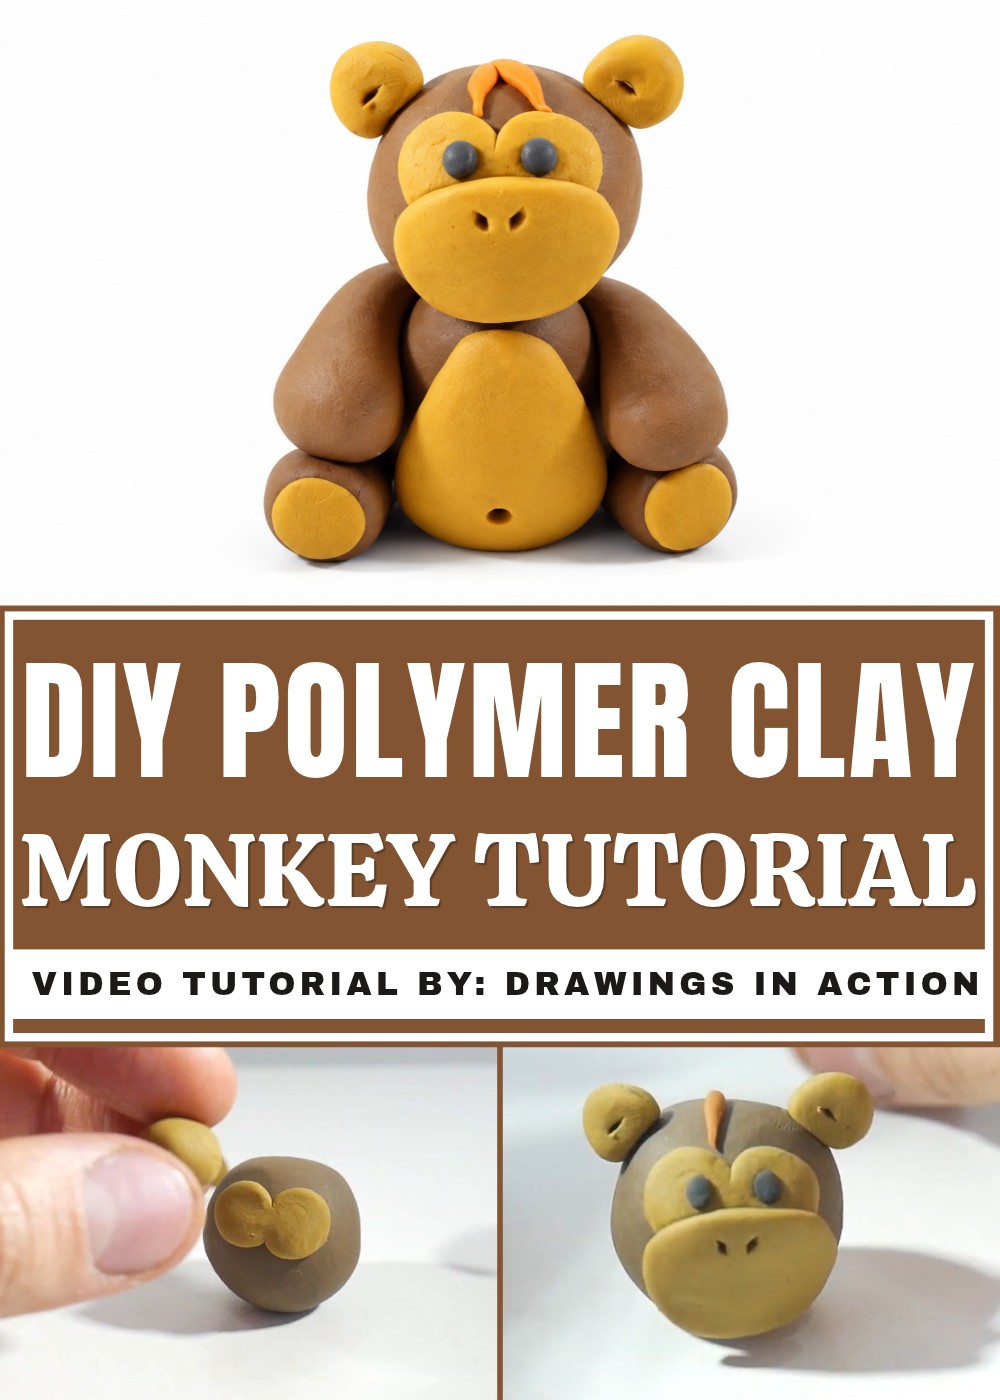
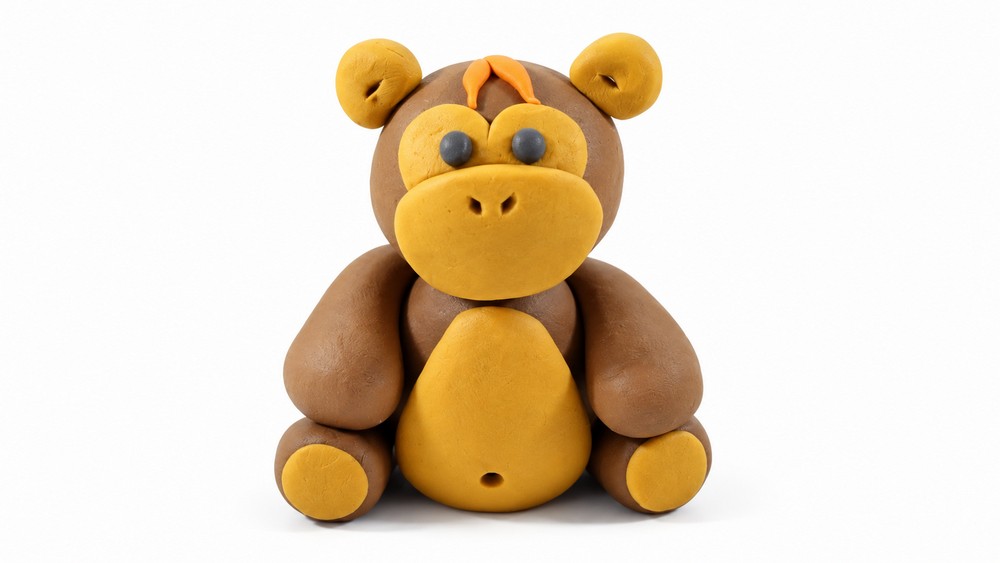
Create an adorable DIY Polymer Clay Monkey with this simple tutorial and bring a playful character to life in your crafting collection.
Have you ever wanted to create a cute little friend with your own two hands? Making a small animal out of soft clay is a wonderful way to spend your afternoon. All the credit for this lovely tutorial and beautiful design goes to the amazing YouTube channel Drawings In Action. They shared an easy guide to shaping a sweet and playful DIY Polymer Clay Monkey that anyone can try at home. This art piece is perfect for beginners and adds a touch of joy to any desk or room. You will love how simple and relaxing it is to roll and shape the bright material into a smiling, friendly face.
Easy DIY Polymer Clay Monkey For Beginners
Creating it is an exciting activity for people of all ages, whether you are crafting alone or sharing the laughs with your family. You only need a few basic colors to bring this cheerful character to life. The best part is seeing the small details come together, like the round ears, a long curly tail, and big bright eyes. Working with this soft dough is very peaceful, and you get to watch a simple block of color slowly turn into an adorable little creature. Building something so charming from scratch without needing any difficult skills feels truly magical.
Once you finish baking it, you will have a sturdy piece of art to keep forever. You can place your finished buddy on a shelf, turn it into a cute keychain, or give it away as a heartfelt gift. Reading the steps gives you a quick and clear idea of how simple the whole process really is. Getting started feels like a fun creative adventure that brings out your happy side. It is a great way to explore your imagination and end up with a lovely handmade treasure that will always make you smile.
DIY Tutorial: How to Make A Polymer Clay Monkey
Crafting a plasticine monkey is a delightful and beginner-friendly project that lets you create a whimsical character with just a few simple techniques and colors. This tutorial walks you step-by-step through shaping the monkey’s body, arms, legs, and head, while adding fun details like a belly button, nose, ears, and tufts of hair for personality. Whether you’re new to working with plasticine or looking for a creative activity for all skill levels, this playful plasticine monkey makes for a quick and enjoyable project. Follow along to make your very own monkey companion!
Materials and Tools
Materials
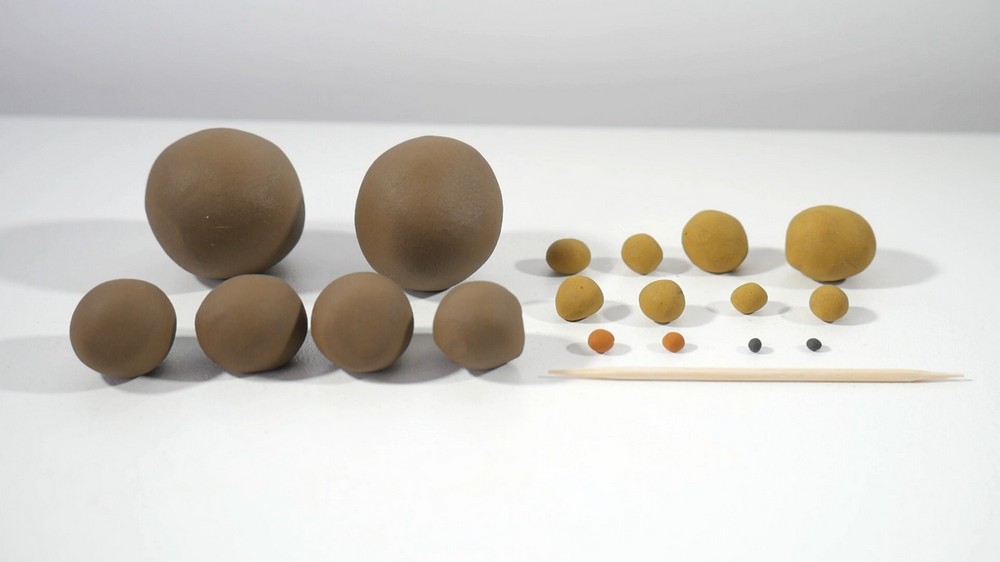
- Dark brown plasticine (for the body, limbs, and head)
- Light brown plasticine (for the belly, face, ears, and paws)
- Reddish-brown plasticine (for the tufts of hair on the head)
- Black plasticine (for the eyes)
- Toothpicks (for carving details and attaching the head to the body)
Tools
- Flat surface (for crafting and assembling the monkey)
- Pencil or toothpick (to create nostrils and other small details)
- Clean hands (to keep the plasticine free of discoloration or dust)
Step By Step Instructions
Shaping the Monkey’s Body
Form the Body
- Start by taking a large piece of dark brown plasticine, roughly the size of a small egg.
- Roll the plasticine into a smooth ball, ensuring there are no visible cracks or imperfections.
- Place the ball on your workspace and gently shape it into an egg-like figure, creating a rounded body shape for the monkey. Adjust the proportions until it looks balanced.
Add a Belly
- Take a small chunk of light brown plasticine and roll it into a ball.
- Flatten the ball into a thin, oval-shaped form using your fingers or by pressing it against a flat surface.
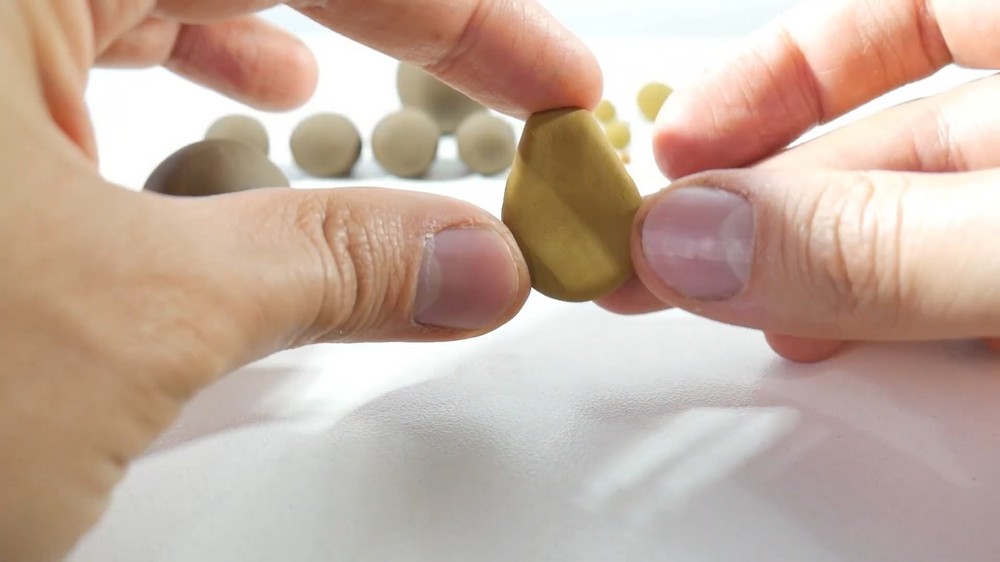
- Attach the flattened light brown oval to the front of the dark brown body by pressing it gently into place.
- Make sure the belly covers only the lower half of the body and leave enough room at the top for attaching the arms later.
Making the Monkey’s Limbs
Shape the Arms and Legs
- Take four pieces of dark brown plasticine, each one slightly smaller than the ball used for the body.
- Roll each piece into a cone-shaped figure, ensuring one end is rounded while the other end narrows slightly. The final shape should resemble a teardrop.
Add Paws to the Limbs
- For each of the four cone-shaped limbs, flatten a small piece of light brown plasticine and attach it to the rounded end of the cone. This will serve as the monkey’s paws.
- Gently press the light brown pieces onto the limbs, ensuring they adhere securely.
Attach the Limbs to the Body
- Place the two dark brown cones with light brown paws at the sides of the body as arms. Press gently to secure them in place.
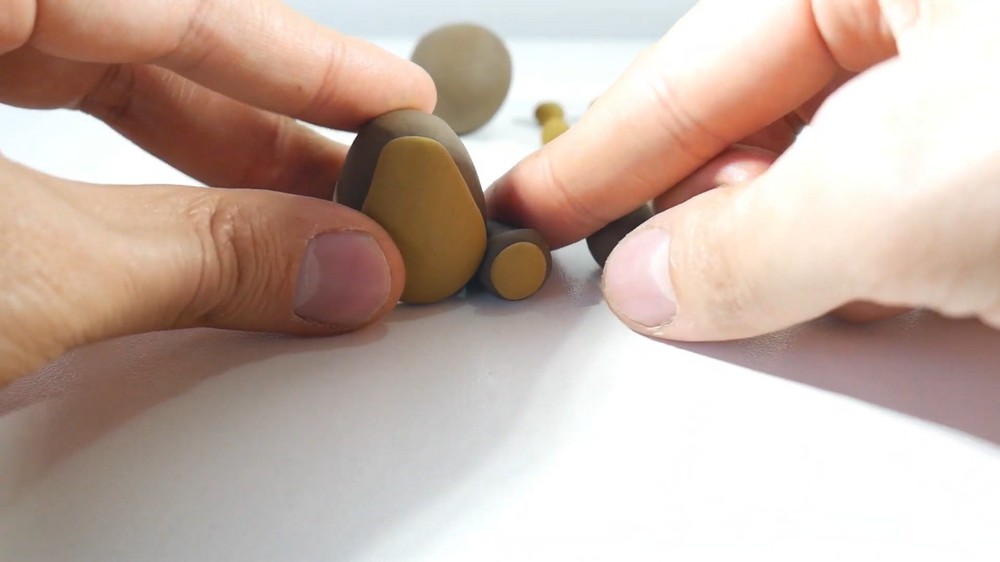
- Attach the other two dark brown cones with light brown paws to the bottom of the body as legs. Ensure they are evenly spaced to maintain balance.
Adding Belly Details
Carve the Belly Button
- Using the tip of a toothpick or pencil, carefully create a small indent in the center of the monkey’s light brown belly.
- Press softly to form a subtle belly button that adds a touch of realism and charm to your plasticine creation.
Crafting the Monkey’s Head
Shape the Head
- Take another large piece of dark brown plasticine, similar in size to the body piece.
- Roll it into a smooth ball, then gently shape it into a round figure that complements the body size. This will be the monkey’s head.
Build the Face Base
- Roll two equal-sized balls of light brown plasticine and flatten them into thin disks.
- Position the flattened light brown disks side by side at the front of the dark brown head. These will form the base of the monkey’s face.
Step 3: Smooth Out Lines
- After attaching the light brown disks, use your fingers to smooth the edges where they meet the dark brown head, blending them together seamlessly.
Add the Nose
- Take a small ball of light brown plasticine and shape it into a flattened oval with your fingers.
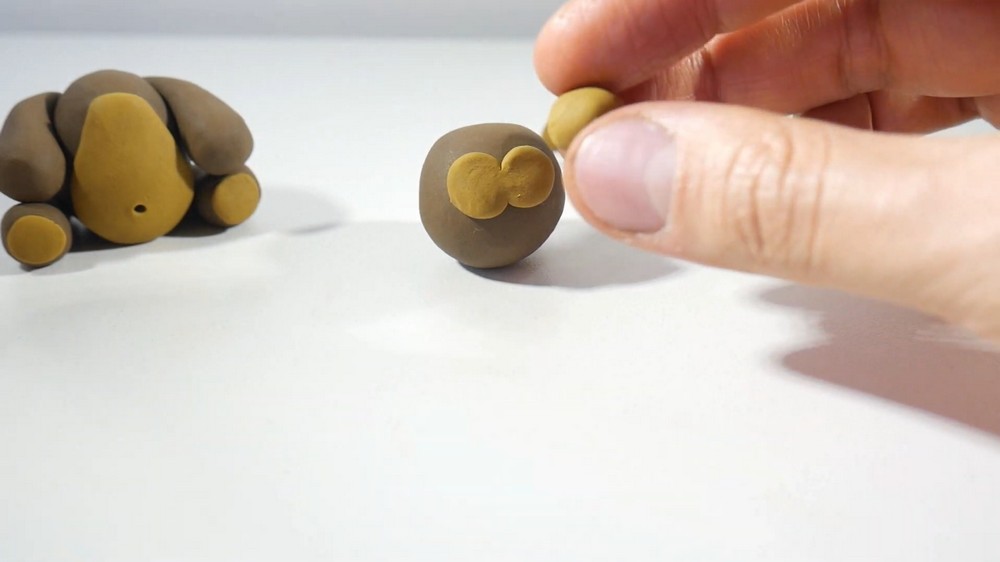
- Position the nose piece slightly overlapping the bottom of the face base segment. Press lightly to attach it, ensuring it is centered for symmetry.
Add Eyes
- Roll two tiny balls of black plasticine to form the monkey’s eyes.
- Position the black plasticine balls above the light brown nose section, spacing them evenly and pressing them lightly into the face.
Carve the Nostrils
- Use a toothpick or pencil to carefully carve two tiny indents into the light brown nose section, creating the monkey’s nostrils.
Adding the Monkey’s Ears
Shape the Ears
- Take two small pieces of light brown plasticine and roll each into a ball.
- Flatten the balls slightly to create rounded, ear-like shapes.
Add Detail to the Ears
- Using the tip of a pencil or toothpick, gently carve out the middle of each ear to make a small hollow. This will give the ears a realistic effect.
Attach the Ears
- Place the ears on the sides of the monkey’s head, positioning them slightly closer to the top.
- Ensure the ears look symmetrical by adjusting their position lightly if needed. Press them firmly into place while maintaining their rounded shape.
Adding Hair Tufts
Create the Hair Tufts
- Take two small pieces of reddish-brown plasticine and shape each into tiny oval or cylinder-like pieces.
- Use your fingertips to pinch and stretch the tips slightly to create a tufted appearance for the monkey’s hair.
Attach the Tufts to the Head
- Position the reddish-brown tufts on the top of the monkey’s head, spacing them evenly for a playful and cheerful appearance.
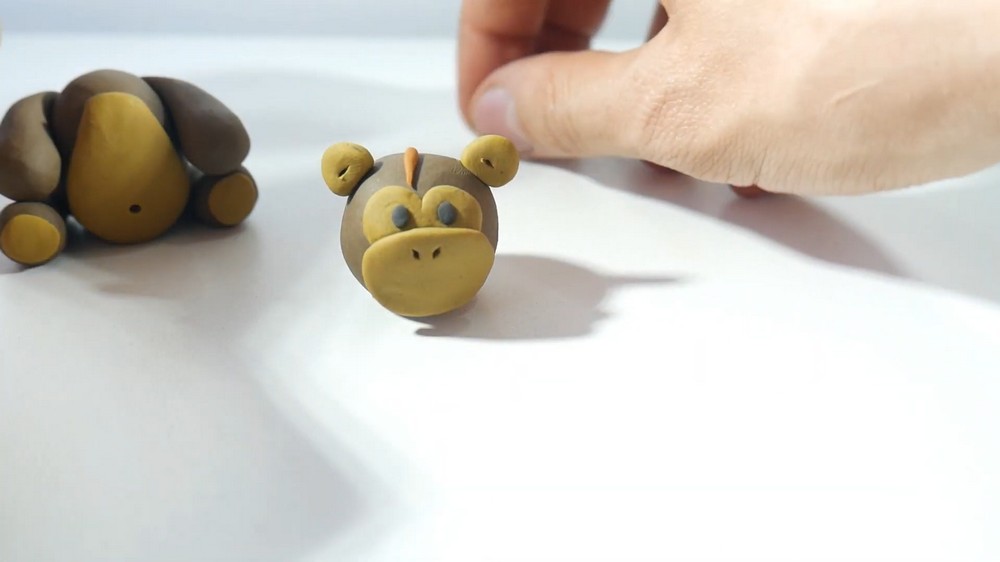
- Press gently to fix them in place, but ensure they retain their tufted shape.
Final Assembly
Secure the Head to the Body
- To prevent the head from falling off, take a toothpick and break it in half.
- Insert one half of the toothpick into the top center of the body while keeping the other half exposed.
- Apply the head onto the exposed half of the toothpick, pressing gently to secure the connection between the head and body.
Check Proportions and Final Adjustments
- Inspect the monkey for overall balance and symmetry. Ensure the head, limbs, and ears are proportional to the body.
- Smooth out any visible fingerprints or rough edges with your fingers.
Project Reflection
Creating this plasticine monkey was a fun, creative journey that showcases the endless possibilities of working with clay. By following simple steps, you’ve crafted a charming character that’s full of personality, from its tiny belly button to its tufted hair. This project demonstrates how approachable plasticine art can be, even for beginners. It’s a perfect craft for kids and adults, encouraging creativity and attention to detail while offering room for imagination to shine.
The finished monkey is not just adorable; it’s a token of your skill and creativity. You can display it on your desk, use it as a gift, or let it inspire future creations with plasticine. More importantly, this project reminds us that crafting is about enjoying the process as much as admiring the result. Celebrate your completed piece and all the effort you put into making it come to life.