Design a cute and colorful DIY Polymer Clay Pizza with this easy tutorial and turn your favorite food into a handmade masterpiece.
Making tiny food out of clay is a really fun hobby that anyone can try at home. If you love cute little crafts, you will truly enjoy learning about a DIY Polymer Clay Pizza. This amazing idea and tutorial come directly from the wonderful YouTube channel Drawings In Action. All full credit goes to that talented creator for designing and sharing this beautiful project. It is lovely how their video shows you exactly how to shape the dough, add the sauce, and sprinkle little toppings just like a real chef.
Easy Fake Food Crafts: DIY Polymer Clay Pizza
Creating this tiny item is a great way to relax and let your imagination shine brightly. You do not need many tools to get started, just some colorful clay and your own hands. It is extremely fun to blend the colors to get a nice baked crust look, or to chop up tiny pieces of red clay to look like spicy pepperoni. When you hold the finished slice in your hand, it looks so real that you might almost want to take a big bite. People love reading about this activity because it feels super rewarding to build a perfect little meal completely from scratch.
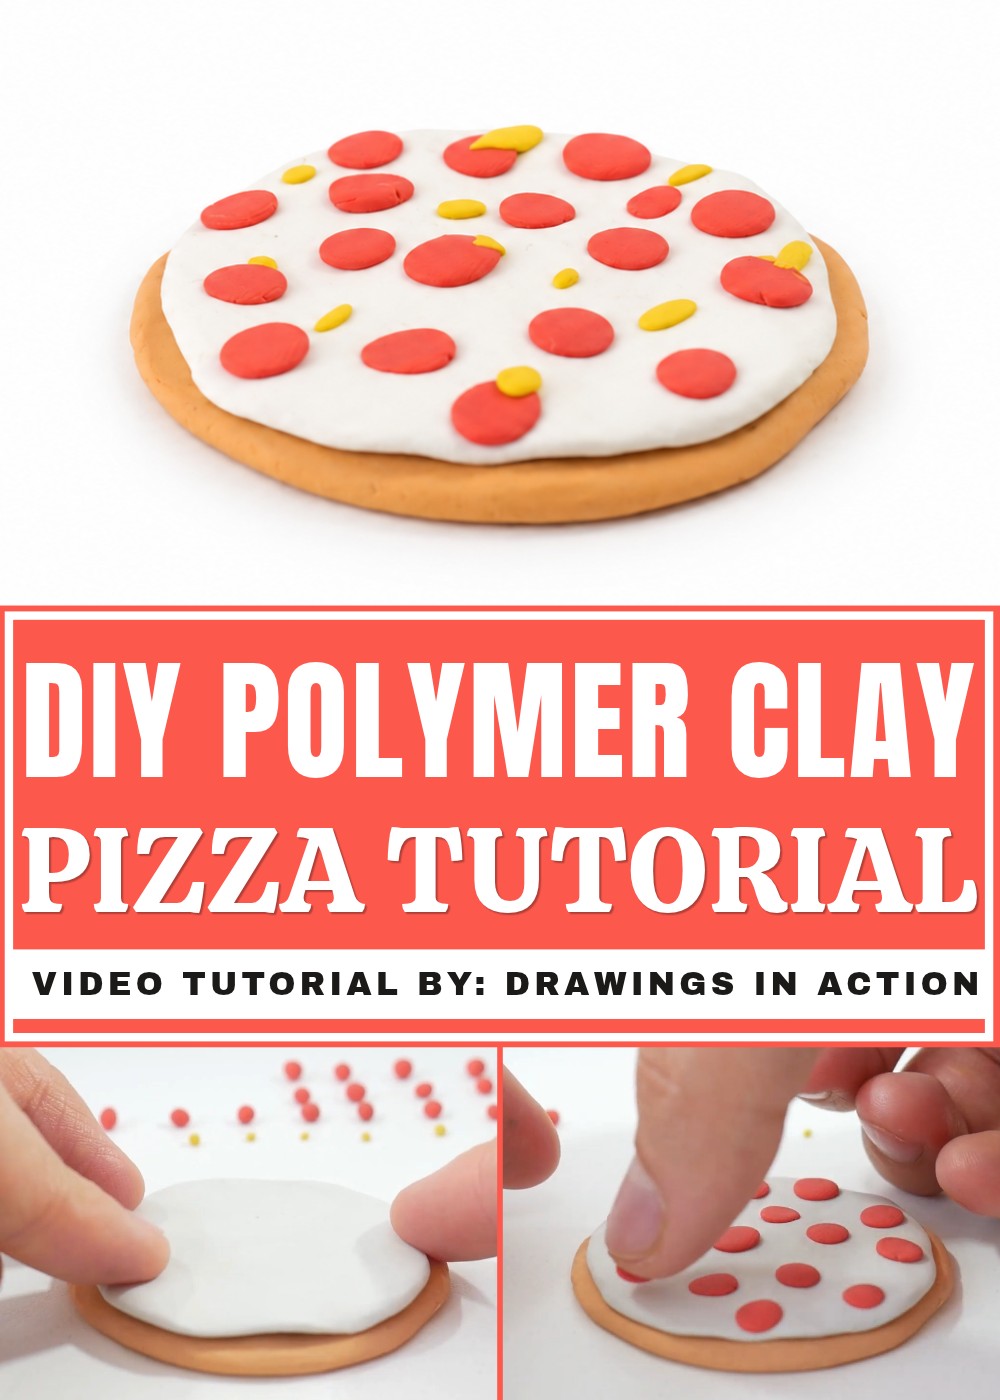
Once you finish baking it safely in the oven, you can use your new creation in lots of cool ways. You can easily turn your miniature masterpiece into a fun keychain, a special magnet for your fridge, or a nice gift for a friend who loves tasty food. Exploring this idea is deeply inspiring because it proves how simple it is to learn a highly creative skill. Even if you have never touched clay before, working on it will reward you with a little slice of joy. It is a lovely weekend activity to totally brighten your day.
DIY Tutorial: How to Make Polymer Clay Pizza
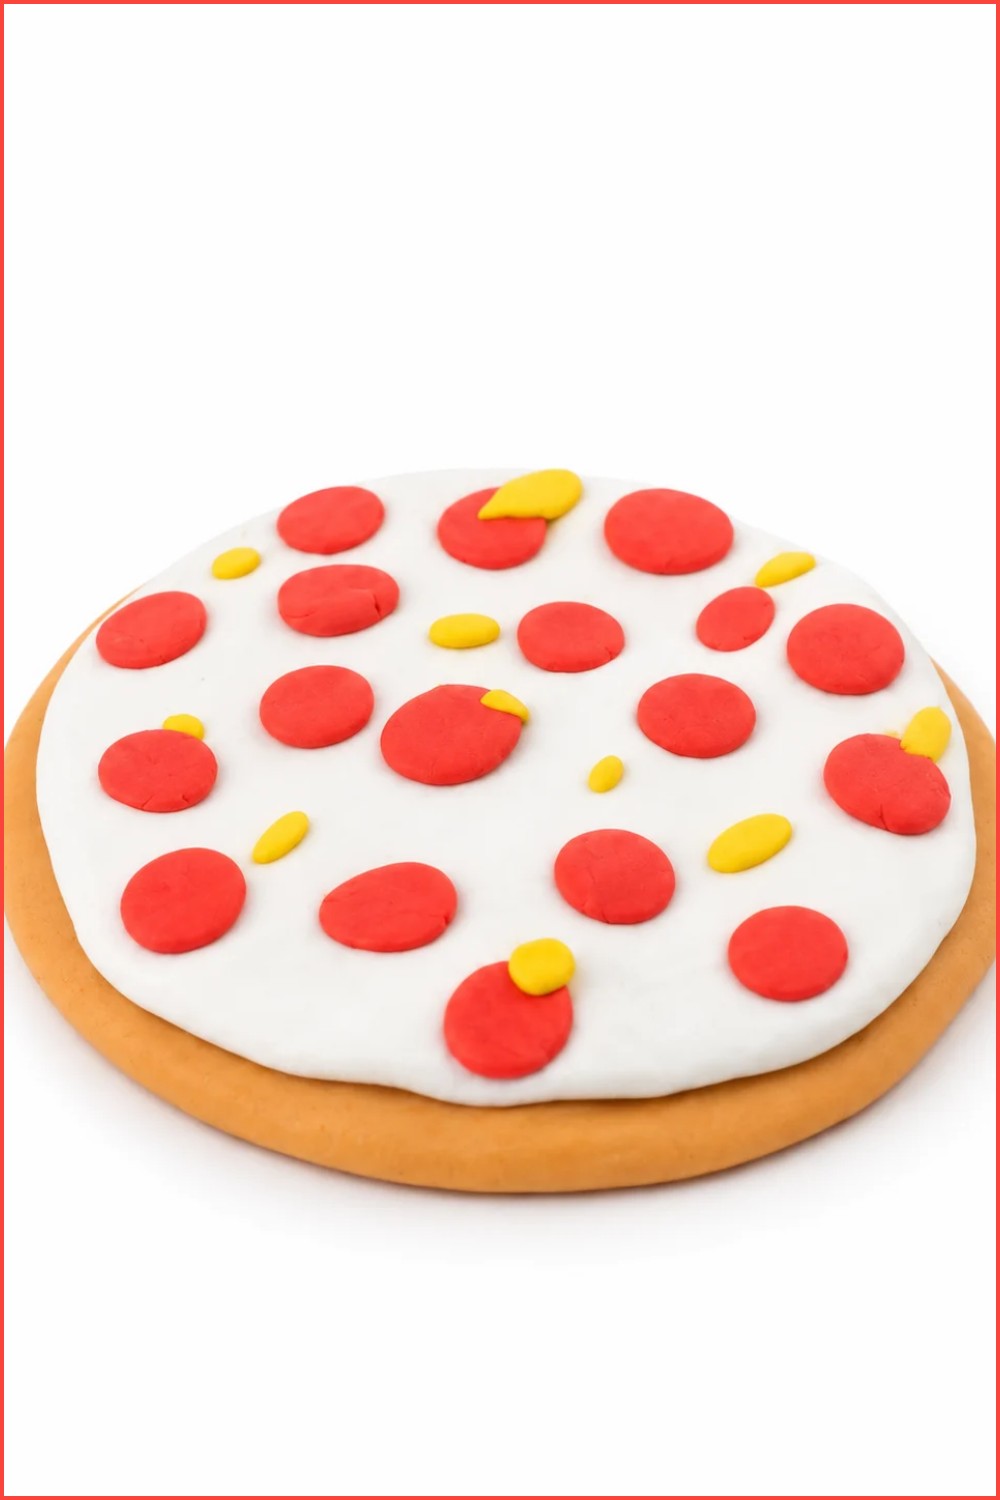
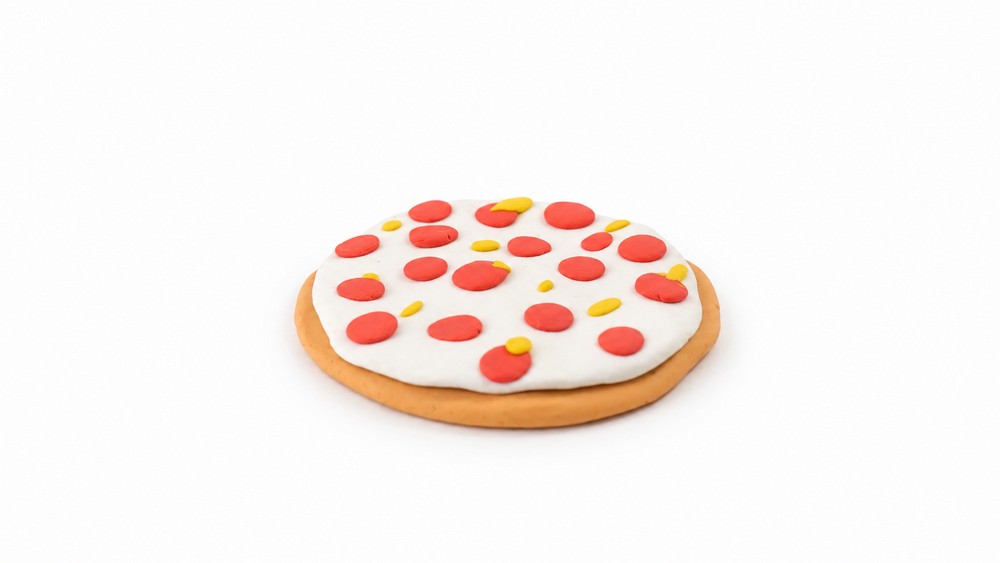
Get ready to craft an adorable and delicious-looking plasticine pizza! This fun and beginner-friendly project is perfect for unleashing your creativity and spending quality time with friends or family. Using just a few colorful plasticine pieces, you’ll learn how to make a charming miniature pizza complete with a realistic crust, smooth cheese layer, pepperoni slices, and small burnt cheese spots for that extra touch of realism. This project is great for kids and adults alike, providing room to customize the toppings and create different designs to suit your imagination. Whether you’re looking to make something just for fun, to display, or for pretend play, this plasticine pizza is a delightful way to explore your creative side. By following this step-by-step tutorial, you’ll have an eye-catching masterpiece in no time! Let’s gather our materials, roll up our sleeves, and start crafting the cutest pizza ever.
Materials and Tools
Materials
- Light orange plasticine (for the crust)
- White plasticine (for the cheese)
- Red plasticine (for the pepperoni slices)
- Yellow plasticine (for burnt cheese spots)
Tools
- Flat surface (for shaping and assembling the pizza)
- Clean hands (to avoid transferring dust or dirt to the plasticine)
Crafting the Pizza Crust
Create the Base Crust
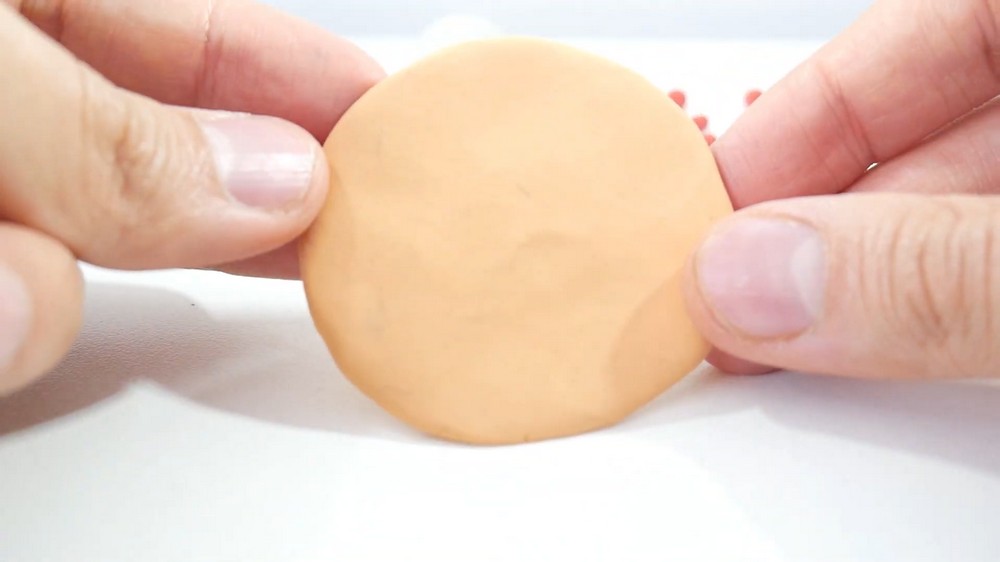
- Take a piece of light orange plasticine, about the size of a medium ball (similar to a golf ball).
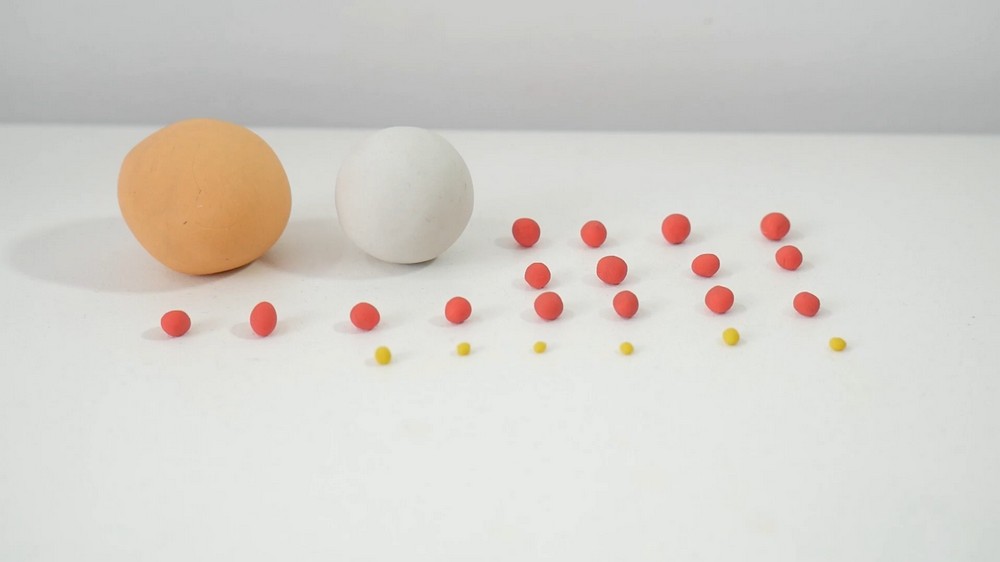
- Roll the ball between your hands to create a smooth surface.
- Place the ball on a flat surface, and using your fingers or palms, start flattening it gently into a thin, circular shape.
- Press the edges lightly to form a slightly raised border, mimicking a traditional pizza crust.
Add Texture to the Crust
- Optional: Using your fingers, pinch small sections of the crust's edges to give them a rustic, uneven appearance, resembling handmade dough.
- Adjust the thickness of the crust to make sure the entire pizza will stay balanced when flat.
Adding the Cheese Layer
Shape the Cheese Layer
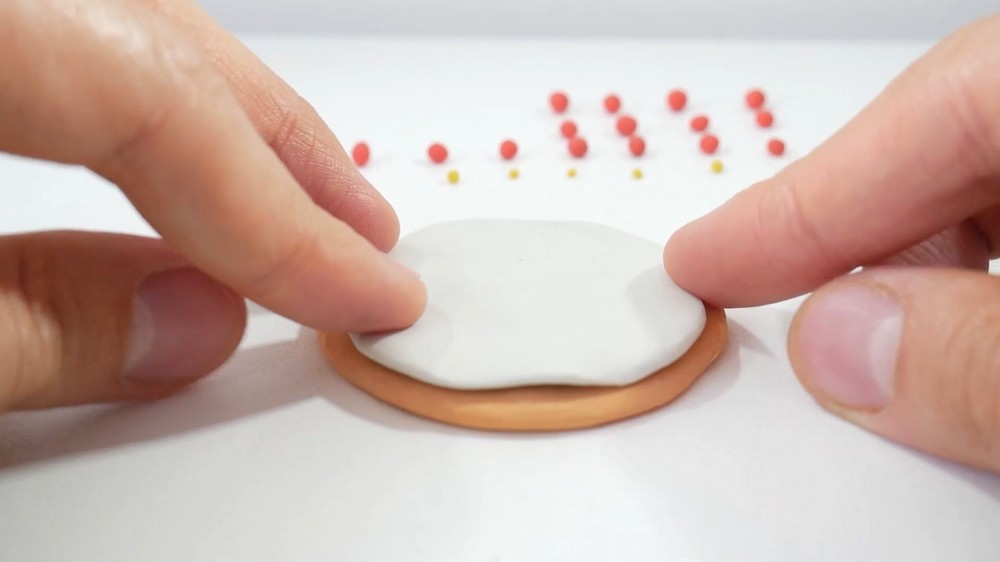
- Take a white plasticine ball, slightly smaller than the orange ball used for the crust.
- Roll the ball into a smooth sphere, then flatten it by pressing it on a table or surface until it creates a thin, circular disk-like shape.
Position the Cheese on the Crust
- Place the flattened white plasticine disk over the orange crust, centering it carefully.
- Leave a small visible border of the orange crust around the edges. This border will act as the pizza’s crust edge, making it more visually realistic.
Crafting Pepperoni Slices
Prepare Pepperoni Balls
- Gather several pieces of red plasticine and roll them into small balls, approximately the size of a pea.
Flatten the Pepperoni
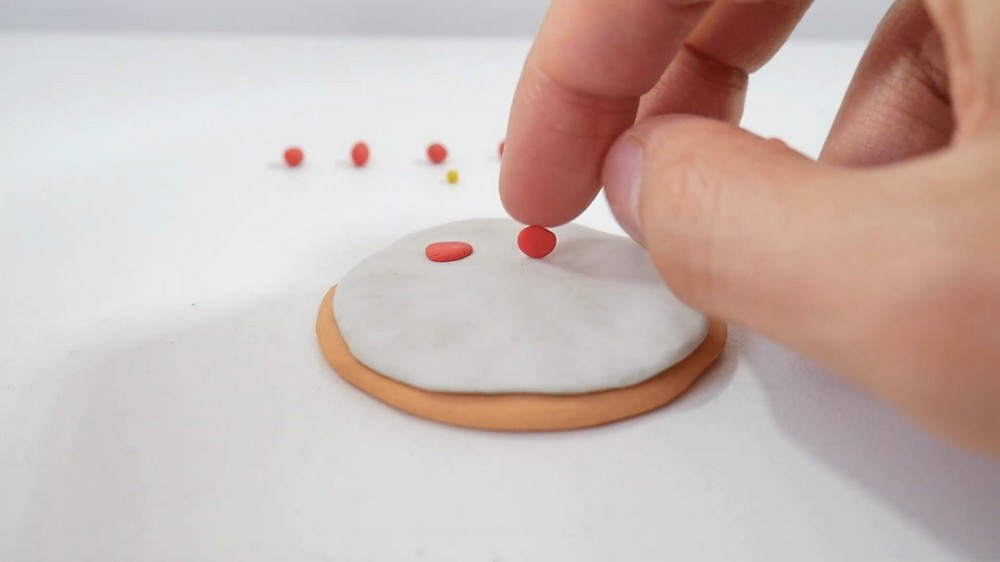
- Use your fingertips to flatten each red ball into a rounded, thin disk to resemble pepperoni slices.
- Ensure the slices are slightly varied in size to create a handmade look.
Place Pepperoni Slices on the Pizza
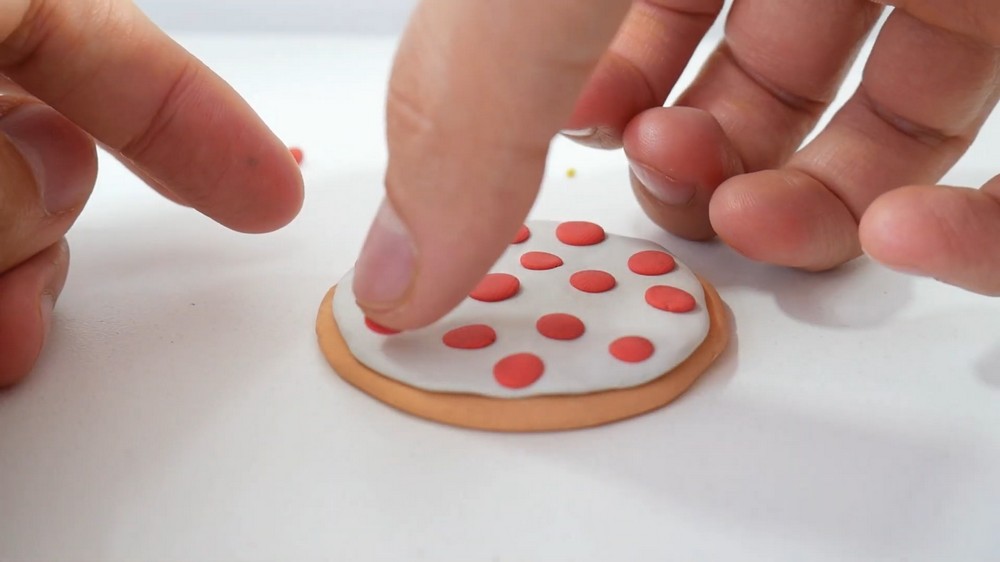
- Arrange the flattened red pepperoni slices evenly across the white cheese layer.
- Avoid clustering them too close together; spacing them apart provides a realistic, decorative look.
Adding the Burnt Cheese Spots
Prepare Yellow Plasticine Balls
- Use small pieces of yellow plasticine to roll several tiny balls, about half the size of the red pepperoni balls.
Shape the Burnt Cheese Spots
- Flatten the yellow balls slightly to create small irregular spots that look like browned bits of cheese.
- Use your fingers to create uneven edges, mimicking the way cheese burns naturally.
Place Burnt Cheese Spots on the Pizza
- Scatter the flattened yellow spots across the white cheese layer, placing them randomly for a natural effect.
- Avoid overloading yellow spots, as simplicity often results in a more realistic finish.
Final Adjustments
Check Overall Balance and Texture
- Inspect the pizza closely to ensure all components (crust, cheese, pepperoni slices, and burnt cheese spots) are well-proportioned and positioned symmetrically.
- Smooth out any indentations or fingerprints left on the plasticine using your fingertips.
Add Character
- Optional: Create fun variations, such as mushrooms, olives, or additional toppings. Use different colors of plasticine to mold each ingredient and place them creatively on your pizza.
Displaying Your Plasticine Pizza
Preserve Your Work
- While plasticine does not dry or harden permanently, you can display your pizza on a flat surface to keep its shape intact.
- Keep it away from excessive heat to prevent the clay from becoming too soft.
Share Your Masterpiece
- Show off your crafted plasticine pizza by sharing it with friends, placing it as a tabletop decoration, or using it in imaginative play.
Project Reflection
Crafting this plasticine pizza is a fantastic way to explore creativity through a simple yet visually impressive project. From the textured pizza crust to the colorful toppings, every step encourages imagination and attention to detail. This project showcases how everyday objects, like a pizza, can be transformed into cheerful pieces of art using just a few tools and colors. The playful process of shaping and assembling the ingredients is enjoyable, making it a perfect activity for kids, families, or anyone seeking a relaxing craft.
The finished pizza is not only charming but also versatile—it makes a thoughtful handmade gift, an imaginative play item, or a décor piece to brighten up any room. Most importantly, this project reminds us that art isn’t just about the result but about the joy of creating. Enjoy your colorful plasticine masterpiece and let it inspire your next creative adventure.