Set a mysterious little tree beside your Halloween figures with DIY Polymer Clay Mini Haunted Tree, a creepy detail for miniature displays.
Clueless Crafts shares a spooky little Halloween idea that turns an ordinary tree into a mysterious decoration. This project adds a touch of fun to the season with its unusual shape and creepy details. DIY Polymer Clay Mini Haunted Tree features a twisted trunk, uneven branches, and a dark appearance that gives it a scary but playful look. Its bent limbs stretch in different directions, making the tree appear old and spooky. The rough bark texture adds character, while the narrow branches help it stand out from an ordinary tree.
Creepy DIY Polymer Clay Mini Haunted Tree With Twisted Branches
One interesting feature is the tree's unusual shape. The trunk can lean slightly to one side, and the branches may curl upward like long fingers. Dark brown, gray, and black clay colors suit the haunted theme. Small marks along the trunk can give the surface an aged look.
The tree is formed by rolling and shaping polymer clay into a thick base and thinner branches. Each section is carefully connected to build its unusual structure. Gentle lines pressed into the clay can add bark details before the piece is hardened according to the clay instructions.
This miniature tree is a nice choice for Halloween home decoration. You can place it on a table, windowsill, or shelf. It also works well as a small gift for someone who likes spooky decorations.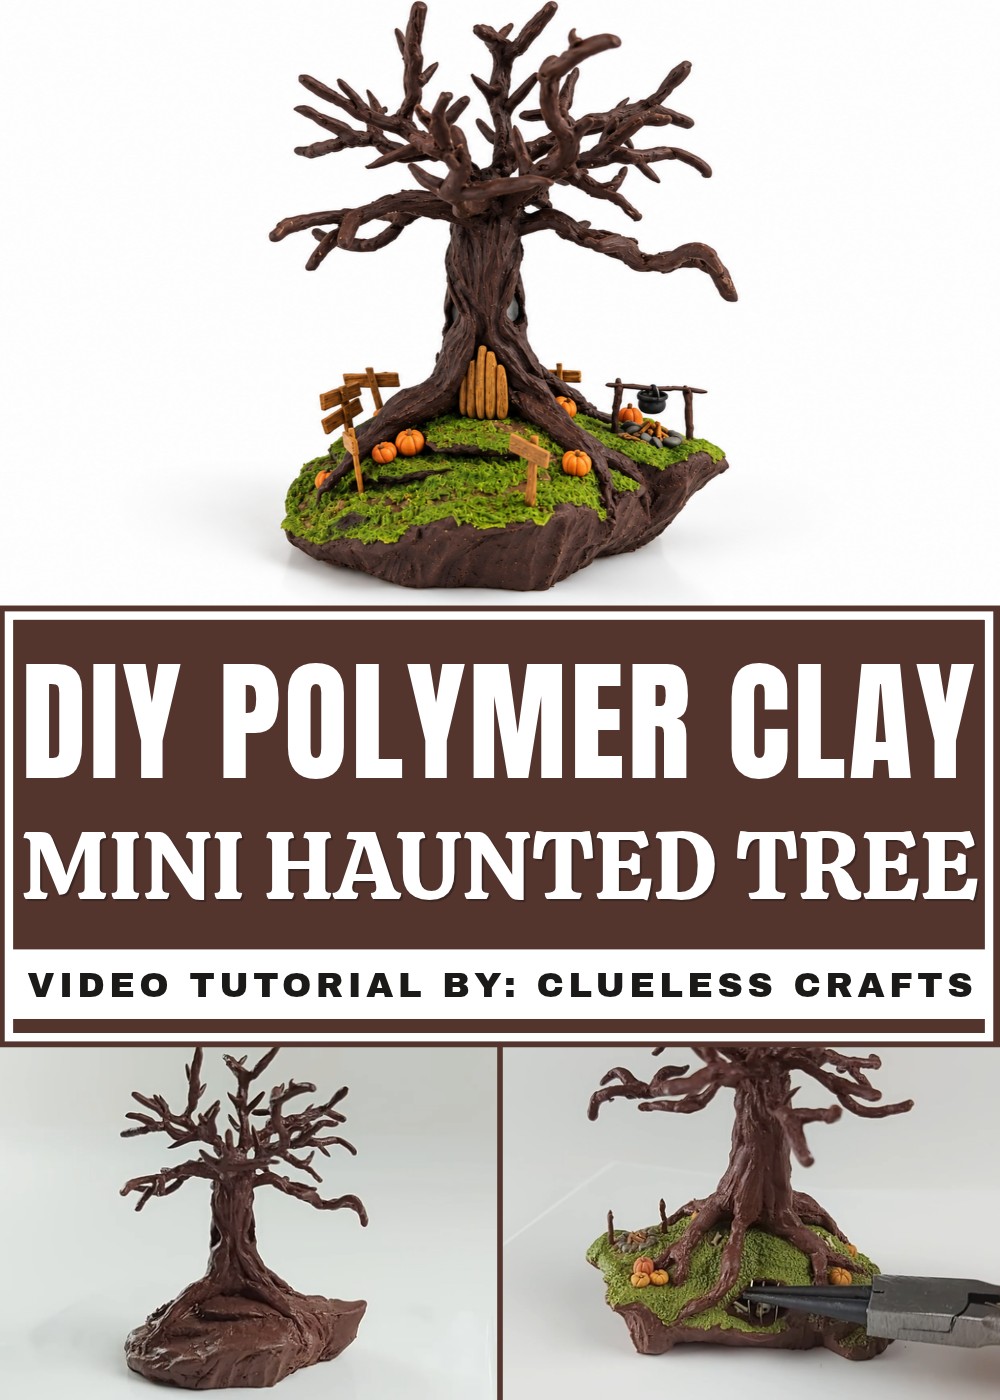
The finished piece adds an interesting Halloween touch without taking up much room. Its twisted form and unusual character help it become a noticeable little display for the season.
DIY Haunted Tree Clay Project Tutorial
In this project, you will make a detailed haunted tree using wire and leather texture clay. Follow each step carefully to shape the tree, add branches and details, and complete your creepy sculpture.
Materials Needed
- Wire (for tree structure and support)
- Leather texture clay (the main clay used, dark or natural brown recommended)
- Small wires (for small branch details and dungeon bars)
- Popsicle sticks (for making signs and door)
- Paint (to age metal bars)
- Super glue (for attaching signs to posts)
- Additional clay scraps (for firewood and small details)
- Ceramic tile (to work on and support the base)
Tools
- Wire cutters and pliers (for shaping wire)
- Sandpaper (for sanding popsicle sticks)
- Small paintbrush
- Oven (for baking the clay)
- Pen (for writing on signs)
Step-by-Step Instructions
Make the Wire Tree Structure
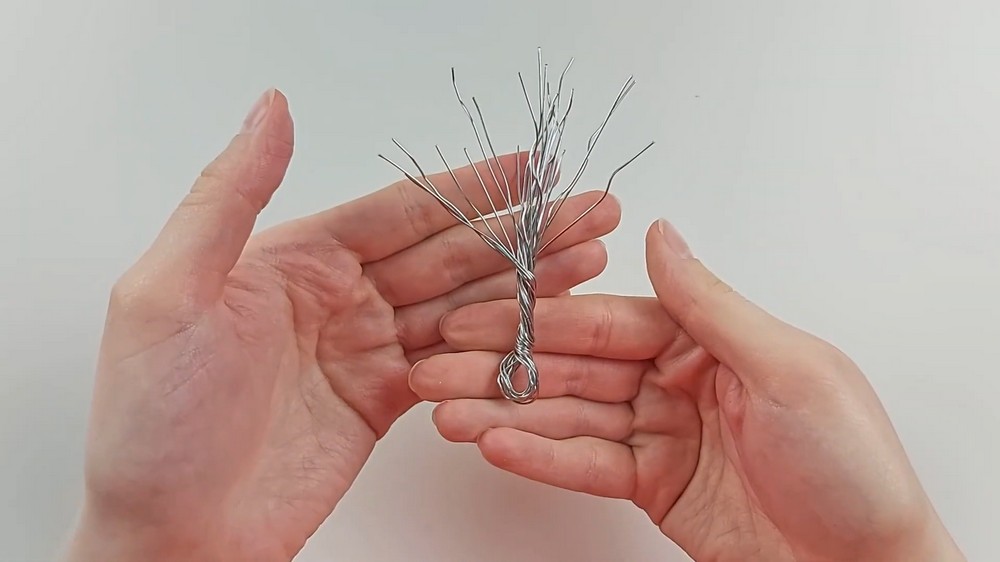
- Take wire pieces and twist them together to form the tree trunk and branches.
- If wire splits apart, keep combining more wire through loops to strengthen it.
- Leave a loop at the bottom of the trunk to attach more wire for roots later.
- Shape the branches to look natural but keep the wire firm for support.
Cover Wire with Leather Texture Clay
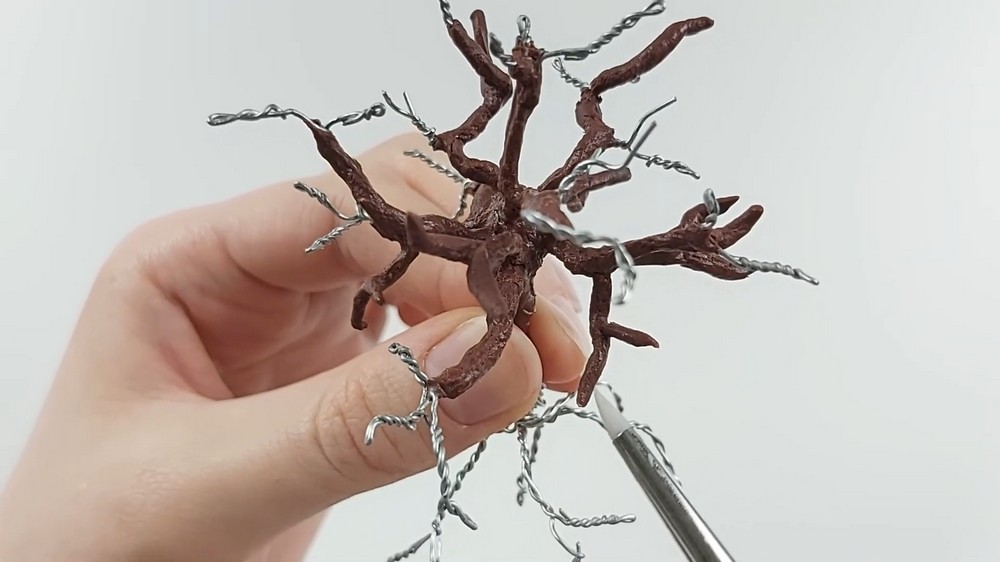
- Use leather texture clay to cover the whole wire frame, including trunk and branches.
- Apply clay carefully on thin branches to keep details. The rough texture will look like bark.
- Cover every branch completely with clay.
Add Extra Small Branches and Spikes
- Shape tiny spikes and small branches from clay without wire for more detail.
- Attach these additional pieces to the main branches to add texture and complexity.
Shape and Attach Roots
- Use wire for roots, continuing from the trunk loop.
- Cover roots with clay as you did the branches.
- Use one root as a handle to hold your sculpture while sculpting details.
Attach Tree to Base and Reshape Details
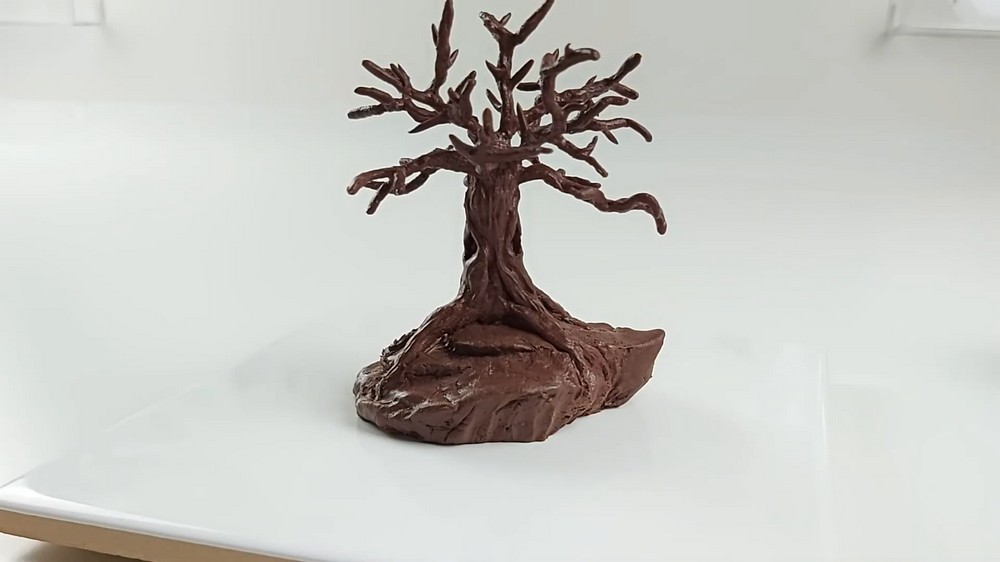
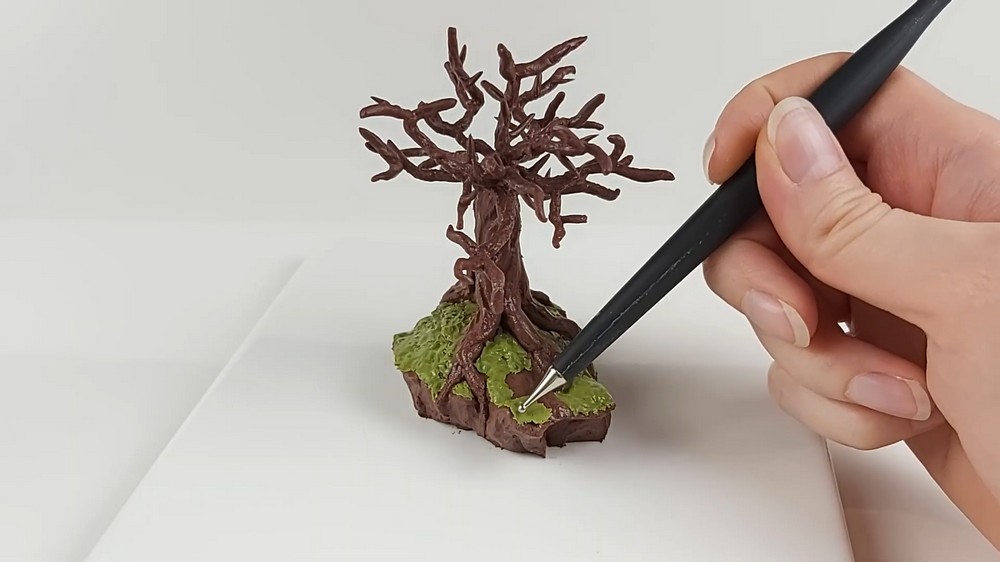
- Attach your tree sculpture firmly onto a clay base.
- Place the sculpture on a ceramic tile to make working easier.
- Sculpt the base clay around the tree, shaping it like a cliff edge with sharp angles.
- Remove or add clay where needed on the base to create a natural look.
Sculpt Extra Details Before Final Baking
- Sculpt small clay details like skulls, cauldrons, firewood, and dungeon bars separately.
- For metal bars (like on the dungeon), insert thin wires into clay rectangles.
- Bake these detailed parts before attaching to the tree.
Attach and Finalize Details
- After baking, attach cauldrons and skulls to the tree or base with liquid clay as glue if needed.
- Use small clay bits as firewood near the cauldrons.
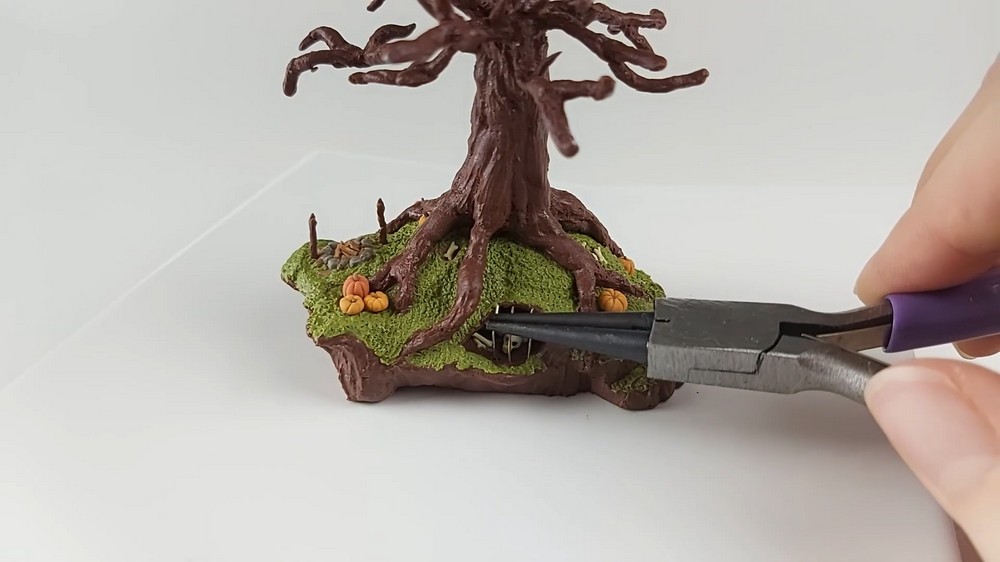
- Insert and adjust wire bars on the dungeon part of the base.
- Paint metal bars to make them look old and rusty.
Add Haunted Tree’s Face and Eyes
- Sculpt the tree’s face on the trunk, adding eyes and mouth.
- For glowing eyes, use a brighter or glowing clay if available.
- If the face or eyes get squished during assembly, reshape them carefully.
Baking Instructions
- Bake the tree and details in the oven according to your leather texture clay instructions (usually low temperature for durability).
- Bake small detailed parts separately before attaching them to the main sculpture.
- After assembling all parts, a final light baking can help secure attachments if needed.
Finishing Details
- Make tiny clay trespassing signs and a wooden door from popsicle sticks.
- Sand the sticks to smooth edges, then paint and write small messages on the signs with a fine pen.
- Attach signs to small posts with super glue and place them around the base.
- Paint the dungeon bars to make them look dirty and old.
- Make any final adjustments to improve the haunted, natural look.
Helpful Tips
- Twisting wire can be tricky; add more wires if your sculpture is too short or weak.
- Use a root as a handle to avoid squishing delicate branches while you work.
- Don’t rush the details. Small parts take time but add a lot of character.
- If parts get squished or broken, reshape them—this is normal.
- Casting the base as a natural cliff makes the tree look more spooky and realistic.
- Baking small parts separately helps avoid damage to delicate details.
- Paint metal pieces after baking for an aged look.
Final Result
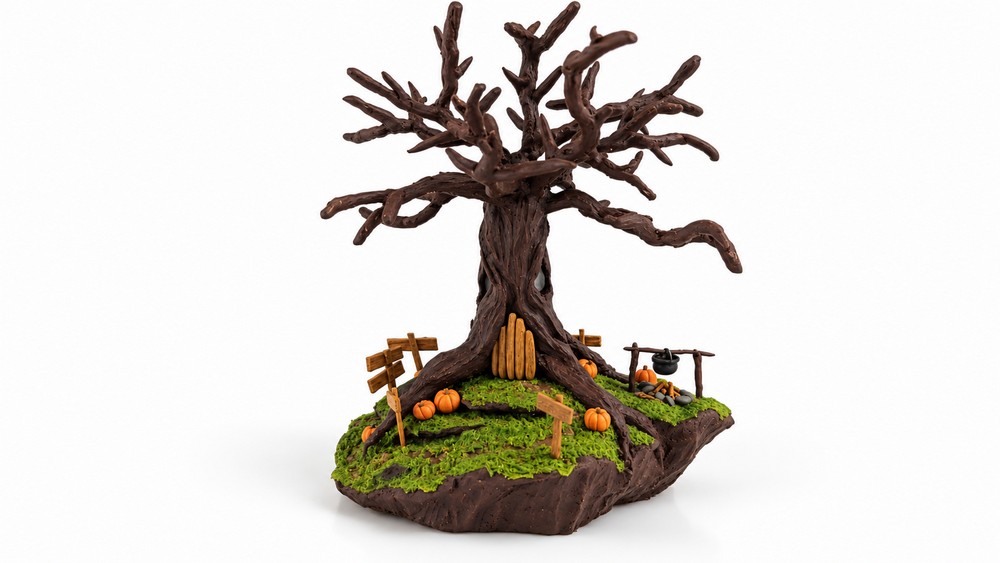
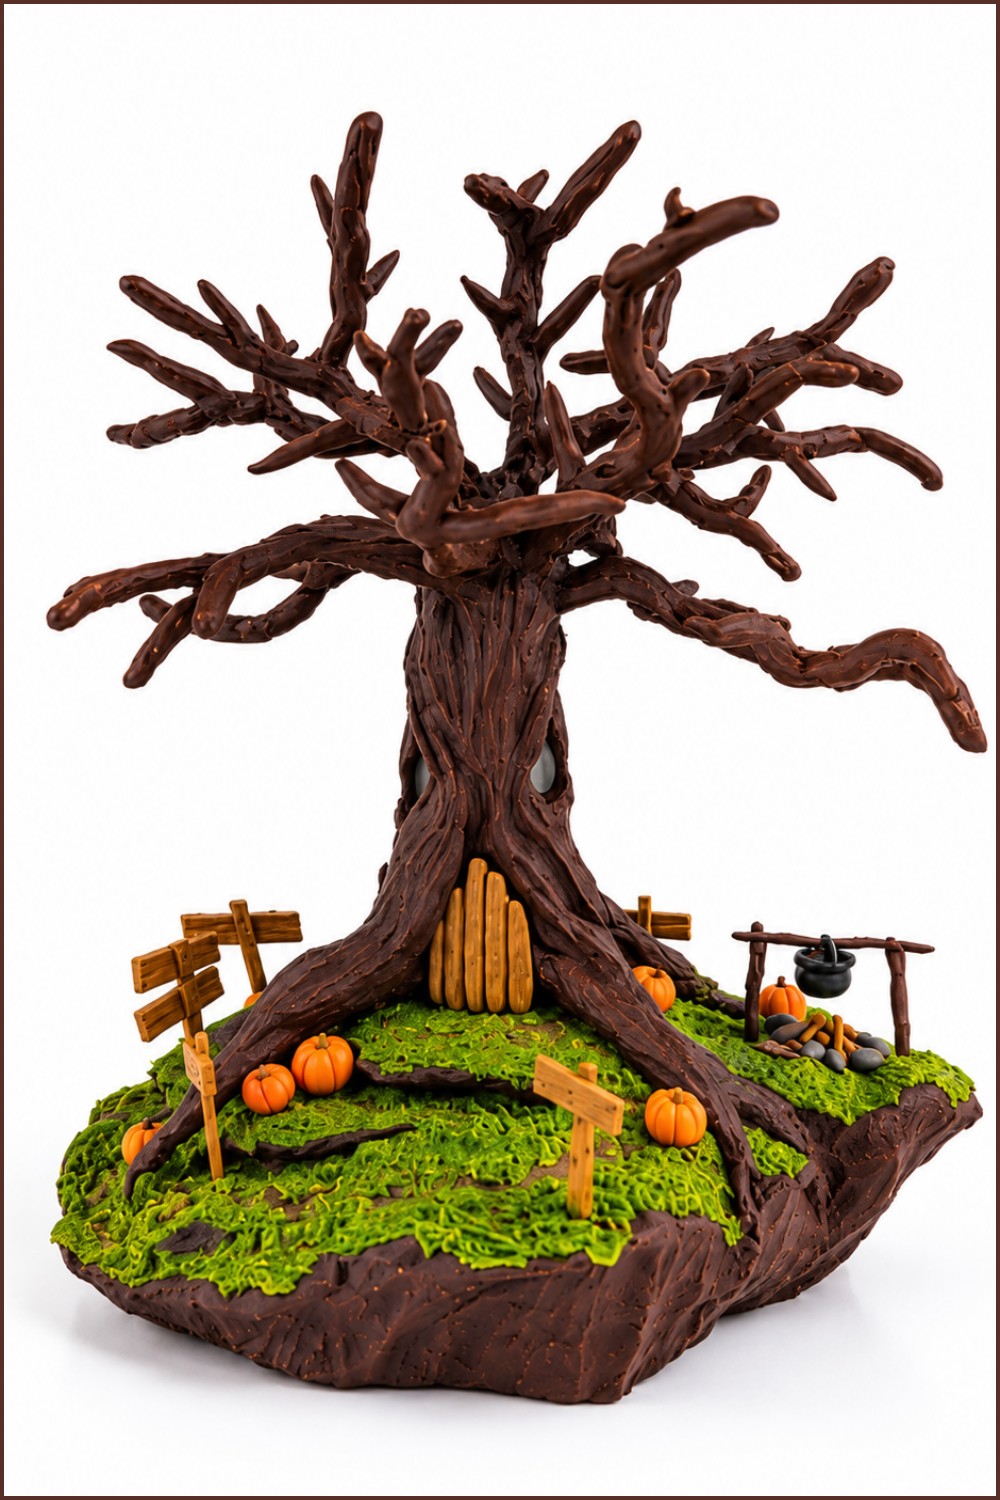
You will have a spooky haunted tree sculpture with twisted wire branches coated in textured clay that looks like bark. The tree sits on a cliff-like base with sharp edges, decorated with tiny spikes, skulls, cauldrons, and a mysterious dungeon with metal bars. The glowing eyes and carved face give your tree an eerie alive feeling. Around it, small warning signs and a wooden door tell a dark story. This project creates a detailed, creepy sculpture perfect for Halloween or fantasy displays.